
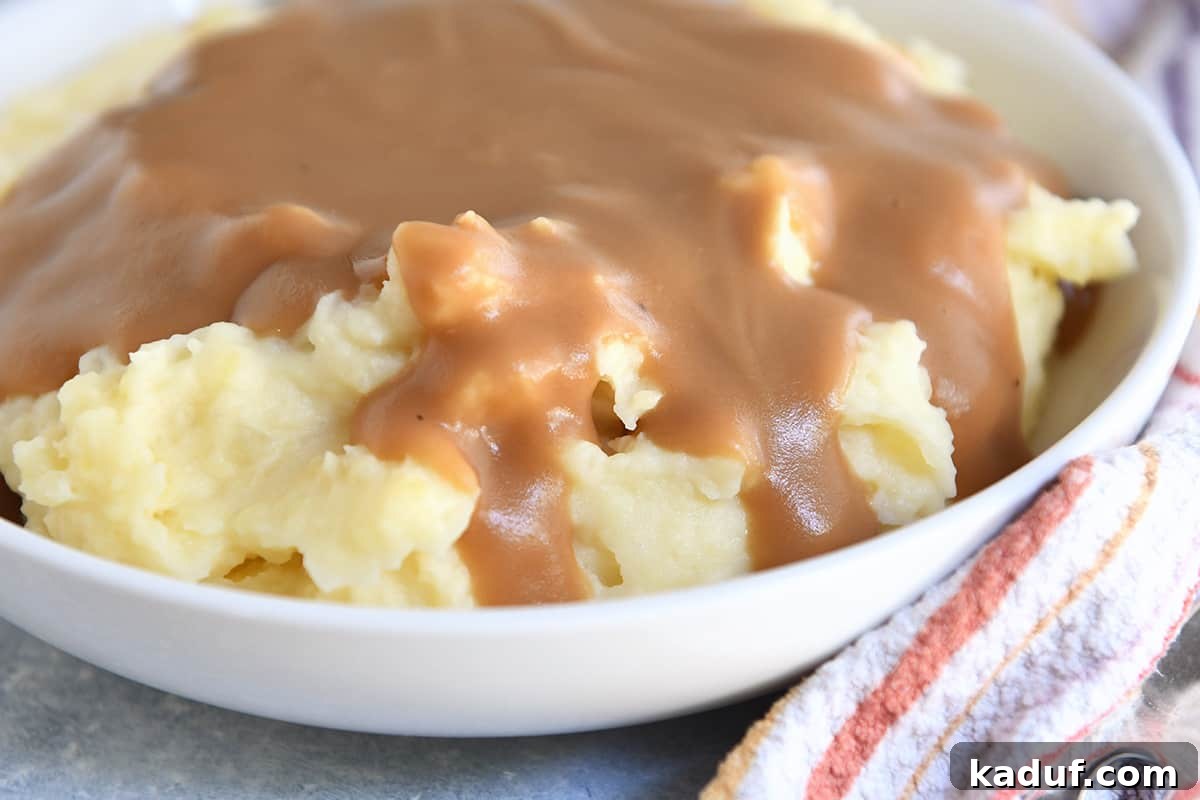
Mastering the Art of Homemade Gravy: A Foolproof Guide for Every Occasion
Elevate your meals with the ultimate homemade gravy. This comprehensive guide provides a foolproof recipe and essential tips for creating rich, silky, and flavorful gravy perfect for holiday feasts, Sunday roasts, or any day you crave culinary comfort.
Learning how to make an exceptional homemade gravy is more than just a recipe; it’s a fundamental culinary skill that transforms ordinary dishes into extraordinary dining experiences. Once you grasp the basic principles, you’ll discover endless possibilities for customizing your gravy with various meat drippings and aromatic flavors to complement any meal.
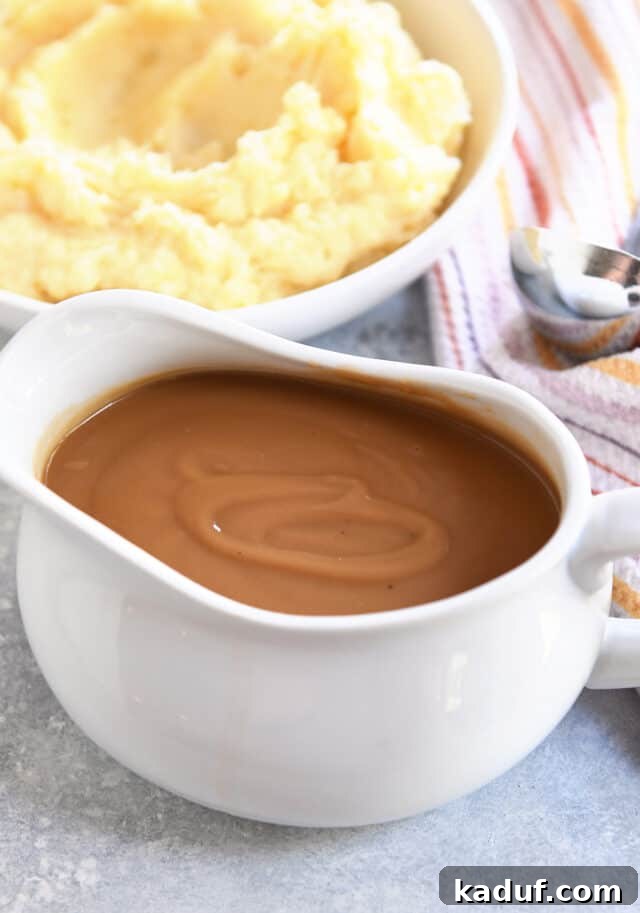
The Cornerstone of Great Gravy: Mastering the Roux
The secret to a luscious, well-textured gravy lies in its foundational element: the homemade roux. A roux, pronounced “roo,” is a classic French thickening agent composed of equal parts flour and fat, cooked together until a specific color and consistency are achieved. In this recipe, we harness the rich flavor of butter as our fat, creating a robust base for our gravy.
One of the most crucial steps to achieving the best gravy is to cook your roux until it reaches a beautiful golden-brown color. This crucial browning process is not merely for aesthetics; it deepens the flavor profile of the flour, imparting a nutty, toasted complexity that is essential for a truly exceptional gravy.
We utilize an equal ratio of all-purpose flour to butter in this homemade gravy recipe. This specific proportion is key to developing a perfectly smooth, silky consistency without any undesirable grittiness or lumps. The careful cooking of these two simple ingredients unlocks a world of flavor and texture that will make your gravy unforgettable.
Unlock Perfection: 5 Essential Tips for the Best Gravy
Achieving a consistently perfect gravy might seem daunting, but with these five straightforward tips, you’ll be pouring silky-smooth, deeply flavored gravy like a seasoned chef every time.
- Cook the Roux Until Golden: As emphasized, allowing the flour and butter mixture to cook until it turns a rich golden-brown is paramount. This step develops profound, savory notes, moving beyond mere thickening to create a complex flavor foundation.
- Use Hot Broth or Stock: Introducing warm liquid to your hot roux is a game-changer for preventing lumps. The even temperature helps the roux absorb the liquid smoothly, creating a uniform mixture from the start. Cold liquid can cause the roux to seize and clump.
- Choose a Flavorful Broth or Stock: The quality and depth of your broth or stock directly translate to the final taste of your gravy. Invest in a good quality store-bought brand (like Pacific Foods, Swanson’s, or Trader Joe’s) or, even better, use homemade stock. Opting for a low-sodium variety allows you to control the seasoning precisely.
- Whisk Constantly and Vigorously: This might be the most repeated instruction in gravy making, and for good reason. Continuous whisking during the addition of liquid and the initial simmering phases is critical for preventing lumps and achieving that desirable silky texture. Your arm might get a workout, but the results are worth it!
- Add a Spoonful of Bouillon Paste (Optional but Recommended): For an extra layer of umami and depth, especially if you’re not using meat drippings or if your broth is a bit mild, a tablespoon of bouillon paste (such as Better Than Bouillon) can dramatically boost the flavor. Match the bouillon flavor (chicken, beef) to your intended gravy.
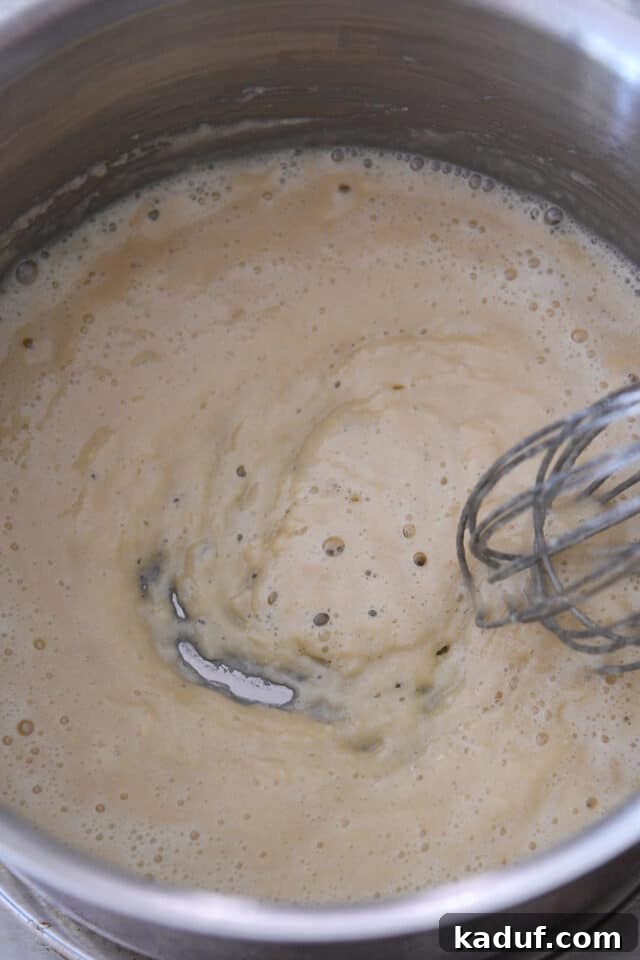
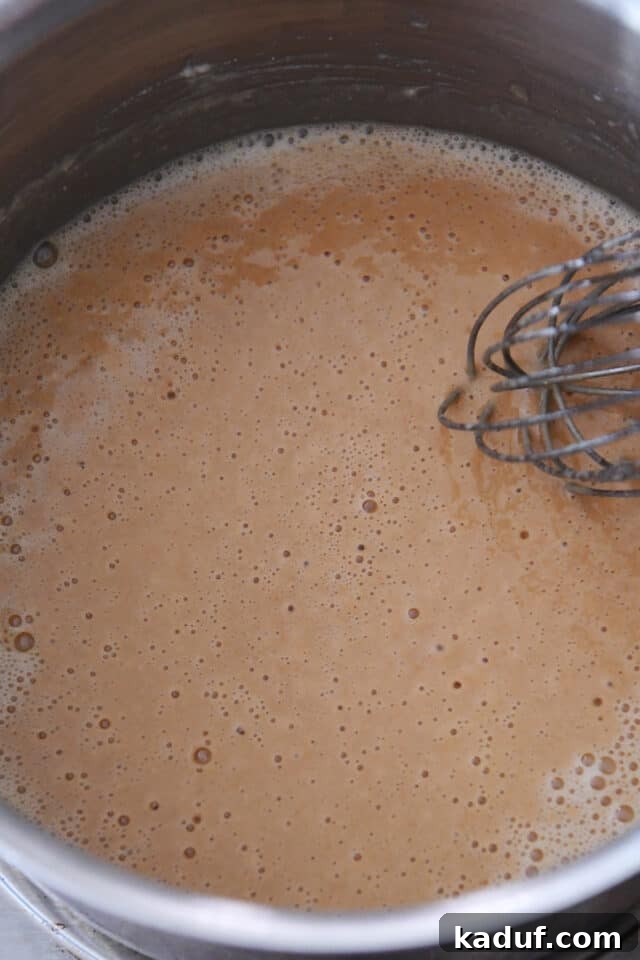
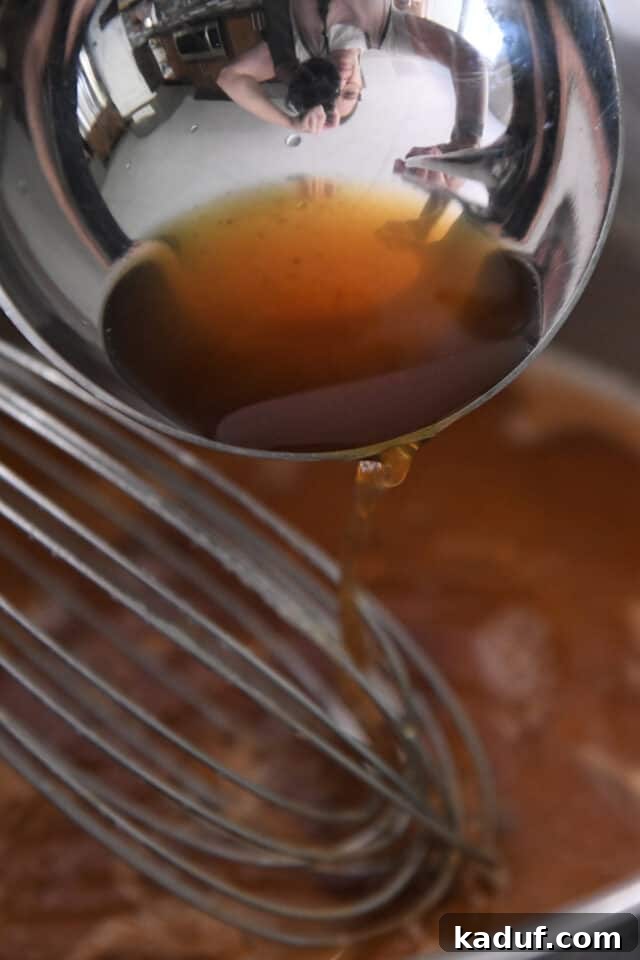
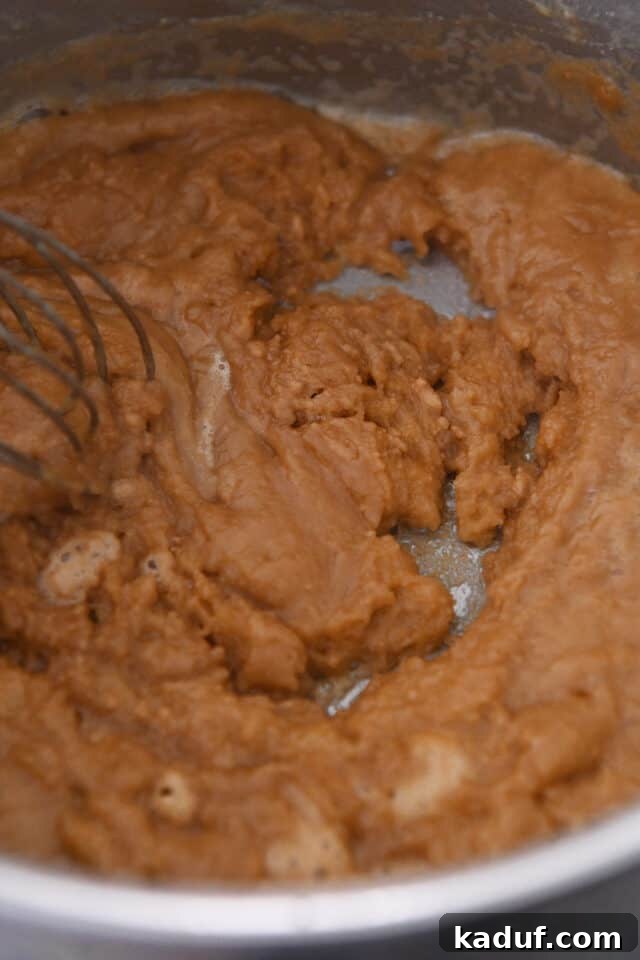
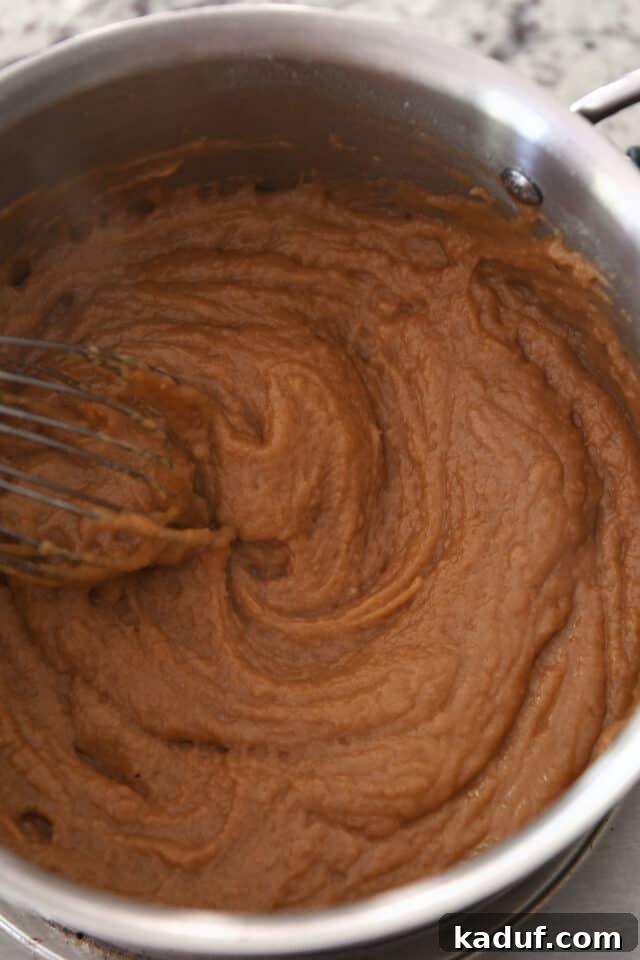
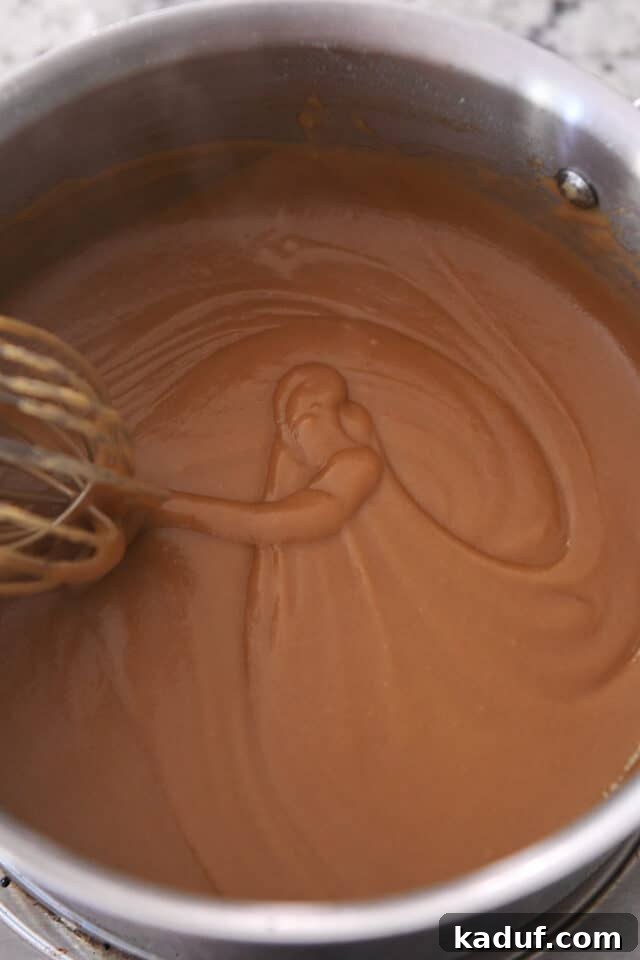
As you gradually ladle hot broth into the golden roux and whisk, the mixture might initially appear crumbly, perhaps even a bit curdled. Do not despair! This is a completely normal phase. Continue adding the broth, whisking constantly, and you will witness a magical transformation as the gravy cooks and thickens, eventually becoming beautifully smooth and luscious. Trust the process, and keep whisking!
Remember, the two golden rules for a consistently lump-free gravy are whisking constantly and using hot broth or stock. Adhering to these principles will ensure your gravy is perfectly smooth and delightful every single time.
By following these essential tips and the detailed method outlined in the recipe below, this versatile gravy base can be effortlessly adapted to complement any main course. Simply adjust your broth choice to chicken, turkey, or beef to perfectly match your meal.
Maximizing Flavor: How to Incorporate Meat Drippings into Your Gravy
While this homemade gravy recipe stands on its own as exceptionally flavorful and delicious, its taste can be dramatically amplified by incorporating rich drippings from cooked or roasted meat. These concentrated juices and fats are a culinary treasure, adding unparalleled depth and savory notes.
To seamlessly integrate drippings into your gravy:
First, carefully skim or strain the fat from your meat drippings. A fat separator is an invaluable tool for this, allowing the fat to rise to the top for easy removal. Alternatively, you can refrigerate the drippings until the fat solidifies, making it simple to lift off the top. Once the fat is separated, pour the liquid drippings into a liquid measuring cup. Add enough broth or stock to the drippings until the total liquid measures 4 cups. You can then proceed with the recipe as instructed, using this flavorful liquid. For an even richer flavor, consider using some or all of the skimmed fat from the drippings in place of an equivalent amount of butter for your roux. This truly deepens the meat-specific notes of your gravy.
The same principle applies to homemade stock: if you have a batch of rich, gelatinous homemade stock on hand, absolutely use it! Its superior flavor will undoubtedly shine through in your finished gravy. However, rest assured that a good-quality store-bought stock, especially a low-sodium one, will also yield excellent results when combined with these techniques.
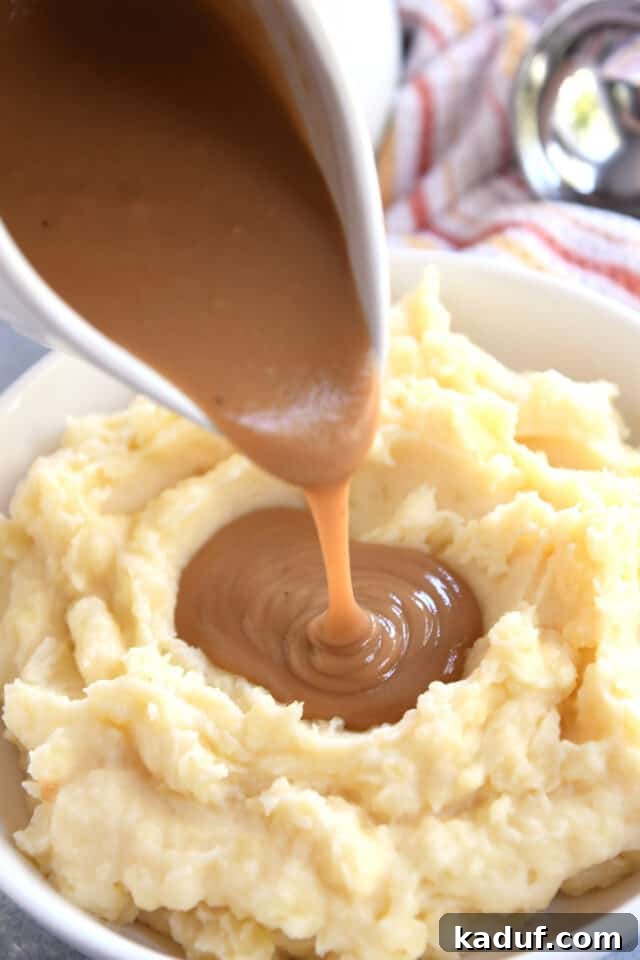
Preparation Prowess: Making Gravy in Advance
One of the many convenient aspects of this homemade gravy recipe is its suitability for make-ahead preparation. You can easily prepare your gravy several days in advance, a fantastic time-saver, especially during busy holidays or when entertaining.
After being refrigerated, it’s completely normal for the gravy to become incredibly thick, firm, and perhaps even a bit gelatinous. This is due to the starches from the flour and the natural gelatin from the broth solidifying as they cool, indicating a well-made gravy!
To reheat, transfer the gravy to a saucepan and warm it over low heat, whisking constantly. As the gravy gradually warms, it will soften and loosen its texture, transforming from a thick, globby consistency back into a smooth, pourable sauce. If the gravy remains too thick for your liking, simply whisk in additional hot broth or stock, a tablespoon at a time, until you reach your desired consistency.
It’s also common for a thin “skin” to form on the surface of gravy when it’s cooled and not directly covered with plastic wrap. If this occurs, simply use a spoon to gently skim it off and discard it before serving. The gravy underneath will be perfectly fine.
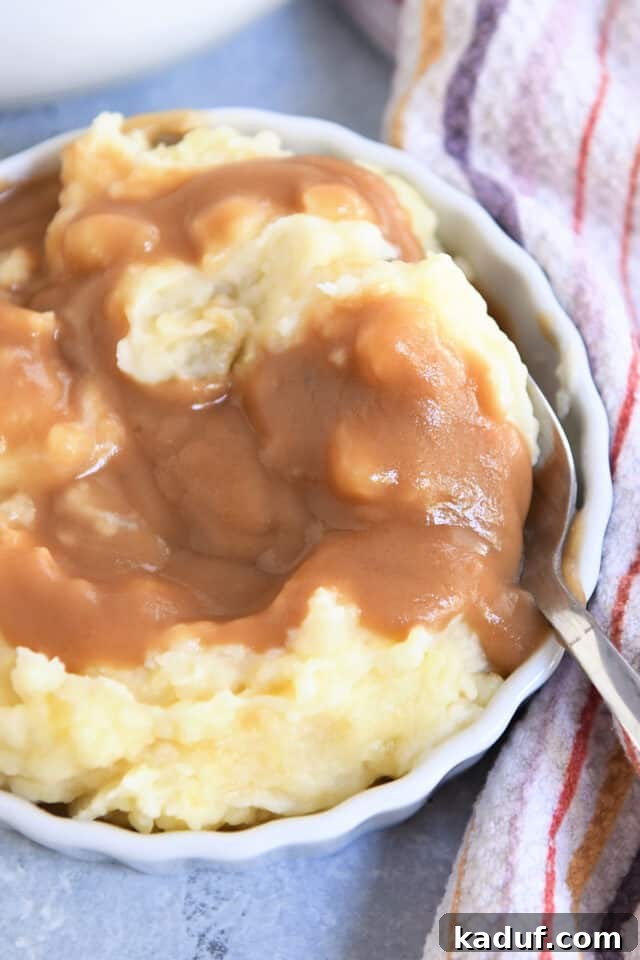
Achieving Your Ideal Consistency: Perfect Gravy Every Time
This recipe, when combined with our foolproof tips, guarantees perfect gravy with consistent flavor and texture. However, the “perfect” consistency of gravy is a deeply personal preference, often influenced by the meal it accompanies. Some prefer a thick, hearty gravy, while others favor a lighter, thinner pour. We, for example, tend to lean towards a beautifully medium-thick gravy.
The excellent news is that this adaptable gravy recipe allows you to easily customize its thickness to precisely match your preference.
To create a thicker gravy: Begin by adding only three cups of hot broth or stock to the roux. Once fully incorporated and simmered, evaluate the thickness. If you desire it even thicker, you can continue to simmer it gently to reduce, or for an instant boost, create a small slurry of a tablespoon of flour or cornstarch with an equal amount of cold water, whisk it into the simmering gravy, and cook for another minute. Alternatively, if you plan for a thick gravy from the start, you might use slightly more flour in your roux.
To achieve a thinner gravy: Once your gravy has reached its initial desired thickness (or if it’s thicker than you like), simply whisk in an additional 1/2 cup of hot broth or stock. Stir well, allow it to come back to a gentle simmer, and then re-evaluate the consistency. Continue adding more liquid, in small increments, until your gravy is exactly as thin as you prefer.
I am so passionate about the art of gravy-making that it’s become a bit of a household tradition. Every time I prepare it, I playfully challenge my family, asking, “What’s the secret to amazing gravy?” And they, in turn, enthusiastically shout back, “Never stop stirring!” It’s a running joke, which usually ends with me delegating one of them – particularly the one who was a little too “cool” to respond immediately – to take over the crucial “whisk constantly” duties at the stove. It’s my sincere hope that, when all is said and done, I’ve instilled in my children a lasting legacy of love, faith, and truly phenomenal homemade gravy. 💗
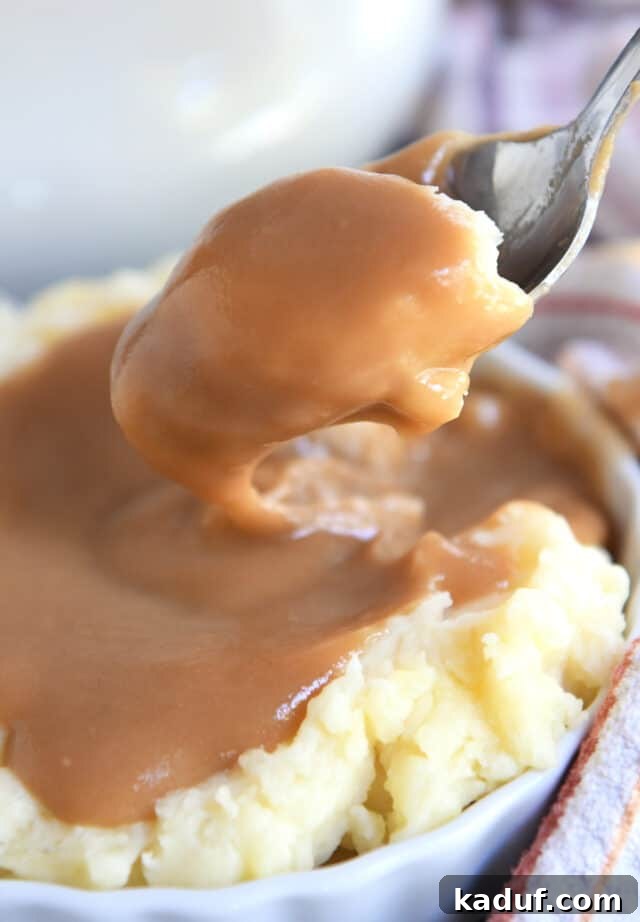
The Best Foolproof Homemade Gravy
12
servings
10
mins
20
mins
30
mins
Ingredients
-
4
cups
broth or stock, preferably low-sodium (see note for how to use drippings) -
10
tablespoons
(142 g)
butter -
⅔
cup
(95 g)
all-purpose flour (do not pack the flour into the cup – should be right around 10 tablespoons) -
1
tablespoon
bouillon paste (optional – see note) - Salt and pepper to taste
Instructions
-
Warm the broth or stock in a saucepan or in the microwave until steaming hot. Keep it warm.
-
Melt the butter in a medium saucepan over medium heat. Add the flour and cook, whisking constantly, until the roux turns a beautiful golden brown, approximately 4 to 5 minutes. If using, whisk in the bouillon paste.
-
While whisking constantly and quickly, slowly ladle in the warm broth, about 1/2 cup at a time. Ensure each addition is fully combined before adding more liquid. The mixture will initially appear crumbly and may even look curdled; this is normal! Trust the process and continue whisking vigorously.
-
Once all the broth has been incorporated, bring the gravy to a gentle simmer for 3 to 4 minutes, continuing to whisk constantly, until it thickens to a smooth, silky consistency. Season to taste with salt and freshly ground black pepper (this is an important step, as the exact amount will depend on whether you used unsalted/salted butter and low-sodium or regular broth/stock). If desired, thin with additional warm broth.
-
Serve your perfect homemade gravy immediately, or keep it warm to serve later. Please note that the gravy will naturally thicken further as it cools.
Notes
Drippings: This recipe excels with or without meat drippings. However, incorporating drippings from cooked or roasted meat will elevate the flavor significantly. To use drippings: First, skim or strain the fat (a fat separator is ideal, or refrigerate until solid and easily removed). Measure the liquid drippings, then add enough broth or stock to reach a total of 4 cups. Proceed with the recipe using this combined liquid. Optionally, you can substitute some or all of the butter for the roux with the skimmed fat from your drippings for an even richer flavor.
Bouillon Paste: For an extra layer of savory depth, adding a spoonful of bouillon paste is a fantastic option. We particularly favor the Better Than Bouillon brand. When making gravy for chicken or turkey, use chicken-flavored bouillon. For beef gravy, opt for beef-flavored bouillon.
Mel Gunnell
Side Dish
American
Stovetop
Nutrition Information (per serving):
Serving: 1 serving (1/2 cup gravy)
Calories: 120kcal
Carbohydrates: 5g
Protein: 4g
Fat: 10g
Saturated Fat: 6g
Cholesterol: 25mg
Sodium: 105mg
Fiber: 0.2g
Sugar: 0.03g
Recommended Products
Recipe Source: Adapted from Mel’s Kitchen Cafe