Stabilized Whipped Cream Frosting
- Makes 8 servings
- Prep 10 mins
- Total 10 mins
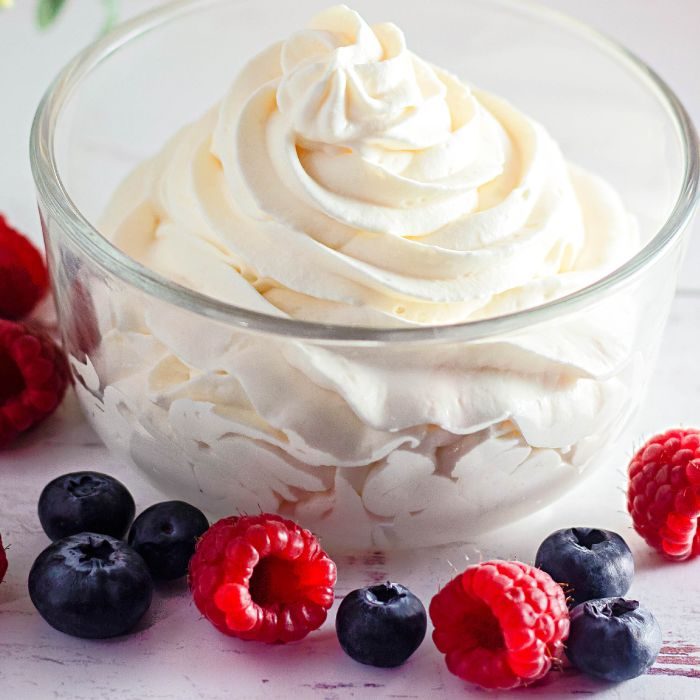
Stabilized whipped cream – the dessert to add to cakes, or cookies, or enjoy with fresh fruit for a treat. An easy whipped cream recipe that takes your recipes to the next level. Give this stabilized whipped cream with gelatin recipe a try today.
It’s not a secret that we love a sweet treat from time to time! Our Heaven on Earth Cakecherry pineapple dump cake and layered strawberry banana cake are just a few of our go-to dessert recipes.
While there is nothing wrong with store-bought whipped cream, we find that making homemade elevates your desserts. The rich, decadent flavor is good enough to eat with a spoon too.
What is Stabilized Whipped Cream
Stabilized whipped cream is a variation of traditional whipped cream. So the recipe uses gelatin to help form those stiff peaks that hold shape for a lot longer than a classic whipped cream.
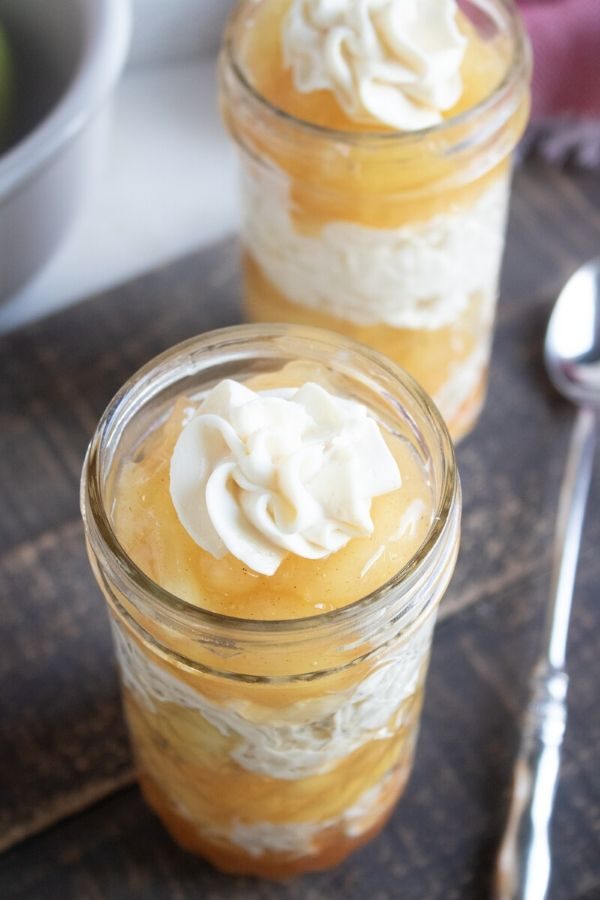
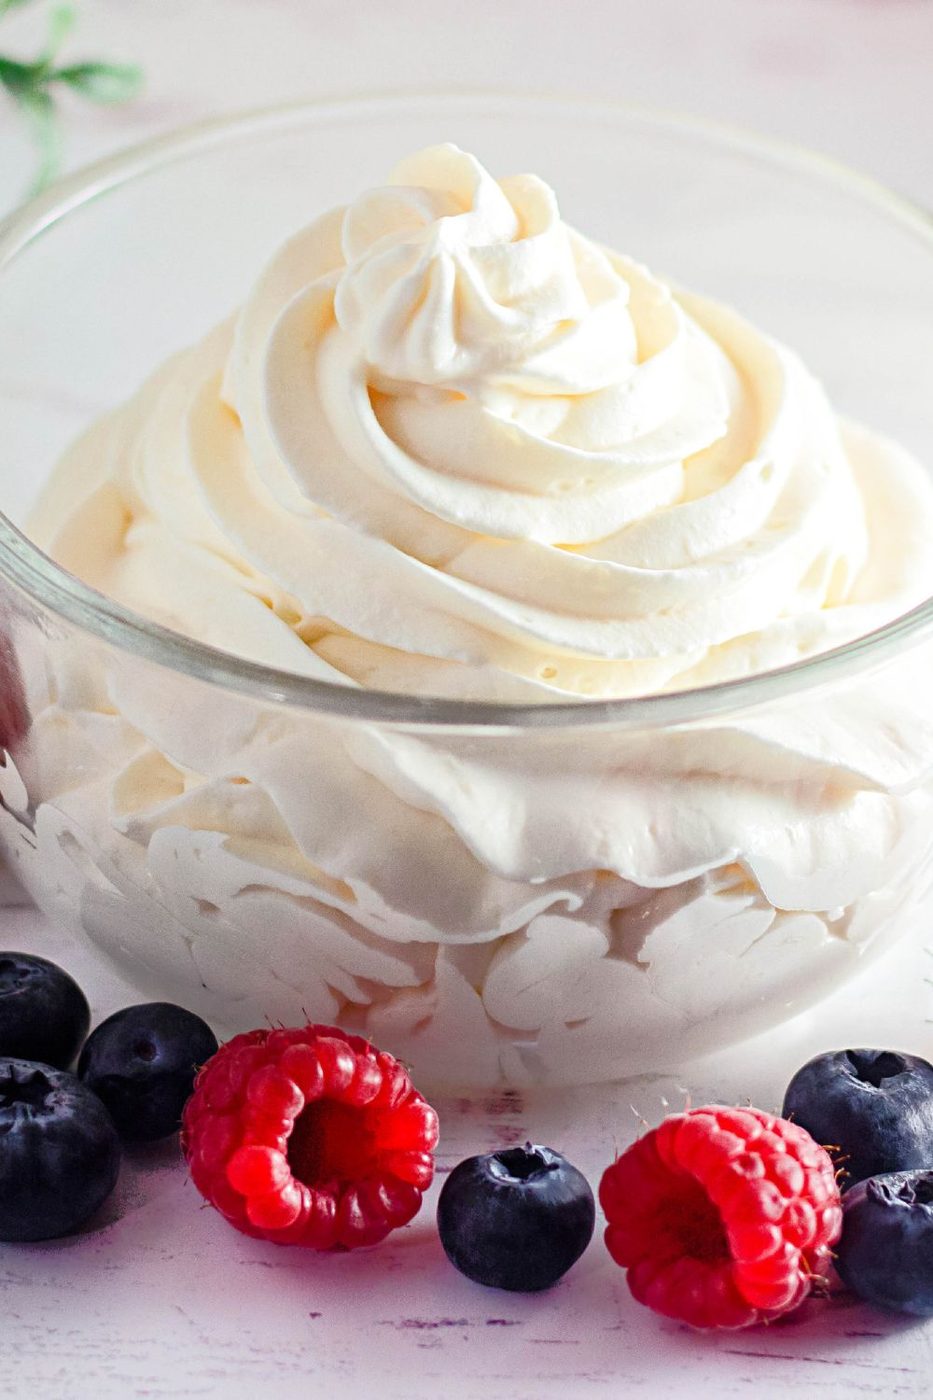
The idea is it won’t deflate the way a classic whipped cream would. You will use stabilized whipped cream for topping pies, cookies, cakes, and other pastries and desserts. This is when you want that gorgeous presentation value of whipped cream piped on top. You might also call this a stabilized whipped cream frosting!
This Stabilized Whipped Cream Recipe Is…
- Light and fluffy texture.
- The addition to cakes, ice cream, and other desserts.
- Incredibly easy to make and simple ingredients you might already have on hand.
- This works great as a whipped cream frosting as the texture is so thick.
- Taste and holds shape!
- Only requires 5 ingredients you might already have in your pantry and fridge.
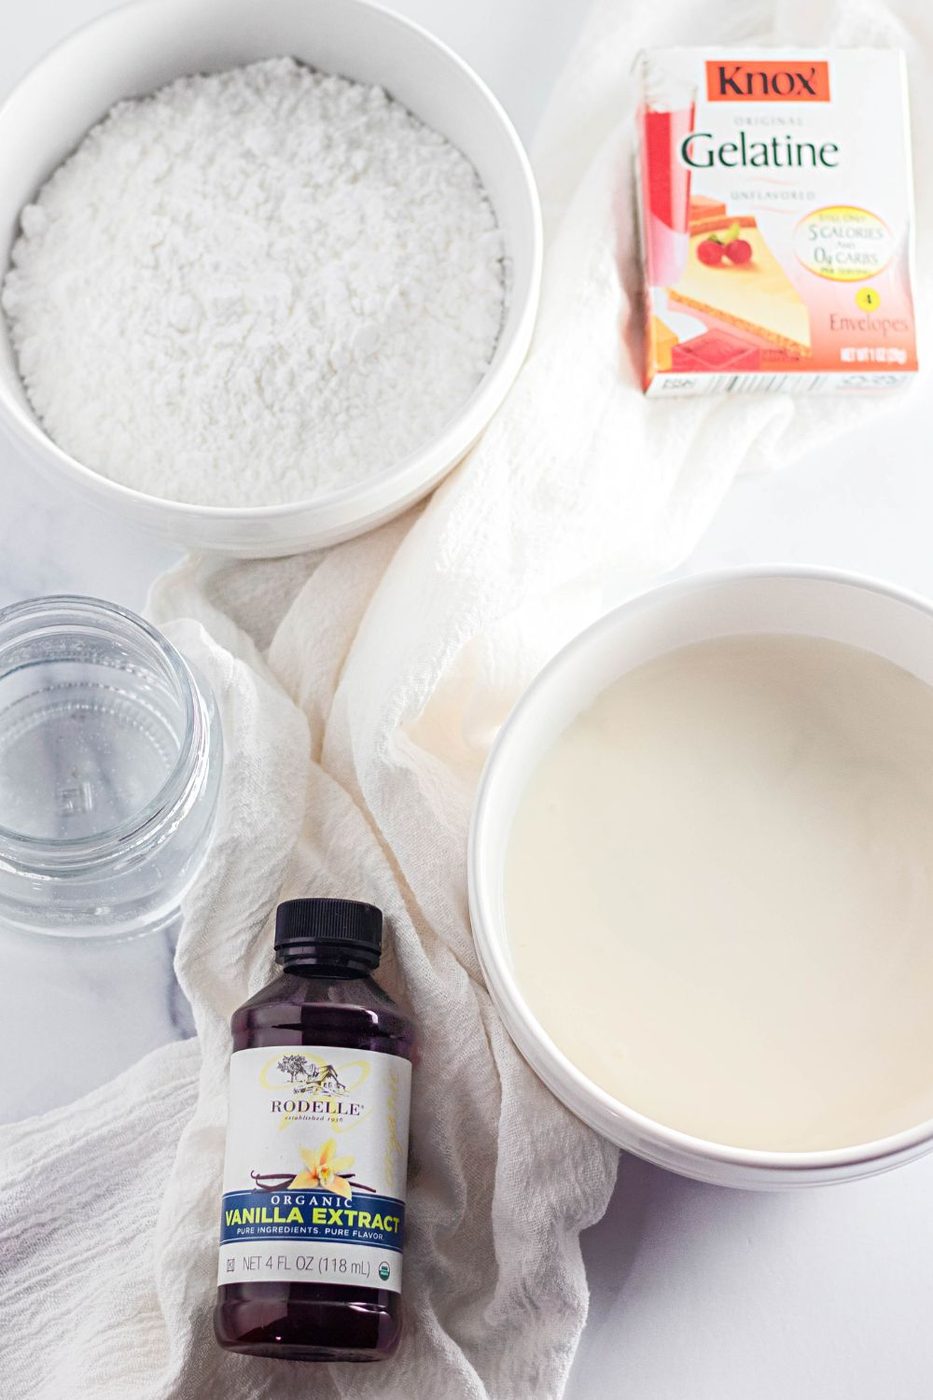
Gelatin Powder – For best results, use unflavored gelatin. Flavored options don’t always taste as good.
Water – The key here is to use cold water! This ensures that the gelatin blooms properly. Otherwise, it will dissolve and won’t turn out well.
Heavy Whipping Cream – Ideally, you need to use heavy cream that is full fat. This will allow the stabilized whipped cream to be the texture.
Powdered Sugar – You need some sweetness to give it the right flavor. Make sure you use confectioners sugar instead of granulated, or it will not turn out correctly.
Vanilla – While the vanilla is optional, we highly recommend it because it adds an subtle flavor.
Variations to Recipe
Flavorings – It’s fine to swap the vanilla for almond extract. You could add lemon, orange, or lime extract for a fun citrus twist.
Fruit – Once you have prepared the whipped cream, it’s fine to fold in some of your usual fruit. Strawberries, blueberries, and raspberries are a few ideas.
Cream Cheese – Mix in some softened cream cheese to add a rich, tangy flavor! It’s excellent and pairs great with the other flavors in the whipped cream.
How to Make
Full directions on how to make stabilized whipped cream can be found in the printable recipe card at the bottom of this post. This is a quick walk-through.
- Combine the gelatin and cold water together in a microwave-safe bowl. Whisk well and set aside.
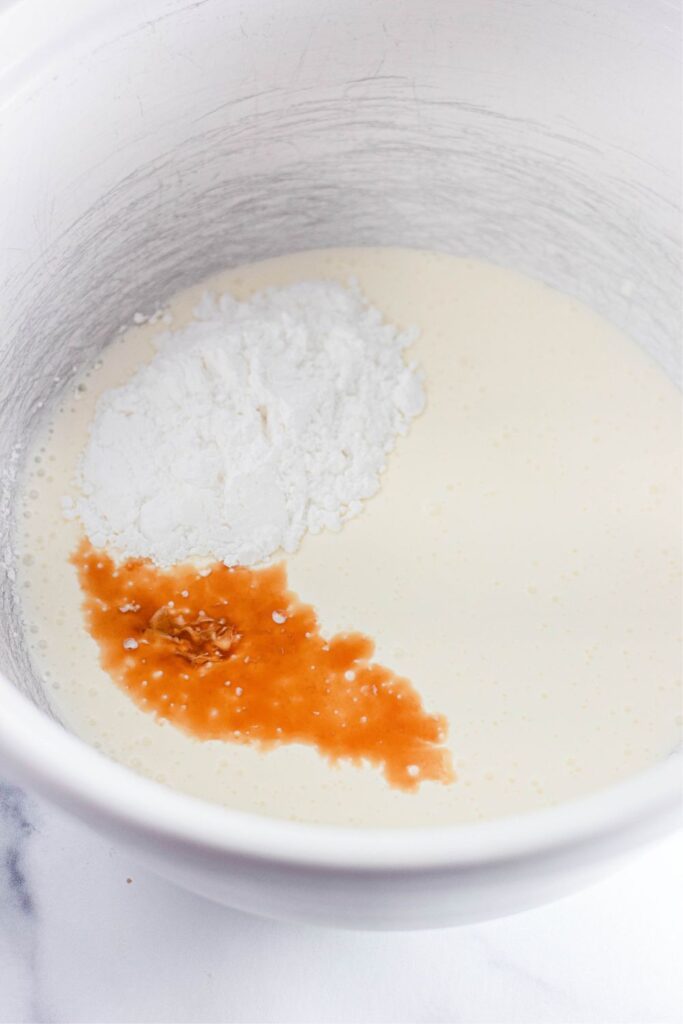
- Beat the heavy cream, vanilla, and powdered sugar in a large mixing bowl until just thickened.
- Warm the gelatin n the microwave for 5 seconds.
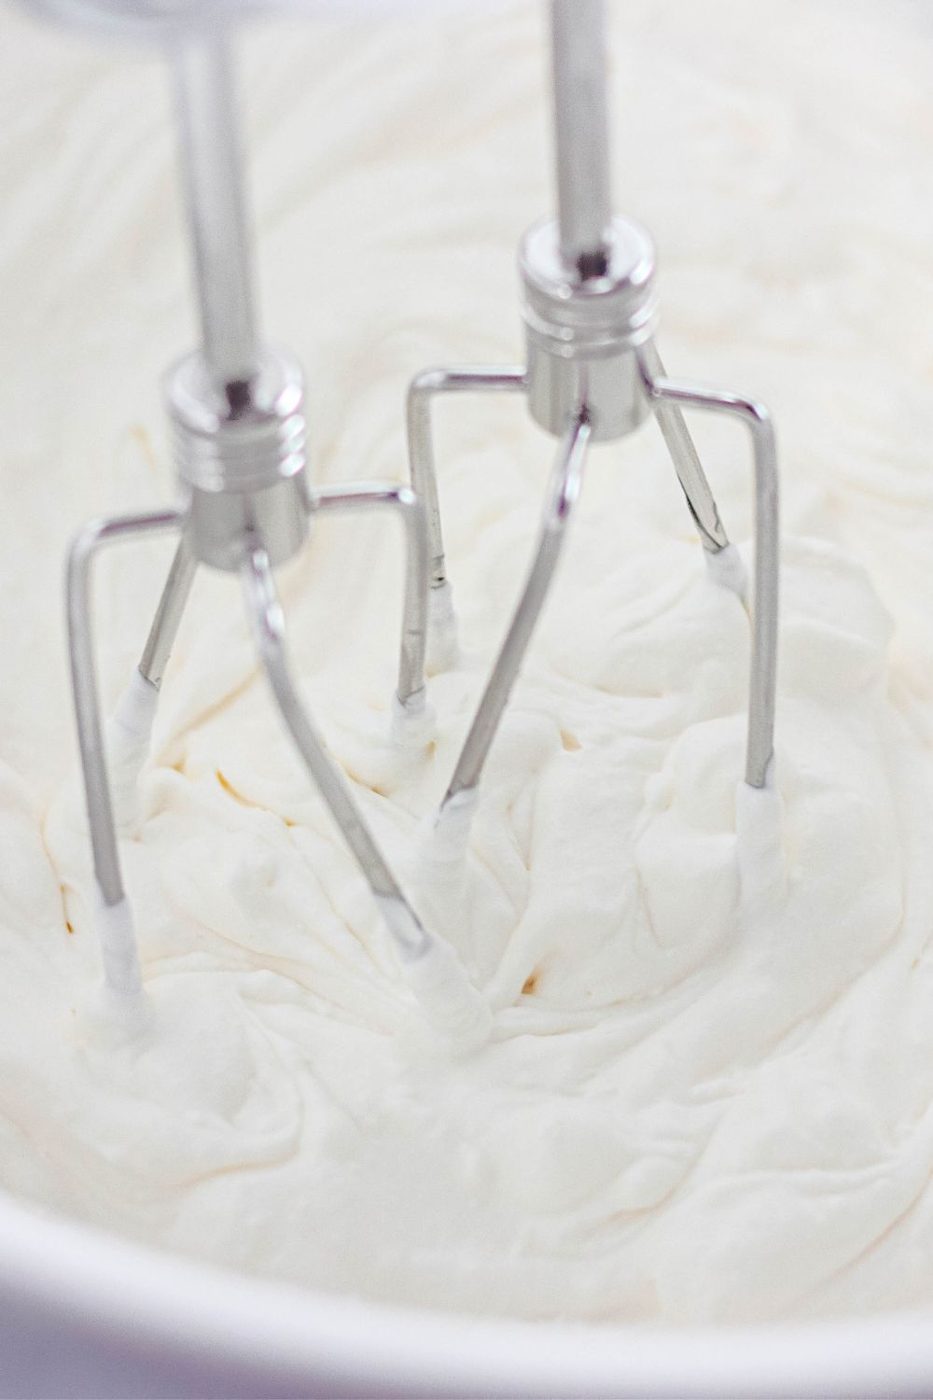
- Slowly pour the gelatin into the whipped cream mixture and beat. Increase speed until stiff peaks begin to form.
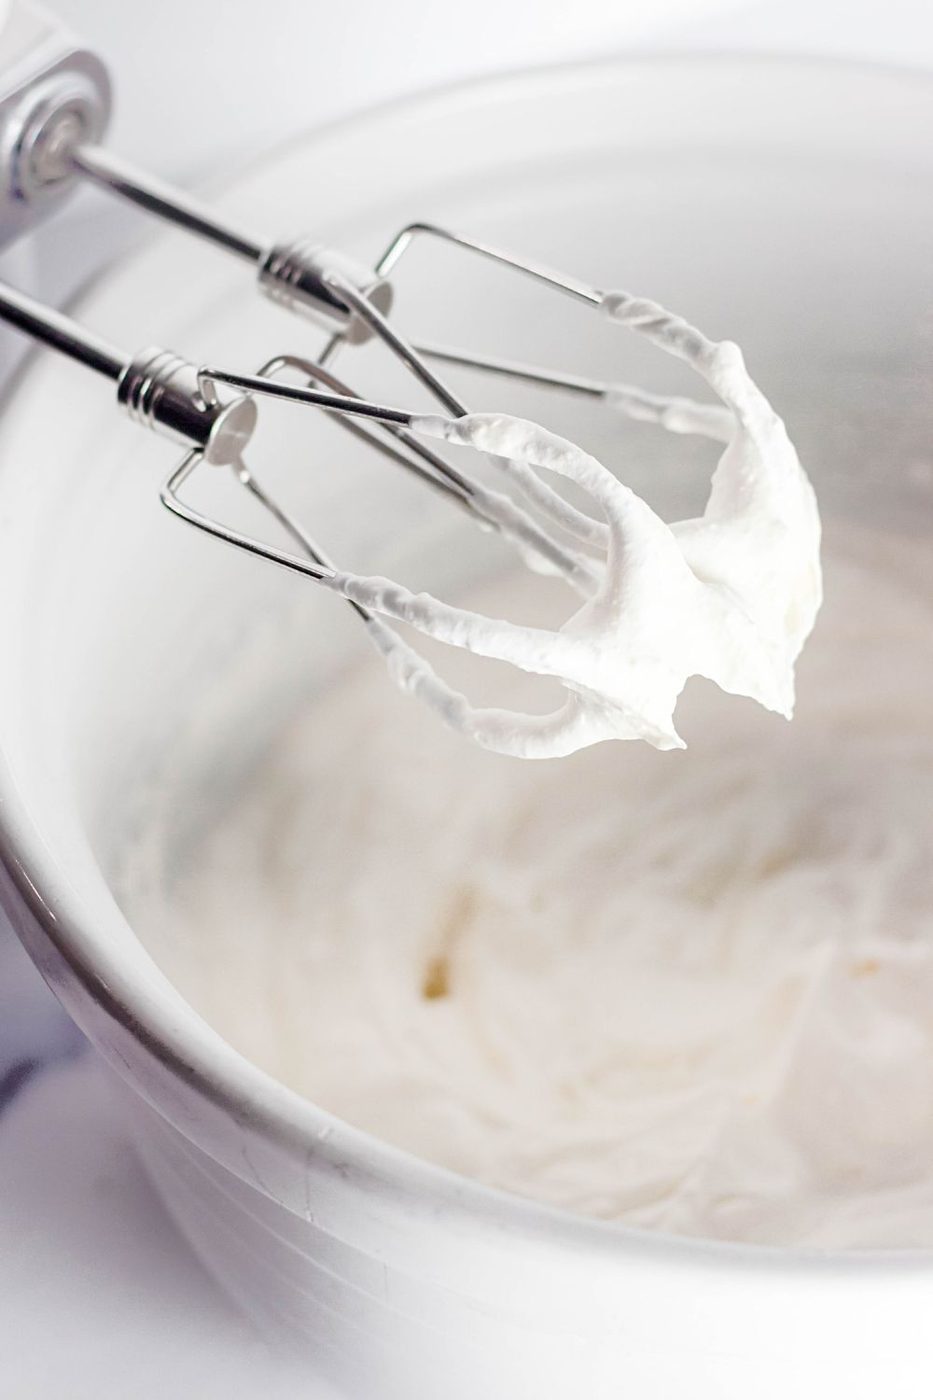
- Add to your usual dessert immediately or chill until you are ready to use.
Expert Tips for Making Stabilized Whipped Cream
- Don’t skip blooming – It’s vital that you allow the gelatin to sit with cold water for a few minutes before you begin. This keeps the whipped cream smooth and not lumpy.
- Chill the bowl – Using a chilled metal bowl will help speed up the process of making the whipped cream.
- Cold whipping cream – Another key element is using cold heavy whipping cream. Room temperature or warmth will lead to runny whipped cream that doesn’t set up correctly.
- Take your time – Whatever you do, don’t rush adding in the gelatin. When you go slowly, it gives the gelatin mixture a chance to incorporate into the other ingredients fully.
Storing
Keep chilled in the fridge in an airtight container for up to 3 days. If you are planning to decorate with it, it’s best to use it right away and save leftovers.
Practical notes
Can we freeze homemade whipped cream?Yes and no! Technically, you can freeze it if it’s already added to cupcakes, or whatever you are decorating. However, once it’s frozen you can thaw it and decorate with it. You could use an ice cream scoop to add a dollop to whatever you are serving, but we don’t recommend trying to pipe it on anything.
Is it okay to add food coloring?Sure! If you would like to add some color to the stabilized whipped cream, feel free to add a few drops of gel coloring. Be sure to add it when you begin to mix the whipped cream or it may cause curdling.
Can we double this recipe?Of course! double or even triple the ingredients, depending on how much you need.
Have you tried the recipe? If so, please leave a star ⭐⭐⭐⭐⭐ rating in the recipe card below or drop a comment. Also stay in touch with us through social media by following us on Facebook Pinterest or our Facebook Group
Ingredients
Makes 8 servings
- 1 teaspoon unflavored gelatin powder
- 4 teaspoons cold water
- 1 cup heavy whipping cream
- ¼ cup powdered sugar
- 1 teaspoon vanilla extract
Equipment
- Hand Mixer
- Measuring Cups
- Mixing bowl
Method
- In a small microwave safe bowl you will add your water and the gelatin. Stir to combine and then let it sit.
- In a large bowl you will add the heavy cream, powdered sugar and vanilla. Mix on medium-high speed until it begins to thicken. This takes a few minutes. (Don't let it get to the stiff peak texture)
- Next you will take your gelatin and add to the micrwoave and heat for 5 seconds. Stir and make sure the gelatin is melted, if not heat another 5 seconds.
- Slowly drizzle in the gelatin while the mixer is whipping on medium speed.
- Once all the gelatin is mixed in, up the speed to medium-high and whip until stiff peaks form. Once it is nice and thick use right away or refrigerate in an airtight container in the fridge.
Kitchen notes
Flavor – If you want to add flavor you can add in almond extract or even a fruit extract to alter the flavor even more. Gelatin – This needs to be unflavored powder gelatin to allow the whipped cream to become nice and thick and hold shape. Cold Bowl – Allowing your bowl to sit in the freezer for an hour before you begin mixing is going to help make the whipped cream whip up a lot faster. It isn’t something you have to do but it is helpful. Storing – Store any of the stabilized whipped toppings in the fridge in a sealed container. The whipped topping will store for 2-3 days in the fridge.