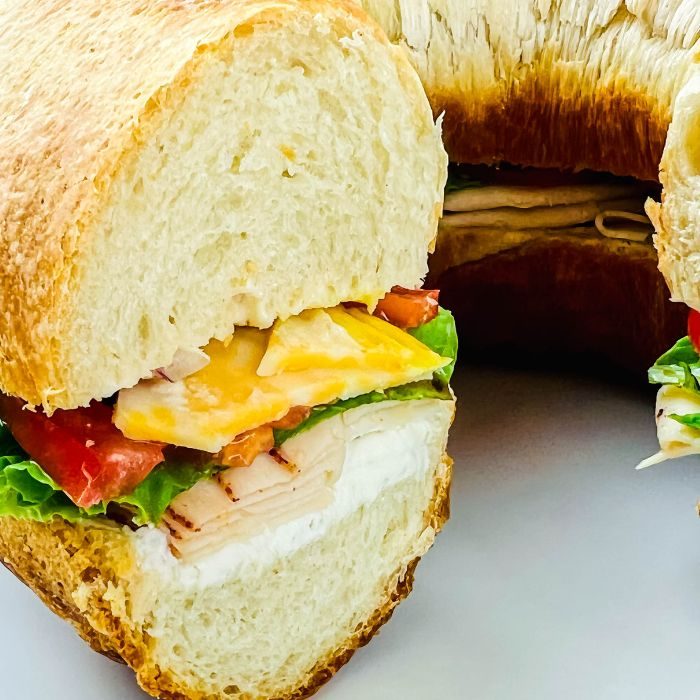
Olive Garden Breadsticks
- Makes 18 -20 breadsticks
- Prep 15 mins
- Cook 12 mins
- Total 1 hr 27 mins
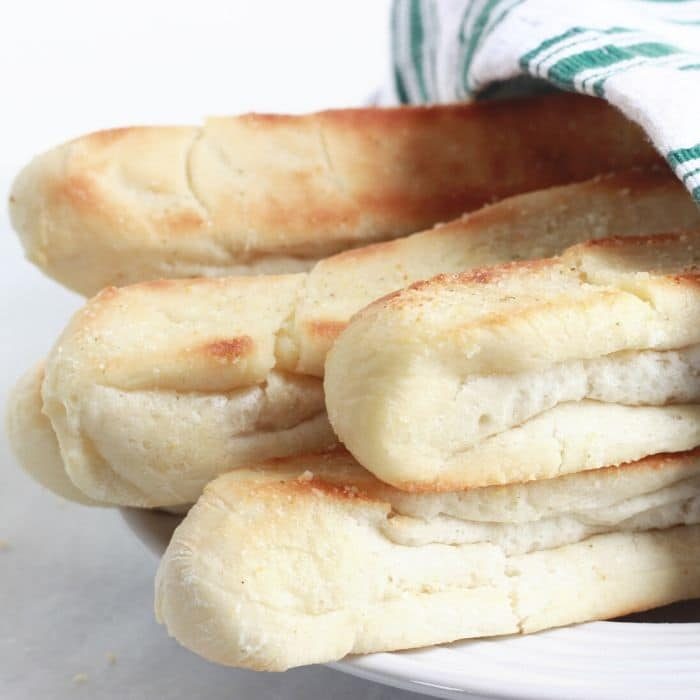
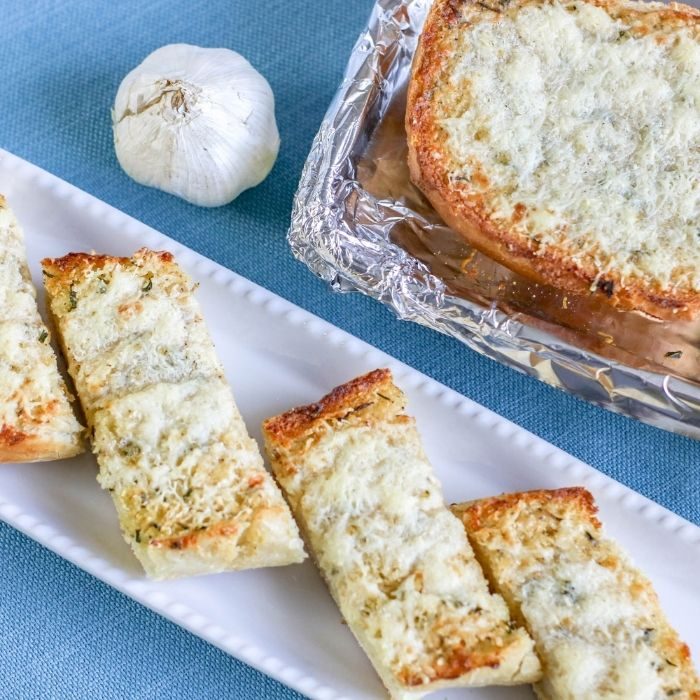
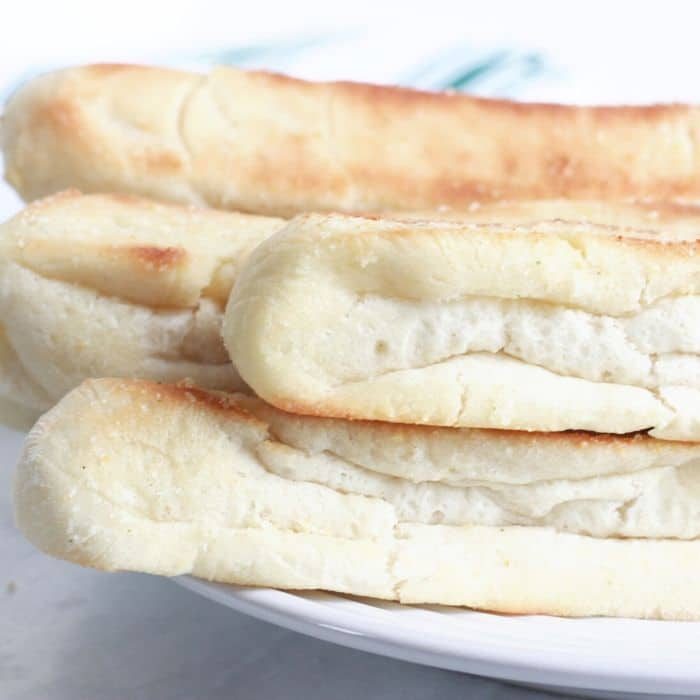
Olive Garden Breadsticks are soft, fluffy and brushed with garlic salt and butter topping that is irresistible. Make up these homemade breadsticks today to pair with any of your usual main dishes.
Pair with your usual pasta recipe or Gnocchi soupZuppa Toscano soup for the ultimate dinner at home. Yeast breadsticks are truly a weakness of ours.
Try out our copycat Olive Garden breadsticks and let us know in the comments what you think. These are a tasty garlic brushed breadstick that is soft, tender, and finger licking good.
Why Make Olive Garden Breadsticks At Home
- Homemade – you control ingredients used.
- Dare we say better than Olive Garden
- Leftovers for the next day
- Freezer Friendly
Ingredients Needed
Active Dry Yeast – You will use yeast for getting the dough to rise. We use active dry yeast that we allow time for it to proof to ensure it is going to work.
Flour – Bread flour is what we used as it is a higher gluten content and will truly give your breadsticks a better texture. If you don’t have bread flour you can for sure use an all purpose flour.
Sugar – A little sugar is needed to feed the yeast and get it bubbling and activated.
Butter – You can use salted or unsalted butter. If you use salted butter omit the salt in the recipe.
Salt – This will help to level out and flavor your breadsticks.
Garlic Salt with Parsley – Now we buy a mix we sprinkle in, but you are welcome to grate fresh garlic and chop parsley to brush over the top of the breadsticks.
How To Make Olive Garden Breadsticks
Full steps on how to make Olive Garden breadsticks along with measurements are in the printable recipe card at the bottom of the post. This is a visual walk-through.
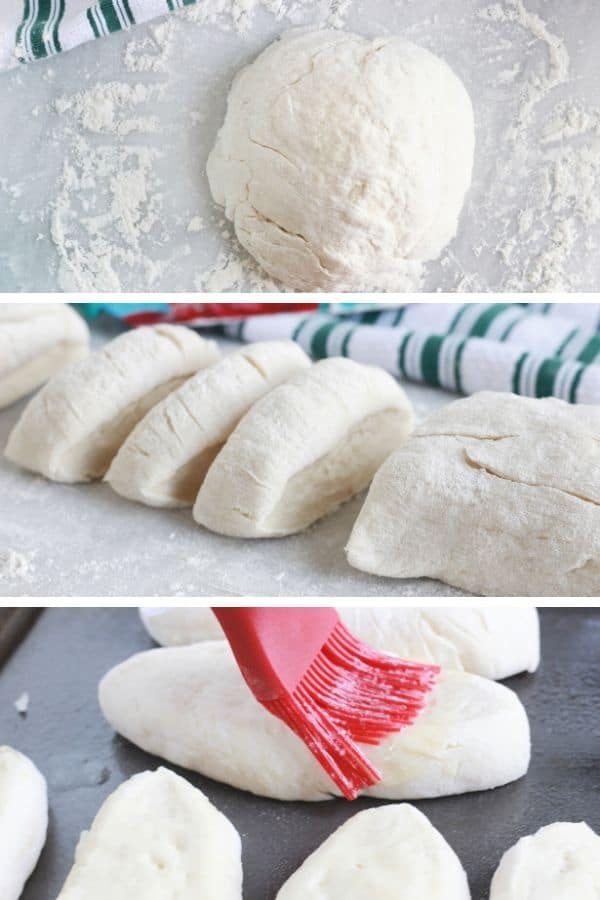
- Proof your yeast
- Add flour and butter to your yeast mixture and work over the dough.
- Roll out on a floured surface and knead.
- Proof your dough on counter or in Instant Pot using yogurt setting.
- Roll out dough into a log.
- Shape breadsticks and allow it to rise again.
- Butter, and bake.
- Then brush with garlic salt butter and enjoy it!
Proofing Dough In Instant Pot
We love proofing our bread dough in the Instant Pot! If you have an Instant Pot with a yogurt setting you should try proofing your dough. It speeds up the process and is crazy simple.
If you don’t have an Instant Pot, just place in a greased pan and cover and allow it to double in size on the counter. Either route will work great.
The pressure cooker method just takes 30 minutes where the counter method takes an hour.
What To Serve Garlic Breadsticks With
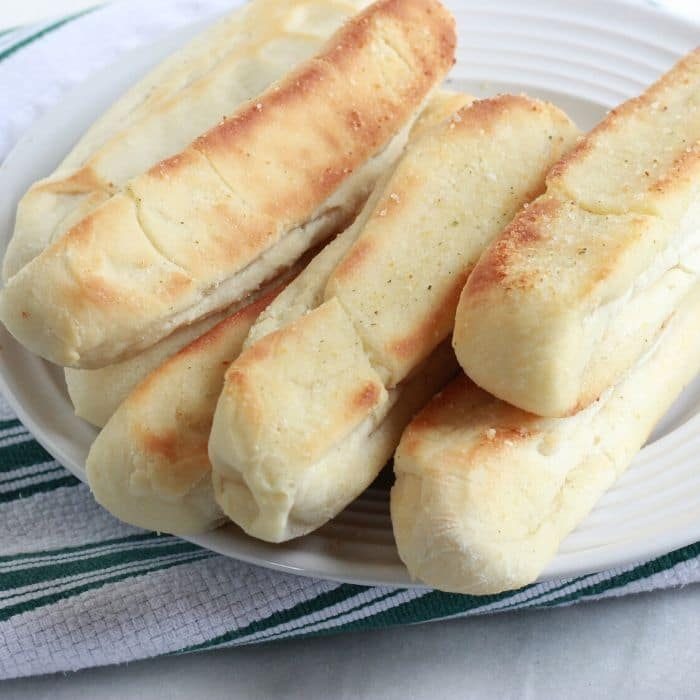
Whether you do your usual pasta recipe or soup, or even a classic salad. These breadsticks are melt in your mouth and they will work great with any of your usual dishes.
Or make these garlic breadsticks as a snack to break up the day. We never say no to a carb-loaded guilty pleasure.
Tips For Making
- You need to ensure your yeast bubbles up as you let it sit. If it doesn’t bubble it means the yeast is not active, and it won’t work.
- We added extra flour to the recipe, but you might not use all the flour for the dough. You want it to be soft, and that it won’t stick to your hands.
- If you overmix the dough it will become rubbery and not offer a light and fluffy breadstick.
- Baking your breadsticks will vary. You just want to ensure the breadsticks are fully cooked. You can turn the broil on to brown up your breadsticks if you need.
Practical notes
What type of yeast to use?We reached for an active dry yeast. We seem to have great success with active dry, but you are welcome to try other types of yeast if you would like.
Can you add cheese on top?For sure, you are more than welcome to sprinkle on your usual cheese. Whether you want parmesan, mozzarella or even pepper jack. Just sprinkle it on once the breadsticks come out of the oven.u003cbru003eThen let them sit a few minutes and allow the cheese to melt. If you want a more golden brown top, sprinkle cheese on the last 3 minutes of cooking so it can crisp up a bit. Cheesy breadsticks are just as tasty in our opinion.
Why is there a range of flour to be used?Depending on how you measure your flour and the humidity and such where you live, you will find the amount of flour needed to create your dough ball varies. You want your dough to form a ball and be soft but without sticking and pulling apart when touched.
Storing Leftovers
Refrigerate: Store any breadsticks you don’t eat leftover in the fridge for 2-3 days. We find anything more after that the bread becomes a lot drier.
Freezing: You can freeze these easy breadsticks for later on. Bake as directed and then allow the bread sticks to fully cool. Then transfer to a freezer container and then store for up to three months in the freezer.
Thaw on the counter or wrap in aluminum foil frozen and then warm up in a 325-degree oven.
Have you tried the recipe? If so, please leave a star ⭐⭐⭐⭐⭐ rating in the recipe card below or drop a comment. Also stay in touch with us through social media by following us on Facebook Pinterest or our Facebook Group
Ingredients
Makes 18 -20 breadsticks
- 1 1/2 cups warm water, 105-110 degrees
- 1 packet active dry yeast
- 2 tablespoons granulated sugar
- 2 tablespoons melted butter
- 1 tablespoon salt
- 3- 4 1/4 cup bread flour
Topping
- 1/4 cup butter, melted
- 1 teaspoon garlic salt with parsley
Equipment
- Polder Candy/Jelly/Deep Fry Thermometer Stainless Steel with Pot Clip
- Cookie Sheet
Method
- First, you want to take your warm water and add in yeast and sugar. Give a quick stir and let it sit 5-10 minutes for the yeast to bubble up and activate.
- Pour the yeast mixture into a bowl. Now slowly add in some of your flour and stir.
- Next pour in melted butter, and then add in more bread flour, along with salt. You may not use all the flour. You want the dough to form a ball and not be gummy or stick when you touch it.
- Roll the dough onto a floured surface and knead the breadstick dough for 3 minutes.
- Now form a ball and allow the dough to rise. Just cover in a greased bowl and let sit for around 1 hour on the counter. If your home is cooler it could take up to 2 hours to double in size.
- Punch down risen dough, and lay out on the floured surface. Shape into a long log.
- Cut into 18-20 pieces, and shape out your breadsticks and lay on a greased baking sheet. We had to use two pans.
- Now cover and let rise another 30 minutes.
- Preheat oven to 350 degrees. Then bake your breadsticks for 8-13 minutes or until the breadsticks are done. You can brush the breadsticks with butter before they go in the oven if you would like.
- Now in a bowl take your topping of melted butter and garlic salt with parsley. Mix and brush each breadstick with the mixture.
- Serve these copycat Olive Garden Breadsticks warm paired alone or with your favorite main dish.
Kitchen notes
Proofing Dough in Instant Pot:We proofed our dough in the Instant Pot on the low yogurt setting, with a glass lid. If you don't have that simply cover in a bowl and let rise on the counter. The Instant Pot takes 30 minutes where the counter method will take an hour. This only works if you use the yogurt setting. Garlic – we used a dry garlic salt with parsley, but you can use fresh garlic and parsley to mix and brush over the top of your breadsticks.