Royal Icing
- Makes 3 cups
- Prep 10 mins
- Total 2 hrs 10 mins

Learn how to make the best royal icing with meringue powder, powdered sugar, water, and food coloring of your choice. This is a easy to make Royal Icing that is good for adding to your piping bag and piping tips of choice to create gorgeous decorated cookies. The consistency that takes no time to make this easy Royal Icing.
Throw on sugar cookiesgingerbread cookies or any other cookie of choice. Use this icing for outlining and flood icing cookies. This is way better than store royal icing you can buy.
What does it mean to have royal icing with meringue powder?
You will find that depending on the recipe some recipes call for raw egg whites, while others use meringue powder. The meringue power will take the place of egg whites in this recipe. The meringue powder is used to help remove the need for raw fresh eggs, which we prefer.
It creates a stiff consistency and stable icing that will hold up when you go to pipe on your design. The drying process is quick, and you can find that this stiff royal icing makes decorating cookies hold the design easily.
You can buy meringue powder online, in the baking aisle or even a craft store in the baking aisle. We like to skip the raw eggs and use the white powder instead.
This is the traditional icing to use for the holiday season for decorating the surface of the cookie no matter the shape, gingerbread house, and more. Feel free to use different colors to fit your theme. You also can control for a thicker icing or thinner icing with the tips below.
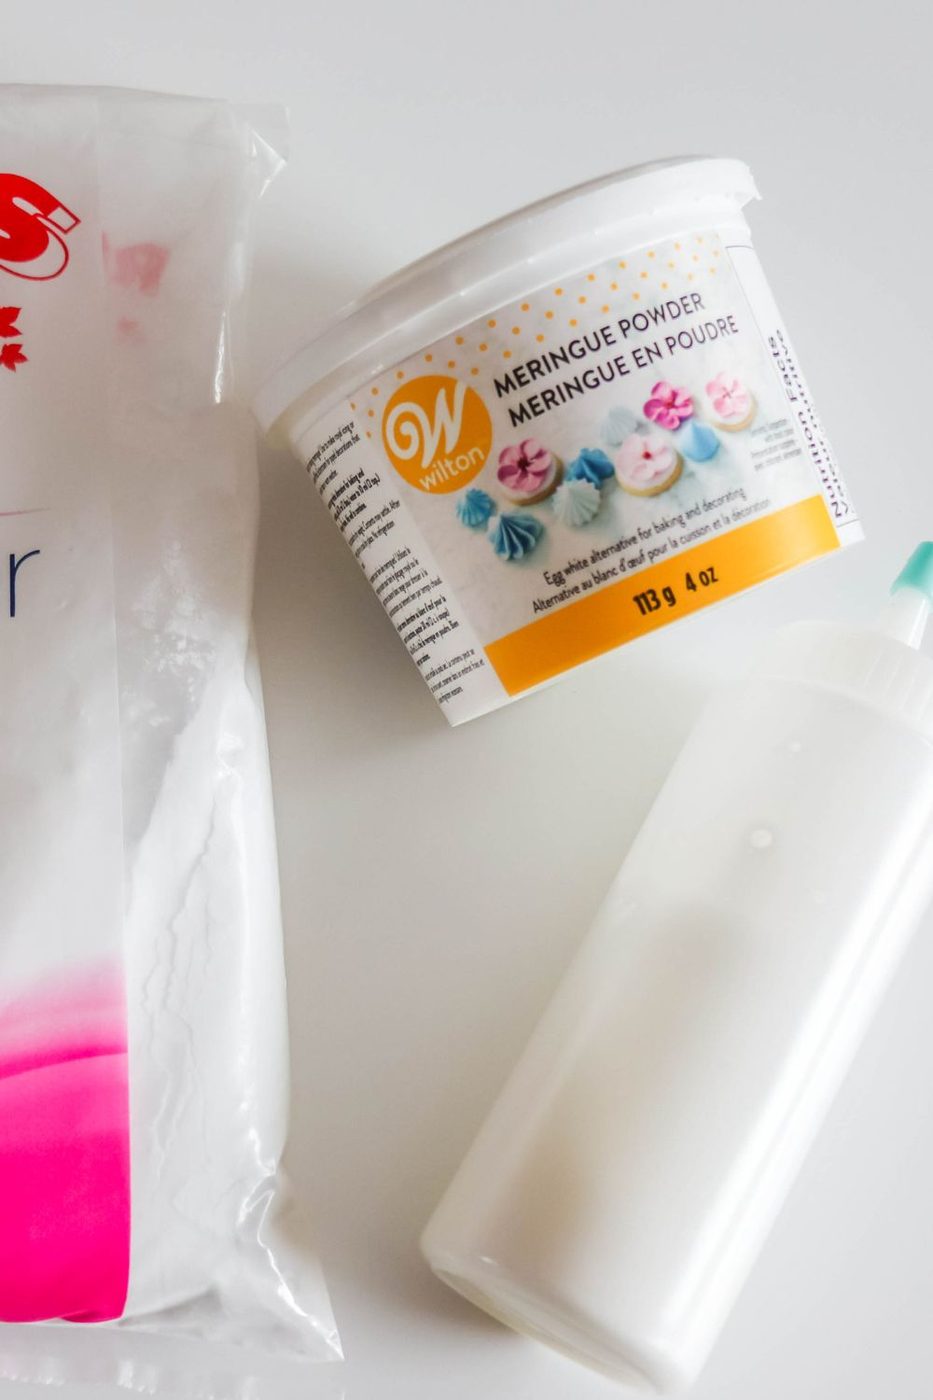
Powdered Sugar – Powdered sugar aka confectioner’s sugar is what will be the base of the royal icing.
Meringue Powder – The white meringue powder replaces using raw eggs and we prefer this method.
Water – Make sure your water is a filtered water that is room temperature.
Food Coloring – If you want to change up the color of your icing go ahead and reach for your usual gel food colorings.
How to Make Royal Icing
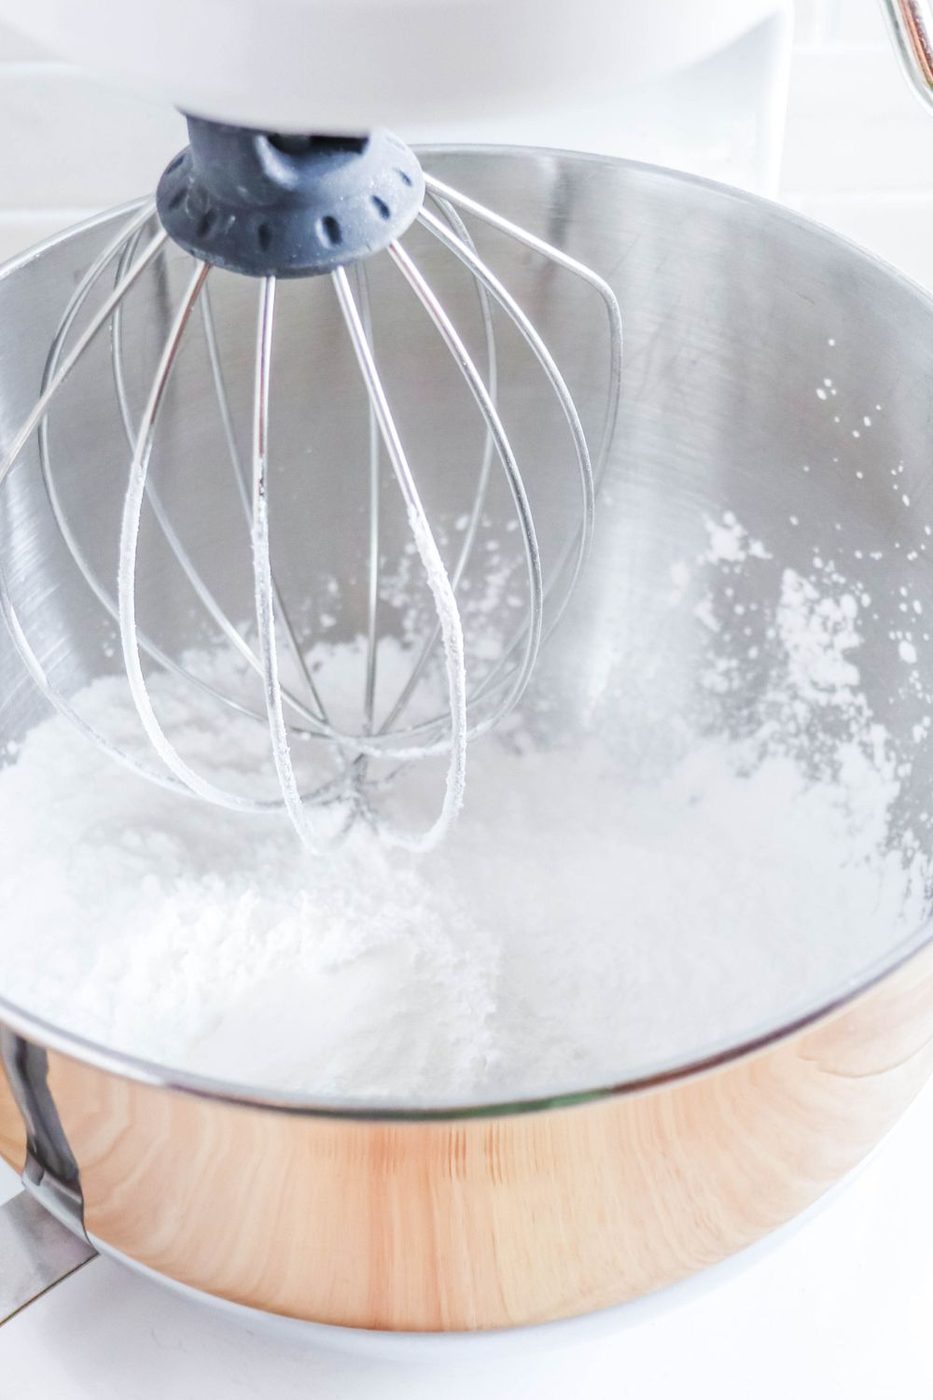
Step 1: In a stand mixer or with a hand mixer with paddle attachment you are going to add your sugar, and meringue powder.
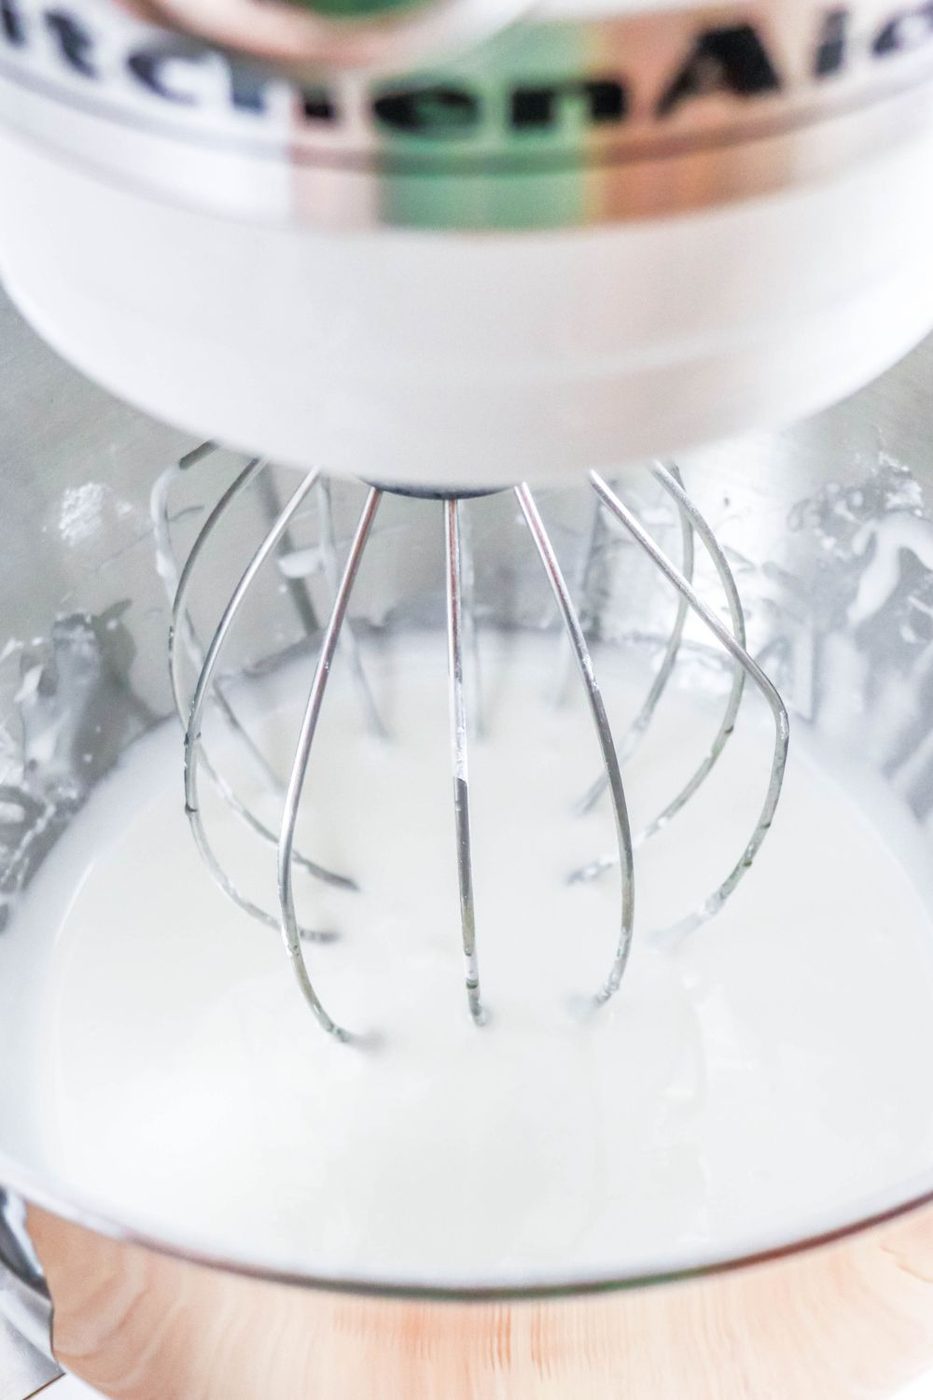
Step 2: Slowly add in the water, using the whisk attachment to beat. You will want to use low speed for 1-2 minutes. Add the water a tablespoon at a time.
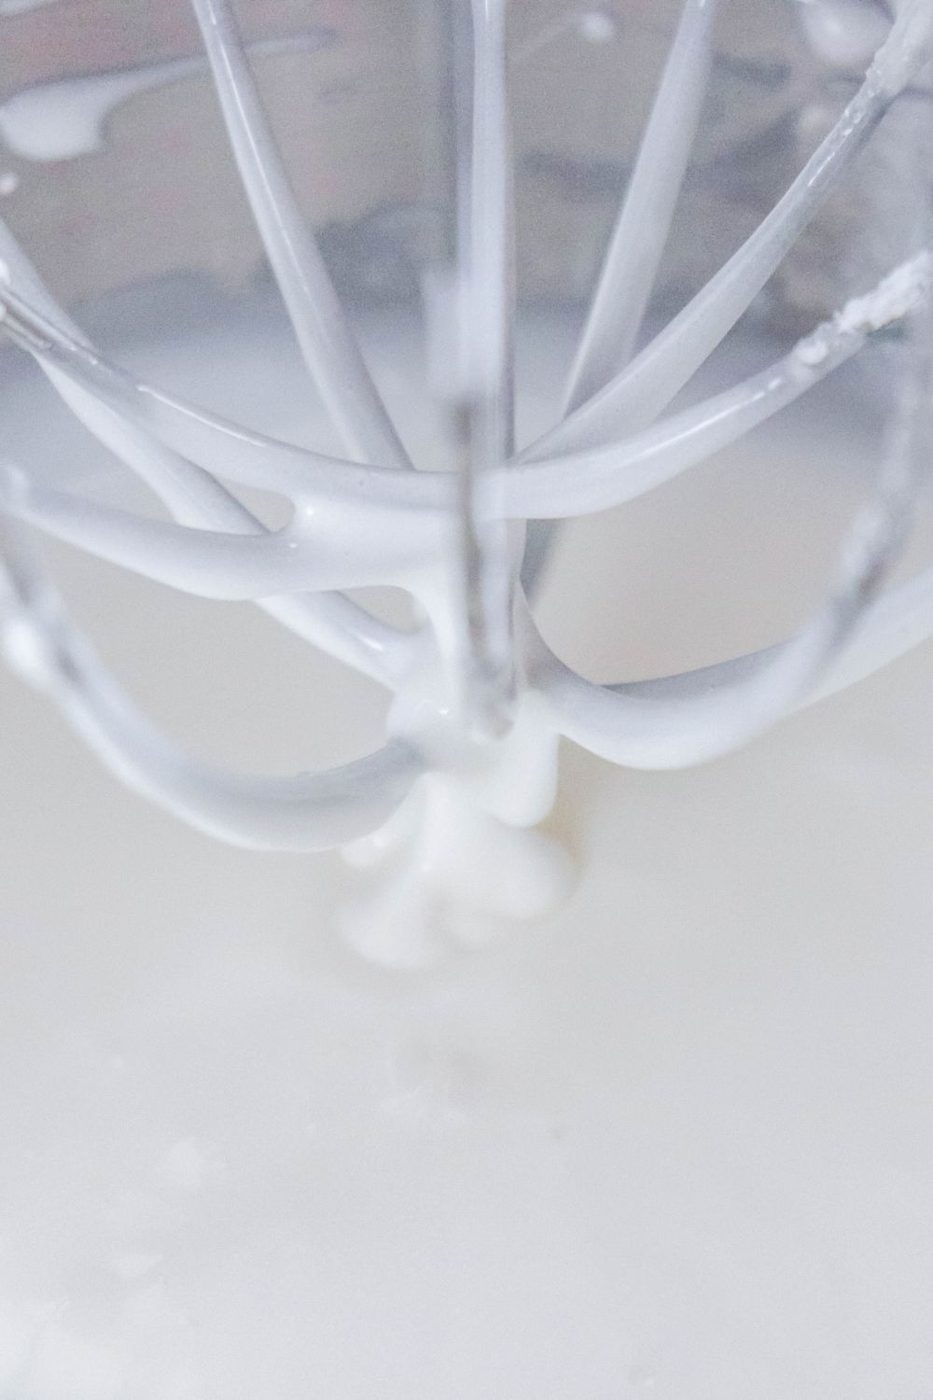
Step 3: Once the icing is mixed you can add more water to thin up the icing, or more powdered sugar to thicken the icing.
Expert Tip: Depending on humidity and such the amount of water to powdered sugar ratio will vary.
Step 4: Place your icing in separate small bowls and add food coloring if you want to change up the color of your icing. Then place in piping bags and you are ready to decorate.
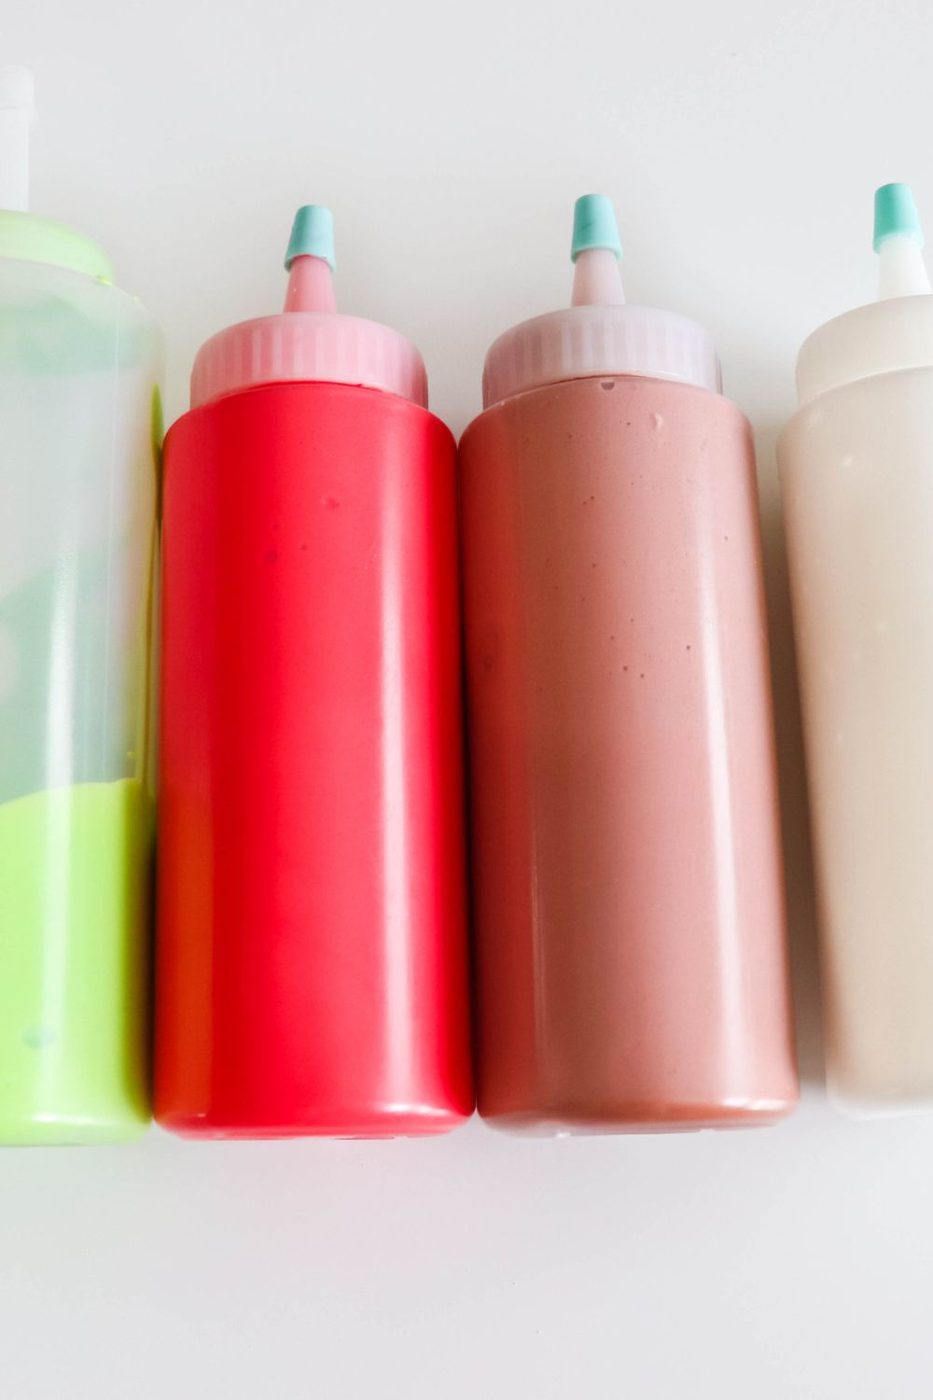
Helpful Tools For Working With Royal Icing
Here are some of our go-to tools that help when working with royal icing and decorating cookies. Our Christmas cookies below, we will walk you through how we decorated them as well.
Piping Bags – You can use reuseable piping bags or buy disposable bags. These are great for adding each color of your royal icing into its own bag.
Piping Tips – We like to buy the sets of piping tips so we have a bunch on hand. You are welcome to buy them one by one if you prefer.
Squeeze Bottles – If you don’t plan to have detailed areas, you can use squeeze bottles for piping on the icing as well.
Gel Food Coloring – we love the gel food coloring as it enhances the color from light to highly pigmented. You can control the color by how much or little you add.
Couplers – These are great if you want to switch out a piping tip but want it to be the same color.
Toothpick – we like to use toothpicks to lightly push the icing around if it is not going where we need it to go. You can buy a royal icing tool as well for this, but the toothpick works great for us.
How to Decorate Sugar Cookies with Royal Icing
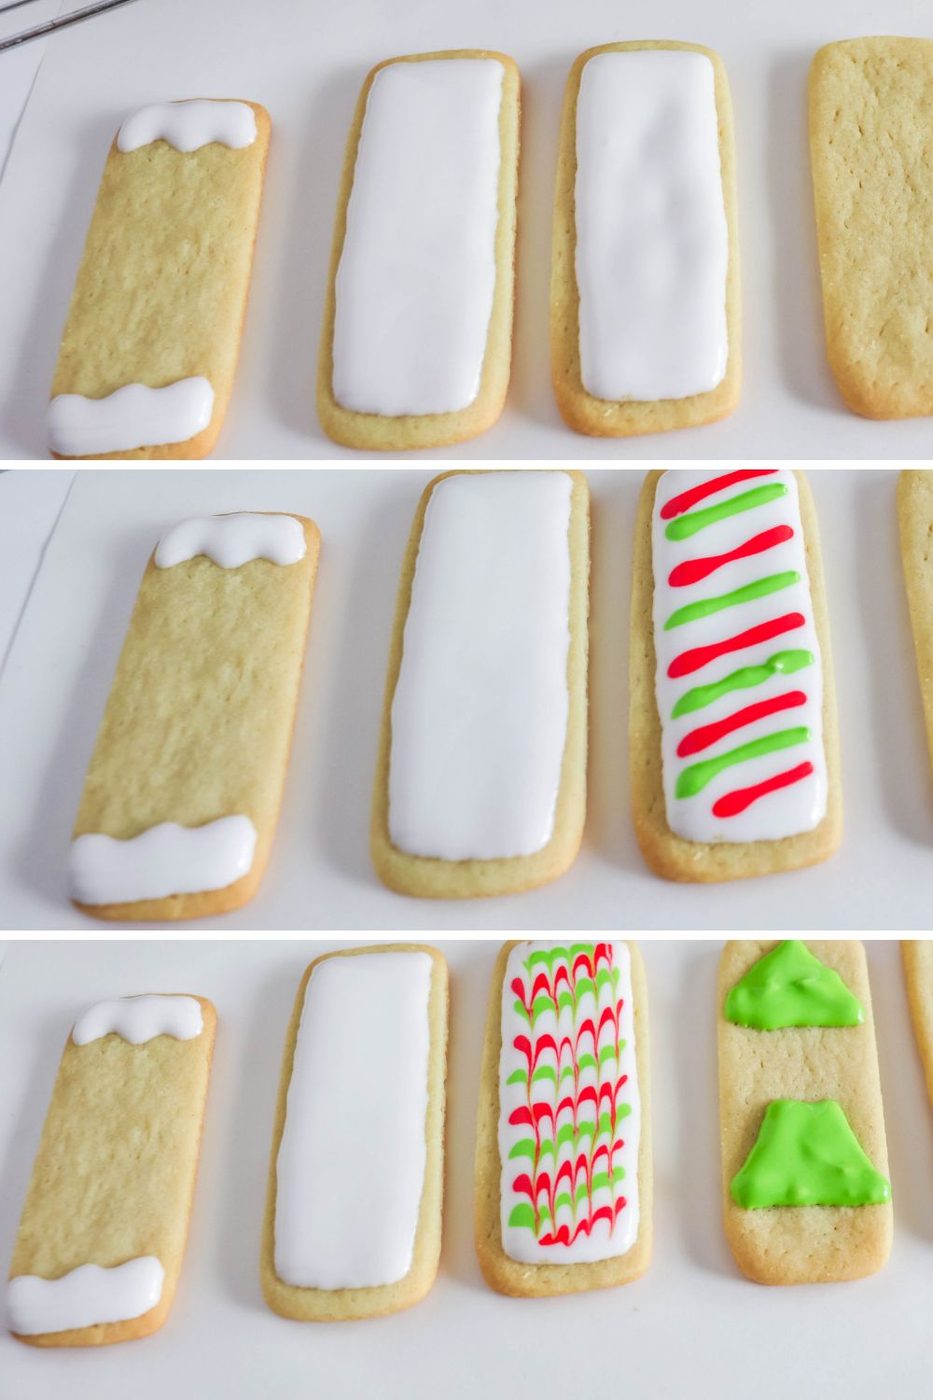
Line around the edge of the design with icing and fill the middle. Use a toothpick to poke bubbles or direct icing into holes. Allow each design area to dry before moving on. The icing should completely dry, at room temperature for at least four hours, before adding piping details to the top.
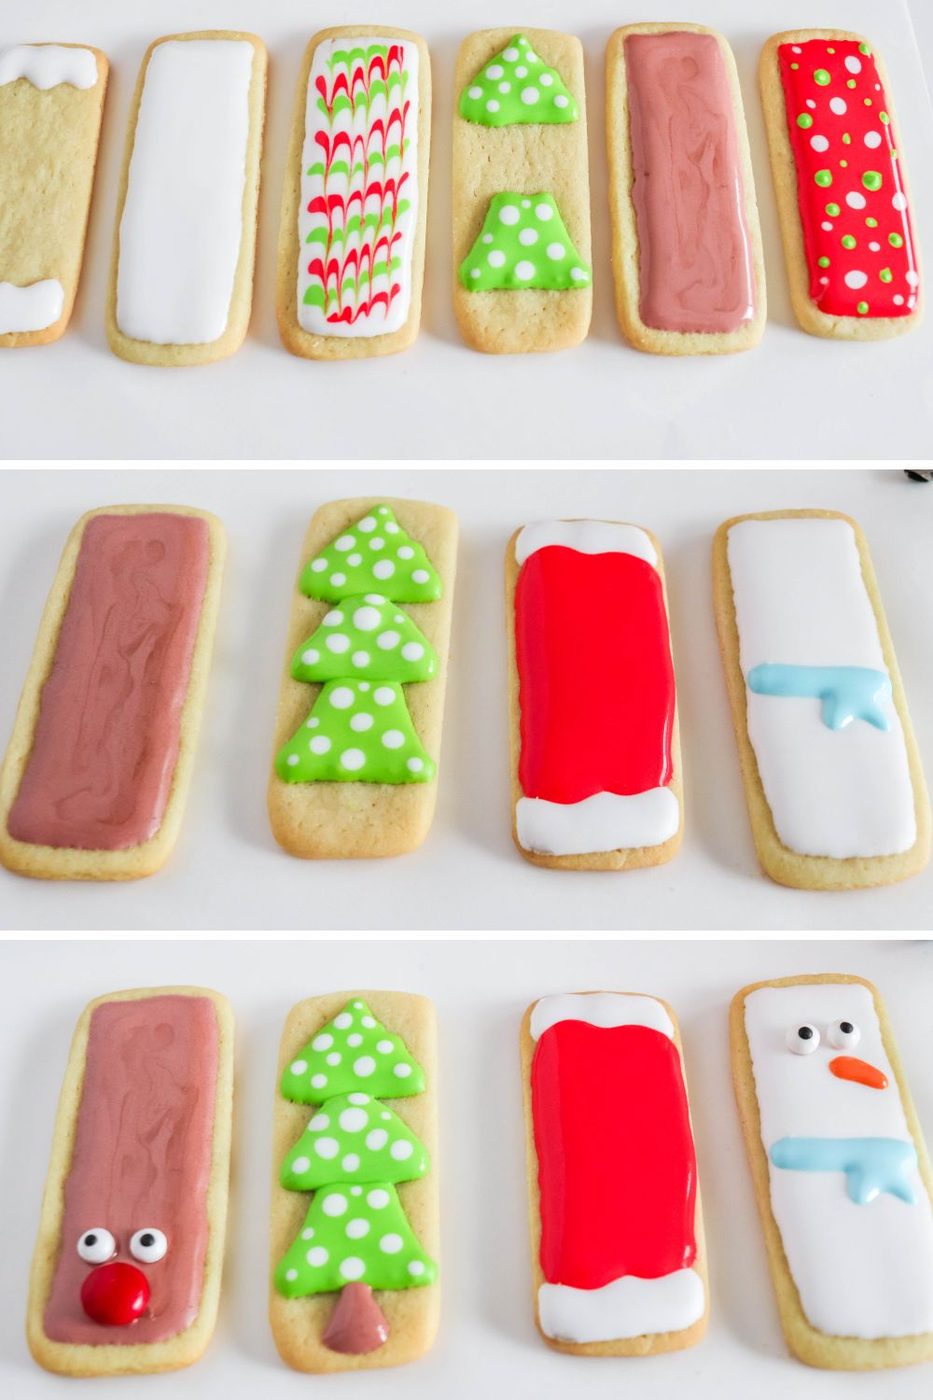
Polka Dots: before the flooded area dries, add dots of different colored icing.
Hearts: before the flooded area dries, add dots of different colored icing, drag a toothpick through each dot, creating a heart.
Zig zag design: before the flooded area dries, add stripes of different colored icing and then drag a toothpick through the stripes.

Sprinkles: before the flooded area dries, add sprinkles.
Candy: glue to the cookie with a drop of icing.
Edible marker: before using on the icing, allow the icing to completely harden for at least four hours.
Keeping leftovers
Royal icing is best used shortly after it is made. You will find it can dry rather easy. What we like to do is place it in an airtight container to help prevent it from drying so fast. You can get a damp cloth or paper towel and place it over the bowl or container with the royal icing. The damp paper towel will help the leftover royal icing from not drying.
If it is hardening, add a little water, and stir it around to get the right consistency again. That is the best way to freshen up the icing. If you have it in a pastry bag it will help it from setting up as well.
Practical notes
What happens if your royal icing has air bubbles?You can use your piping tip or even a toothpick to poke the air bubbles out of the design. Make sure to do it while the icing is wet, so you can spread it out and hide the air bubble.
How long does royal icing take to harden?It can take 6-8 hours for the royal icing to fully harden. Make sure to leave your cookies in a single layer so that you ensure your icing sets up fully before you stack cookies.
What is the 10 second rule for royal icing?The 10 second rule is to drag a butter knife about an inch deep in the bowl across the icing. Slowly count to 10 and if the icing smooths over where the knife ran through then the icing is ready to use.
Holiday Recipes
Here are some more holiday inspired recipes for you to check out. Give these easy holiday recipes a try.
Have you tried the recipe? If so, please leave a star ⭐⭐⭐⭐⭐ rating in the recipe card below or drop a comment. Also stay in touch with us through social media by following us on Facebook Pinterest or our Facebook Group
Ingredients
Makes 3 cups
- 4 cups powdered sugar
- 3 tablespoons meringue powder
- 8-12 tablespoons room temperature water
- Food coloring (gel), optional
Equipment
- Stand Mixer
- Piping Bags or Squirt Bottles
Method
- In a stand mixercombine sugar and meringue powder. Add 8tablespoons of water, using the whisk attachment, beat for 1 minute on low.
- Continue to add water one tablespoon at a time until the icing slowly drizzles from the whisk when lifted.
- Once the icing reaches the desired texture separate into bowls and then color the icing with gel food coloring to reach your desired color.
- Add the icing into a piping bag with tips or you can use icing bottles. Then decorate your baked goods as you would like.
Decorating Sugar Cookies
- Line around the edge of the design with icing and fill the middle.
- Use a toothpick to poke bubbles or direct icing into holes.
- Allow each design area to dry before moving on.
- The icing should completely dry, at room temperature for at least four hours, before adding piping details to the top.
Kitchen notes
Polka Dots:before the flooded area dries, add dots of different colored icing. Hearts: before the flooded area dries, add dots of different colored icing, drag a toothpick through each dot, creating a heart. Zig zag design: before the flooded area dries, add stripes of different colored icing and then drag a toothpick through the stripes. Sprinkles: before the flooded area dries, add sprinkles. Candy: glue to the cookie with a drop of icing. Edible marker: before using on the icing, allow the icing to completely harden for at least four hours.