
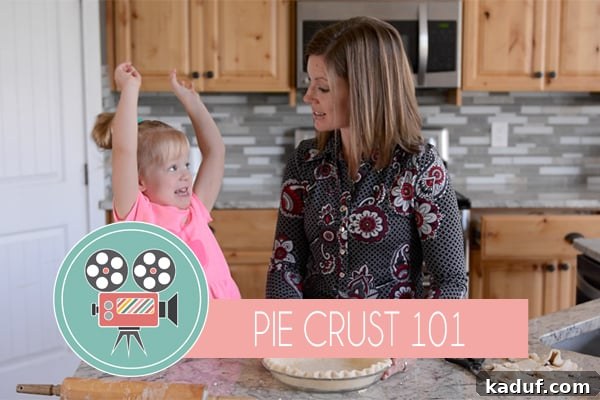
Unlock the secret to the perfect, flaky pie crust with our comprehensive guide and step-by-step video tutorial!
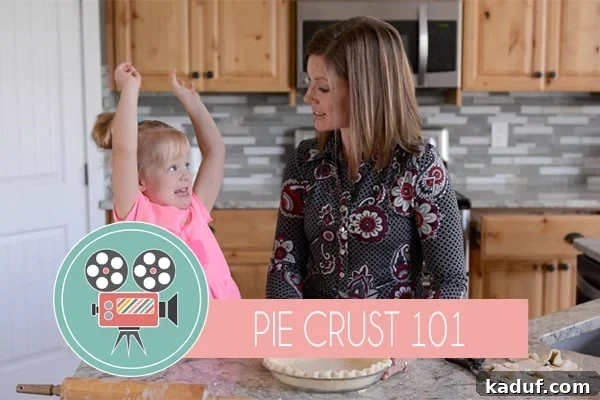
As the aroma of freshly baked pies begins to fill homes everywhere, signaling the arrival of “pie season” – or for those of us who believe every day is a good day for pie, an ongoing culinary celebration – there’s no better time to master the art of homemade pie crust. We are thrilled to finally present a detailed video tutorial for what many consider to be the finest pie crust recipe you’ll ever encounter. This isn’t just any pie crust; it’s the foundation for countless memorable desserts and savory dishes, designed to be effortlessly flaky and utterly delicious.
The idea of making pie crust from scratch can often seem daunting, a culinary Everest that many home bakers hesitate to climb. In our fast-paced, modern world, grabbing a pre-made crust from the freezer aisle is a convenient, albeit less flavorful, alternative. While there’s absolutely no judgment in opting for convenience when time is short, we firmly believe that the unparalleled satisfaction and “rock star” feeling you get from creating a perfect homemade pie crust is an experience every baker deserves. It transforms a simple dessert into a personal triumph, a testament to your kitchen prowess.
And here’s the wonderful truth: it’s surprisingly easy! We’re not exaggerating when we say this recipe yields a crust that is simple to make, incredibly flaky, and consistently perfect. For a long time, many of you have requested a visual companion to the already popular step-by-step photo tutorial for our favorite pie crust. We listened, and we’re delighted to deliver this video. My little helper, Cam, might have found the rolling process less thrilling than a three-year-old typically expects, but rest assured, the results are thrilling for anyone who appreciates a truly exceptional pie!
The Unrivaled Joy of Homemade Pie Crust
Why go through the “trouble” of making a homemade pie crust when so many ready-made options are available? The answer lies in the profound difference in taste, texture, and the sheer joy of creating something truly special with your own hands. Store-bought crusts, while convenient, often lack the delicate flakiness, rich buttery flavor, and tender crumb that defines a superior homemade pastry. When you bake from scratch, you control every ingredient, ensuring a pure, unadulterated flavor profile that complements your pie filling beautifully.
Beyond the sensory experience, there’s an immense sense of accomplishment that comes with baking a pie from the ground up. It’s a skill that builds confidence in the kitchen and often becomes a cherished tradition. Imagine the pride as you present a stunning pie, knowing every element, right down to the golden, tender crust, was crafted by you. This tutorial aims to demystify the process, turning what seems like a complex task into an enjoyable and accessible baking adventure. Mastering this fundamental skill opens up a world of culinary possibilities, from classic apple and pumpkin pies to savory quiches and tarts, each elevated by a crust made with care and precision.
Essential Tips for Crafting Your Perfect Pie Crust
To ensure your journey to pie crust perfection is smooth and successful, here are a few critical insights and considerations, especially highlighted in our new video tutorial. These foundational principles are key to achieving consistent, delicious results every time you bake.
Mixing Your Pie Crust: Hand vs. Food Processor
Yes, you can absolutely make this pie crust in a food processor. However, in the video, I demonstrate the hand-mixing method for several important reasons. Firstly, it’s genuinely so easy that the cleanup time for a food processor often outweighs the effort of mixing by hand. The simplicity of using just a bowl and a fork allows for a more intuitive feel for the dough, which can be particularly beneficial for beginners. Secondly, not everyone owns a food processor, but virtually every kitchen has a bowl and a fork. My aim is to make this recipe accessible to as many bakers as possible, empowering everyone to create a wonderful pie crust without needing specialized equipment.
If you choose to use a food processor, a slight adjustment to the butter preparation is key to achieving optimal flakiness. Instead of grating the butter as demonstrated in the video for the hand method, I highly recommend cubing your cold butter and freezing it briefly before processing. A food processor can be very efficient, sometimes too efficient, and can quickly obliterate the delicate strands of butter that are crucial for creating those coveted flaky layers. Cubed, frozen butter helps maintain distinct butter pieces within the dough. These small, solid pieces of fat are what render the dough wonderfully tender and flaky when they melt and create steam in the oven, giving your pie crust its signature texture.
The Science of Flakiness: Why Cold Ingredients Matter
The secret to an incredibly flaky pie crust lies in maintaining cold ingredients, especially the butter. When tiny pockets of cold butter are encased within the flour mixture and then exposed to the high heat of the oven, the water in the butter turns to steam. This steam then expands, creating air pockets and pushing apart the layers of dough. This rapid expansion and separation of layers is precisely what results in that light, airy, and undeniably flaky texture we all crave. Conversely, overworking the dough or using warm butter melts these essential fat pockets prematurely, leading to a tough, dense, and less appealing crust. This is why our video emphasizes quick work and maintaining cold temperatures throughout the mixing and handling processes.
Beyond butter, the type of fat you choose can significantly influence your crust’s characteristics. While unsalted butter offers unparalleled flavor, some bakers prefer a combination of butter and shortening for added flakiness and ease of handling. Shortening has a higher melting point and 100% fat content, which can contribute to a more tender and pliable dough that is easier to roll out without cracking. Many traditional recipes also call for lard, which yields an exceptionally tender and flavorful crust. Experimentation is encouraged to find your personal preference, but for pure, rich flavor, butter is often the gold standard for a truly gourmet pie crust.
Chilling the Dough: A Non-Negotiable Step
Once your pie dough is mixed, don’t skip the chilling step! Resting the dough in the refrigerator for at least 30 minutes (or even overnight for optimal results) is vital for several reasons. Firstly, chilling allows the gluten, which develops during mixing, to relax. This relaxation is crucial because it prevents the dough from shrinking excessively during baking, ensuring your crust retains its shape in the pie plate. Secondly, chilling effectively re-chills the butter, reinforcing those all-important cold pockets that contribute to the desired flakiness. Cold dough is also significantly easier to roll out, preventing sticking and tearing. Patience truly is a virtue in pie making, and a well-chilled dough is your best friend for a successful crust.
Rolling Out Pie Crust Like a Pro
Rolling out pie crust can be intimidating, especially for beginners, but with the right technique and tools, it becomes a breeze. Start with a lightly floured, clean work surface and a well-floured rolling pin. Begin rolling from the center outwards, using gentle, even pressure, and rotate the dough frequently to prevent sticking and ensure an even, circular shape. Aim for a consistent thickness of about 1/8 to 1/4 inch, which provides the perfect balance of structure and tenderness. If the dough starts to crack at the edges, gently pinch it back together or allow it to warm up for a minute or two to restore its pliability. Don’t be afraid to use a pastry cloth and board for superior non-stick results, as mentioned below. These specialized tools can significantly reduce frustration and improve the outcome of your rolled dough, making the process much more enjoyable.
My Go-To Tools for Effortless Pie Making
While the video primarily focuses on the technique, there are a few indispensable kitchen items I rely on that make the pie-making process much smoother and more enjoyable. I apologize for not explicitly mentioning them during filming (a busy little sous chef needing a potty break, snack, and nap makes for hurried filming!), but they are certainly worth highlighting as they genuinely enhance the baking experience:
- My favorite classic no-frills rolling pin. This link is to a newer version of the one I’ve cherished for years. I simply adore its simplicity, durability, and effectiveness. Its substantial weight makes rolling out dough less strenuous and more even. I also own a French-style rolling pin, which I like quite a bit for its sensitivity and control, but I find myself reaching for the classic style most of the time for its robust feel and easy handling, especially when tackling larger or stickier doughs.
- My reliable 9-inch pie plate. A sturdy, good quality pie plate is fundamental for even baking and beautiful results. Different materials, like ceramic, glass, or metal, can affect baking time and crust crispness. This particular plate offers excellent heat distribution, which is key to a perfectly golden and crisp bottom crust.
- The incredible pastry cloth and board set. This duo has genuinely transformed my approach to rolling out dough. The cloth creates a non-stick surface, drastically reducing the need for excess flour, which can toughen your crust. It minimizes sticking and makes the task so much less frustrating, whether I’m working on delicate pie crust, versatile tortillas, rustic flatbread, or intricately cut sugar cookies. It’s an investment that pays off immensely in reduced stress, cleaner workspaces, and consistently better results.
- Trusty kitchen shears for neatly trimming the pie crust. These are surprisingly versatile and make quick work of what can otherwise be a fiddly task. They allow for precise cuts, creating a clean edge before crimping, which contributes to a more professional and aesthetically pleasing finished pie.
Troubleshooting Common Pie Crust Challenges
Even seasoned bakers encounter hiccups from time to time, but understanding common issues can help you confidently troubleshoot them and refine your technique for future baking adventures:
- Shrinking Crust: This issue is often caused by insufficient chilling time or overworking the dough. Gluten, developed during mixing, contracts when heated. Ensure ample rest time in the refrigerator for the gluten to relax completely before rolling and baking.
- Cracked Edges: The dough might be too cold, too dry, or has been overworked, leading to a lack of elasticity. Let it warm up slightly at room temperature for a few minutes, or if it feels dry, add a tiny bit of ice water and gently work it in to restore pliability.
- Tough Crust: This is a classic sign of too much handling or too much flour incorporated into the dough. Overworking develops gluten excessively, leading to a chewy, tough texture. Work quickly and efficiently, and be precise with your measurements to avoid adding unnecessary flour.
- Soggy Bottom: Prevent this dreaded issue by pre-baking (also known as blind baking) your crust for custard or very moist fillings. This technique partially cooks the crust before adding the filling, creating a protective barrier against moisture. Using a metal or glass pie plate can also help conduct heat more efficiently to the bottom crust, promoting crispness.
With these comprehensive tips and the invaluable visual guidance of our video, you’re well on your way to mastering the perfect pie crust every single time. There’s an immense satisfaction in bringing a beautifully crafted, delicious pie to the table, and it all starts with that golden, flaky foundation you’ve created with your own hands. Embrace the process, learn from each bake, and enjoy the delicious rewards!
Remember, all of our helpful video tutorials can be found on our dedicated Video Tips page, and you can also subscribe to our Mel’s Kitchen Cafe YouTube channel for immediate updates on new videos and a continuous stream of baking inspiration. Happy baking!
{As always, this post is unsponsored, and the few affiliate links mentioned above are to products I’ve personally purchased, tested, and genuinely loved from Amazon. We only recommend what we truly believe in and hope these tools enhance your baking experience as much as they have mine.}