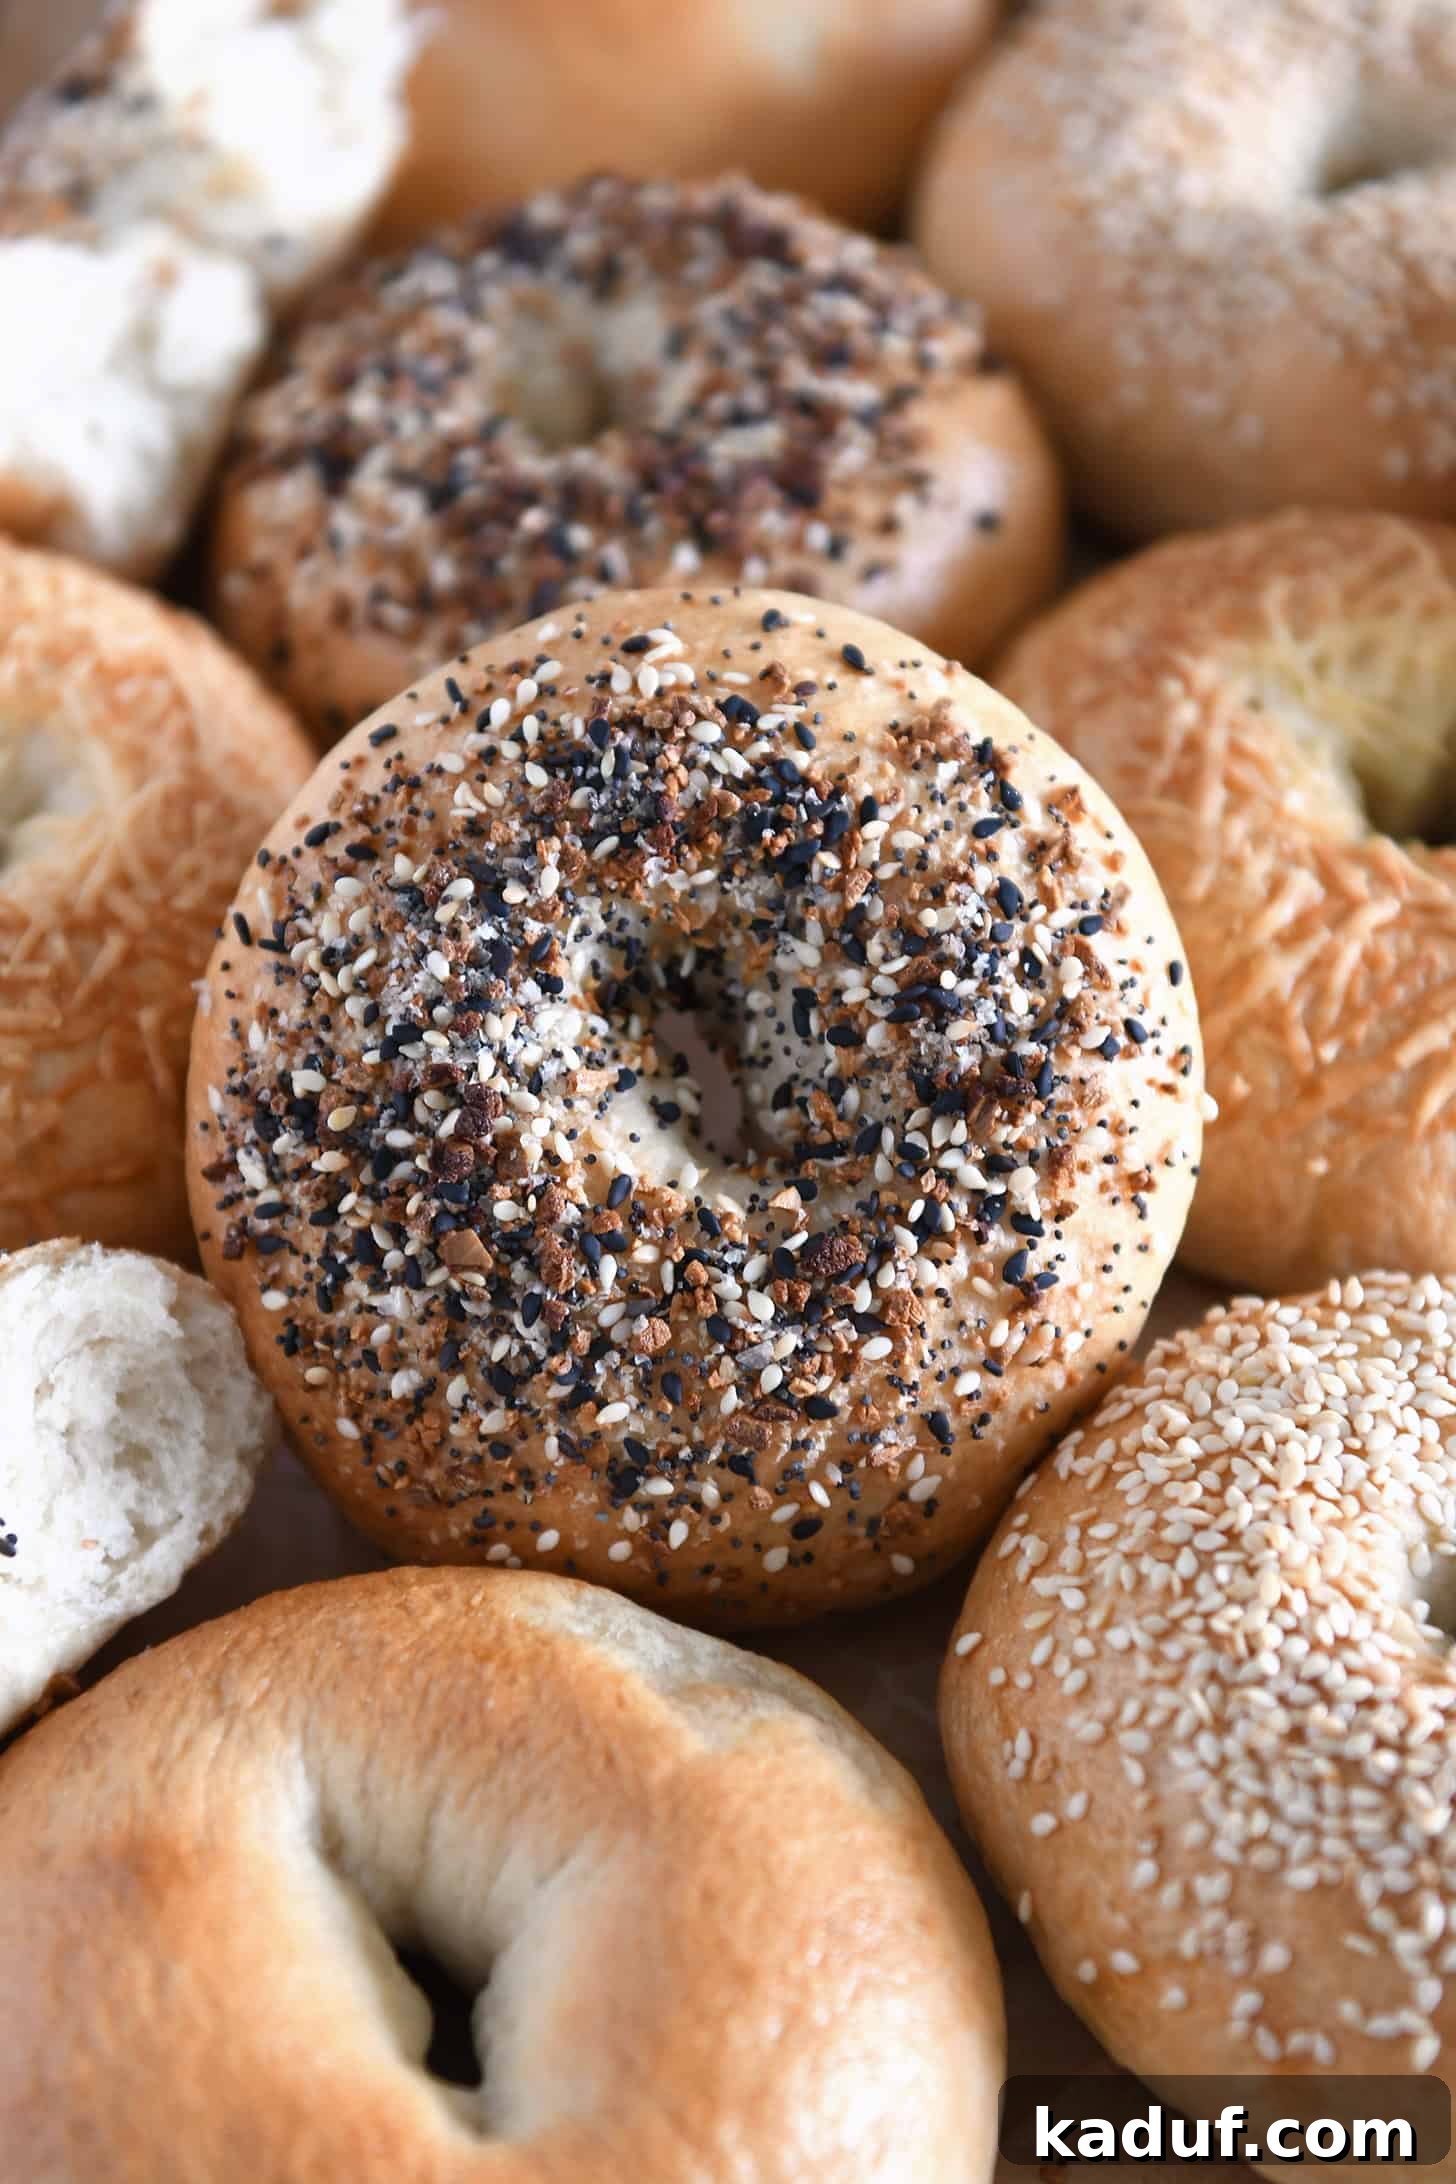
Transform your kitchen into a professional bakery and create the most irresistible, chewy homemade bagels with this simple, step-by-step recipe. These bagels are incredibly versatile, allowing you to customize them with your favorite toppings for a truly personalized treat!
First published in 2011, this beloved recipe has undergone significant enhancements over the years, with new photos and extensive recipe notes added to ensure it’s better than ever. We’ve continuously refined the process to guarantee your success in making perfect bagels right from your own kitchen.
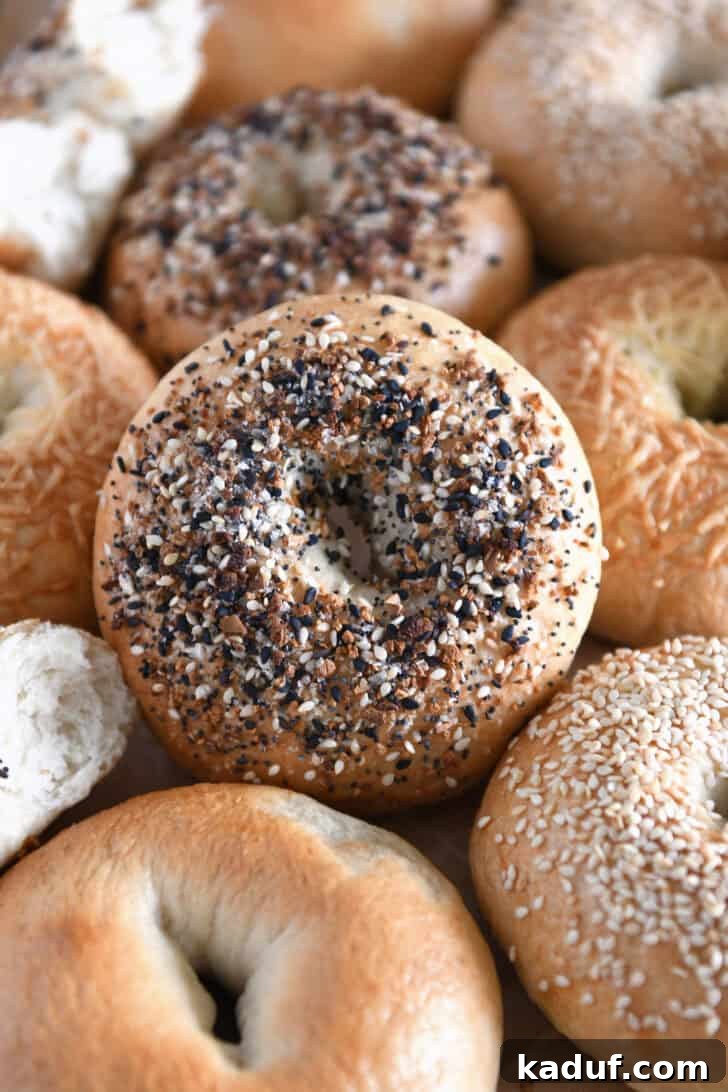
One delighted reader, Nancy, shared her experience: “Thanks so much for this absolutely delicious recipe! Followed your recipe exactly, (used sesame seeds as the topping), and they are every bit as good as any bagel shop we’ve ever been to, and oh-so-much better than any grocery store brand. ⭐️⭐️⭐️⭐️⭐️”
Why You’ll Fall in Love with This Homemade Bagel Recipe
Preparing homemade bagels might sound intimidating, but this recipe makes it remarkably accessible and rewarding. Here’s why you’ll want to make it your go-to bagel guide:
- Effortless & Beginner-Friendly: Forget about complicated overnight starters or lengthy, convoluted instructions. This recipe is designed to be straightforward and simple, making it perfect for novice bakers or anyone looking for a reliable, no-fuss method to create exceptional bagels at home. Many people fear working with yeast doughs, but countless readers have found success with this very recipe, turning out amazing bagels on their first try!
- Unbeatable Texture and Flavor: These bagels boast an incredibly delicious taste coupled with that quintessential fluffy-chewy texture every bagel enthusiast craves. The golden crust and tender interior will have you reaching for another slice before you know it. They strike the perfect balance between density and chewiness, mimicking the quality of your favorite bagel shop.
- Endless Customization Options: One of the greatest joys of baking at home is the freedom to personalize your creations. This recipe is a fantastic canvas for your culinary imagination. Whether you prefer classic sesame seeds, a savory everything bagel seasoning, or a sweet cinnamon-sugar crunch, you can easily tailor the toppings to perfectly match your preferences and mood.
- Freezer-Friendly for Future Enjoyment: Life gets busy, but that doesn’t mean you can’t enjoy fresh-tasting bagels any day of the week. These baked bagels freeze exceptionally well, allowing you to prepare large batches in advance. Simply thaw and toast for a quick breakfast, a satisfying snack, or whenever a bagel craving strikes. This makes meal prep a breeze and ensures you always have a delicious option on hand.
- Boost Your Baking Confidence: If you’re new to bread making or have struggled with yeast doughs in the past, this recipe is your opportunity for a triumph. It’s specifically crafted to build confidence, proving that making bakery-quality bagels at home is not only possible but also incredibly enjoyable. Get ready to impress yourself and your family!
Mastering the Art of Shaping Homemade Bagels
Shaping bagels is a fun and interactive part of the process. Don’t worry if they aren’t perfectly uniform – that’s the charm of homemade! Here’s how to achieve that classic bagel shape:
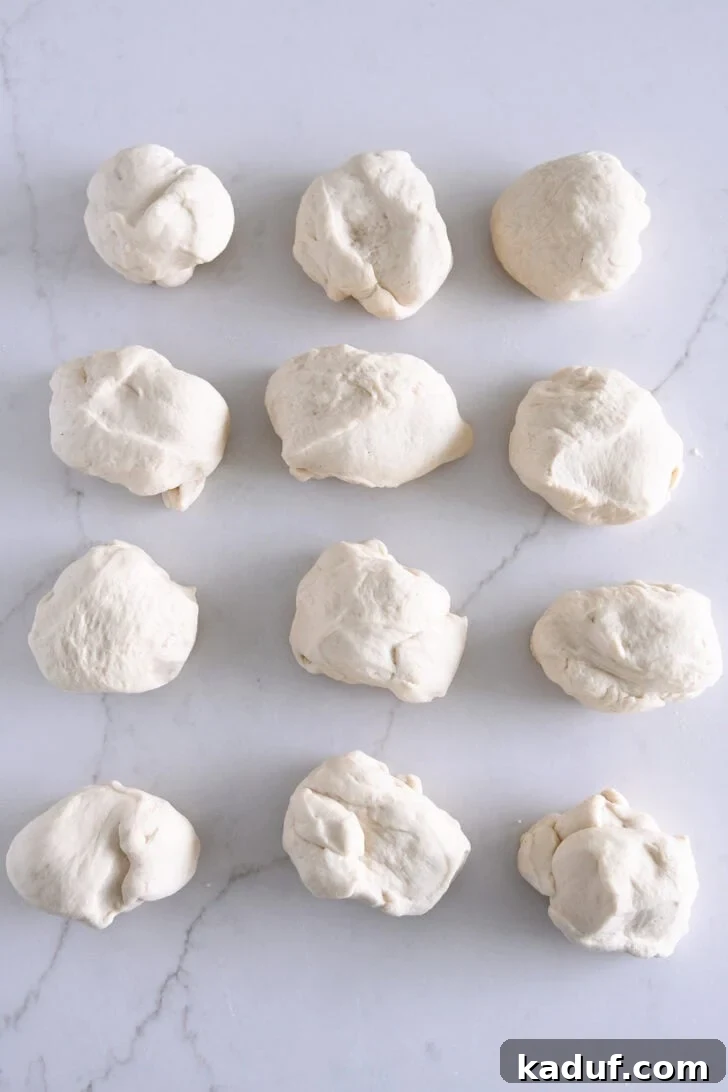
- Divide the Dough: Gently turn your perfectly risen dough out onto a lightly greased work surface. Divide the dough into eight equal pieces. For best results and consistency, aim for about 115 grams (4 ounces) per piece. This ensures your bagels are a good, substantial size.
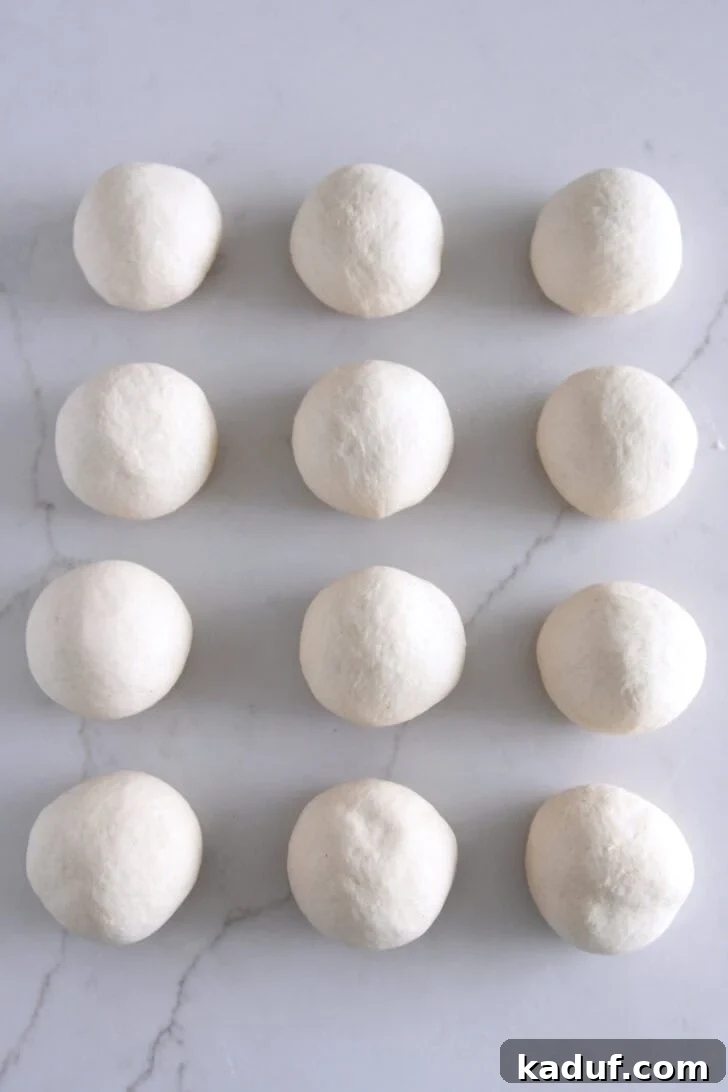
- Form Smooth Balls: Take each individual piece of dough and roll it into a smooth, taut ball. The goal here is to create surface tension, which helps the bagels hold their shape. Once all balls are formed, let them rest for a crucial 30 minutes. This resting period is vital as it allows the gluten to relax, preventing the dough from stubbornly springing back when you try to shape it later.
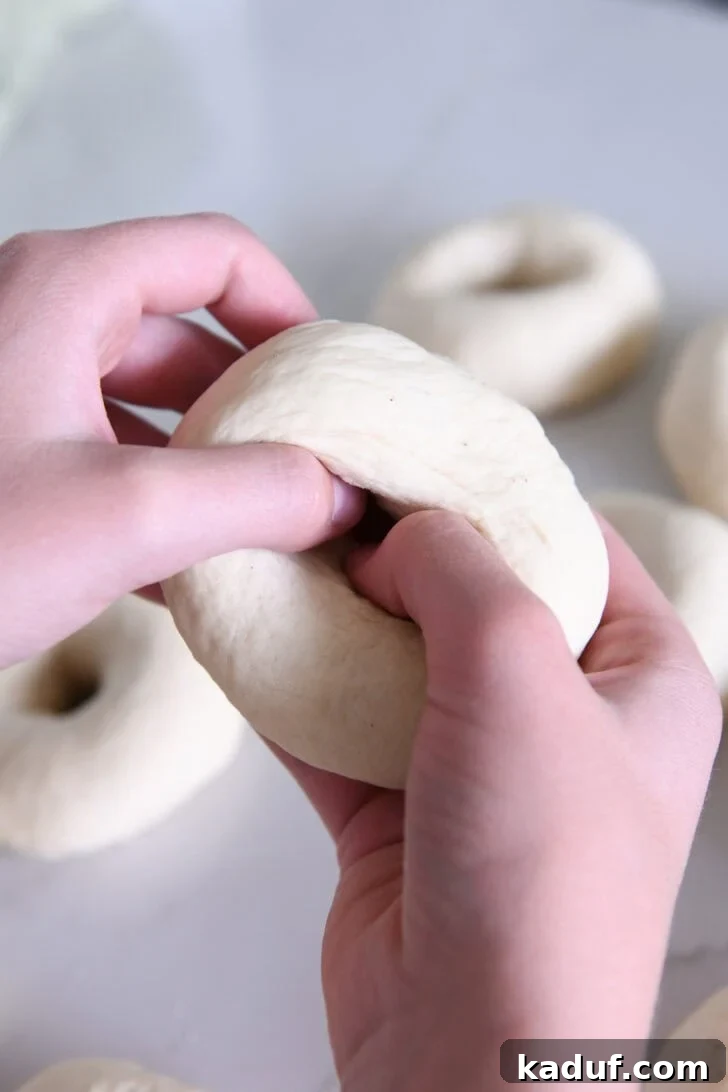
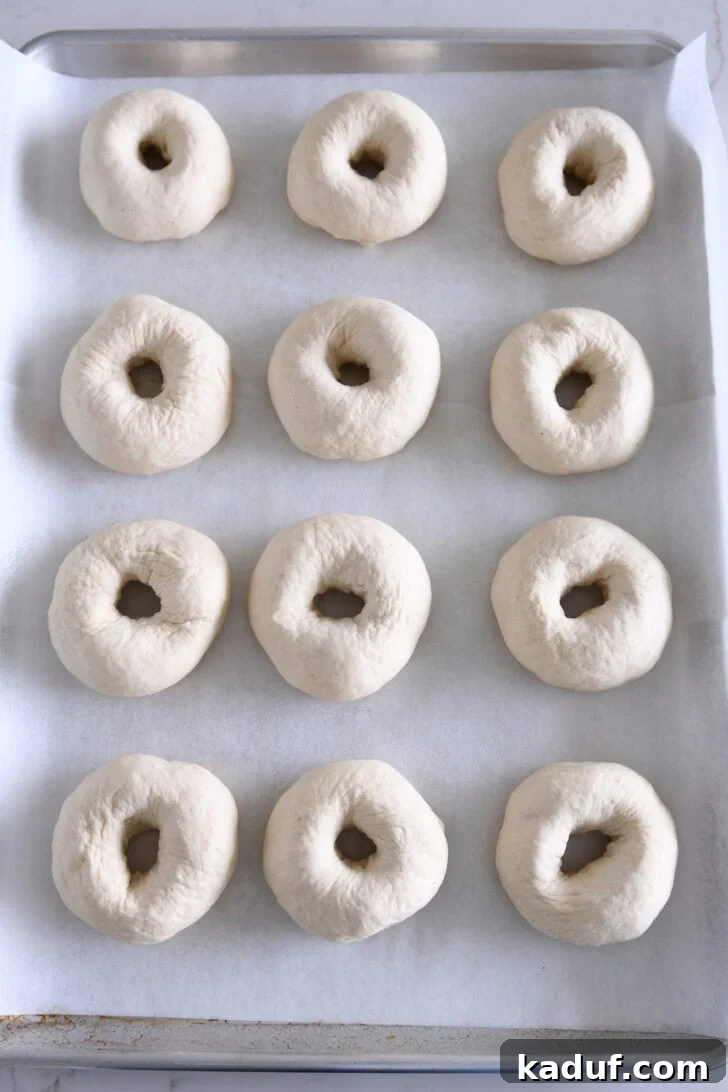
- Create the Hole: After resting, the dough will be much more pliable. Use your thumb to gently poke a hole through the very center of each ball. Then, with both thumbs, carefully twirl and stretch the dough until the hole expands to about 1 to 2 inches in diameter. The finished bagel will be approximately 4 inches across. Don’t overthink this step; a slightly imperfect shape adds character to your homemade creations.
The most important thing to remember when shaping homemade bagels is to let go of the pursuit of perfection! Not all of them will look identical, and some might have slight variations in thickness. This is perfectly fine and completely normal. These little imperfections give your bagels a unique personality and charm, and rest assured, they will all taste absolutely delicious regardless of their appearance.
The Essential Boil: Why Bagels Need a Water Bath Before Baking
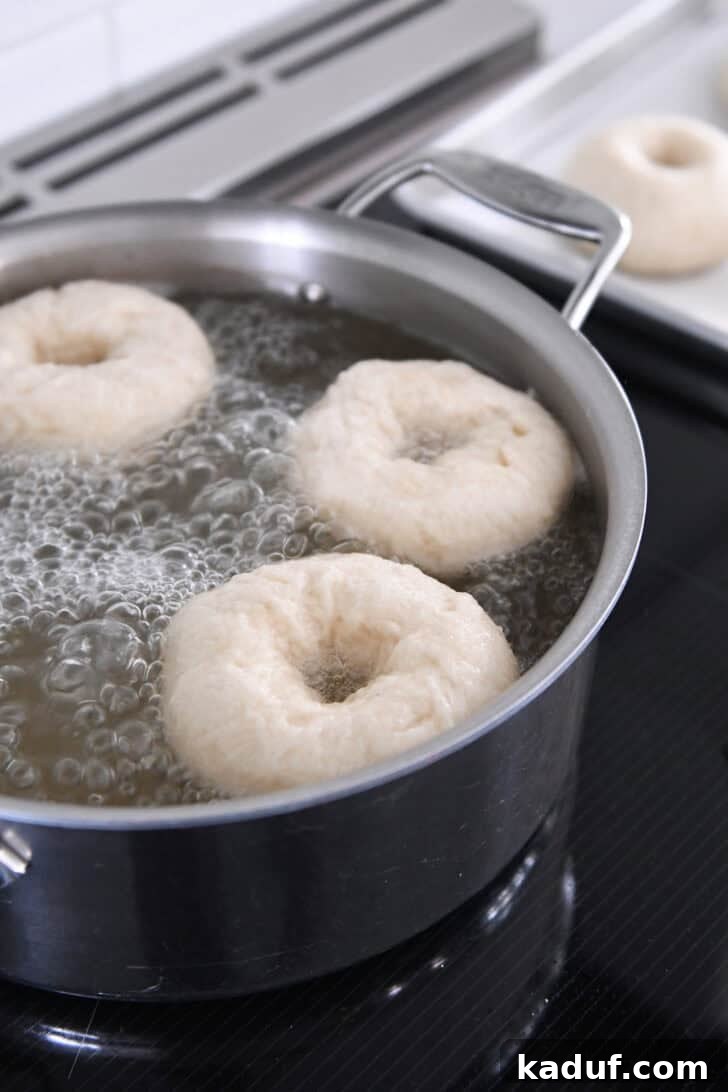
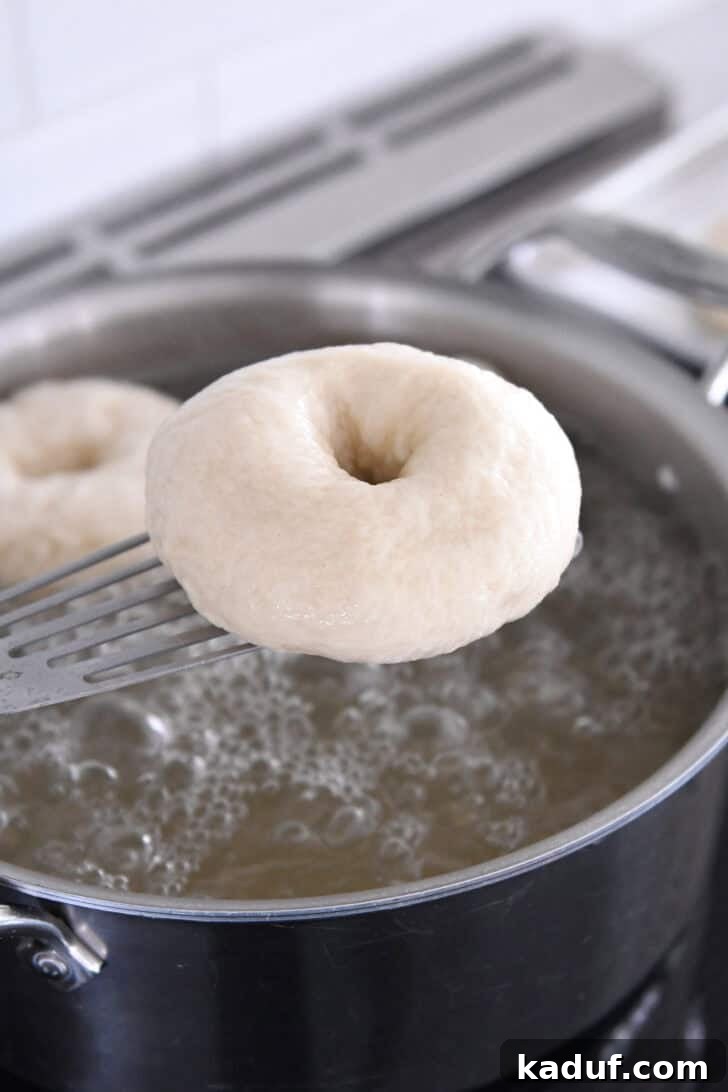
The boiling step is not merely a tradition; it’s a critical stage that contributes significantly to the unique characteristics of a true bagel. Without it, you’d end up with something more akin to a roll than a genuine bagel. There are several scientific and culinary reasons why bagels absolutely require this hot water bath:
- Achieving the Signature Chewy Texture: Boiling the bagels in steaming hot water creates an instant gelatinization of the starch on the outer layer of the dough. This process “sets” the crust, preventing the bagel from rising excessively in the oven, as other bread types might. The result is a denser, more substantial interior with that characteristic chewy texture that defines a perfect bagel. It’s this brief pre-cook that locks in the chewiness.
- Developing a Golden, Flavorful Crust: The addition of a sweetener (such as sugar or honey) to the boiling water plays a crucial role in enhancing the bagel’s final appearance and taste. As the bagels boil, this sweetener adheres to the surface. During baking, these sugars caramelize, contributing to a beautifully golden-brown, slightly glossy, and wonderfully flavorful crust that simply cannot be achieved through baking alone.
Bagels that skip the boiling step will invariably lack the classic dense, chewy interior and the distinctively crisp, golden crust. Instead, they often end up with a softer, bread-like texture, resembling a quirky dinner roll with a hole in the center, rather than the glorious, authentic bagel they were truly meant to be. This simple boiling process is the secret to unlocking the true bagel experience.
Elevate Your Bagels: The Best Toppings & How to Apply Them
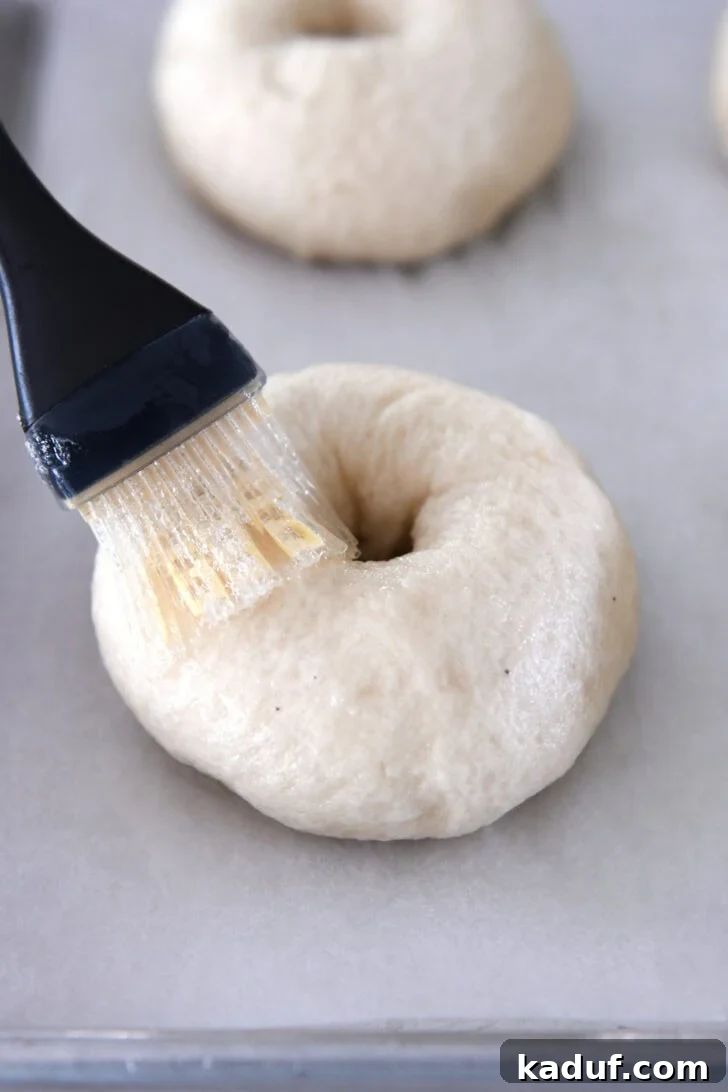
Once your bagels have had their essential boil, it’s time for the fun part: adding toppings! The right toppings can transform a plain bagel into a culinary masterpiece. To ensure your toppings adhere beautifully and create that perfect bakery-style finish, a simple egg wash is key. Whisk together one egg white with one tablespoon of water to create this effective adhesive. You can apply it in a couple of ways:
- For maximum coverage: Pour your chosen toppings into a shallow bowl. After brushing the tops and sides of each boiled bagel with the egg wash, dip the bagel directly into the topping mixture, turning it gently to coat evenly.
- For a lighter sprinkle: Simply brush the egg wash over the tops and sides of the bagels, then sprinkle your desired toppings generously over the wet surface.
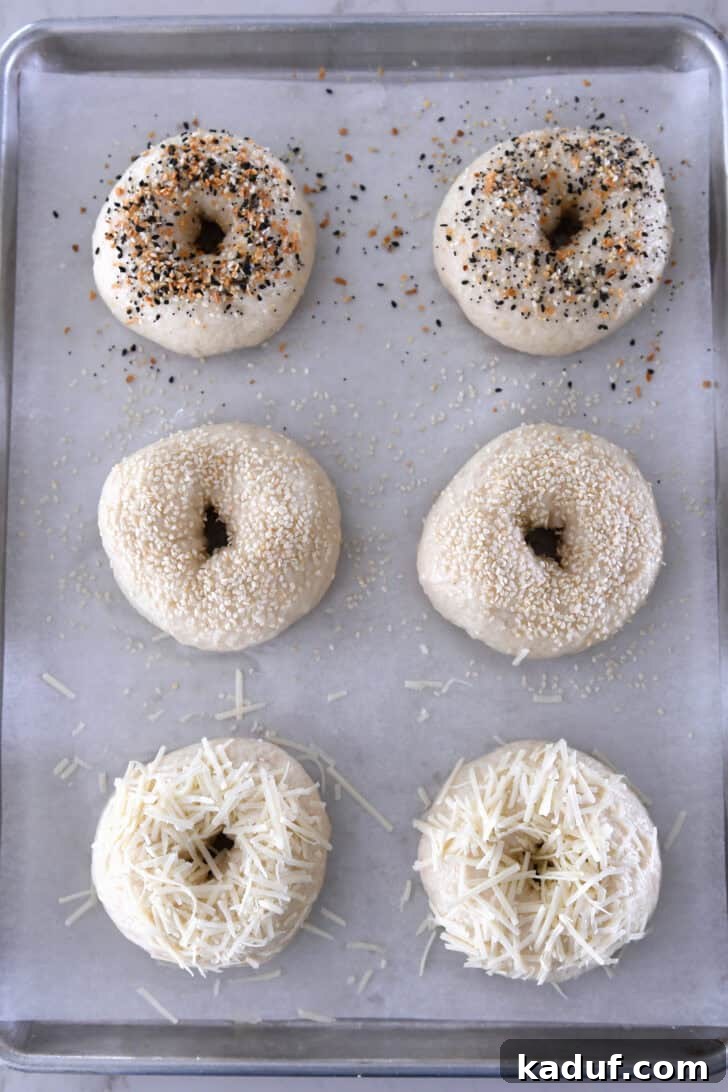
Our cherished bagel topping selections include:
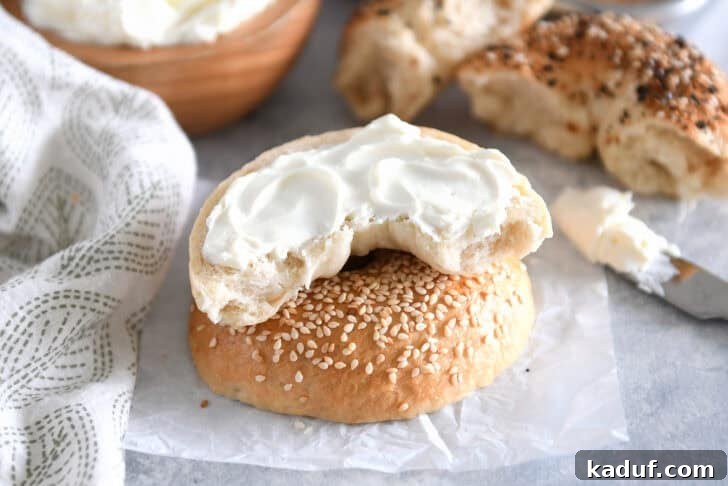
- Sesame Seeds: A classic for a reason, offering a delicate nutty flavor and satisfying crunch.
- Everything Bagel Seasoning: A popular blend of sesame seeds, poppy seeds, dried garlic, dried onion, and coarse salt for an explosion of savory flavor.
- Finely Grated Asiago or Parmesan Cheese: Adds a savory, slightly salty crust that’s irresistible, especially when melted and slightly crisp.
- Coarse Salt: For a simple, pure, and crunchy salty bite that enhances the bagel’s natural flavors.
- Cinnamon and Sugar: A sweet and comforting option, perfect for breakfast or a treat.
Of course, you can also choose to leave the bagels plain. If you opt for plain bagels, the egg wash is still beneficial as it further helps develop that gorgeous golden-brown crust during baking, though it is technically optional in this case.
Pro-Tips for Bagel Baking Success
While making bagels at home is surprisingly straightforward, keeping these expert tips in mind will ensure your baking experience is smooth and your bagels turn out perfect every time:
- Understand the Dough Consistency: Bagel dough is intentionally stiffer than dough for typical dinner rolls or sandwich bread. This high-gluten, lower hydration dough is crucial. The stiffness allows the bagels to hold their shape and density when they hit the boiling water bath, preventing them from disintegrating. This is the secret to achieving that perfectly chewy texture. Don’t be alarmed by its firmness; it’s by design.
- Precision in Measuring Flour: For consistent and professional results, I highly recommend investing in a kitchen scale {aff. link} and weighing your ingredients, especially dry ingredients like flour. If you measure flour by volume (cups), remember the “fluff, scoop, and level” method: lightly fluff the flour in its container, then gently scoop it into your measuring cup, and finally, level it off with a straight edge. This prevents compaction, which can lead to adding too much flour.
- Adjust for Your Climate: Baking can be sensitive to environmental factors. If you reside in an excessively dry climate, consider starting with ¼ cup less flour than the recipe calls for. Add the remaining flour gradually, only if the dough appears too sticky and is clinging to the sides and bottom of your mixing bowl. This flexibility ensures your dough achieves the ideal consistency, regardless of humidity levels.
- Timing is Everything for Boiling: During the boiling step, keep a close eye on the timer. It might seem counterintuitive, but boiling the bagels for too long will not make them better; it can actually compromise their texture. They only require about one minute per side, at most, to achieve the desired effect. Over-boiling can result in a tougher bagel.
- Don’t Be Afraid to Experiment: While the recipe provides a fantastic foundation, feel free to experiment with different flours (e.g., a small percentage of whole wheat), alternate sweeteners in the boiling water (like malt barley syrup for a traditional New York-style bagel), or unique topping combinations. Baking is an art, and personal touches make it even more enjoyable.
Most importantly, remember to have fun with this recipe! It has been a cherished favorite in our household for over a decade. My children adore helping with the shaping of the bagels, eagerly choosing their preferred toppings, and, of course, devouring the warm, freshly baked bagels as soon as they’ve had a moment to cool. Enjoy the process and the delicious rewards!
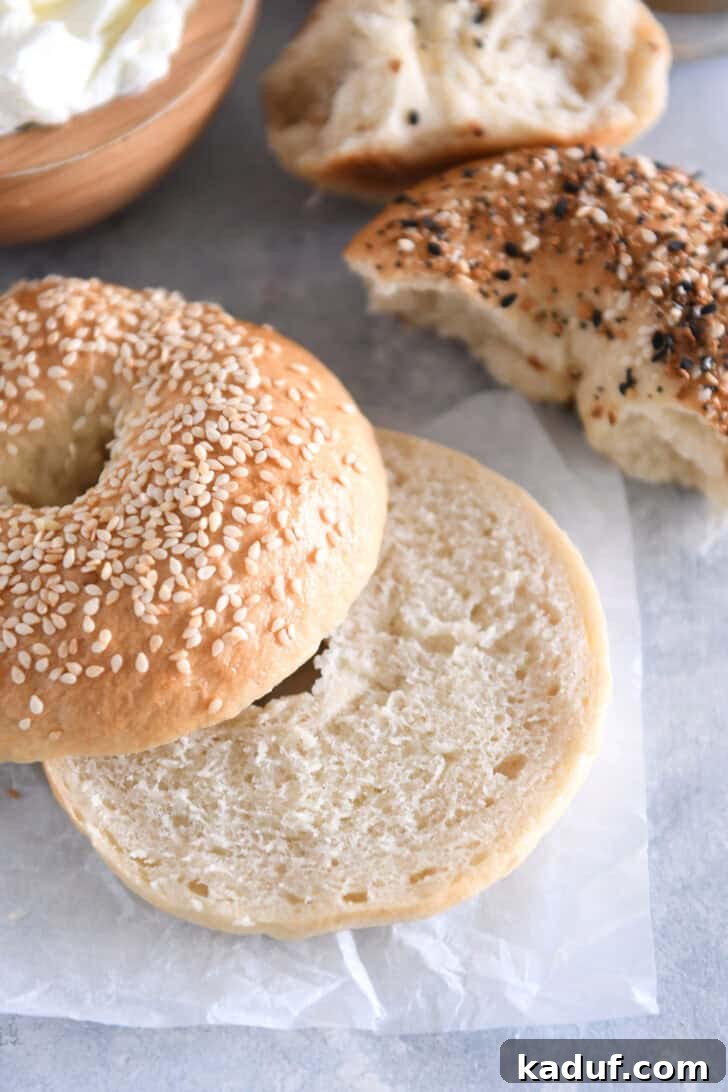

Perfect Homemade Bagels
Pin
Rate
Ingredients
Dough:
- 1 tablespoon instant or rapid-rise yeast
- 4 cups (568 g) bread flour (see note)
- 2 teaspoons salt
- 1 tablespoon brown sugar
- 1 ½ cups warm water
Water Bath:
- 2 to 3 quarts water
- 2 tablespoons brown sugar
- 1 tablespoon granulated sugar (see note for honey option)
Egg Wash:
- 1 large egg white
- 1 tablespoon water
Optional Toppings:
- Sesame seeds, Everything Bagel seasoning, grated Parmesan or Asiago cheese, coarse salt, cinnamon and sugar, etc.
Instructions
-
In the bowl of a stand mixer fitted with the dough hook, combine all of the dough ingredients. Mix on low speed until the dough comes together. The dough should be fairly stiff, but not dry.
-
Increase the speed to medium and knead the dough for 10 minutes. This longer kneading time is essential for developing the high gluten content of the dough, which contributes to the bagel’s signature chewiness.
-
Transfer the dough to a lightly greased bowl and cover it with lightly greased plastic wrap. Allow the dough to rise for 1 to 1.5 hours, or until it is noticeably puffy.
-
Turn the risen dough out onto a lightly greased work surface. Divide the dough into eight equal pieces, each weighing approximately 115 grams (4 ounces). Roll each piece into a smooth, taut ball. Let these dough balls rest for 30 minutes to relax the gluten.
-
Line two half sheet pans with parchment paper and lightly grease them with cooking spray.
-
Using your thumb, poke a hole through the very center of each dough ball. Then, use both thumbs to gently twirl and stretch the dough until the hole is 1 to 2 inches in diameter. The bagel itself should be about 4 inches across. Place the shaped bagels on one of the prepared baking sheets.
-
For the water bath, add 2 to 3 quarts of water, 2 tablespoons of brown sugar, and 1 tablespoon of granulated sugar (or honey – see note) to a large, wide pan or pot. Bring the mixture to a rolling boil.
-
Preheat your oven to 425°F (220°C).
-
Carefully transfer the bagels, three or four at a time, into the simmering water. If the center hole has closed up slightly during resting, you may gently re-stretch it while the bagel is in the water. This step is optional but helps maintain the classic bagel shape. Be gentle to avoid deflating the bagel.
-
Cook the bagels for 1 minute on one side. Flip them over with a wide spatula and cook for another minute on the second side. Lift each bagel out, allowing excess water to drain back into the pot. Place the boiled bagels onto the prepared baking sheet, ensuring they are spaced several inches apart. (I typically bake six bagels per half sheet pan.)
-
Repeat the boiling process with the remaining shaped bagels.
-
For the egg wash, whisk together the large egg white and 1 tablespoon of water. Brush the tops and sides of each bagel with this mixture. Immediately sprinkle with your desired toppings: sesame seeds, everything bagel seasoning, cinnamon and sugar, coarse salt, grated Asiago or Parmesan cheese, or any other topping of your choice. If you are leaving the bagels plain, the egg wash is optional, though it aids in developing a beautiful golden crust.
-
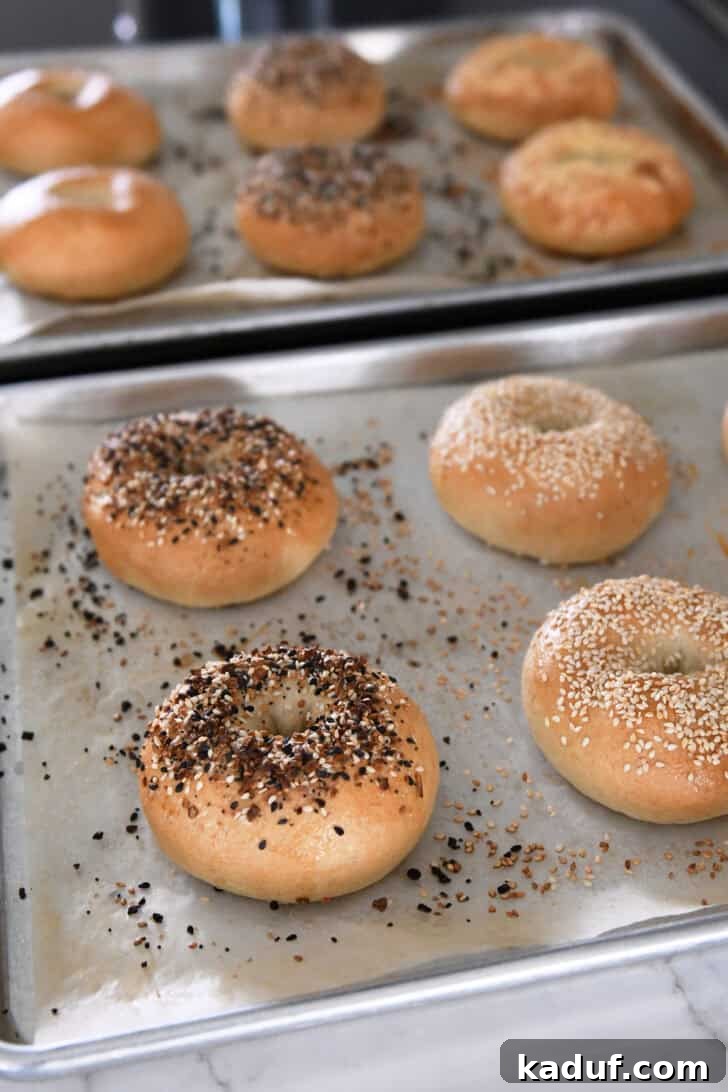
Bake the bagels for 20 to 25 minutes, or until they achieve a rich golden-brown color. Once baked, remove the bagels from the oven and immediately transfer them to a cooling rack to cool completely. Do not let them cool entirely on the baking sheet, as the sugar from the water bath can cause them to stick.
Notes
Bread Machine Adaptation: To utilize a bread machine for the dough, simply place all the dough ingredients into the machine’s pan. Select the “Dough” or “Manual” cycle and start the machine. After about 10 minutes, check the dough; it should be quite stiff and may not have formed a perfectly smooth ball. When poked, the dough should feel firm. Allow the machine to complete its full cycle, then proceed with the shaping and boiling steps as outlined in the main recipe.
Honey Substitution: For a slightly different flavor profile and crust, I frequently substitute the 3 tablespoons of sugar in the water bath with 3 to 4 tablespoons of honey. This addition can impart a subtle sweetness and a beautiful, darker golden hue to the bagels.
Baking in Batches: If your recipe yields multiple baking sheets of bagels and you only have one oven, it is perfectly acceptable for the second batch to rest while the first one bakes. For optimal browning and consistent results, avoid baking two baking sheets simultaneously, especially if they are placed on different racks. Bagels on the lower rack may not brown as effectively. Bake one sheet at a time for best results.
Scaling the Recipe for a Dozen Bagels: We often double this recipe to make a full dozen bagels, perfect for freezing! To make 12 bagels, use the following adjusted measurements:
1 1/2 tablespoons instant or rapid-rise yeast
6 cups (852g) bread flour
1 tablespoon salt
1 tablespoon brown sugar
2 1/4 cups warm water
Recommended Products
Recipe Source: adapted slightly and expounded upon from King Arthur Flour
This recipe was originally published in April 2011 and has since been updated in September 2025 with fresh photos, expanded recipe notes, and several enhancements to improve the baking experience.