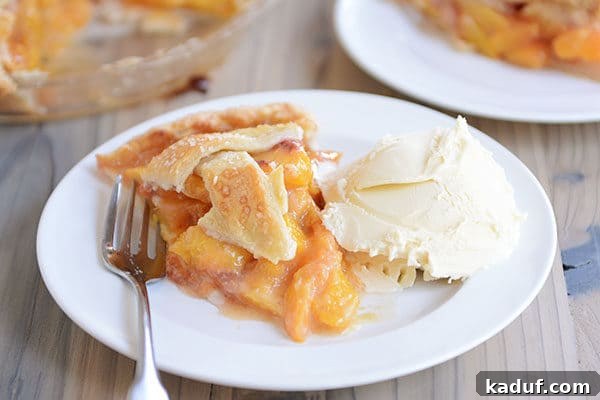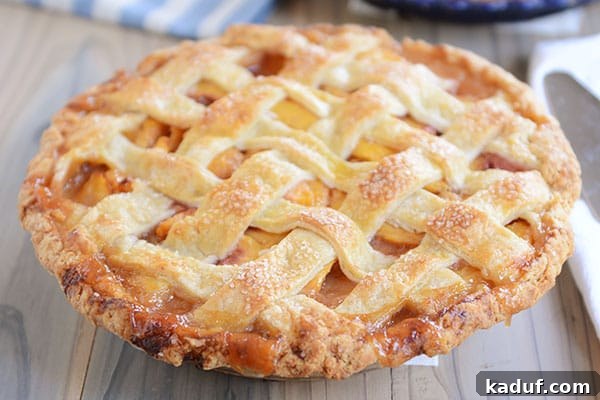
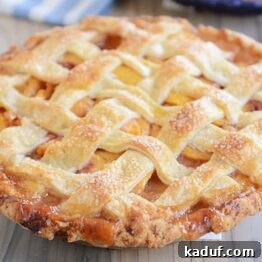
Seeking the ultimate fresh peach pie recipe? Look no further! This isn’t just *a* peach pie; it’s *the* peach pie – my absolute favorite for its delightful simplicity and unparalleled flavor. What makes it even better is the versatility: choose between a classic, elegant lattice crust or a rich, sweet, buttery crumb topping. Whichever you decide, you’re in for a truly spectacular treat.
Most of us can wholeheartedly agree that savoring a slice of homemade pie falls squarely into the “love it” category. The aroma alone is enough to transport you to a state of blissful anticipation. But what about the journey of *making* that pie? Is it a calming, therapeutic endeavor, a joyful creative outlet, or perhaps a task fraught with stress and the occasional exasperated sigh?
For me, pie-making has evolved into a deeply therapeutic process. It’s a quiet satisfaction, almost a meditative practice. Yet, I confess, this wasn’t always my experience. There was a time when the very thought of baking a pie, particularly crafting the perfect crust, filled me with trepidation. Pie crust, in particular, felt like a culinary Everest I was ill-equipped to climb.
I endured several memorable, albeit disastrous, attempts at pie crust, leading me to question why anyone would bother making one from scratch. These early experiences left me scarred (culinarily speaking!), convinced that pie crust was a secret art reserved for grandmothers and professional bakers, certainly not for me.
However, a few years ago, a realization dawned: as a fully functional adult with children and a thriving food blog, it was high time I conquered this long-standing fear. Mastering homemade pie crust felt like a necessary rite of passage, an essential skill to add to my repertoire. It was time to face the dough, literally.
And as many of you who’ve embarked on similar culinary quests know, that’s precisely when the magic happened. I discovered a pie crust recipe that truly changed everything – a recipe so foolproof and forgiving that it rekindled my love for baking and banished my crust-related anxieties forever. I haven’t looked back since.
This extraordinary pie crust recipe transformed my baking life, instilling a newfound confidence in the kitchen.
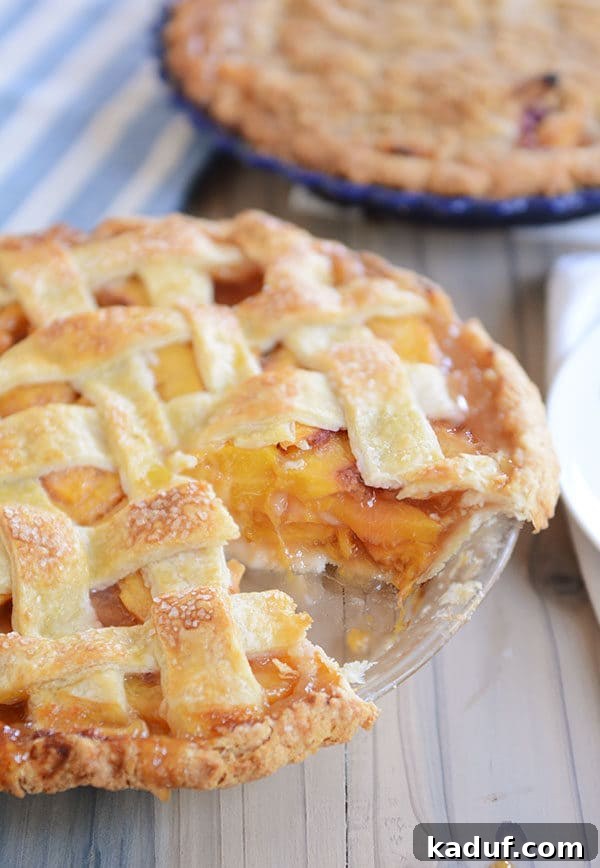
If you, like my former self, have been intimidated by pie crust in the past, I urge you to join me on this journey to conquer that fear. The satisfaction of creating a perfect, flaky crust from scratch is immense and incredibly rewarding. Don’t let past struggles deter you from the joy of homemade pie.
To assist you, the recipe I mentioned includes a comprehensive step-by-step picture tutorial, and if you scroll further down, you’ll even find a helpful video tutorial. Plus, I regularly engage with comments and questions on that post, so please don’t hesitate to reach out if you need additional guidance! My goal is to empower every home baker to achieve pie-making success.
The act of pulling a warm, golden-brown pie from the oven brings an unparalleled sense of accomplishment. It’s a moment of culinary pride that boosts my confidence in a way few other dishes can. Sometimes, I even find myself gently caressing the warm pie through my oven mitt, gazing at my creation with adoration, thinking, “Did *I* really make this? I am truly amazing!”
This momentary self-admiration usually lasts until one of my children casts a slightly worried, side-eyed glance my way, reminding me that perhaps I have a few delightful quirks. But quirks or not, the joy of a perfect homemade pie is undeniable.
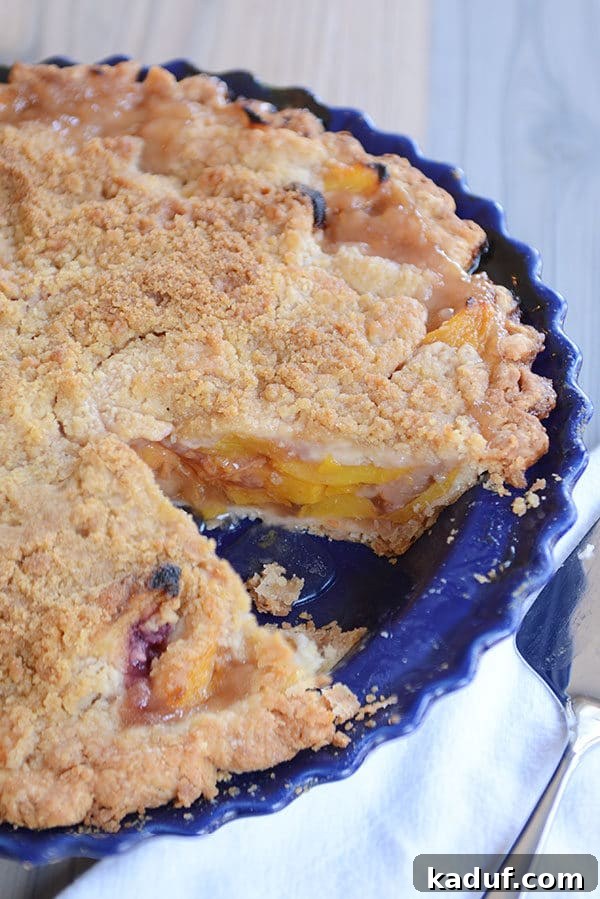
Quirks and all, I have long yearned for, and indeed dreamed of, a quintessential fresh peach pie recipe – one that I could rely on every single time the glorious fresh peach season arrived. This particular recipe fulfills that dream entirely.
This time of year is simply magical! The arrival of plump, juicy Elberta peaches in my local markets fills me with an almost giddy excitement. While I typically dedicate myself to bottling and canning countless jars of these luscious fruits to enjoy throughout the year, I always, *always* set aside a generous portion of the freshest peaches specifically for pie. Their vibrant flavor and tender texture are simply unbeatable when baked into a classic dessert.
Of course, my love for peaches doesn’t stop at pie. These versatile fruits also find their way into my classic peach cobbler, feature prominently in this exquisite peaches and cream cake, or even star in this delightful no-bake peach sensation. Clearly, I adore peaches in all their forms!
The world of peach pies is vast, with countless variations – some featuring mashed peaches for a smoother texture, others incorporating a hint of almond extract, and many offering a choice of crusts. Over the years, I’ve experimented with many wonderful recipes. However, for my “tried-and-true” collection, I sought a classic, foolproof peach pie that delivers consistently delicious results without any unnecessary fuss or overpowering spices. This recipe is exactly that – a pure celebration of fresh peach flavor.
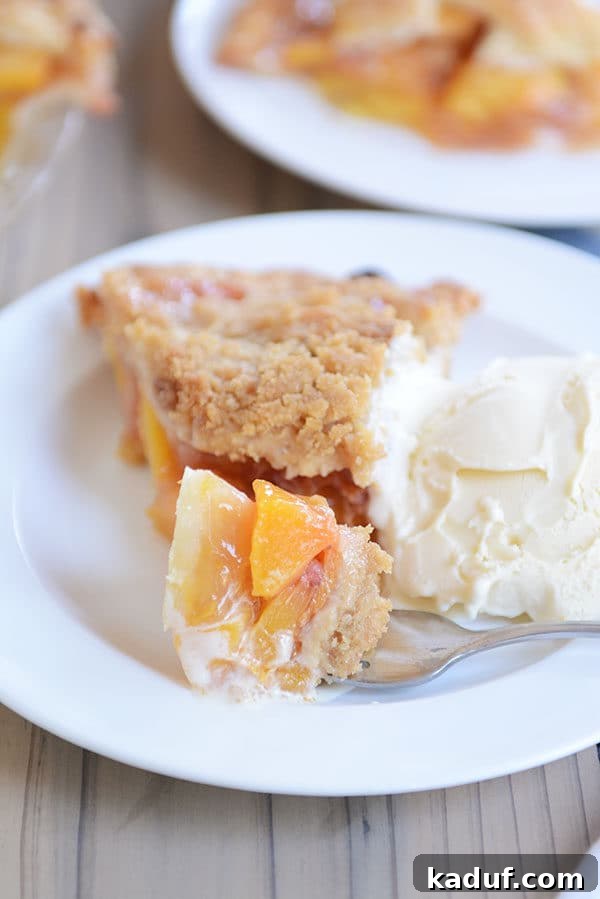
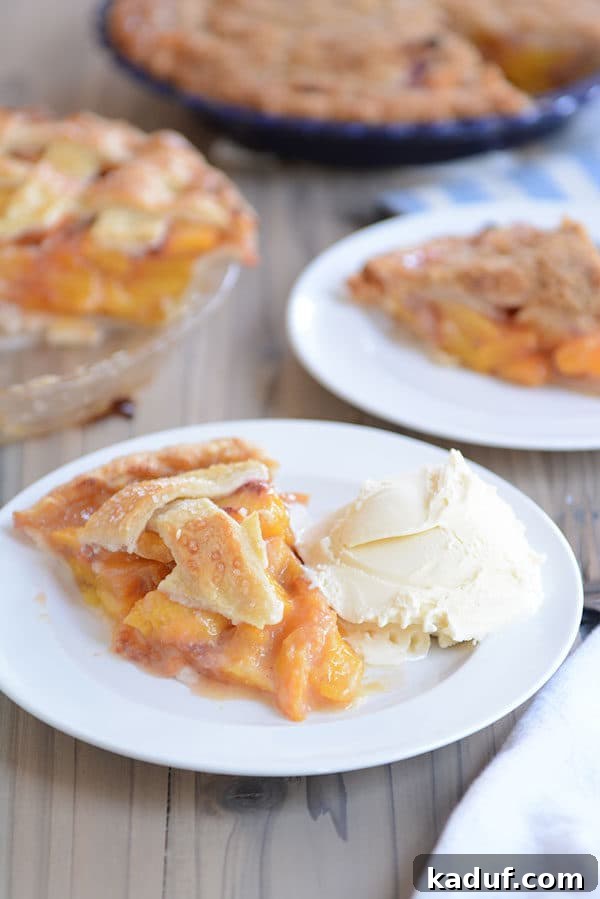
This fresh peach pie recipe truly hits all the right notes, and I’ve made it countless times, always with spectacular results. It’s the kind of recipe that becomes a cherished tradition.
Through my many baking sessions, I’ve learned that sometimes a traditional lattice top crust is the perfect aesthetic and textural complement. Other times, the only thing that feels right is a generous, streusely, buttery crumb topping. This recipe thoughtfully includes instructions for both options, allowing you to tailor your pie to your mood or occasion!
The peach filling itself is a masterpiece of classic flavor – simple, delicious, and free from any overly fussy steps or exotic spices that might detract from the natural sweetness of the peaches. You’ll notice in the recipe that my preferred starch and thickener for this pie (and incidentally, for cherry pie as well) is tapioca flour. It provides a beautiful, clear sheen and a wonderfully tender texture to the filling.
However, I understand that not everyone keeps tapioca flour on hand (though it’s a staple in my kitchen, especially since we make pao de queijo quite often!). Therefore, cornstarch is an excellent and readily available alternative. While tapioca yields a slightly firmer, thicker filling that I personally adore (and which simply increasing cornstarch won’t quite replicate without making the filling gummy), cornstarch will still result in a perfectly delicious and well-set pie. So, there’s no need to panic if tapioca flour isn’t in your pantry!
Don’t let the fleeting fresh peach season pass you by without experiencing the pure delight of a homemade fresh peach pie. If you’ve been contemplating tackling homemade pie and dreaming of feeling like a true kitchen rockstar, this peach pie is the perfect starting point. Its forgiving nature and spectacular outcome make it an ideal choice for both novice and experienced bakers alike.
For an extra boost in your pie-making confidence, be sure to explore my Pie Boot Camp Series HERE! This comprehensive series covers everything you need to know:
Essential Pie Making Equipment and Tools
Mastering Pie Crust: Foolproof Recipe, Rolling Techniques, Crimping & Video Tutorial
The Art of Blind Baking: Why It’s Crucial & How to Do It Perfectly (Bonus: Decadent Chocolate Ganache Cream Pie Recipe)
Crafting Double Crust Pies and Easy Lattice Designs (Bonus: Printable Guide to Sum Up Pie Boot Camp)
One Year Ago: Piled High Zucchini and Cheese Topped Pizza
Two Years Ago: Slow Cooker Pork Carnitas
Three Years Ago: Classic Pesto {And A Quick Tip on Freezing To Use Later}
Four Years Ago: No-Bake Healthy Granola Bites
Five Years Ago: Oreo Truffle Brownies
My Favorite Fresh Peach Pie
Pin
Rate
Ingredients
- Double crust pie dough, unbaked for lattice top or single crust pie dough if using crumble topping (see note)
- 6-8 large ripe peeled and sliced peaches
- 1 tablespoon lemon juice
- ⅓ cup (71 g) white sugar
- ⅓ cup (71 g) brown sugar
- ⅛ teaspoon cinnamon
- ⅛ teaspoon nutmeg
- Pinch of table salt
- 4 tablespoons cornstarch OR 1/3 cup tapioca flour (see note)
Crumb Topping:
- ⅔ cup (141 g) light or dark brown sugar
- ¼ teaspoon cinnamon
- 1 cup (142 g) all-purpose flour
- Pinch of salt
- 8 tablespoons (113 g) salted butter, melted
Instructions
-
Roll out the bottom pie crust to a 12-inch circle. Gently lift the dough to fit it into the pie plate, avoiding stretching or pressing which can cause shrinkage during baking. Trim the edges to extend approximately 1/2-inch beyond the rim of the pie plate. If you plan to use the crumb topping, fold the pie crust under so it is flush with the edge of the pie plate and neatly crimp the edges. Refrigerate the prepared pie crust while you proceed with the remaining steps.
-
To peel the peaches, you have two options: either use a paring knife to carefully remove the skins, OR blanch them by gently placing the peaches in a pot of boiling water for 45-60 seconds, then immediately transferring them to a bowl of ice water. The skins should then effortlessly peel or slide right off.
-
Halve each peach and remove the pit. Cut each half into roughly 1/4-inch slices, aiming for a total of about 6 1/2 – 7 cups (45-48 ounces) of sliced peaches. Place the sliced peaches in a large bowl and toss them with the lemon juice. Next, add the white sugar, brown sugar, cinnamon, nutmeg, salt, and either cornstarch or tapioca flour. Toss thoroughly until all ingredients are well combined and there are no visible dry streaks of thickener.
-
Retrieve the pie plate with the chilled crust from the refrigerator. Evenly spoon the peach filling into the bottom crust.
-
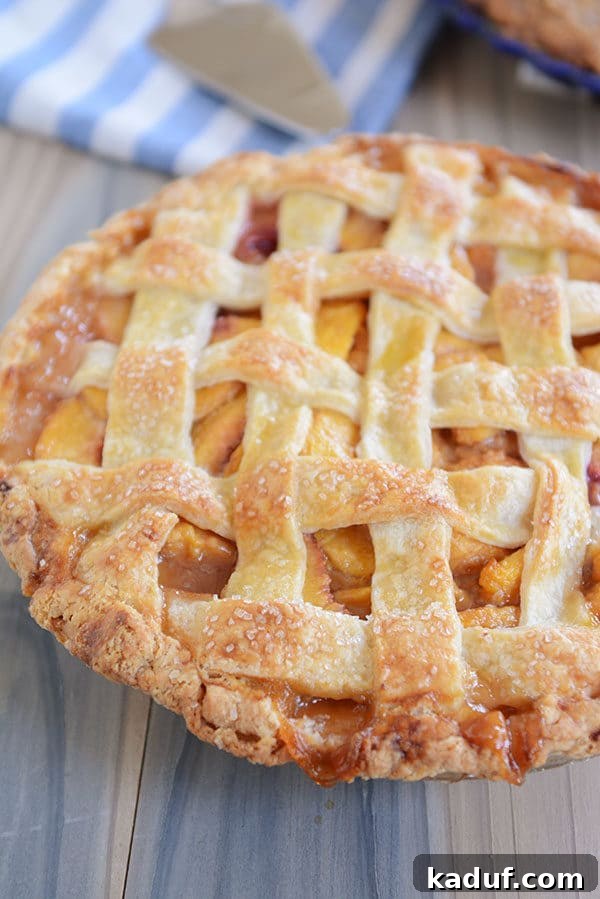
If you are using a lattice top, roll out the remaining pie dough into a 10-inch circle. Using a pizza wheel (which works wonderfully for this), cut the dough into about 12 even strips. Arrange these strips in a lattice pattern over the peach filling. (For visual guidance, a picture tutorial can be found here if needed.) Trim *only* the lattice pieces so they align with the edge of the pie plate, allowing the bottom crust to retain its longer overhang. Fold the overhang of the bottom crust over the edges of the lattice, gently press, and then crimp the edges to seal. Optional: For a golden finish, brush the top of the lattice crust and edges with an egg wash (one egg white whisked with a tablespoon of water) and sprinkle with coarse sugar.
-
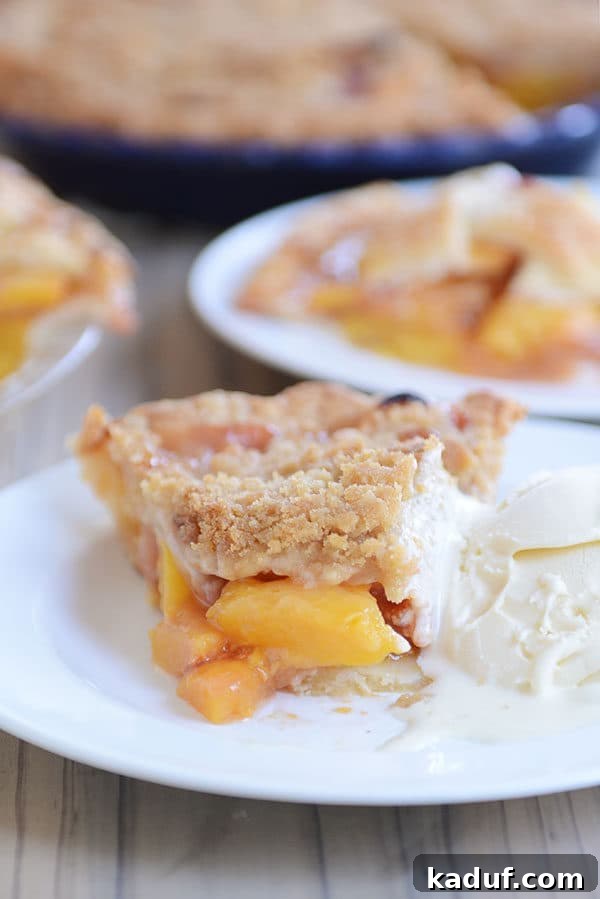
If you are using a crumble top, in a medium bowl, combine the brown sugar, cinnamon, all-purpose flour, and salt. Stir in the melted butter until small clumps form and the mixture is uniformly moistened. Evenly scatter this crumb topping over the peach filling.
-
Preheat your oven to 400 degrees F (200 degrees C). Place a large, rimmed baking sheet upside down on an oven rack in the middle position and allow it to heat for 10-15 minutes. This crucial step helps create a crispier bottom crust, a common challenge with fruit pies.
-
Carefully place your peach pie on another foil-lined baking sheet. Slide this second baking sheet directly onto the preheated baking sheet in the oven. Bake the pie for 20 minutes at 400 degrees F. After 20 minutes, reduce the oven temperature to 375 degrees F (190 degrees C) and continue baking for another 30-40 minutes, or until the filling is visibly bubbling, the peaches are tender when pierced, and the crust is beautifully golden brown. If you notice the top or edges of the pie crust darkening too quickly, loosely tent the pie with aluminum foil for the remainder of the baking time. (Also, keep an eye on the bottom crust; if using a glass pie plate, you can check its color. If it appears to be burning, carefully remove the overturned baking sheet from underneath.)
-
Once baked, remove the pie from the oven and allow it to cool completely on a wire rack for 3-4 hours. This cooling period is essential for the filling to properly set and thicken. While it can certainly be served warm, be aware that the filling may be runnier compared to when it has fully cooled.
Notes
Thickeners: I’ve extensively tested this peach pie using both cornstarch and tapioca flour as thickeners (in separate pies, of course!). Personally, I lean towards tapioca flour. I find it imparts a superior texture and thickens the pie filling a bit more effectively, resulting in a beautifully clear and firm set. Plus, I always have it on hand for our regular batches of pao de queijo. However, if tapioca flour isn’t in your pantry, cornstarch is a perfectly acceptable alternative and will still yield a delicious pie. Just avoid trying to make the cornstarch filling thicker by adding more, as this can result in a gummy texture.
Topping: An interesting observation: when opting for the crumble topping over a lattice crust, the pie tends to bake up and cool with a slightly thicker filling. This is likely due to the additional flour present in the crumb topping. Both options are utterly delicious, so choose based on your preference!
Preheated Baking Sheet for Crispy Crust: While I highly recommend the technique of placing your pie on a preheated baking sheet (upside down) in the oven, it’s not strictly mandatory. This method significantly helps to minimize the dreaded “soggy bottom” crust often associated with fruit pies. However, if you’re short on time or simply don’t mind a slightly softer bottom crust, you can skip this step. I’ve certainly baked many a fruit pie the “regular” way, and they’ve always been enjoyed!
Recommended Products
Recipe Source: from Mel’s Kitchen Cafe (baking method adapted slightly from Cook’s Illustrated)