
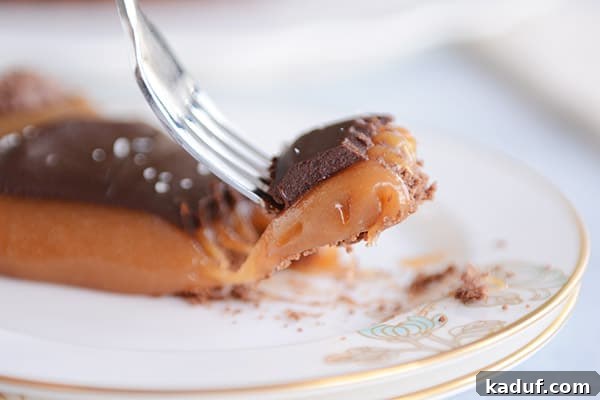
This chocolate caramel tart is truly a show-stopper! Combining rich chocolate with velvety homemade caramel, it’s surprisingly easy to create, making it perfect for both novice and experienced bakers.
Sometimes, a dessert is so visually stunning and inherently delicious that words almost feel inadequate. This insanely decadent chocolate caramel tart recipe is one such masterpiece. While the accompanying photos undoubtedly speak volumes, I simply must elaborate on why this particular treat has captivated so many hearts (and taste buds).
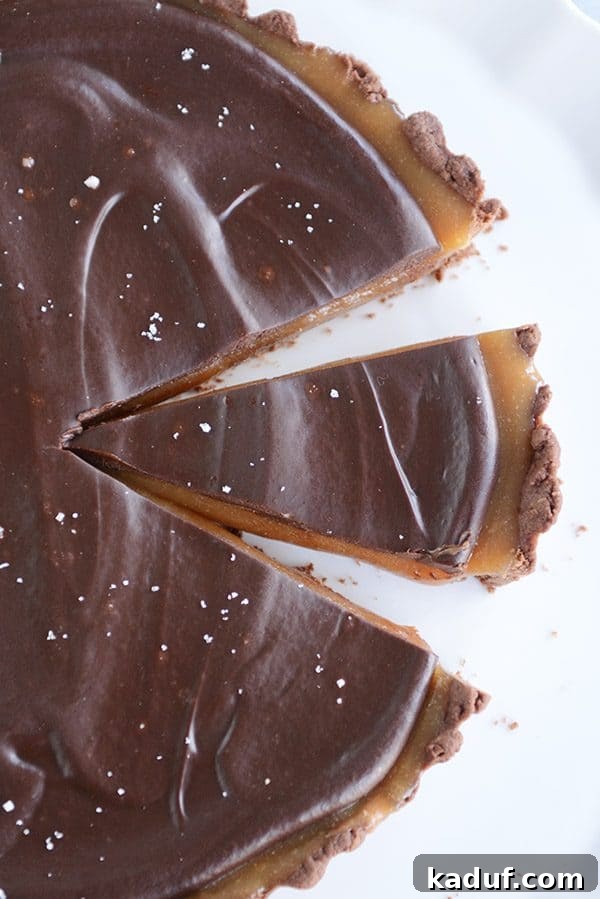
The Chocolate Caramel Tart: A Dessert Dream Come True
This caramel tart isn’t just a dessert; it’s an experience. It’s the kind of creation that sparks joy, earns rave reviews, and makes you the undisputed star of any gathering. Prepare for a surge in popularity, because once people taste this, they will be asking for the recipe, or better yet, for you to make it again!
The truly remarkable aspect? Despite its luxurious appearance and gourmet flavor, this decadent chocolate caramel tart is genuinely simple to prepare. I understand skepticism when a complex-looking dessert is touted as “easy,” but I promise you, this recipe lives up to that claim. Each component, from the rich chocolate cookie crust to the silky homemade caramel and the glossy chocolate ganache, is designed for ease and maximum impact.
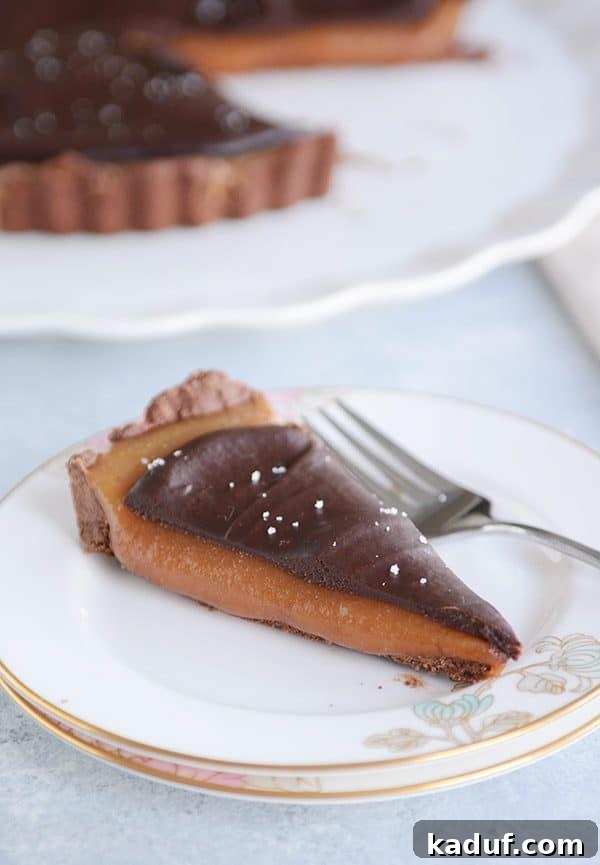
From Pinterest Disappointment to Decadent Delight
The journey to perfecting this chocolate caramel tart began several months ago. My brother, ever the adventurous baker, attempted a popular caramel tart-pie he’d seen trending on Pinterest. Unfortunately, the result was rather underwhelming. We both agreed that our lives felt incomplete without a truly successful chocolate and caramel dessert in our repertoire.
Fast forward a few months, and after a series of delicious experiments, this exquisite chocolate caramel tart emerged as a defining dessert. It features a delightful chocolate cookie crust that perfectly complements the luscious fillings. I’ve personally made this tart at least eight times since its inception, and the reactions it elicits are nothing short of astounding. People genuinely lose their minds over it, and it’s both amusing and a little embarrassing to witness the sheer joy it brings!
The Perfect Harmony of Flavors and Textures
Initially, I worried that having such a generous amount of caramel in one dessert might be overwhelming. Would it be too rich, too sweet, or just too much? Oh, how little faith I had! This tart is none of those things; it is absolutely perfect.
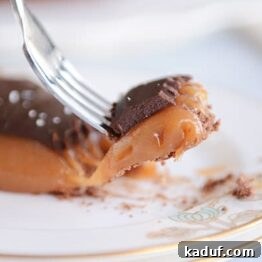
Each layer plays a crucial role in creating a harmonious balance. The tender, slightly crumbly chocolate cookie crust provides a sturdy base and a hint of cocoa bitterness. Nestled above it, the soft, creamy homemade caramel shines as the star. Finally, a velvety smooth chocolate ganache topping ties everything together with an elegant finish. The combination of textures – the crisp crust, the gooey caramel, and the silken ganache – is pure bliss in every bite.
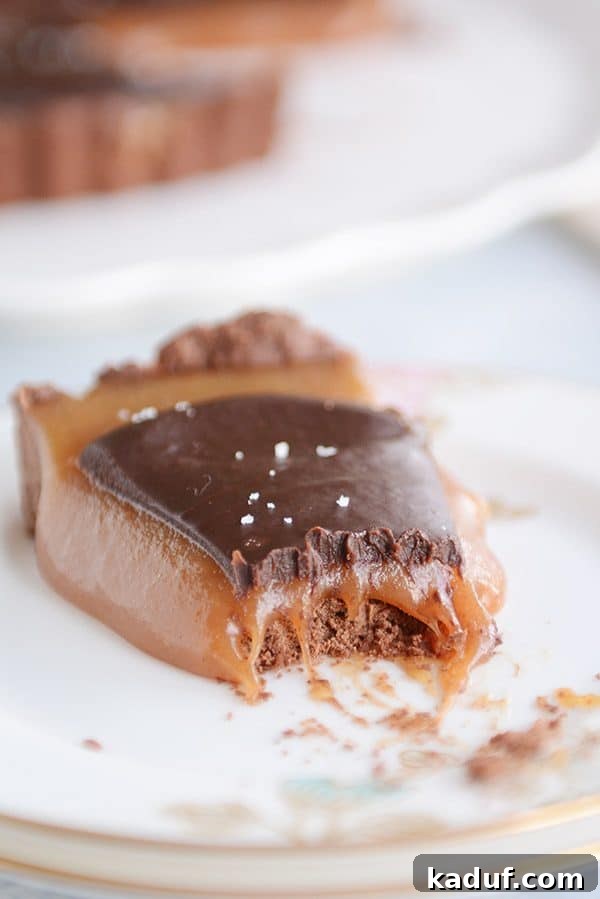
Demystifying Homemade Caramel: Easier Than You Think!
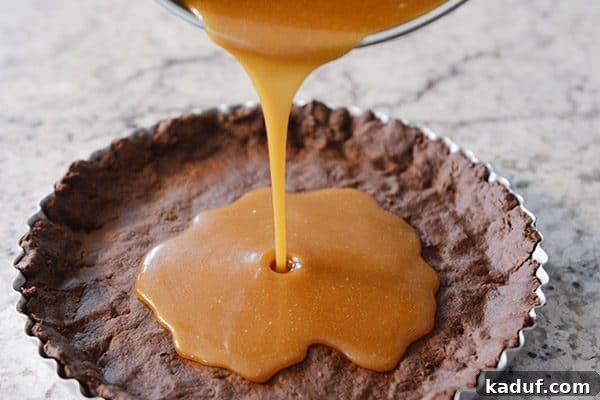
The idea of making homemade caramel can be intimidating, often prompting a dash to the store for a pre-made alternative. But please, don’t panic! You absolutely have to trust me when I say that the caramel layer in this tart is incredibly easy and surprisingly forgiving. You don’t even need a candy thermometer – your eyes are the only tool required!
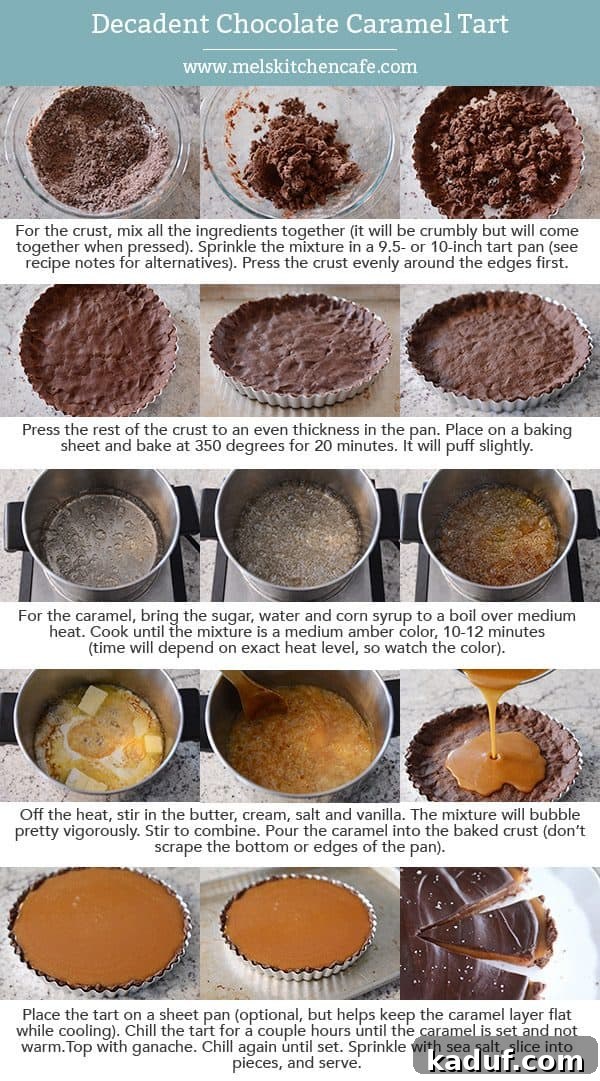
I’ve included a quick picture tutorial (refer to step-by-step images) to guide you on precisely when to remove the caramel from the stove. You’re looking for a beautiful, medium-dark amber color. This visual cue is far more reliable than a specific temperature, as stovetop temperatures can vary greatly.
Even if you slightly undercook the caramel, don’t despair! Your tart might have a slightly softer, more gooey caramel consistency, which is still absolutely delicious. And if you happen to overcook it a little, it will likely still turn out wonderfully, just with a firmer, chewier texture. There’s a decent amount of wiggle room here, so take a deep breath and enjoy the process. Just remember to avoid any strong burned smells or smoke – that’s generally a sign you’ve gone a bit too far!
Successfully crafting homemade caramel for this tart will undoubtedly leave you feeling like a culinary rock star, capable of conquering any challenge life throws your way. A flat tire? A bad hair day? Bickering children? Ha! Such minor inconveniences stand no chance against someone who has mastered the art of making a homemade chocolate caramel tart!
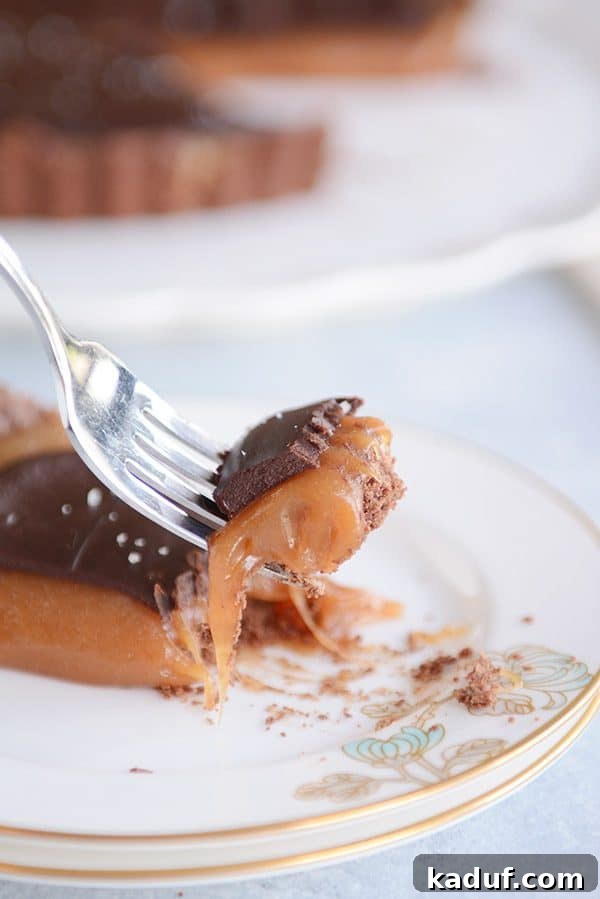
A New Lease on Life, One Slice at a Time
Essentially, this decadent chocolate caramel tart recipe offers more than just a dessert; it’s a pathway to culinary confidence and pure indulgence. While I won’t go so far as to claim it will solve all your problems, just gazing at its perfection certainly won’t hurt, will it? Each bite is a moment of pure, unadulterated happiness.
This tart is the perfect centerpiece for your holiday table, a spectacular birthday treat, or simply a comforting gesture to drop off at a friend’s doorstep when they need a little instant therapy and love. It’s a dessert that truly keeps on giving.
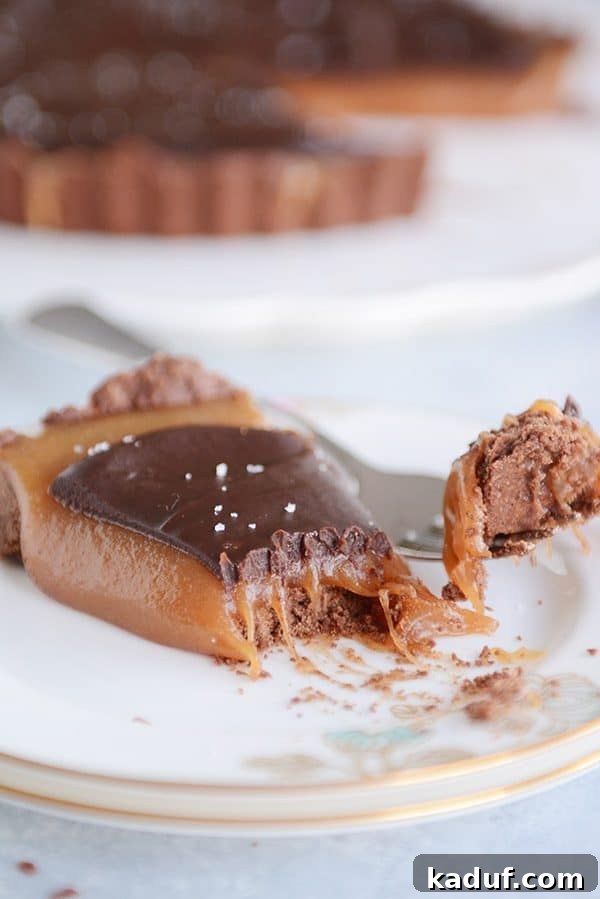
Feel free to ask any questions about the recipe in the comments below! I’m here to help you achieve tart perfection.
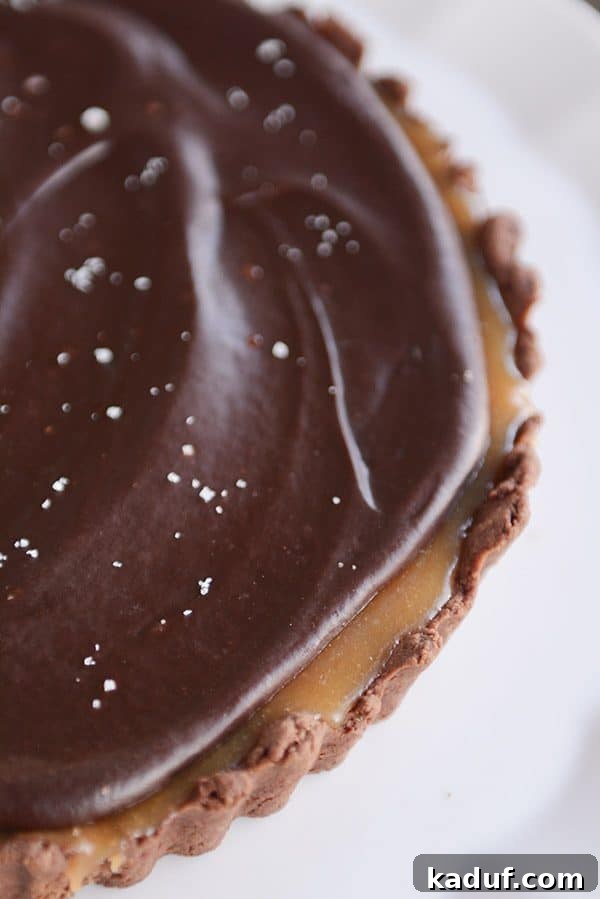
Choosing Your Baking Vessel: Tart Pan vs. Pie Plate
For this recipe, I primarily use this inexpensive tart pan. However, if you don’t own a tart pan, a regular 9-inch pie plate will work just as well. The primary advantage of a tart pan is its removable bottom, which significantly simplifies slicing and offers a more elegant, professional presentation. Whichever you choose, the delicious outcome remains the same.
Chocolate Caramel Tart
Pin
Rate
SaveSaved!
Ingredients
Crust:
- ½ cup (113 g) salted butter, softened to room temperature
- ⅓ cup (38 g) powdered sugar
- ¼ cup (21 g) natural, unsweetened cocoa powder
- Pinch of salt
- 1 large egg yolk
- ½ teaspoon vanilla extract
- 1 cup (142 g) all-purpose flour
Caramel:
- 2 cups (424 g) granulated sugar
- ½ cup water
- ¼ cup corn syrup
- ½ cup (113 g) salted butter, cut into 4-5 pieces
- ½ cup heavy cream
- 1 teaspoon vanilla extract
Ganache:
- ½ cup (85 g) semisweet or bittersweet chocolate, chopped, (can use good-quality chocolate chips)
- ⅓ cup heavy cream
- Fleur de sel, for sprinkling (optional)
Instructions
-
Preheat the oven to 350 degrees F (175°C).
-
For the crust, in the bowl of a stand mixer fitted with the paddle attachment or using a handheld electric mixer (or even mixing by hand), combine the softened butter, powdered sugar, cocoa powder, pinch of salt, egg yolk, vanilla extract, and all-purpose flour. Mix until the ingredients are just combined. The mixture may appear crumbly, but it will hold together when pressed firmly.
-
Crumble the crust mixture evenly over the bottom of a 9.5- or 10-inch tart pan (a 9-inch pie plate can also be used). First, press the mixture firmly and evenly up the sides of the pan, making sure it extends all the way to the edges. Then, press the remaining crust mixture evenly over the bottom of the pan to create a smooth, compact base.
-
Place the tart pan on a baking sheet to prevent any spills and ensure even baking. Bake in the preheated oven for 18-20 minutes, or until the crust is set and lightly firm. Remove from the oven and allow it to cool completely on a wire rack before proceeding.
-
For the caramel, select a heavy-bottomed saucepan – this is crucial for even heat distribution and preventing burning. Combine the granulated sugar, water, and corn syrup in the saucepan. Try to avoid splashing the mixture up onto the sides of the pan. Bring the mixture to a simmer over medium heat. Continue to cook for 10-12 minutes, or until the mixture transforms into a beautiful medium-dark amber color. Gently tilt the pan slightly every couple of minutes to swirl the mixture and ensure even cooking, but refrain from swirling too quickly or allowing the caramel to reach high up the sides of the pan. The exact cooking time will vary depending on your stove’s heat intensity.
-
As soon as the caramel reaches the desired amber color, immediately remove the pan from the heat. Carefully add the cut pieces of salted butter, heavy cream, and vanilla extract. Be prepared for the mixture to bubble vigorously and steam heavily due to the temperature difference. Stir gently but thoroughly to combine all the ingredients until smooth. Avoid aggressively scraping down the sides of the pan.
-
Pour the warm, silky caramel evenly over the cooled chocolate cookie crust. Transfer the tart to the refrigerator and chill for 1-2 hours, or until the caramel is fully set and no longer warm to the touch. Ensure the tart is placed on a completely flat surface in the fridge; otherwise, it may set unevenly.
-
For the ganache, place the chopped semisweet or bittersweet chocolate (or good-quality chocolate chips) in a small or medium heatproof bowl. In a separate microwave-safe bowl or on the stove, heat the heavy cream until it just begins to simmer, but do not boil. Pour the hot cream directly over the chocolate. Let the mixture sit undisturbed for 1-2 minutes to allow the chocolate to melt. Then, gently stir with a whisk or spatula until the chocolate is completely melted, and the ganache is glossy and smooth. Spread the ganache evenly over the chilled caramel layer. Return the tart to the refrigerator and chill until the chocolate ganache is completely set and firm, typically another 30-60 minutes. If desired, sprinkle a tiny pinch of fleur de sel over the ganache for a delightful touch of salty contrast.
-
Keep the chocolate caramel tart refrigerated until ready to serve. For beautifully neat and even slices, a helpful trick is to run a long chef’s knife under hot water, wipe it completely dry, and then make each slice. Repeat this process as needed for every slice to ensure clean cuts through the firm ganache and caramel layers.
Notes
Recommended Products
Recipe Source: This irresistible recipe has been thoughtfully adapted from this notable NYT’s recipe, with adjustments made for simplified preparation and enhanced flavor profiles.
Other Irresistible Tart & Pie Recipes You Might Love: