
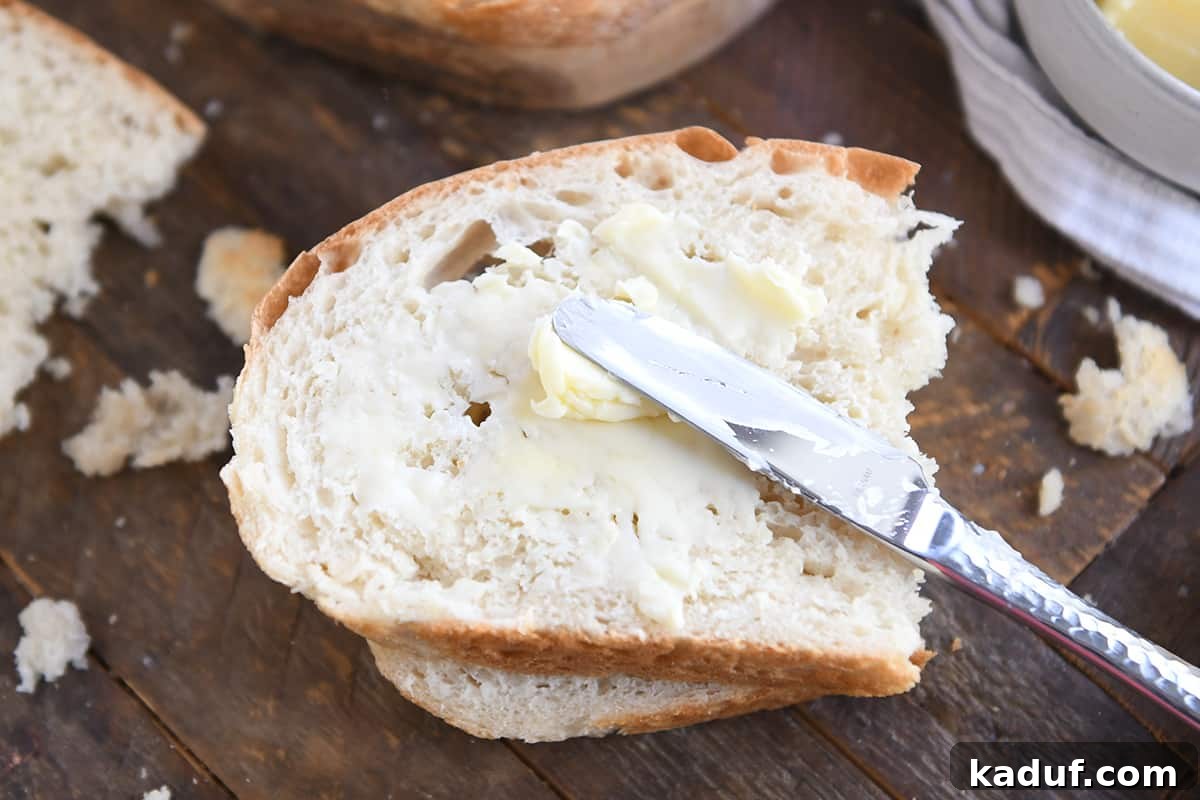
This easy no-knead peasant bread is an absolute revelation for home bakers! Incredibly simple to prepare, it yields a loaf that is wonderfully soft, delightfully fluffy, and unbelievably delicious. Once you try it, you’ll find yourself making it again and again!
I’ve been eagerly anticipating the moment I could share this particular bread recipe with you. It’s no exaggeration, not even a little bit, to say that it has completely transformed how we approach homemade bread in our kitchen. Forget complex techniques or specialized equipment; this recipe simplifies the art of baking without compromising on taste or texture.
In just the past month, I’ve baked this bread at least ten times, each loaf as perfect as the last. It has graced our dinner table when entertaining guests, served as a thoughtful gift for friends, and even satisfied a spontaneous craving for freshly baked bread on a quiet afternoon. Its consistent success and irresistible charm make it a true kitchen hero.
The Evolution of No-Knead Bread: Why This Peasant Loaf Stands Out
The concept of no-knead bread has certainly been a popular trend in home baking for years. Many recipes feature wet, loose doughs that are formed into rustic, shaggy loaves and often baked in a Dutch oven to achieve that signature crust and tender interior. You might already be familiar with some variations, such as classic artisan no-knead bread or a fantastic rustic crusty bread.
However, this specific peasant bread recipe carves out its own unique and remarkable place in the world of no-knead baking. It’s not just another no-knead recipe; it’s an elevated experience that offers unparalleled simplicity and incredible results. Here’s what truly sets this Easy No-Knead Peasant Bread apart:
- **Effortless Preparation:** It’s even more straightforward and user-friendly than many other no-knead bread recipes, making it ideal for beginners and seasoned bakers seeking convenience.
- **No Special Equipment Needed:** Forget the requirement for a heavy Dutch oven or an expensive baking stone. This recipe liberates you from specialized tools.
- **Versatile Baking Pans:** You can achieve perfect results using a variety of common, everyday baking pans you likely already own, such as a pie plate or a loaf pan.
- **Faster Rising Times:** Unlike some no-knead methods that demand overnight fermentation, this recipe delivers a delicious loaf without excessively long waiting periods.
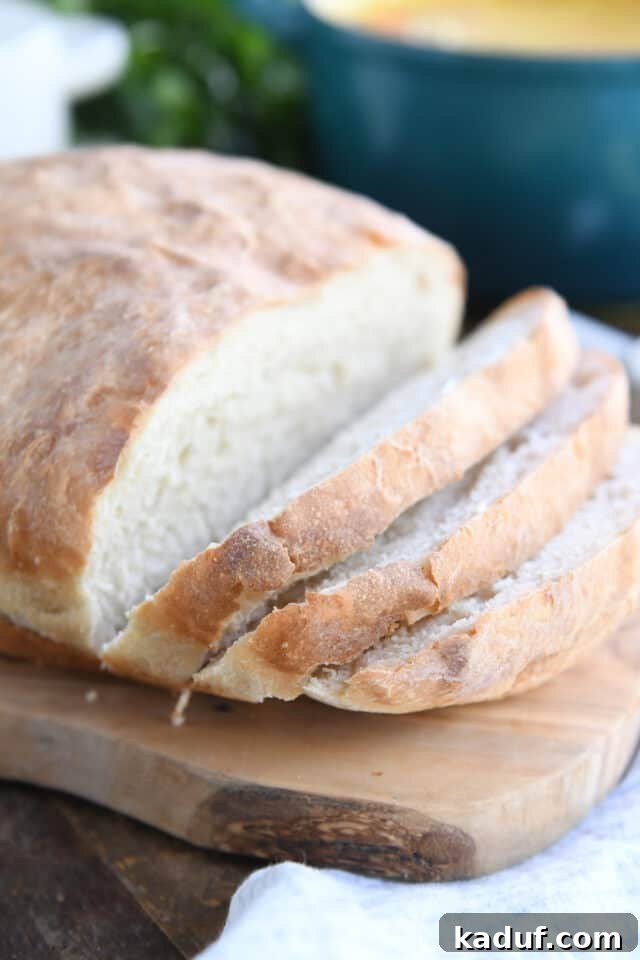
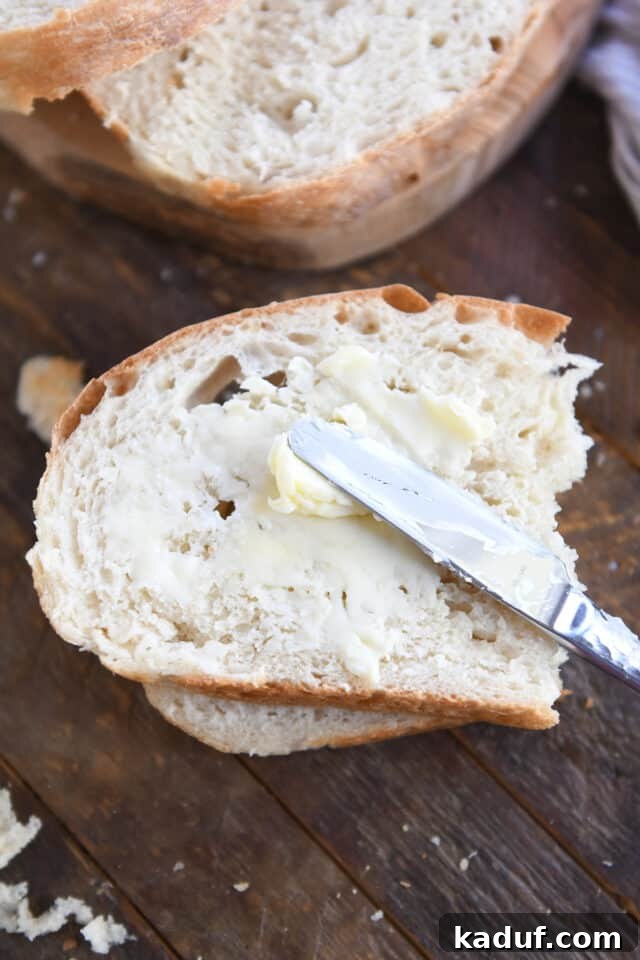
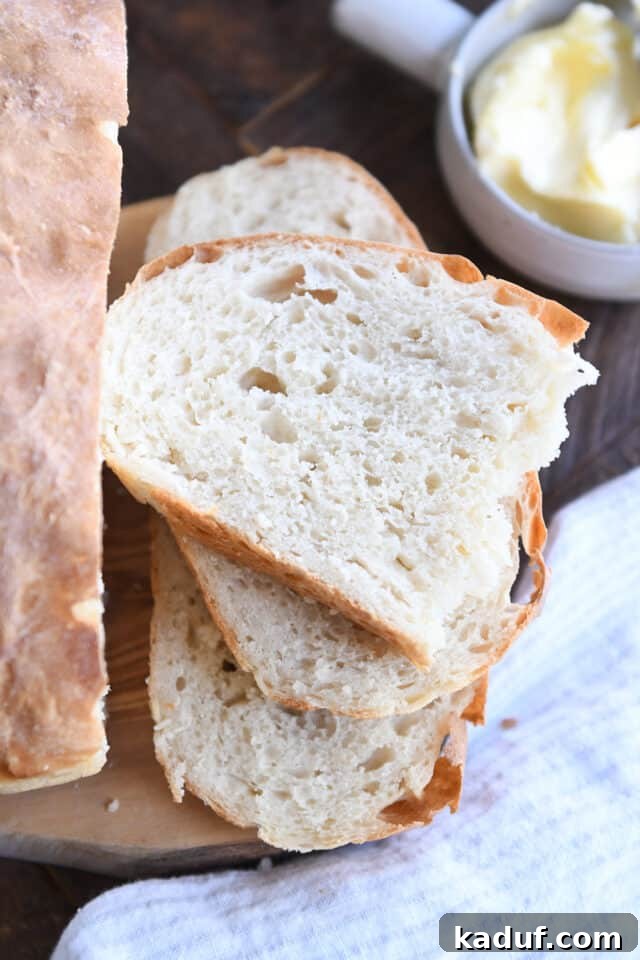
The interior crumb of this peasant bread is exceptionally soft and fluffy, dissolving in your mouth with every bite. The crust, on the other hand, bakes to a beautiful golden hue, offering just the perfect amount of delightful crispness and chewiness without being so hard that it irritates your palate. It’s the ideal balance of tender and toothsome.
Crafting Your Own Peasant Bread: A Step-by-Step Guide
Making this peasant bread is refreshingly simple, requiring minimal effort for maximum reward. The process begins in a large mixing bowl where you’ll combine the dry ingredients. Whisk together the all-purpose flour, a touch of granulated sugar, salt, and instant yeast. These form the foundational flavors and structure of your bread.
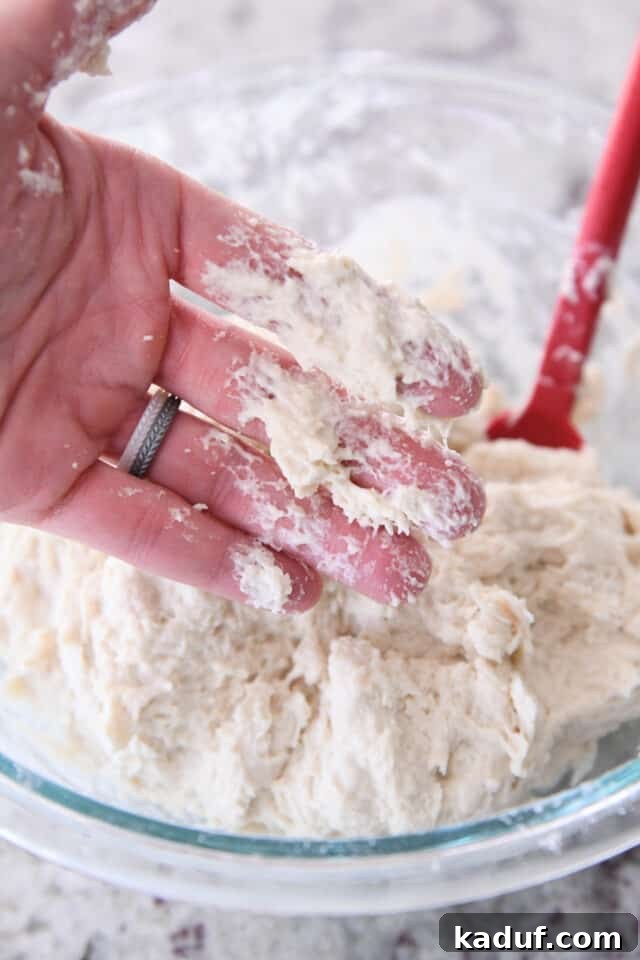
Next, pour in the warm water. Using a sturdy rubber spatula or a wooden spoon, stir the mixture until all the ingredients are thoroughly combined and no dry streaks of flour remain visible. At this stage, the dough will be quite wet, forming a shaggy, sticky mass. This texture is precisely what you’re aiming for! Resist the temptation to add more flour; this high hydration is key to achieving that signature soft, fluffy interior without any kneading.
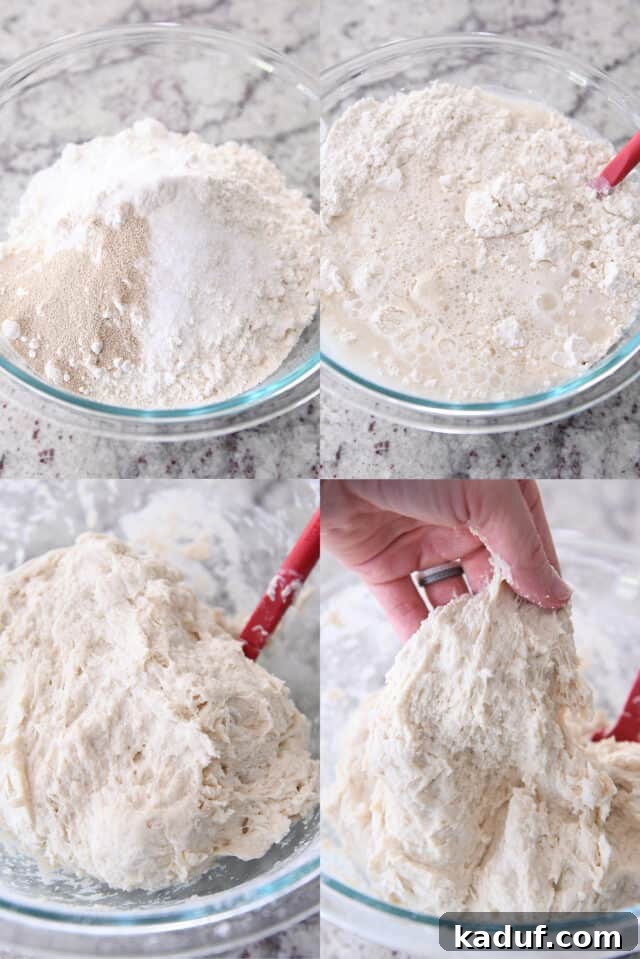
It’s perfectly normal for the dough to feel incredibly sticky to the touch. If you were to pinch a bit between your fingers, you’d find a fair amount of dough residue left behind. This stickiness is a desirable characteristic, as it’s the secret behind skipping the traditional kneading process. The ample moisture in the dough encourages gluten development without mechanical manipulation, resulting in a beautifully airy and tender crumb.
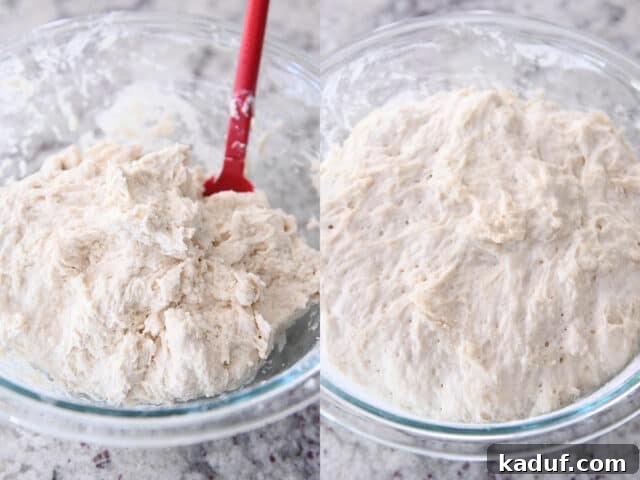
Once your dough is mixed, simply leave it in the bowl, cover it with plastic wrap or a clean kitchen towel, and allow it to rise at room temperature until it has visibly doubled in size. This typically takes about 1 to 1.5 hours, depending on the warmth of your kitchen. Watch for a puffy, expanded appearance, indicating the yeast has done its work.
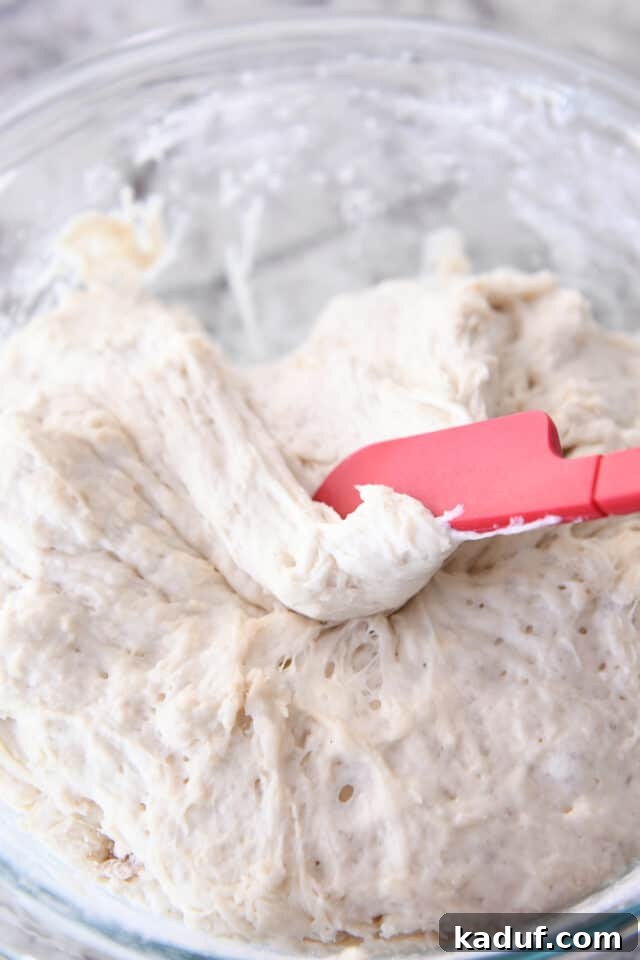
After the first rise, the dough will be gloriously puffy and expanded. Grab your rubber spatula once more and gently begin scraping the risen dough away from the sides of the bowl. This action helps to release some of the trapped air and allows the dough to form a rough, messy ball in the center of the bowl. Don’t worry about perfection; this initial shaping is just to bring the dough together before its final form.
Mastering the Art of Shaping Soft, Sticky Dough
Now comes what some might consider the “fun” part – shaping your delicate, sticky dough. It’s true that working with a high-hydration dough like this can be a bit messy, but with a few simple tricks, you’ll find it surprisingly manageable and even enjoyable. Remember, the goal isn’t a pristine, bakery-perfect loaf, but rather a charmingly rustic one!
- **Embrace the Rustic Charm:** Let go of any notions of perfection. Peasant bread is meant to have a lovely, rustic appeal. Minor imperfections in shape add to its character.
- **Grease Your Hands:** This is perhaps the most crucial tip! Lightly coat your hands with cooking spray or a small amount of oil. This creates a barrier that prevents the sticky dough from adhering to your skin, making a world of difference in handling.
- **Work Quickly and Efficiently:** Handle the dough with confidence and speed. Over-handling or aggressively manipulating the dough will lead to frustration and can deflate the precious air bubbles you’ve worked so hard to create, resulting in a dense loaf. A few quick lifts, folds, and tucks are all you need.
To give you a clearer visual, here’s a quick video demonstrating how I gently shape this dough into a round loaf. You’ll see I’m simply lifting, gently folding, and tucking the edges underneath a few times until it forms a reasonably decent round shape. The key is to be light-handed and let the dough guide you.
You’ll notice that even with careful handling, my hands still end up with a bit of dough on them at the end. Don’t stress over it! Feel free to reapply a little more cooking spray or oil if needed. It’s all part of the rewarding journey of baking homemade bread, and the delicious result is well worth it.
Uncovering the Ideal Baking Pans for Perfect Peasant Bread
The original no-knead peasant bread recipes often recommend baking in oven-safe bowls, such as Pyrex. While this method can work, I personally had a rather traumatic experience in the past with Pyrex bowls shattering when removed from a hot oven. This incident led me on a determined quest to discover reliable, non-bowl solutions for baking this magnificent bread.
I’m not suggesting you *shouldn’t* use an oven-safe bowl if you feel confident, but I want to assure you that I’ve successfully developed several fantastic alternatives that you most likely already have readily available in your kitchen. My journey involved extensive testing, baking this bread in various vessels including a Dutch oven, on a baking stone, in a round cake pan, and several other pan types.
After all that experimentation, I’ve confidently settled on a particular baking pan that performs amazingly well and consistently produces a loaf that is truly PERFECT in shape, texture, and crust development:
A standard 9-inch pie plate.
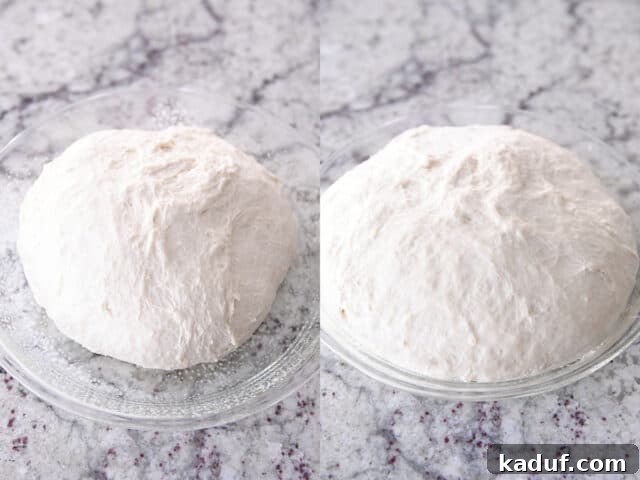
The gentle slope of the pie plate’s sides provides crucial support, helping to stabilize the loaf’s shape as it undergoes its final rise and bakes. This design prevents the wonderfully wet dough from spreading out excessively and flattening, ensuring a beautifully rounded, tall loaf with a delightful texture. The 9-inch pie plate is my go-to, delivering consistent, stunning results.
The peasant bread bakes up beautifully in a 9-inch pie plate, whether glass or metal! This is my preferred method, used 99% of the time I bake this bread. And if I haven’t made it abundantly clear yet: I have made this bread so. many. times. You can absolutely trust my recommendation on this one.
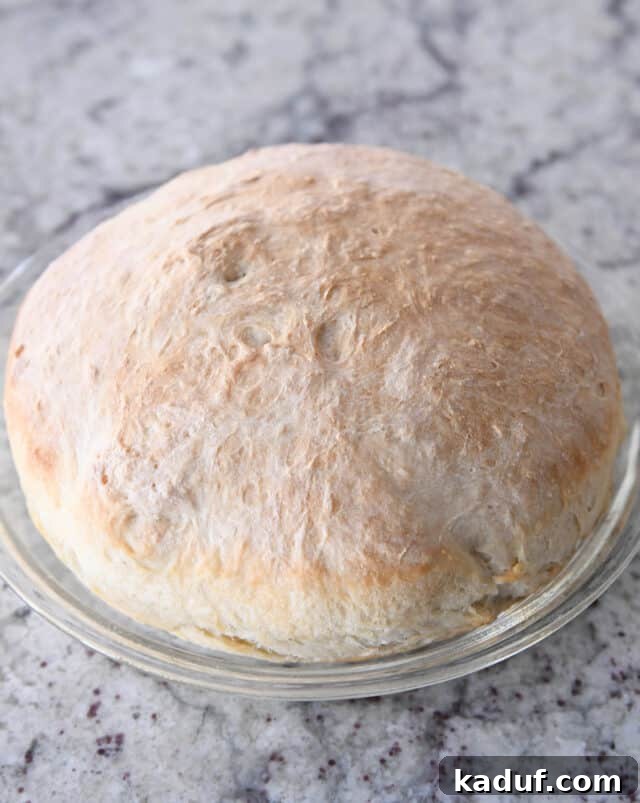
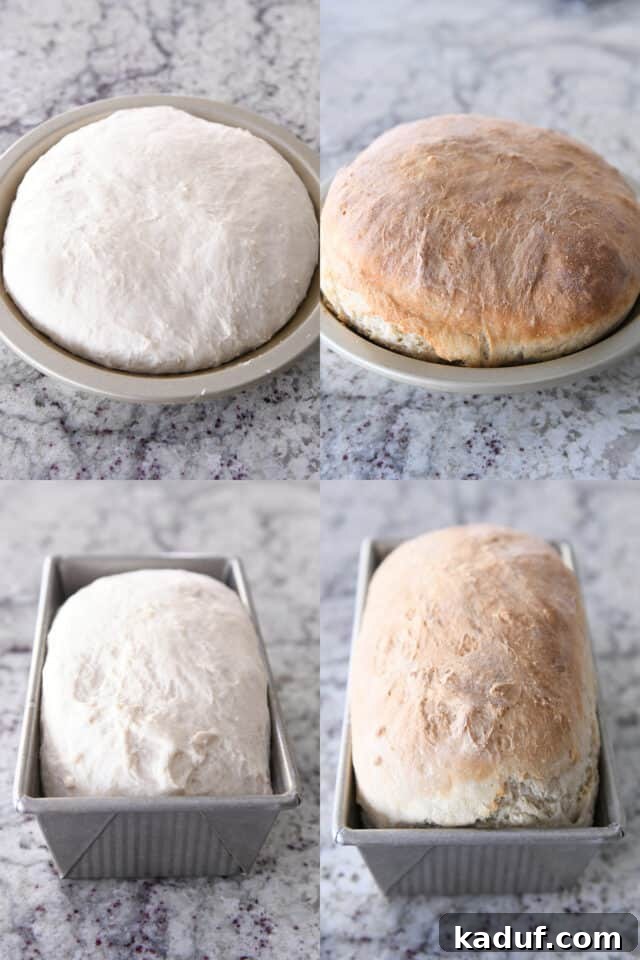
For those who prefer a slightly crispier exterior, a **metal pie plate works just as wonderfully**. In fact, it often contributes to a more pronounced, crusty texture compared to glass, which tends to bake a softer crust. Both yield fantastic results, allowing you to tailor the crust to your preference.
Furthermore, this versatile bread bakes exceptionally well in a standard loaf pan. If you opt for a loaf pan, aim for a more rectangular shape when gently tucking and forming your dough – but again, don’t overthink it! Simply plop the shaped dough into a generously greased loaf pan, and prepare yourself for one of the best homemade breads you’ll ever experience. The loaf pan provides excellent structure, ensuring a uniform, sliceable loaf perfect for sandwiches.
Why This is Truly the Best Easy No-Knead Peasant Bread You’ll Make
I cannot stress enough how utterly remarkable this easy, no-knead peasant bread is. It’s more than just a recipe; it’s an invitation to experience the sheer delight of homemade bread with minimal fuss. I implore you, beg you, even tempt you to try it as soon as possible! You’ll earn all the accolades for baking impressive homemade bread with hardly any effort, and critically, you won’t be sacrificing an ounce of flavor or texture for its simplicity.
This isn’t a “good for a no-knead” bread; it is straight up some of the most delicious homemade bread you will ever taste. The delicate, open crumb, the subtle sweetness, and that perfect crust make it irresistible. It’s phenomenal fresh from the oven, slathered with butter, dipped in olive oil, or used as the base for incredible sandwiches. It pairs beautifully with hearty soups, complements any breakfast spread, and elevates a simple dinner.
Now that I’ve discovered this brilliant method, I find myself constantly turning to this peasant bread recipe. It has quickly become our family’s go-to bread for just about every occasion. Whether you’re a complete novice in the kitchen or a seasoned baking enthusiast, this recipe is designed for resounding success. Please, promise me you’ll try baking this simple, soft, and utterly delicious loaf very, very soon!
One Year Ago: Mel’s Holiday Gift Guide: His + Hers
Two Years Ago: Perfect Homemade Caramel Apples
Three Years Ago: Perfect Small Batch Cinnamon Rolls
Four Years Ago: Easy Homemade French Bread
Five Years Ago: Harvest Pasta Sauce {Trader Joe’s Copycat}
Six Years Ago: Peanut Butter Cup Cheesecake with Chocolate Cookie Crust
Seven Years Ago: Gourmet Caramel Apples + Free Printable Handout
Eight Years Ago: Black Bean and Butternut Enchilada Skillet
Nine Years Ago: Peanut Butter Oatmeal Chocolate Chip Cookies
Ten Years Ago: Pumpkin Cookies with Caramel Frosting

Easy No-Knead Peasant Bread
10 slices (1 large loaf or 2 smaller loaves)
15 mins
35 mins
1 hr 20 mins
2 hrs 10 mins
4.84 stars (261 ratings)
Pin Recipe
Rate This Recipe
Ingredients
- 4 cups (568 g) all-purpose flour (see note)
- 1 ½ teaspoons salt (see note)
- 2 teaspoons granulated sugar
- 1 tablespoon instant yeast (see note)
- 2 cups warm water
Instructions
- In a large bowl, combine the flour, salt, sugar, and yeast. Whisk them together until well blended. Add the warm water and mix with a rubber spatula or wooden spoon. Continue stirring until all ingredients form a shaggy, sticky ball of dough, ensuring no dry streaks of flour remain.
- Cover the bowl (with plastic wrap or a clean kitchen towel) and let the dough rise in a warm spot until it has doubled in volume. This typically takes about 1 to 1.5 hours.
- While the dough rises, place an oven rack in the center position and preheat your oven to 425 degrees F (220 C). Generously grease a 9-inch pie plate or an 8.5 x 4.5-inch loaf pan with cooking spray or oil. (Refer to the notes section for other pan size options).
- Once the dough has risen, use a rubber spatula to gently scrape it away from the sides of the bowl, guiding it to form a rough ball in the center. Lightly grease your hands with cooking spray or oil, then gently shape the dough into a round loaf (if using a pie plate) or a rectangular loaf (if using a loaf pan), tucking the edges underneath. Place the shaped dough into your prepared pan. Remember, the loaf doesn’t need to be perfectly smooth; a rustic appearance is part of its charm!
- Let the shaped dough rest, uncovered, in the pan for an additional 15-20 minutes. During this time, it should become slightly puffy again.
- Bake the bread in the preheated oven for 15 minutes. After 15 minutes, reduce the oven temperature to 375 degrees F (190 C) and continue baking for another 15-20 minutes, or until the crust is beautifully golden brown and the internal temperature reaches 200-210°F (93-99°C).
- Remove the bread from the oven and carefully transfer it to a wire rack to cool completely before slicing and serving.
A detailed recipe video demonstrating the entire process, from mixing to baking, is available for visual guidance. Please check the original article for the full video embedded content.
Notes
Flour: I primarily use all-purpose flour for this recipe, which yields excellent results. I have also successfully tested it with 50% whole wheat flour, and it works great, producing a slightly denser but equally delicious loaf. Additionally, white wheat flour and einkhorn wheat flour have performed well. Be aware that other varieties of wheat flour might result in a more dense or heavy final product.
Salt: This recipe uses standard table salt. If you are using coarse or kosher salt, I recommend increasing the amount to 2 to 2.5 teaspoons to achieve the same level of seasoning.
Yeast: I use instant yeast for its convenience. While I haven’t specifically tested this recipe with active dry yeast, it should work with a minor adjustment: first, dissolve 1 tablespoon of active dry yeast in 1/4 cup of warm water and let it sit until foamy and bubbling (about 5-10 minutes). Then, decrease the total water in the recipe by 1/4 cup and use this yeast mixture when adding the remaining water.
Baking Pans: My preferred method is to bake the entire dough as one large loaf. However, for smaller portions or individual servings, the dough can be divided into two equal pieces and baked in smaller bowls or pans, each approximately 1 quart in size. Many bakers opt for greased Pyrex bowls, but based on my experience, I find that a 9-inch pie plate or a standard loaf pan consistently yields a superior shape and crust.
Doubling the Recipe: This recipe is perfect for scaling up! I frequently double the ingredients and bake two loaves simultaneously, which is ideal for larger families or for sharing.
Mel Gunnell
Bread
American
Bake
Recommended Products
Recipe Source: Adapted slightly from a recipe generously shared by Katherine B., a long-time reader (thank you, Kat!). The original inspiration comes from this recipe at Food52 and also drawing from Alexandra Stafford’s blog, which offers many variations. My adaptation primarily involved optimizing it for baking in a pie plate or loaf pan, and slightly adjusting the flour and yeast quantities for consistency and ease.