
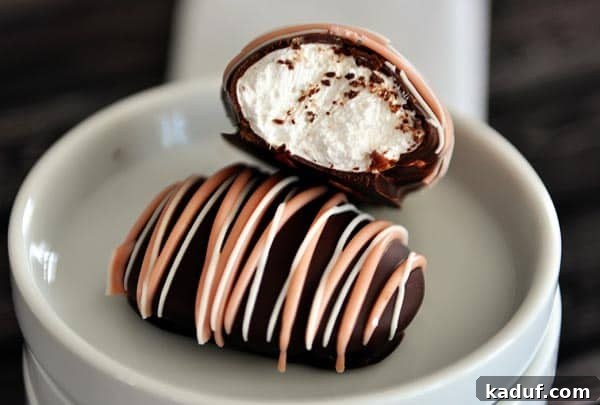
Delicious Homemade Marshmallow Easter Eggs: A Step-by-Step Guide
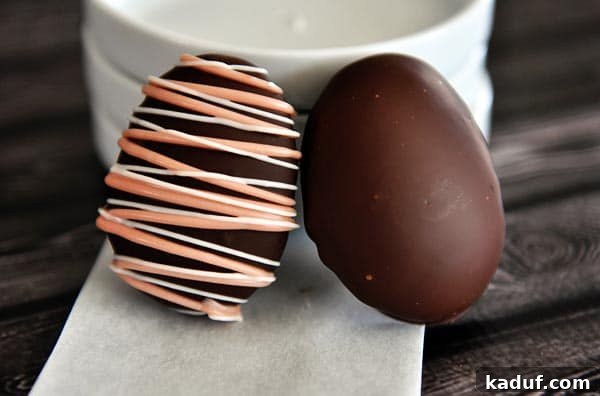
Easter brings with it a delightful array of seasonal treats, but few can compare to the charm and exquisite taste of homemade marshmallow Easter eggs. Imagine soft, fluffy marshmallows, perfectly shaped into festive eggs, and then enveloped in a luxurious coating of rich, melted chocolate. This isn’t just a recipe; it’s an experience that transforms a simple kitchen project into a memorable tradition. Forget store-bought sweets; these chocolate-covered marshmallow eggs are surprisingly easy to make and guaranteed to be a hit with family and friends. Get ready to embark on a sweet adventure with our comprehensive step-by-step tutorial.
The Irresistible Appeal of Homemade Marshmallows
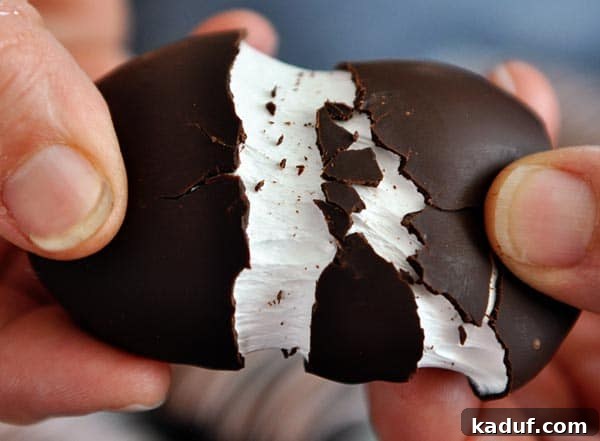
For many years, the idea of making marshmallows from scratch felt daunting, almost like a culinary myth reserved for professional bakers. Why bother when a bag of store-bought marshmallows is so readily available? However, experiencing the unparalleled texture and fresh flavor of homemade marshmallows is a true revelation. They are incredibly soft, light, and airy, melting in your mouth with a delicate sweetness that commercial versions simply cannot replicate. Once you’ve tasted the difference, there’s no going back. This recipe, in particular, showcases just how simple and rewarding the process can be, especially when combined with the festive fun of Easter egg shapes and a decadent chocolate shell.
A Family Tradition: Inspired by Aunt Laurie’s Famous Easter Eggs
The inspiration for these delightful Easter treats comes from a cherished family tradition, courtesy of my incredible Aunt Laurie. In her Idaho town, she’s renowned for her marshmallow eggs, crafting hundreds of them each year to share with loved ones. She is, without a doubt, a true expert in the art of chocolate-covered homemade marshmallow Easter eggs – a title I believe ranks among the most admirable. Her dedication to this sweet craft sparked my curiosity, leading me to try my hand at these famed confections. The result was not only a delicious success but also one of the most enjoyable kitchen projects my children and I have undertaken together recently.
Making Memories: A Fun Project for the Whole Family
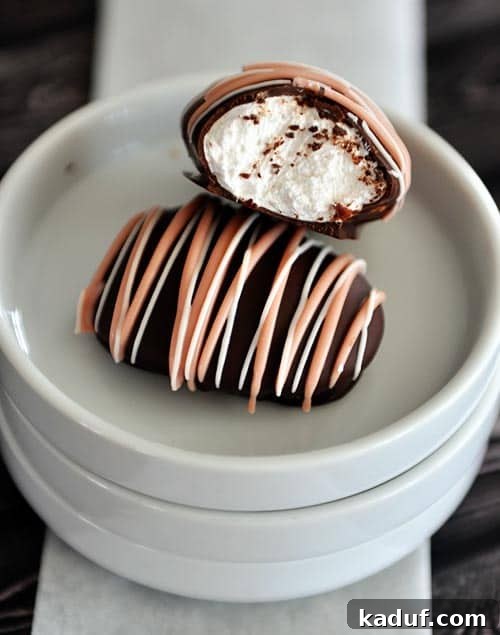
While the initial stages of marshmallow making involve handling boiling sugar syrup – a task best reserved for adults – there are plenty of exciting ways to involve younger helpers in the kitchen. Creating the flour molds for the eggs is a tactile and engaging activity that children adore. They can lightly press plastic (or even real) eggs into the flour, meticulously spacing out the indentations. Once the marshmallow mixture is whipped and cooled, scooping it into these molds becomes another fun step. And, of course, the most crucial role for any child in the kitchen: taste testing! Although marshmallows can be a bit sticky and create a delightful mess, embracing the process and allowing for some playful stickiness is part of the charm. This project fosters creativity and provides a wonderful opportunity for shared moments, culminating in a batch of irresistible treats everyone can be proud of.
Beyond Expectations: The Ultimate Easter Marshmallow
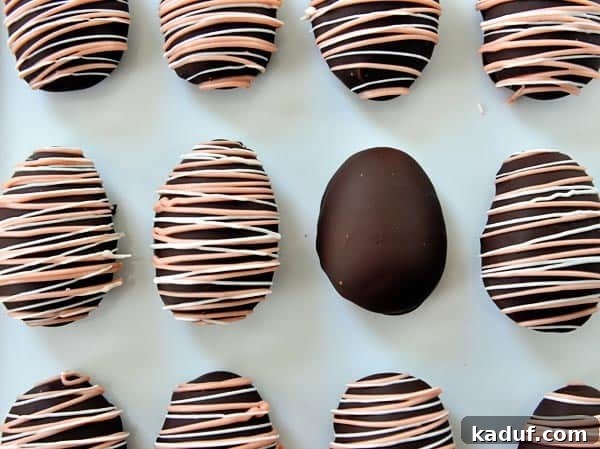
These homemade marshmallow Easter eggs aren’t just cute; they are phenomenally delicious. Their light, cloud-like texture and delicate sweetness truly elevate them far beyond any store-bought alternative. If you’re accustomed to traditional Easter confections like Peeps (no offense intended to their fans!), prepare for a superior experience. The magic truly happens when these impossibly soft marshmallows are enrobed in a layer of high-quality chocolate, such as Ghirardelli bittersweet chocolate. The slight bitterness of the chocolate perfectly complements the sweet, fluffy marshmallow, creating a harmonious balance of flavors and textures that is utterly divine. Each bite offers a delightful contrast, making these treats not just a seasonal indulgence but a truly gourmet experience.
Your Guide to Perfect Marshmallow Eggs
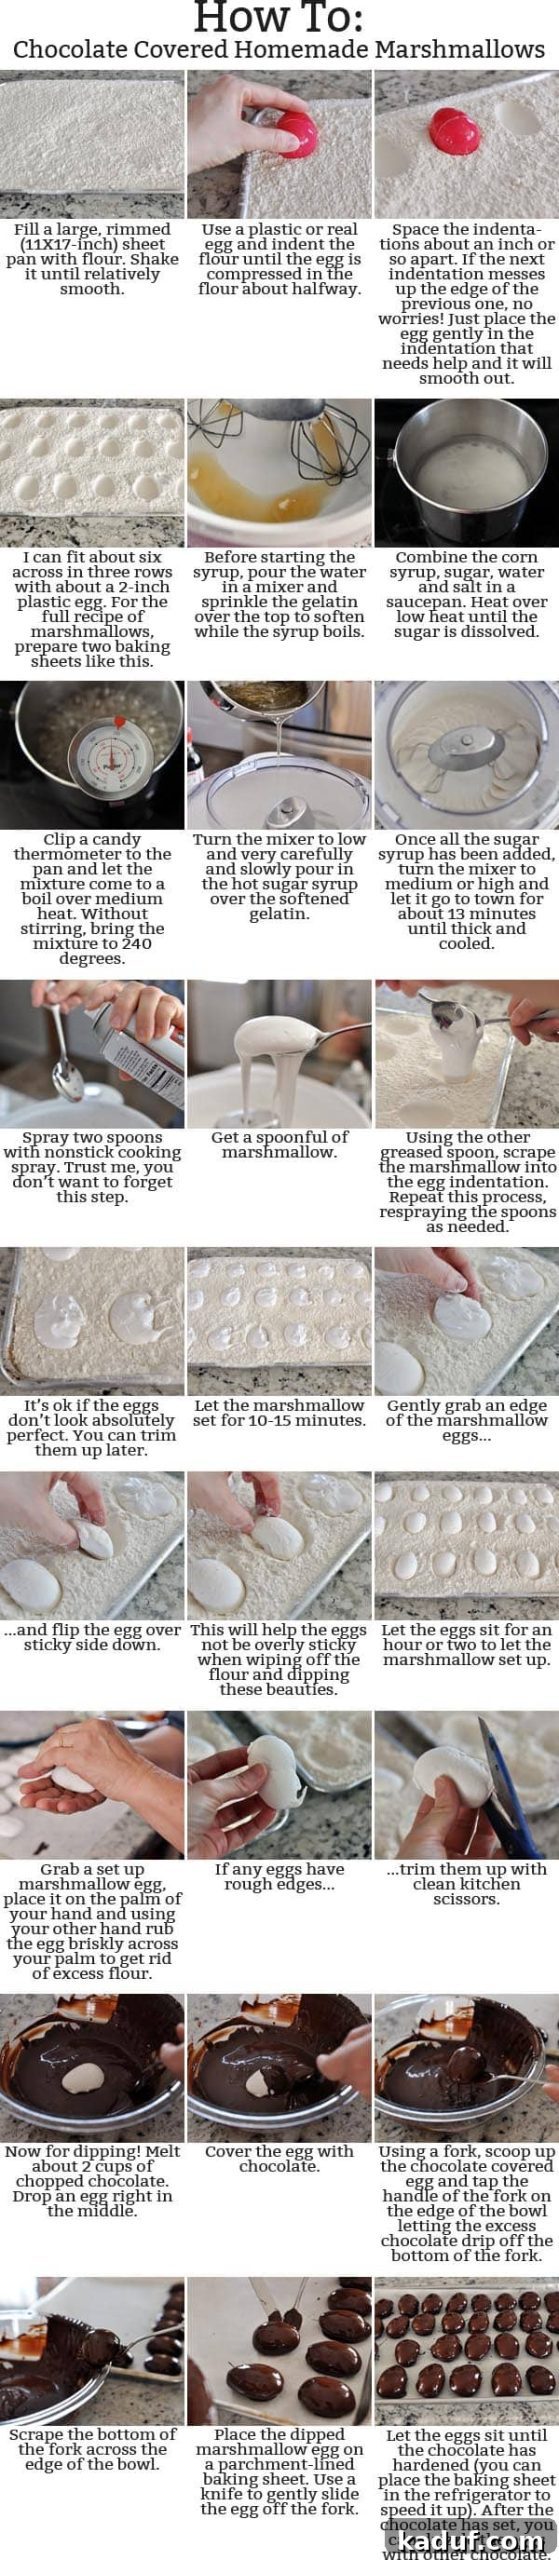
To ensure your success, we’ve included an in-depth picture tutorial further down the page (a special thanks to my wonderful mom for her excellent hand modeling!). While the detailed visuals are there to guide you, please know that this process is far simpler than it appears. If you can press egg shapes into flour, operate a stand mixer to whip up a fluffy mixture, and maintain a sense of humor if a few marshmallow strings decide to cling to your hair (it’s part of the fun!), then you are more than capable of creating these treats. The satisfaction of crafting your own beautiful, chocolate-covered, egg-shaped marshmallows is immense. Make these homemade marshmallow Easter eggs your next joyful kitchen project!

Homemade Marshmallow Easter Eggs
Pin
Ingredients
Marshmallows:
- ½ cup cold water
- 3 envelopes unflavored gelatin
- 1 ½ cups (318 g) granulated sugar
- 1 cup light corn syrup
- ½ cup water
- ¼ teaspoon salt
- 1 tablespoon pure vanilla extract
Other:
- Lots of all-purpose flour
- 2 cups (340 g) chopped chocolate or good-quality chocolate chips for dipping
- Sprinkles or colored chocolate wafers for drizzling
Instructions
-
To start, fill two large, rimmed baking sheets (11X17-inch) with flour, shaking to get a mostly even layer. Using a plastic Easter egg (you can also use a real egg or other egg-shape object for the mold), press lightly into the flour to make egg molds. Space the indentations about 1-2 inches apart. If the next indentation messes up the sides of the first indentation, don’t stress. Simply press the egg shape lightly into each indentation that needs the edges fixed a bit. Using a 2-inch (in length) plastic egg, I make about 6 indentations across in 3 rows for a total of 18 indentations for each sheet pan. Set the sheet pans carefully aside.
-
For the marshmallows, pour the cold water into the bowl of an electric stand mixer fitted with the whisk attachment (you can do this without a stand mixer, but you’ll need to use an electric handheld mixer that won’t burn out after 10 or so minutes of mixing) and sprinkle the gelatin over the top, letting it soften.
-
While the gelatin softens, combine the sugar, corn syrup, water, and salt in a medium saucepan and heat over medium-low heat until the sugar dissolves. Clip a candy thermometer to the side of the pan and increase the heat to medium. Let the mixture come to a boil and continue cooking without stirring until the syrup reaches 240 degrees F on the thermometer.
-
Turn the mixer to low speed and (carefully!) pour the hot syrup into the mixer in a slow and steady stream. Once it has all been added, turn the mixer to medium or high and let the mixer whip the mixture for 10-13 minutes, until the mixture is cooled and is thick and fluffy. You don’t want it to mix quite as much as when making marshmallows that will be poured into a pan to later be cut into squares. The mixture should be slightly softer than that so that it molds to the egg indentations made in the flour. Mix in the vanilla extract.
-
Grease two spoons with cooking spray and carefully scoop spoonfuls of the marshmallow mixture into the indentations in the flour (see the pictures below, if needed). Once all the egg molds are filled with marshmallow, let them sit for 10-15 minutes.
-
Once slightly set, gently lift an edge of the marshmallow and carefully flip over so it is now sticky-side down in the flour. Don’t press on it or push it into the flour, just let it gently sit on the top of the flour.
-
Let the marshmallows set for 1-2 hours (or up to overnight – covered loosely with plastic wrap).
-
Take each marshmallow egg and rub it briskly with the palms of your hands to remove any excess flour. It’s ok if there is still a very light coating of flour on the egg – it won’t be noticeable after the egg is covered in chocolate. All the excess flour can be poured right back into the flour bag/container.
-
Melt the chocolate over low heat or in the microwave on 50% power in 1-minute increments until melted and smooth. To prevent blooming (the white streaks in chocolate after it has set), stir in a bit of reserved finely chopped chocolate into the hot, melted chocolate to lower the temperature just a bit.
-
One by one, drop a marshmallow egg into the chocolate. Using a fork, cover the egg in chocolate. Lift the egg up onto the fork and tap the handle of the fork on the edge of the bowl to let the excess chocolate fall through the tines of the fork into the bowl. Gently scrape the bottom of the fork on the edge of the bowl and then transfer the egg to a parchment or wax paper lined baking sheet, using the edge of a butter knife to help slide the egg off the fork onto the parchment.
-
Repeat with the remaining eggs. If using sprinkles, toss them lightly on the eggs while still wet with chocolate. Place the eggs in the refrigerator to let the chocolate set. After the chocolate has set, colored melting wafers or other chocolate can be drizzled over the eggs.
-
Store in the refrigerator for up to a week.
Notes
Corn Syrup: I know corn syrup is the devil to some people and I, like many of you, don’t use it very often; however, I’m not opposed to using it for specialty treats like this a couple times a year. If you are looking for a substitution, you’ll have to google or experiment as I haven’t tried subbing anything for it in these homemade marshmallows. PS: In case you are trying to work out the ins and outs of corn syrup, while it isn’t healthy by any means, don’t get it confused with high fructose corn syrup (HFCS) – they are two different things (both made from corn but HFCS has much of the glucose in corn syrup converted to fructose to make it much, much sweeter). Moderation, friends, moderation.
Video Tip: here’s a quick video tip on tempering/melting chocolate and another on dipping things in chocolate like a pro.
Chocolate: my preferred brand of chocolate is Ghirardelli.
Recommended Products
Recipe Source: adapted slightly from my Aunt Laurie (who is famous for her chocolate-covered marshmallow eggs!), marshmallow recipe from Ina Garten