
Welcome to the ultimate pie-making boot camp! Get ready to unlock the secrets of crafting perfect homemade pies with ease. This comprehensive guide is designed to demystify the art of pie making, proving that you don’t need a professional pastry chef’s kitchen to achieve bakery-quality results. Today, we’re kicking off our journey by exploring the essential pie making equipment – prepare to be surprised by how simple your setup can be!
The wait is over! After weeks of anticipation, our much-awaited pie making boot camp officially begins today.
This October, mark your calendars because every Friday, a new segment of this exciting pie making bootcamp will be unveiled. My enthusiasm is almost overflowing!
Our Mission: Empowering Your Pie Journey
Our primary goal is to transform any trepidation you might have about baking homemade pie into genuine comfort and excitement. We’re here to demonstrate that the process is not only straightforward but genuinely enjoyable and achievable for everyone.
There’s a unique and profound sense of accomplishment that washes over you when you pull a beautifully golden, perfectly baked pie, bursting with aroma, from your oven. It’s a moment that truly makes all the effort worthwhile.
While I wouldn’t claim to be a pie-making expert, my journey over the years has involved baking countless pies and pie crusts, gathering a wealth of knowledge and practical experience along the way.
Over the coming weeks, this bootcamp will delve into every aspect of pie creation. We’ll tackle common questions like, “Why does my pie crust shrink during baking?” and share indispensable troubleshooting tips. You’ll discover the no-fail pie crust recipe that will change your baking game (and yes, it’s a brand new one!). We’ll cover essential pie making equipment, from basic tools to clever shortcuts. And, of course, I have some truly sensational new pie recipes just waiting to be shared with you.
A quick note on transparency: Today’s discussion about essential pie supplies includes affiliate links for items I’ve personally purchased and recommend from Amazon. Please be assured, this content is not sponsored, and I encourage you to always seek out the best deals available.
Let’s dive right into the core of today’s lesson: the fundamental equipment for making incredible pies.
When it comes to the world of pie making, you’ll encounter a myriad of methods, opinions, and personal preferences. It’s a vast culinary landscape!
Respecting these diverse approaches, my aim over the next few weeks is to share what has consistently worked for me in my kitchen. My techniques and equipment choices may not perfectly align with how everyone else bakes, but I’ve diligently strived to find a sweet spot. This balance involves identifying truly necessary tools and techniques without succumbing to overly fussy practices or requiring an exorbitant investment in every shiny new gadget.
A Down-to-Earth Approach to Homemade Pie
This bootcamp embodies a practical, no-frills philosophy for baking pie. I genuinely believe that with the right guidance and a few key tools, anyone can confidently bake pies like a true culinary rock star!
Essential Equipment for Perfect Pie Crusts
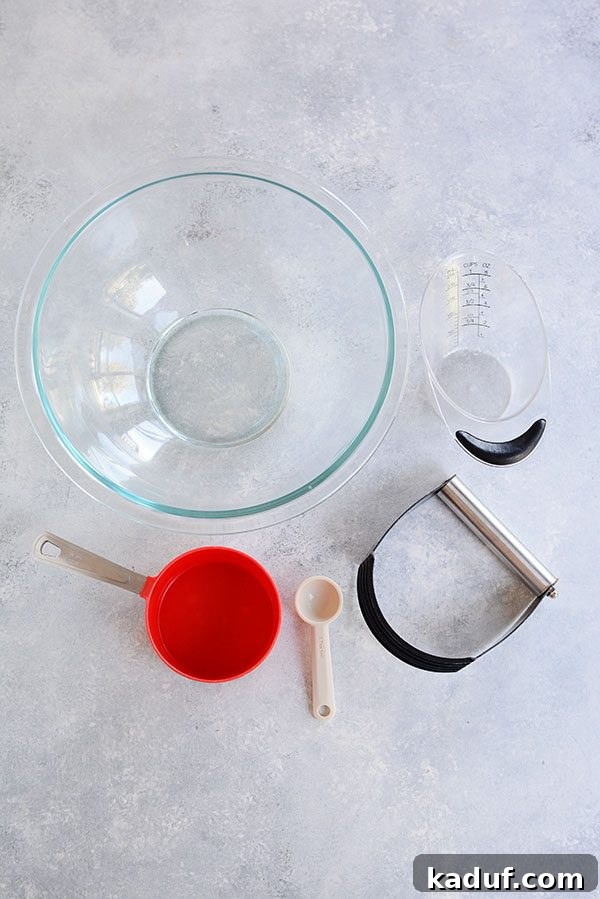
Let’s take a quick look at the fundamental tools I rely on for making flawless pie crusts:
Mixing Bowls: Your Foundation for Flavor
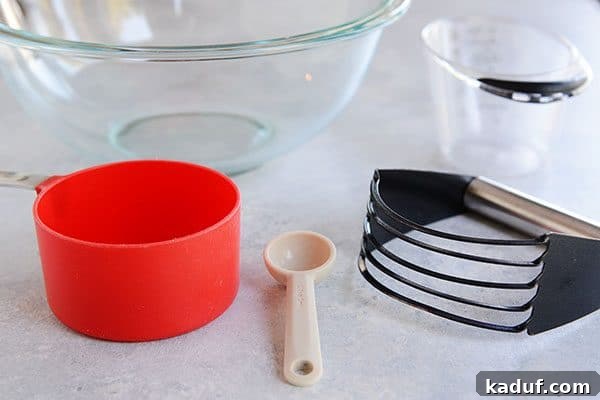
Glass Bowl: My go-to choice, and a versatile workhorse for countless kitchen tasks beyond just pie. I use inexpensive Pyrex bowls. Glass bowls are ideal because they are non-reactive, meaning they won’t impart any unwanted flavors to your ingredients, and their transparency allows you to easily monitor the mixing process. While a food processor offers an alternative method for mixing pie crust (and I frequently use mine for speed), it is absolutely, unequivocally not a necessity for achieving an amazing homemade pie crust. You can achieve fantastic results with just a bowl and the right technique.
Precision in Measurement: The Key to Consistent Baking
Measuring Cups and Spoons: Accuracy in baking is paramount, and your standard measuring cups and spoons are essential. Don’t worry about brand names here; simply use what you already have in your kitchen. Whether they’re from IKEA like my trusty red measuring cup or a different manufacturer, as long as they provide accurate measurements, they’ll do the job perfectly.
Liquid Measuring Cup: Distinct from dry measuring cups, a liquid measuring cup is crucial for accurately adding liquids like ice water to your pie crust. I personally favor the easy-view liquid measuring cups from Pampered Chef (I love them so much, I own two sets!), but this similar option works wonderfully. The transparent design and pour spout make it easy to measure precisely at eye level, preventing over or under-adding liquids – a common pitfall in pie crust making.
Cutting in Fat: The Secret to Flaky Layers
Pastry Blender: I consider a pastry blender to be a fairly indispensable tool for pie making. Its design allows you to efficiently cut cold butter or shortening into your dry ingredients, creating the small, pea-sized pieces of fat crucial for developing a wonderfully flaky crust. The only exception might be if you’re grating frozen butter on a box grater for an all-butter crust, which you can see in action in a video at the bottom of this pie making tutorial. Even then, a pastry blender is inexpensive and incredibly handy to have in your kitchen drawer. In a pinch, two butter knives or a couple of forks can be used to achieve a similar cutting motion, though with a bit more effort. (The pastry blender I linked to is a modern equivalent, as my own has faithfully served me for what feels like a bazillion years and is no longer available.)
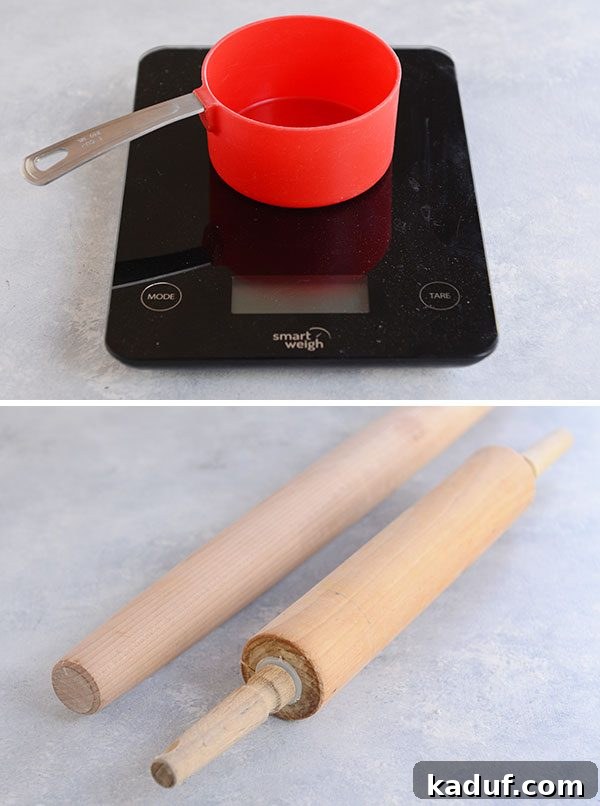
The Unsung Hero: My Kitchen Scale
I would be remiss if I didn’t take a moment to sing the praises of my kitchen scale. If you ever encounter a pie crust recipe that provides ingredient measurements by weight, I cannot implore you enough to please, please use a scale. Adopting a kitchen scale revolutionized my baking many years ago, and now I simply can’t imagine baking without it. Recipes that list ingredients by weight consistently yield superior results due to the unparalleled accuracy a scale provides. This is why, over the past couple of years, all of my baking recipes now include weight measurements.
Is a kitchen scale absolutely essential for pie making? No, not necessarily. Even my current favorite pie crust recipe doesn’t yet have weights listed. However, a scale becomes an enormous asset if the recipe you’re following *does* provide weight measures (and rest assured, the exciting new pie crust recipe I’ll be sharing next week *will* include them!). It’s an investment that pays dividends in consistent, perfect baking outcomes.
Rolling Pins: Your Partner in Dough Transformation
A Quick Note About Rolling Pins: I’ve had both a French rolling pin and a classic (dare I say, old-school) rolling pin in my kitchen. And truthfully? My children might as well use the French rolling pin as a baseball bat because I simply *never* reach for it. My allegiance is firmly with the classic rolling pin. The handles provide better grip and leverage, making the task of rolling out dough evenly a much more comfortable and controlled experience.
Optional Yet Incredibly Helpful Tools for Pie Making
While the next two items aren’t strictly mandatory for successful pie making, they have become such integral parts of my process that they absolutely deserve a mention. They genuinely simplify certain steps and enhance the overall experience.
Kitchen Shears: Precision Trimming for Pie Crusts
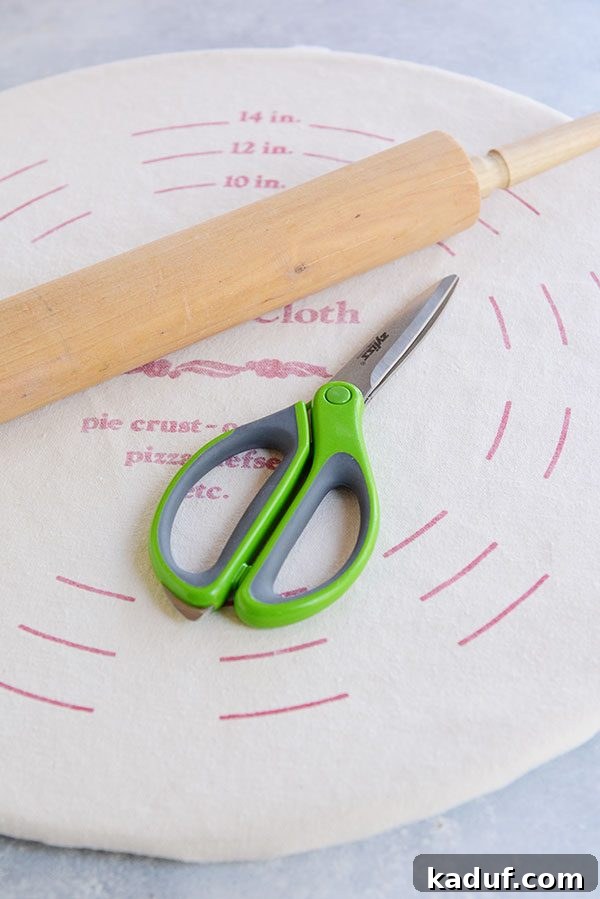
Those elegant kitchen shears you see pictured are my absolute favorite tool for neatly trimming the edges of pie crust. They provide precise control, allowing for a clean, even edge that is the foundation for beautiful fluting or crimping. (The specific Zyliss shears shown are no longer available, but I also own and highly recommend these KitchenAid ones; a baker can never have too many pairs of dedicated kitchen shears, or so I like to believe!) A little tip: I keep mine under lock and key in the kitchen to ensure they’re exclusively used for culinary tasks and don’t end up covered in glue from craft projects or used for dissecting insects outdoors!
The Game Changer: A Pastry Cloth and Board
And that fantastic canvas-covered board? It’s my ultimate pie-making ninja secret. This tool makes rolling out pie crusts so unbelievably easy, it’s almost tear-inducing! This particular Bethany board found its way into my Amazon cart years ago when I was living in Minnesota, a state where seemingly everyone and their dog makes lefse for Christmas. It was one of the best $20 investments I’ve ever made, even if I still haven’t gotten around to making lefse at home. Honestly, this pastry board is an absolute dream and a total lifesaver for anyone struggling with sticky dough. I initially worried about cleaning it, but it turns out it’s “as easy as pie” (you knew I had to sneak that in at least once!). I simply take the cloth outside, give it a good shake to remove excess flour, let it air dry from any moisture from the dough, and that’s it. It keeps your workspace clean and prevents dough from sticking, making the rolling process smooth and effortless.
Choosing the Best Pie Plate: My Candid Opinions
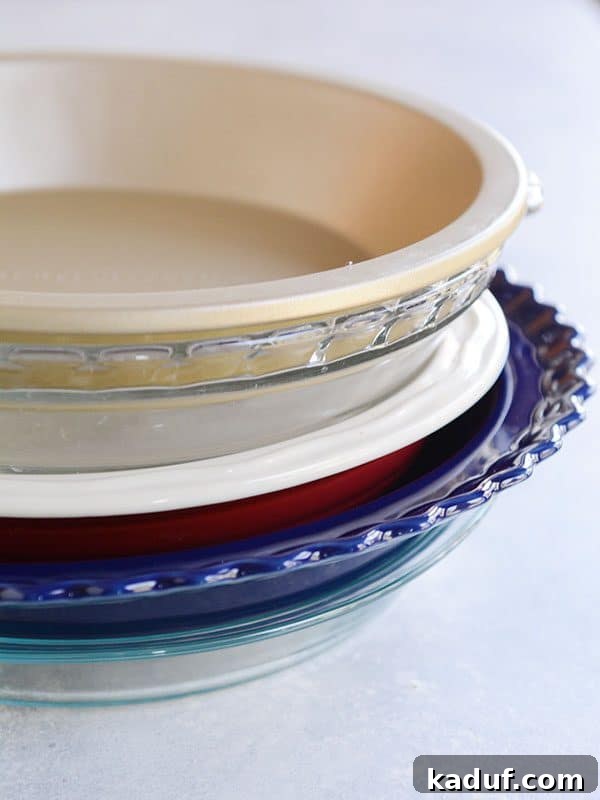
A frequently asked question in the world of pie making is, “Which type of pan is the best to use for baking pie?” Oh, my friend, do I have opinions on this topic! (If you’re a regular reader, this comes as no surprise – I tend to have opinions about everything baking-related.)
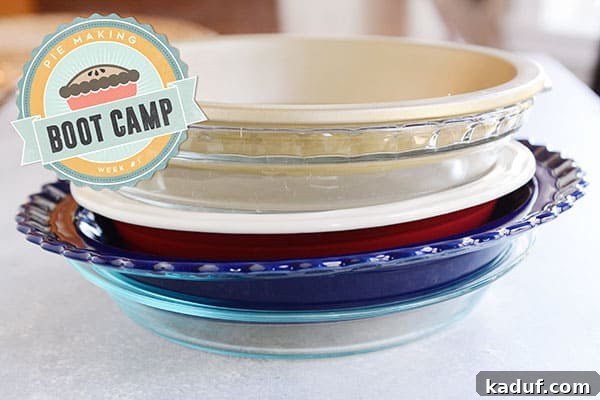
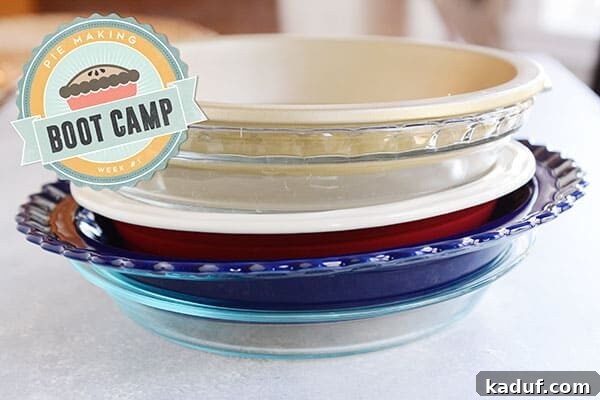
Generally, there are three primary types of non-disposable pie plates available: glass, ceramic, and metal. Each has distinct characteristics that can impact your final pie.
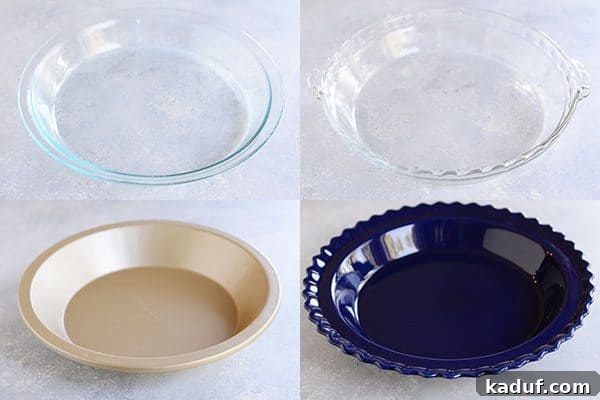
In the top row of the image above, you can see the glass pie pans I own: a standard Pyrex 9-inch pie plate and a Pyrex deep 9.5-inch pie plate. Both are excellent in their own right, but I strongly advise against using one interchangeably for the other. Each is designed for specific recipes and purposes.
Baking a pie in a dish that is either significantly smaller or larger than what the recipe calls for can drastically alter the final outcome, affecting bake time, crust texture, and filling consistency. For instance, I only reach for my 9.5-inch deep-dish pie plate when a recipe explicitly specifies it, such as for this decadent chocolate mousse cheesecake pie recipe.
Glass Pie Plates: The All-Rounder
Advantages: In my experience, glass pie plates excel at browning the bottom crust more effectively than any other material, contributing to that coveted crisp texture. They are typically inexpensive and widely available, making them an accessible option for most bakers. Glass conducts heat exceptionally well, ensuring an even bake. If you were to own only *one* pie plate, a glass one would be my unequivocal recommendation, making it the perfect all-purpose choice for any aspiring pie maker.
Disadvantages: The primary drawback is their fragility; they can break or crack if dropped. Depending on the brand, some glass pie plates may not feature as wide a ledge, which can be a minor inconvenience if you enjoy creating elaborate, decorative fluted crusts. Aesthetically, they are more about function than fancy design, so if visual appeal is your top priority for serving, they might seem a bit plain.
Metal Pie Plates: Durable and Efficient
Advantages: Like their glass counterparts, metal pie plates are excellent heat conductors, ensuring a thorough and even bake. Their greatest asset is durability; they won’t break or crack if accidentally dropped (a relief for those of us who are a little clumsy in the kitchen!).
Disadvantages: Many metal pie plates (including the one I own and quite like, the Williams-Sonoma Gold Touch pie plate) tend to scratch relatively easily when the pie is cut and served directly in the pan. Similar to glass, they are generally not designed for decorative purposes, prioritizing utility over aesthetics.
Ceramic Pie Plates: Beauty with a Caveat
Advantages: Ceramic pie plates often boast beautiful designs, vibrant colors, and appealing finishes, making them a lovely choice for serving. Many also feature a wider, more pronounced lip, which can greatly assist in forming beautifully fluted or crimped crust edges, adding a touch of elegance to your homemade pie.
Disadvantages: In my experience, ceramic pie plates tend to conduct heat less efficiently than either metal or glass. This can lead to a frustrating baking dilemma where the bottom crust remains undercooked or raw, while the top crust becomes overbaked. They are also prone to breaking or cracking if dropped, similar to glass. Furthermore, consistency in sizing can be an issue with ceramic dishes; I’ve encountered many brands where a “9-inch” plate is not truly 9 inches, which can disrupt recipe proportions and baking times. Because of their heat conduction challenges, I typically reserve my ceramic pie plates for no-bake pies or those with pre-made graham cracker crusts, such as this delightful Magnolia Lemon Pie. For traditional pies with a raw pastry crust, I almost exclusively reach for my metal or glass pie plates.
Preparing for Next Week: Handy Supplies for Pie Crusts
As we gear up for next week’s in-depth tutorial on making pie crust from scratch, let me highlight a few additional supplies that consistently come in handy for preparing and storing your dough.
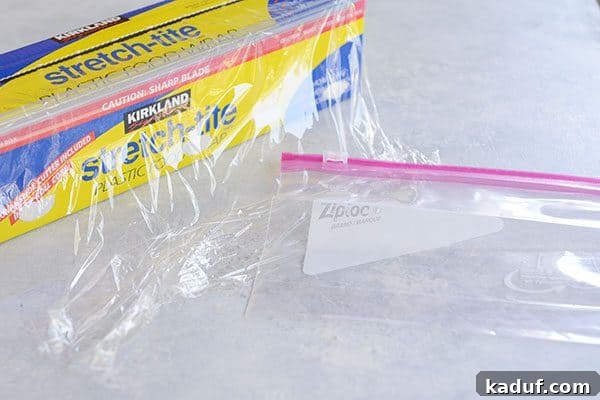
Storing Your Dough: Plastic Wrap and Ziploc Bags
After mixing, pie crust dough needs to chill properly, and proper storage is key to preventing it from drying out. I usually wrap my pie crusts tightly in plastic wrap to create an airtight seal, but a quart-size Ziploc bag also works wonderfully. Ensuring your dough is well-wrapped and chilled is a critical step for a tender, flaky crust, as it allows the gluten to relax and the fats to firm up.
Blind Baking Essentials: Foil and Pie Weights
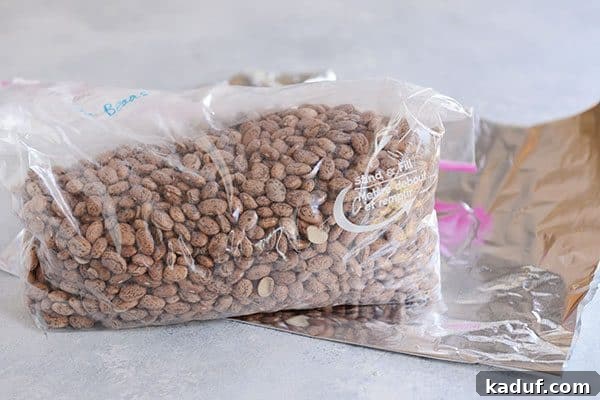
When blind baking a pie crust (a technique we’ll thoroughly explore in the coming weeks!), it’s crucial to prevent the crust from puffing up or shrinking. My method involves lining the raw crust with aluminum foil (standard, not heavy-duty) and filling it with dried beans as weights. These beans serve as excellent pie weights, ensuring the crust holds its shape during baking. Once cooled, I simply store these dried beans in a gallon-size Ziploc bag, and they’re ready to be reused again and again – an economical and effective solution!
Protecting Your Edges: Pie Shields
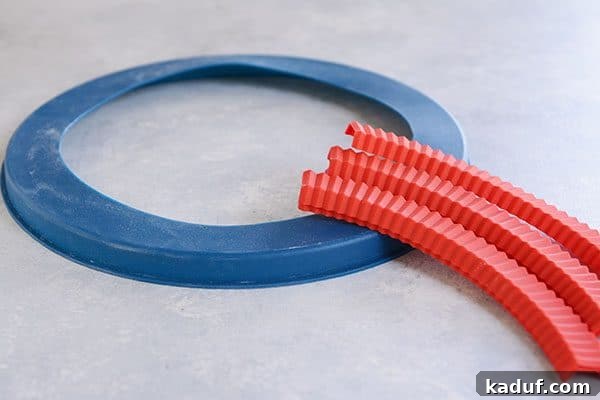
While I keep several pie shields in my drawers – including this blue silicone one and some red ones I picked up at Orson Gygi – I don’t consider them absolutely essential, particularly for beginning pie makers. Their purpose is to prevent the delicate edges of your pie crust from over-browning before the rest of the pie is fully baked. You can achieve a similar protective effect by carefully tenting the pie with aluminum foil or gently wrapping just the outer crust with foil. However, there’s no denying that a dedicated pie shield offers a bit more convenience and makes this protective step slightly easier.
Ready to Bake Your Best Pie Ever!
And there you have it – an in-depth, no-holds-barred look at almost all the essential pie making equipment I use to create delicious pies! This initial step is about getting your kitchen ready for success.
Your Questions and Comments are Welcome!
I genuinely welcome any and all of your thoughts, comments, and questions. Please feel free to leave them in the comment section below! Your engagement helps make this boot camp even more valuable for everyone.
Next week, we are embarking on the truly exciting and fun journey (and yes, I mean that!) of making pie crust from scratch! This comprehensive tutorial will be perfect for both beginners and experienced bakers. I’ll be addressing common pitfalls when making pie crust and sharing my foolproof techniques, guaranteeing that homemade pie crust will seem easier and more achievable than you ever thought possible.
I’m incredibly excited for the next few weeks of our pie making boot camp! Together, we’ll equip you with the skills and confidence to bake some truly rock-star status pies, just in time for the upcoming holidays.
If you have any questions about today’s equipment rundown, please leave them below – I’m here to help!