
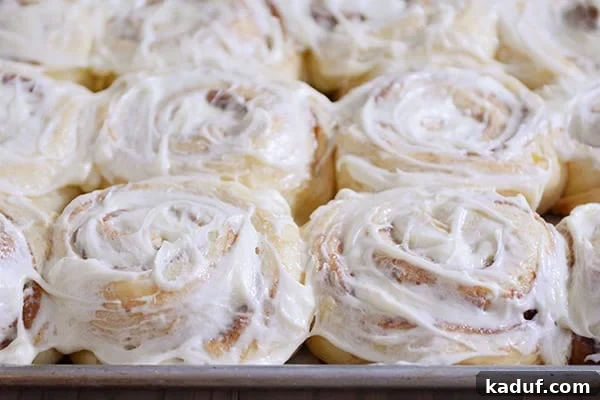
Effortless Mornings: Your Ultimate Guide to Making Cinnamon Rolls Ahead of Time
Imagine waking up to the irresistible aroma of freshly baked cinnamon rolls, without the early morning rush. This comprehensive guide will show you exactly how to prepare them in advance, ensuring fluffy, perfect results every time!
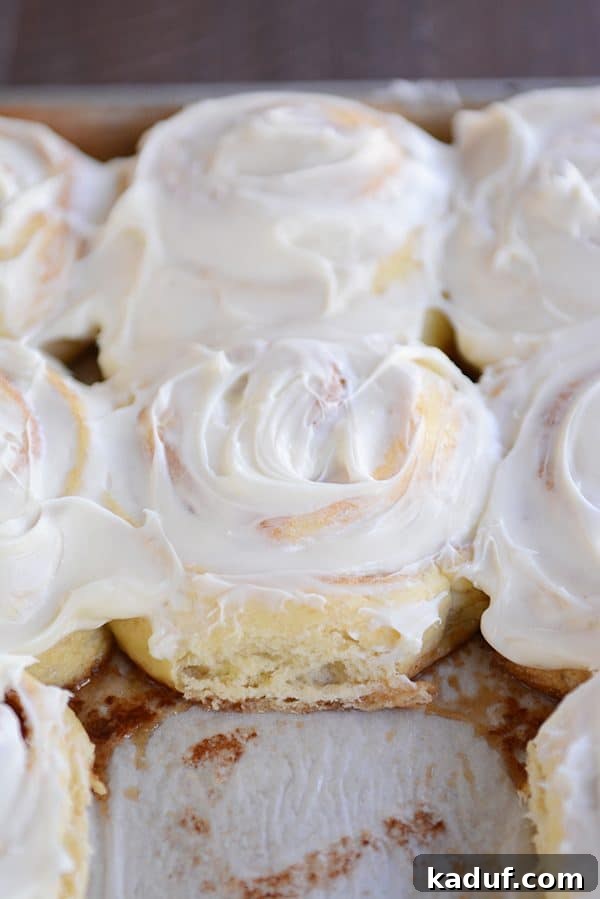
One of the most common questions I receive, especially as holidays approach or during busy seasons, revolves around the magic of preparing baked goods in advance. Specifically, aspiring bakers often ask: “Can I truly make my favorite cinnamon roll recipe ahead of time?”
Whether you’re wondering about preparing them the night before, or even further in advance for future enjoyment, the answer is a resounding yes! And more importantly, I’m here to demystify the process, providing you with all the essential details to guarantee perfectly fluffy, warm cinnamon rolls on any morning you desire, with minimal effort.
Today, consider me your trusted baking coach! I’m revealing the simplest and most effective strategies for making delicious cinnamon rolls ahead of schedule. You might be pleasantly surprised by just how straightforward this process is, transforming your baking routine into a stress-free experience.
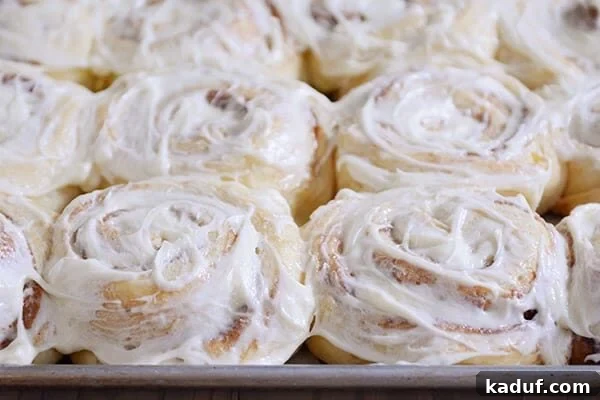
It’s crucial to understand that this versatile overnight and make-ahead method isn’t limited to just cinnamon rolls. It can be successfully applied to virtually any yeasted dough recipe – sweet or savory. Think beyond cinnamon rolls to creations like Monkey Bread, elegant Divine Breadsticks, or classic Dinner Rolls. Mastering these few simple tricks and tips will empower you to pull piping hot, light, and airy baked goods from your oven without sacrificing precious sleep. You’ll not only savor every bite but also earn accolades as a kitchen rockstar!
Step One: Prepare Your Chosen Cinnamon Roll Recipe
The foundation of any great make-ahead cinnamon roll experience begins with a fantastic recipe. For this initial phase, you’ll follow your chosen cinnamon roll recipe exactly as written, up until the point of the second rise. This typically involves mixing the dough, kneading it until smooth and elastic, allowing it to complete its first rise (often until doubled in size), rolling it out, spreading your delicious filling, and finally, shaping and slicing the rolls.
Choosing a reliable recipe is paramount for success. A well-tested recipe will guide you through dough consistency, proper rising times, and the perfect balance of flavors. If you’re looking for inspiration, here are some of my all-time favorite cinnamon roll recipes, many of which include detailed step-by-step photos to assist you with dough preparation and shaping:
Step Two: Arrange Shaped Rolls on a Prepared Baking Pan
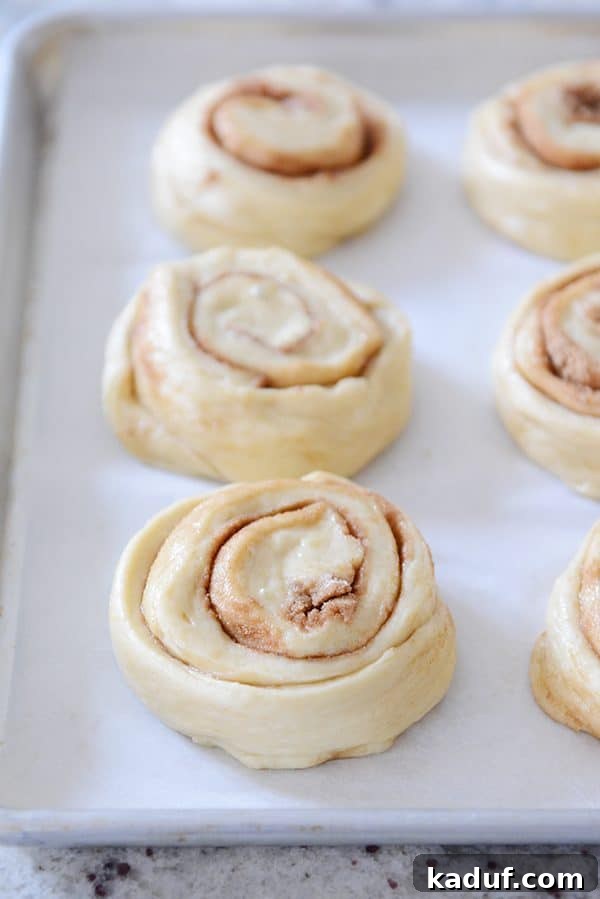
Once your cinnamon roll dough is rolled, filled, and sliced into individual spirals, it’s time to arrange them on your baking pan. For consistent results and easy cleanup, I highly recommend using large, rimmed baking sheets lined with parchment paper. A light greasing of cooking spray over the parchment paper adds an extra layer of non-stick assurance, making it even easier to remove your baked rolls.
When arranging average-sized cinnamon rolls, aim to place about 12 rolls per standard baking sheet. The key is to leave sufficient space between each roll for them to expand during their rise, but ensure they are close enough that their sides will gently touch as they bake. This contact helps create those wonderfully soft, pull-apart edges that everyone loves.
A little trick I often share in my cinnamon roll recipes is to gently tuck the loose end of the cinnamon roll spiral underneath itself. This helps to secure the shape of the roll and prevents it from unraveling during the rising and baking process, ensuring a perfectly neat and appealing pastry.
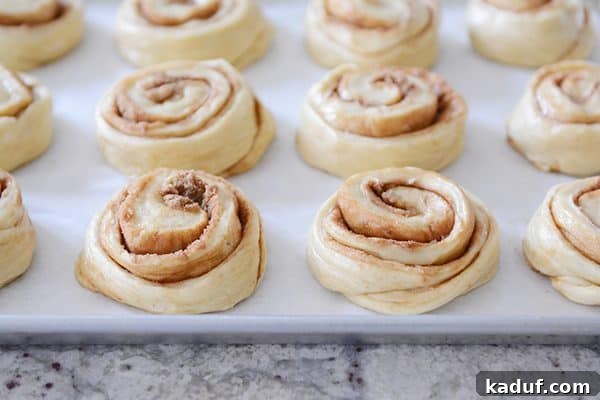
Now, here comes the pivotal step for making them ahead: If you are preparing these rolls for future baking, do NOT allow them to perform their second rise (proofing) at room temperature at this stage, as you would with a conventional recipe. The goal is to slow down the yeast activity, not activate it fully yet.
Step Three: Cover and Refrigerate for a Slow Rise
Immediately after arranging your shaped cinnamon rolls on the prepared pan, it’s time to cover them. Take a piece of plastic wrap and lightly grease one side with cooking spray. This greased side should face down, directly over the rolls. The greasing prevents the plastic wrap from sticking to the dough as it may expand slightly in the refrigerator.
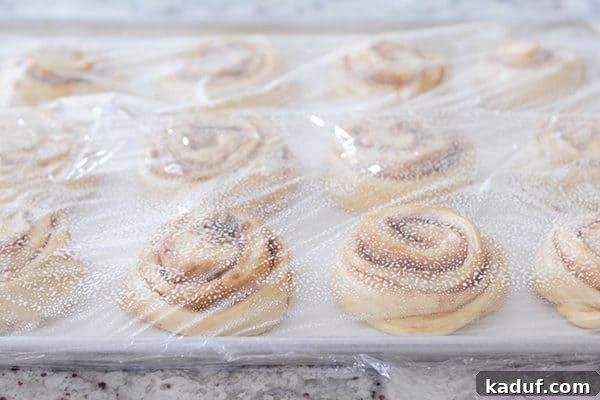
Once covered, promptly place the entire pan into the refrigerator. The cold environment will significantly slow down the yeast’s fermentation process, allowing the dough to undergo a long, slow rise (also known as cold proofing) over many hours. This extended, chilled fermentation not only makes for incredibly convenient mornings but can also contribute to a deeper, more complex flavor in your baked goods.
Your rolls can comfortably stay in the refrigerator for up to 24 hours. While they can sometimes go a bit longer, keep in mind that the extended refrigeration might cause the filling to liquefy slightly and seep out. This is a minor, often negligible, occurrence and is perfectly normal, so there’s no need to panic.
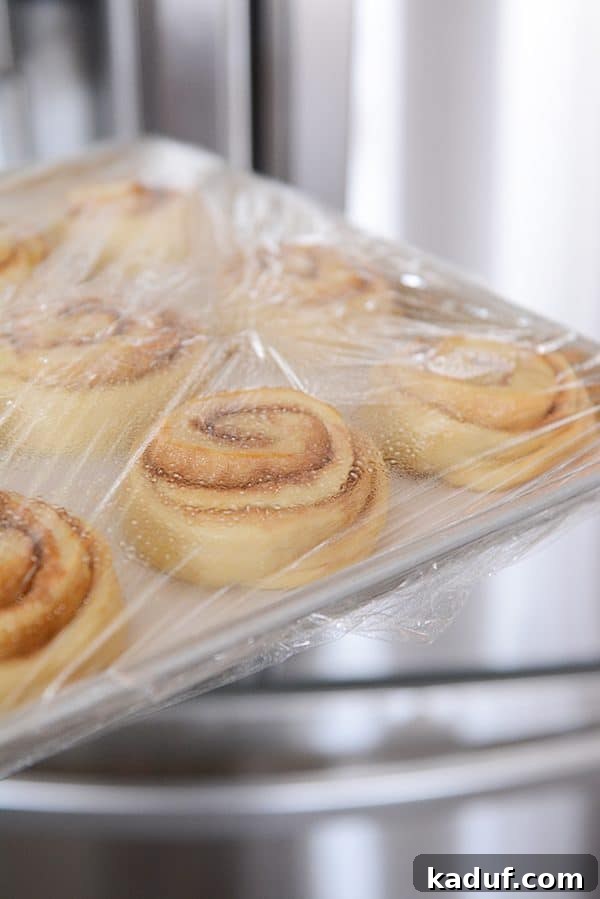
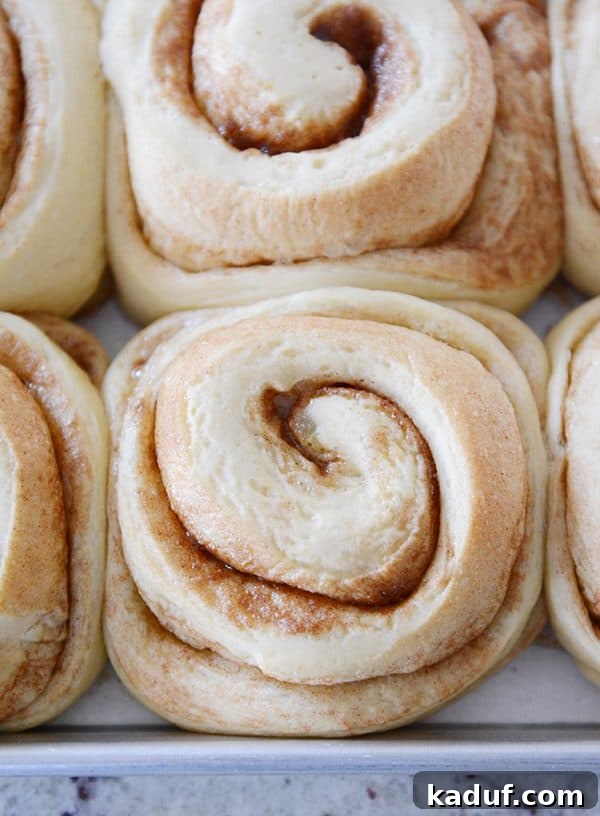
Upon retrieving the rolls from the refrigerator, you’ll likely observe that they appear noticeably puffier and more risen than when you first put them in. This is a positive sign and entirely expected! The yeast remains active, albeit at a much slower pace, even in the cold. The degree of this initial rise can vary based on several factors: the specific recipe you’re using, the initial warmth of your dough before refrigeration, the exact duration they spent in the cold, and the precise temperature of your refrigerator.
Step Four: Allow to Rise at Room Temperature Before Baking
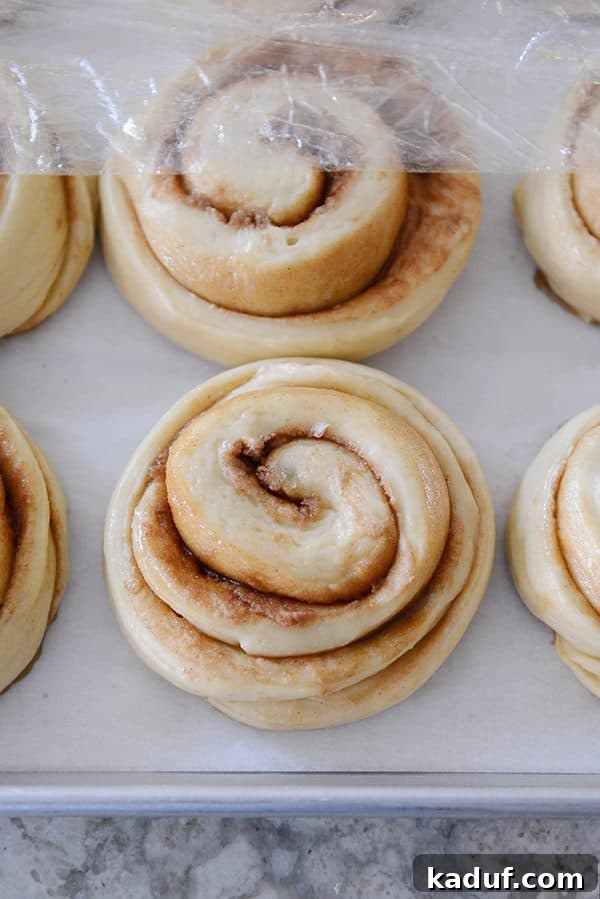
The morning of your planned baking, remove the chilled cinnamon rolls from the refrigerator. This is when they will complete their crucial second rise, or final proofing, at room temperature. This step is essential for achieving that characteristic light, airy, and fluffy texture.
The objective is for the rolls to double in size from their original shaped form before they enter the oven. In a typical kitchen environment, this final rise usually takes approximately 2 to 3 hours after the rolls are taken out of the refrigerator. The exact time can fluctuate based on the warmth of your kitchen.
To ensure a perfect rise, look for visual cues: the rolls should appear visibly puffy, soft to the touch, and when gently jiggled, they should have a slight bounce. Once they have achieved this ideal state, carefully remove the plastic wrap and proceed to bake them according to the specific instructions in your chosen cinnamon roll recipe. Always make sure your oven is fully preheated to the correct temperature for even baking.
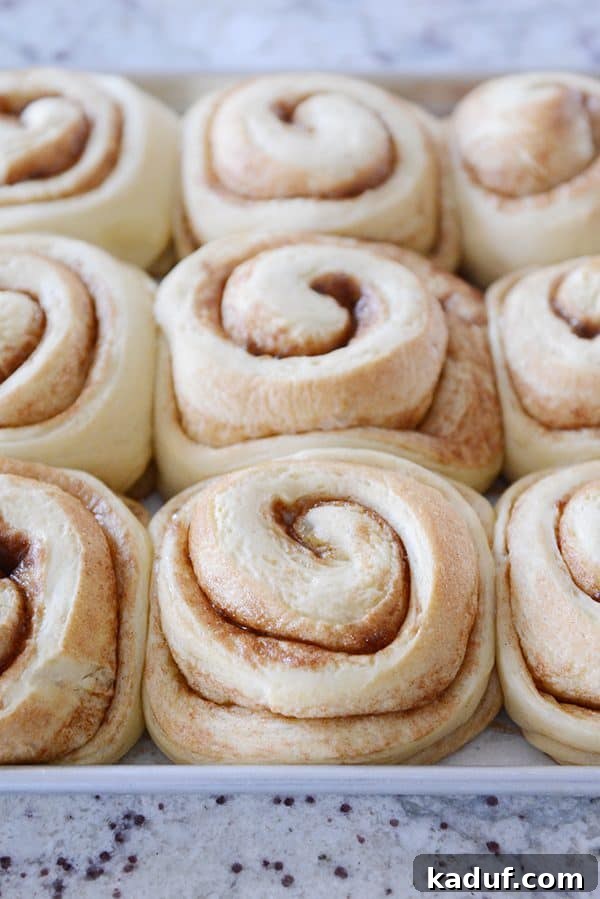
Bonus Tip: The “Cold Oven” Shortcut for Busy Mornings
For those mornings when you simply can’t fathom getting out of bed at 4 a.m. but still need cinnamon rolls baked, frosted, and ready to enjoy by 7:30 or 8:00 a.m., I have a fantastic extra hack! This method is a lifesaver when you’re short on time but refuse to compromise on homemade goodness.
Instead of the typical 2-3 hour room temperature rise, I sometimes employ what I call the “cold oven” technique. Here’s how it works: I take the pan of shaped cinnamon rolls directly from the refrigerator, remove the plastic wrap, and immediately place them into a cold oven. As the oven preheats, the gentle, gradual increase in temperature provides a warm, conducive environment for the rolls to come to room temperature and undergo a “quick rise.”
After the oven fully preheats, I proceed to bake them for roughly the same amount of time specified in the recipe, starting the timer once the oven reaches the target temperature. If you’re new to this approach, I suggest checking on them a minute or two earlier than usual, as oven temperatures can vary slightly. This “lazy method” isn’t entirely foolproof; its success depends largely on your oven’s preheating characteristics. Ovens with a “rapid preheat” function might not work quite as effectively, as the dough needs that slow, gentle warm-up.
It’s also worth noting that this shortcut might not yield the *absolute* lightest and fluffiest cinnamon rolls that a longer, slower room temperature rise provides. However, I often find the differences negligible, and honestly, my family has never noticed a thing (a pleasant surprise!). For truly show-stopping, “rockstar” occasions, I still lean towards the classic slow rise method (which sometimes means an earlier alarm!). But for everyday indulgence, this easy hack has saved me countless times, proving that sometimes, a little sleep sacrifice is worth it, but often, a clever shortcut is just as good!
A Note About Freezing Cinnamon Rolls
While refrigeration is ideal for up to 24 hours, you also have the option to freeze unbaked cinnamon rolls for longer-term storage. This is a fantastic solution for having homemade treats on standby for weeks!
To freeze unbaked rolls, you can arrange them on a tray as described in Step Two. Once frozen solid on the tray (this can take several hours), you have two options:
- Keep them on the tray: If you have freezer space, you can keep the entire tray covered securely.
- Transfer to a bag: For space-saving, once individually frozen, you can carefully pop them off the tray and transfer them into a large, freezer-safe ziplock bag or airtight container. This prevents them from sticking together.
When you’re ready to bake frozen unbaked rolls, they will require significantly more time to thaw and rise. It’s best to transfer them to the refrigerator overnight to thaw slowly, then move them to room temperature for several hours (often 3-5 hours, depending on room warmth) to complete their final rise before baking. Be prepared for a longer wait!
I find that after freezing, thawing, and baking, the yeast flavor in the rolls can sometimes be a bit more pronounced. For the best quality and flavor, I generally don’t recommend keeping unbaked rolls in the freezer for longer than 3-4 weeks.
Pro Tip: While freezing unbaked dough is an option, I often prefer a brilliant hack taught to me by my Aunt Marilyn, which involves freezing baked and frosted sweet breads or rolls. This method is a game-changer for ultimate convenience! Simply bake and frost your cinnamon rolls as usual, allow them to cool completely, then place individual rolls into quart-sized freezer bags. Seal the bag (yes, it might get a little messy with frosting, but it’s worth it!) and freeze.
When a craving strikes, or you need a quick single-serve treat, remove a frozen roll from its bag (it’s surprisingly easy to pop out once frozen). Place it on a microwave-safe plate and warm it in the microwave for 1-2 minutes, or until heated through. Voila! You have a hot, fresh, perfectly gooey cinnamon roll ready in minutes. It’s almost too easy – consider yourselves warned, this level of convenience can be quite dangerous!
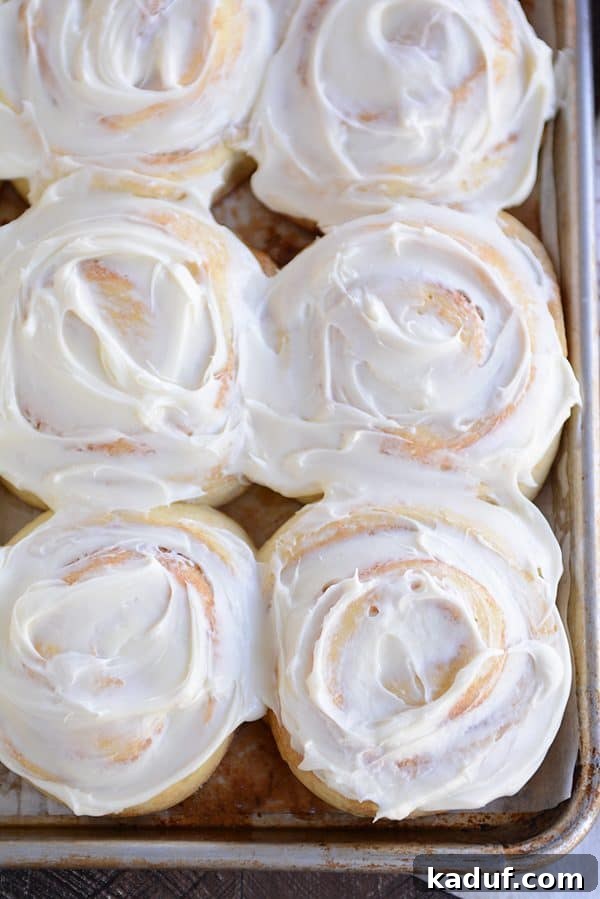
I understand that the information shared here about how to make cinnamon rolls ahead of time might not seem like groundbreaking rocket science. Many of you may already employ similar methods in your kitchens. However, my aim is to provide a clear, comprehensive, and easy-to-reference tutorial. This way, whenever you have questions about streamlining your baking, or when you find yourself pondering the meaning of life alongside your desire for warm cinnamon rolls, you have a helpful resource to turn to.
Now that you’re armed with these invaluable tips and tricks, what are you waiting for?
Go Make Some Cinnamon Rolls!
Embrace the joy of stress-free baking and the delight of waking up to homemade goodness. Your future self will thank you for the delicious decision to prepare ahead!
And as always, please feel free to leave any additional questions or comments below. Your insights and queries help enrich this guide, and I’ll gladly update it as new topics arise!
In case you missed them earlier, here’s that handy list of my favorite sweet roll recipes to get you started on your make-ahead baking journey: