
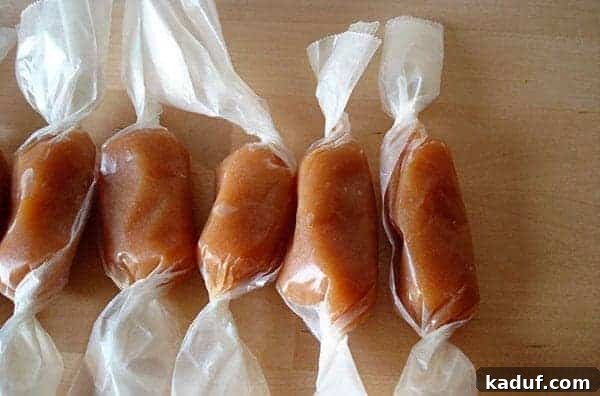
There’s a certain magic to homemade treats during the holidays, and few confections capture that festive spirit quite like the perfect caramel. These Christmas caramels aren’t just good; they are, in my humble opinion, the best you’ll ever taste. Crafted with love and a recipe passed down through generations, these creamy, sweet morsels are truly an essential part of our holiday tradition and are guaranteed to delight anyone who tries them.
For over three decades, these exquisite caramels have graced my family’s holiday celebrations. They’re more than just candy; they’re edible heirlooms, woven into the fabric of our most cherished memories. As far back as I can recall, my mom would meticulously prepare batch after glorious batch of these rich, buttery caramels every Christmas season. The aroma of simmering sugar and vanilla would fill our home, signaling the official start of the festive period. It’s a scent that instantly transports me back to my childhood, a time filled with anticipation, warmth, and, of course, delicious candy.
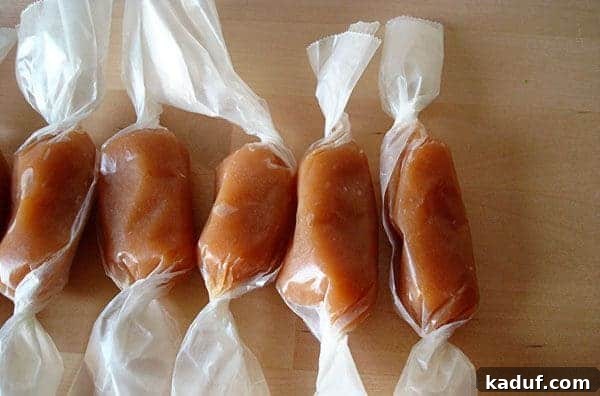
My siblings and I would eagerly participate in the caramel-making ritual, forming an assembly line to wrap each individual piece in shiny waxed paper. This wasn’t just a chore; it was an event. We’d sneak bites when we thought no one was looking, our faces sticky with sweet indulgence, before carefully arranging them into festive boxes and tins. These homemade treasures were destined to become heartfelt gifts for our cherished neighbors and friends, spreading joy one perfectly chewy square at a time.
Now, as an adult, I proudly carry on this beloved tradition. I understand that the idea of making candy from scratch can feel daunting, even a little scary, to many home cooks. Visions of burnt sugar, sticky messes, and failed batches can certainly be intimidating. However, with the right tools and a little patience, crafting homemade caramels is far more achievable than you might imagine. A reliable candy thermometer, a surprisingly affordable and essential gadget found in most kitchenware stores, is your best friend in this endeavor. With it, and a dose of careful attention, you’ll discover the immense satisfaction of creating your own unbelievably creamy and tender caramels.
Indeed, homemade caramels are an absolute holiday must-have in our household. The depth of flavor, the incredibly smooth texture, and the sheer joy they bring simply cannot be replicated by store-bought varieties. This particular recipe, a testament to my mom’s culinary wisdom, is the only one I ever turn to. Each bite is a sweet reminder of family, tradition, and the enduring love infused into every caramel. So, a heartfelt thank you, Mom, for sharing this truly famous and foolproof recipe!
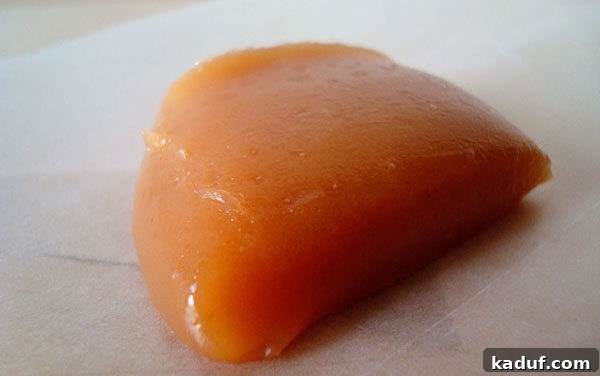
Essential Tips for Perfect Homemade Caramels:
Making caramel is more of a science than an art, and precision is key. To ensure your homemade caramels turn out perfectly every time, pay close attention to these crucial tips:
Calibrate Your Candy Thermometer for Accuracy: One of the most common pitfalls in candy making stems from an inaccurate candy thermometer. Even a few degrees off can drastically alter the final texture of your caramels, leading to either a gooey mess or a brittle, rock-hard confection. Before each use, take a few moments to calibrate your thermometer—it’s a quick and easy step that makes all the difference. Bring a pot of water to a full, rolling boil. Insert your candy thermometer into the boiling water, ensuring the tip is submerged at least two inches but not touching the bottom of the pot. At sea level, boiling water should register at 212°F (100°C). If your thermometer reads slightly higher or lower, don’t despair! You don’t necessarily need to rush out and buy a new one, though investing in a good quality digital thermometer might be a long-term consideration. Instead, simply note the difference: if it reads 210°F, subtract 2 degrees from your target caramel temperature; if it reads 214°F, add 2 degrees. This simple adjustment ensures you’re always cooking to the precise temperature required for that perfect soft-ball stage.
The Unique “No-Stir” Advantage: This particular caramel recipe stands out because, unlike many others, it doesn’t require constant stirring after the second half of the sweetened condensed milk is added. This is a fantastic bonus, freeing you from laboring over the stove for extended periods. However, “no-stir” doesn’t mean “no-watch.” It’s still crucial to frequently monitor your candy thermometer to ensure the mixture reaches the correct temperature without exceeding it. Overcooking even slightly can lead to overly firm or grainy caramels. Additionally, to prevent scorching, always cook the caramel over medium-low heat. This demands patience, as the cooking process will naturally be slower than at higher temperatures. Resist the urge to rush it! The gentle, consistent heat allows the sugar to dissolve properly and caramelize evenly, yielding a smooth, unburnt, and wonderfully flavored caramel. Trust me, unscorched, perfectly cooked caramels are absolutely worth the wait and careful attention.
The Art of Pouring: Avoid Scraping the Pan: Once your caramel reaches the desired temperature and you’ve stirred in the vanilla and any optional additions like toasted pecans, it’s time to pour. This seemingly simple step holds another secret to success: when transferring the hot caramel to your buttered baking sheet, do NOT scrape the bottom and sides of the pan. This is vital because any sugar crystals that have formed on the sides of the pan, or any slightly overcooked bits at the very bottom, can introduce a grainy texture into your otherwise silky smooth caramels. Instead, simply tilt the pan and allow the perfectly cooked caramel to flow out onto the prepared sheet. When the caramel stops flowing freely, stop pouring. Resist the temptation to scrape up the remaining sticky bits. Those “icky bits” might look like delicious leftovers, but they are often the source of unwanted crystallization and can compromise the texture of your entire batch. Once you’ve poured what’s ready, set the pan aside in the sink and turn your attention to spreading out your perfectly poured caramels on the baking sheet for even cooling. Your taste buds (and your caramels’ texture) will thank you for this disciplined approach.
My Mom’s Famous Christmas Caramels
Pin Recipe
Ingredients
- 2 cups (424 g) granulated sugar
- 1 ½ cups light corn syrup
- 1 can sweetened condensed milk, divided: add only ½ to begin with
- ¼ teaspoon salt
- 1 cup (227 g) unsalted butter
- 2 teaspoons pure vanilla extract
- 1 ½ cups chopped toasted pecans, optional, but highly recommended
Instructions
-
Thoroughly butter the sides and bottom of a 9X13-inch baking pan. Ensure every surface is coated to prevent sticking. Set the pan aside.
-
In a large, heavy-bottomed saucepan (preferably 4-quart or larger), combine the sugar, light corn syrup, half of the can of sweetened condensed milk, salt, and butter.
-
Place the saucepan over medium-low heat. Stir constantly with a wooden spoon or heatproof spatula until the sugar is completely dissolved and the mixture comes to a gentle boil. Once it begins to boil, add the remaining half of the sweetened condensed milk.
-
Once the second half of the condensed milk has been incorporated and the mixture returns to a boil, insert your calibrated candy thermometer and clip it securely to the side of the pan. At this point, stop stirring to prevent sugar crystallization, which can lead to a grainy texture. Continue to boil the mixture over medium-low heat, without stirring, until the thermometer registers the soft-ball stage (approximately 234°F / 112°C). For a slightly firmer caramel, you may cook it up to 248°F (120°C), which is the firm-ball stage. However, I personally prefer a very soft, melt-in-your-mouth caramel at 234°F. Please note that many people find this temperature a bit too soft, so adjust according to your personal preference for caramel chewiness.
-
As soon as the caramel reaches your desired temperature, immediately remove the pan from the heat. Carefully stir in the vanilla extract and the toasted pecans, if you are using them. Mix just until combined.
-
With extreme caution, pour the hot caramel mixture into the prepared 9×13-inch pan. Remember the crucial tip: do not scrape the bottom or sides of the saucepan. Let the caramel cool completely and undisturbed at room temperature for several hours, or overnight, before attempting to cut. Once thoroughly cooled and set, cut into desired squares and wrap each piece individually in waxed paper for storage or gifting.
Recommended Products for Easy Caramel Making
Recipe Source: A cherished family recipe from my mom, Michel W.
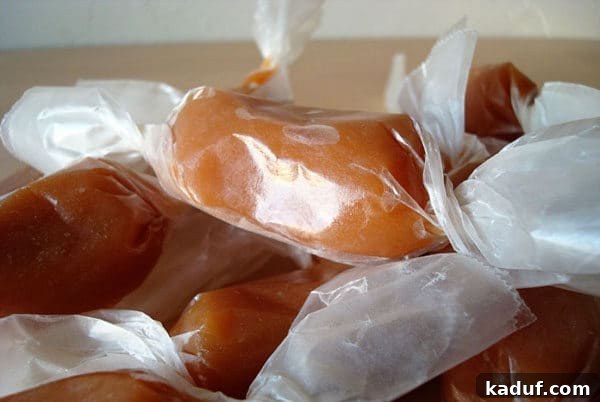
There’s nothing quite like sharing a homemade treat, especially during the festive season. These caramels are not just a delight to eat; they are a joy to make and a truly personal gift to give. Their rich flavor and tender chewiness make them an unforgettable addition to any holiday cookie plate or candy assortment. So, roll up your sleeves, embrace the sweet challenge of candy making, and create some lasting memories (and delicious caramels!) for your loved ones this year. We promise the effort will be richly rewarded!
Explore More Caramel Creations:
If you’ve enjoyed making these classic homemade caramels, you might be ready to venture into other delightful caramel recipes. Whether you’re seeking more foolproof techniques or eager to experiment with new flavors, our collection has something for every caramel enthusiast: