
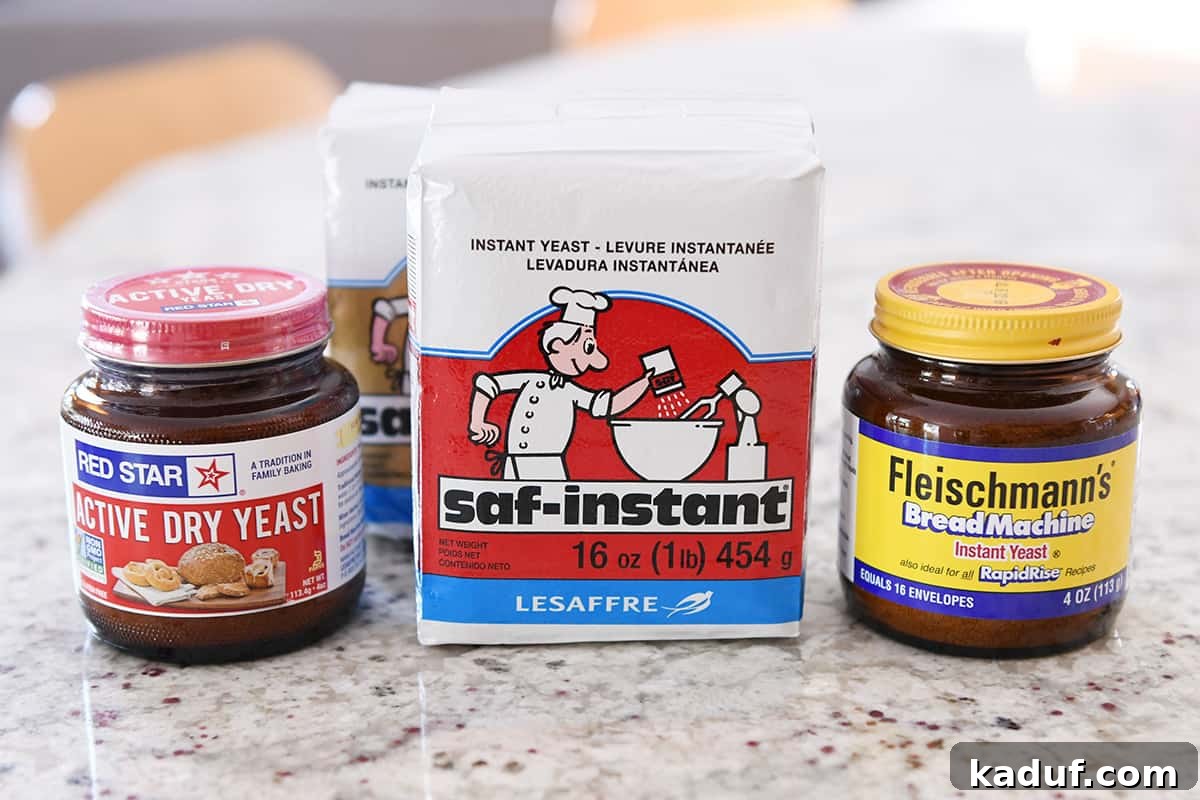
Your ultimate guide to baking with yeast at home! This comprehensive resource simplifies the world of bread and roll making, empowering you to create delicious homemade baked goods with absolute confidence.

Embarking on the journey of baking with yeast can seem daunting at first. The thought of working with a living ingredient, ensuring the perfect rise, and achieving that irresistible homemade taste often intimidates even seasoned home cooks. But what if we told you that baking with yeast isn’t just manageable, but incredibly rewarding and surprisingly simple once you grasp a few fundamental principles?
This comprehensive guide is designed to demystify yeast baking, transforming any apprehension into excitement. We’ll cover everything from understanding different types of yeast to mastering the art of kneading and troubleshooting common issues. By the end, you’ll feel equipped to tackle any yeast recipe, producing bakery-quality bread and rolls right in your own kitchen.
Imagine the aroma of freshly baked bread wafting through your home, the satisfaction of slicing into a perfectly golden, airy loaf, or the delight of warm, fluffy cinnamon rolls. These experiences are within your reach! We believe that everyone deserves to experience the joy and pride that comes from baking with yeast, and it’s our mission to make that process as accessible and successful as possible for you.
At its core, yeast baking is a magical process driven by a tiny, living microorganism. Understanding how yeast works and how to effectively incorporate it into your recipes is the key to unlocking consistent success. This simple yet thorough guide will walk you through the essentials, proving that baking with yeast can be an incredibly fun and rewarding endeavor!
We’ve gathered and answered many common questions about baking with yeast to help you build a strong foundation of knowledge and confidence. Let’s dive in and transform your baking experience!
Understanding Yeast: The Living Ingredient in Your Kitchen
Before we delve into the practicalities, let’s briefly understand what yeast actually is. Yeast is a single-celled fungus, a living microorganism that thrives on sugar. When combined with warmth and moisture, yeast becomes active, consuming sugars present in your dough and producing carbon dioxide gas and alcohol as byproducts. This process, known as fermentation, is what causes your dough to rise, creating those wonderful airy pockets and contributing significantly to the complex flavors and aromas of baked bread.
In baking, we primarily use dry yeast, which is essentially dormant yeast cells, carefully dried and packaged to remain stable until activated. While fresh yeast (also known as cake yeast) exists, it’s less common in home baking recipes due to its shorter shelf life and different handling requirements. Our focus today will be exclusively on the widely available and easy-to-use dry yeast varieties.
Active Dry vs. Instant Yeast: What’s the Key Difference?
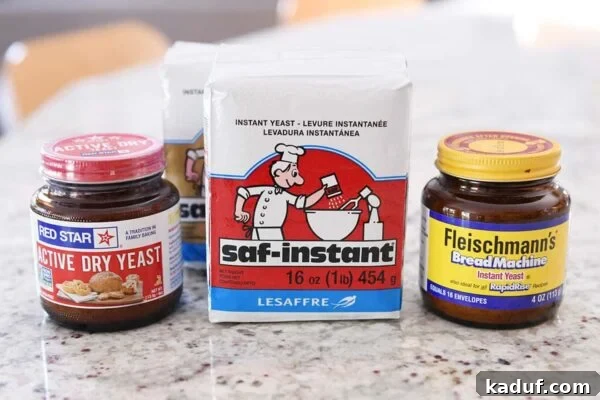
When you browse the baking aisle, you’ll encounter two primary types of dry yeast: active dry yeast and instant yeast. While both are excellent for baking, they have distinct characteristics that influence how they’re used in recipes. It’s important to note that yeast labeled as “rapid rise yeast” or “bread machine yeast” is essentially the same as instant yeast and can be used interchangeably.
Visually, active dry yeast has slightly larger granules compared to the finer particles of instant yeast, as illustrated in the image below. This difference in granule size is a clue to their processing and activation methods.
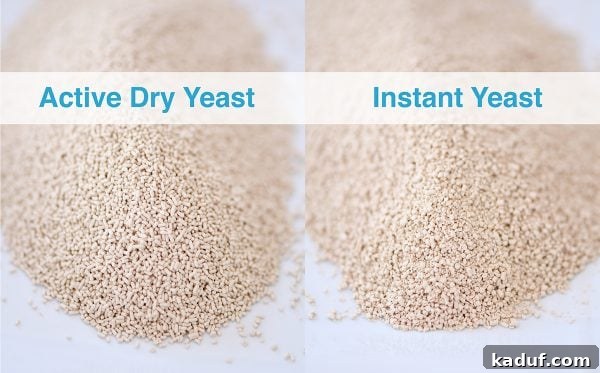
The most significant distinction lies in their activation. Active dry yeast requires “proofing” – dissolving in warm water before being added to other ingredients. This step rehydrates the dormant yeast cells and confirms their viability. On the other hand, instant yeast is designed to be added directly to your dry or wet ingredients without prior proofing. Its smaller particles allow it to hydrate and activate more quickly within the dough itself.
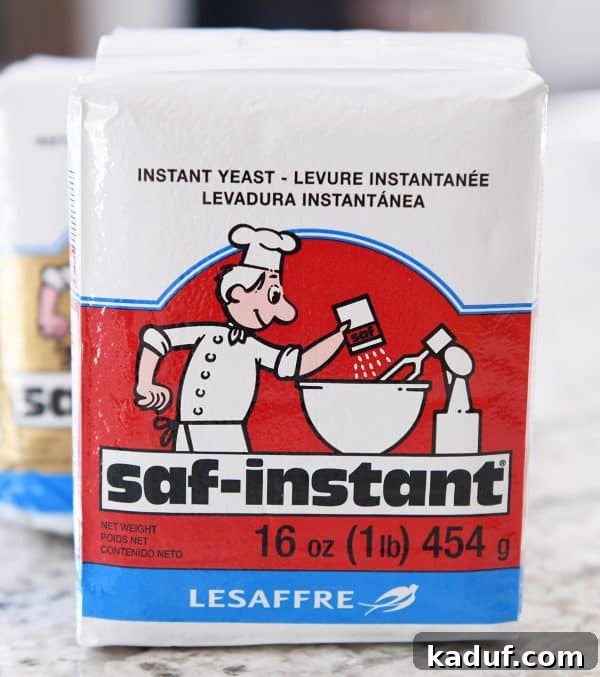
For most home bakers, instant yeast offers incredible convenience. Its “no-proof” nature streamlines the baking process, saving time and reducing an extra step. This is why many experienced bakers, including myself, tend to gravitate towards instant yeast for 99.9% of their recipes. My personal preference is Saf-Instant yeast (available in red or gold packages), which I often purchase in bulk online for its consistent and reliable performance.
Substituting Yeast Types: A Practical Guide
What if a recipe calls for one type of yeast, but you only have the other? No problem! You can easily substitute active dry yeast for instant yeast, and vice versa, with just a few simple adjustments.
Substituting Active Dry Yeast for Instant Yeast:
If your recipe specifies instant yeast but you have active dry, you’ll need to use a slightly larger quantity of active dry yeast and proof it first. As a general rule, increase the amount of active dry yeast by about 25%. For example, if the recipe calls for 1 tablespoon of instant yeast, use 1 1/4 tablespoons of active dry yeast. For 2 teaspoons of instant yeast, use 2 1/2 teaspoons of active dry yeast. Dissolve the active dry yeast in about 3-4 tablespoons of warm water (around 105-115°F) with a pinch of sugar (which acts as food for the yeast, helping it activate faster) until it becomes bubbly and foamy. This typically takes 5-10 minutes. Once proofed, add it to your recipe as you would the instant yeast.
Substituting Instant Yeast for Active Dry Yeast:
If your recipe calls for active dry yeast, but you have instant yeast, the substitution is even simpler. You can use the same amount of instant yeast as active dry yeast, or technically, you could reduce it by about 25% due to its higher potency. However, for ease and reliable results, I often use a 1:1 ratio. Simply add the instant yeast directly with your other dry ingredients, skipping the proofing step entirely. Ensure your liquid ingredients are at the correct temperature (around 110°F) to activate the yeast effectively within the dough.
Mastering the Proof: Activating Your Yeast Correctly
Proofing yeast is a crucial step when working with active dry yeast, as it awakens the dormant cells and confirms their vitality. While instant yeast typically doesn’t require proofing, you can proof any type of yeast if you want to test its freshness before committing to a full recipe.
To proof active dry yeast, simply sprinkle it over warm water (ideally between 105-115°F, or comfortably warm to the touch) in a small bowl. Stir gently until the yeast granules are mostly dissolved. Then, let it sit undisturbed for about 5-10 minutes. During this time, the yeast will begin to feast on any sugars present (or a pinch you added) and produce carbon dioxide. You’ll know your yeast is active and healthy when the mixture becomes visibly foamy and bubbly on the surface, often expanding slightly. It will transition from a granular appearance to a creamy, frothy texture with a distinct, yeasty aroma. If, after 10 minutes, there’s no foam or activity, your yeast is likely expired or was exposed to water that was too hot or too cold, and it’s best to discard it and start with fresh yeast.
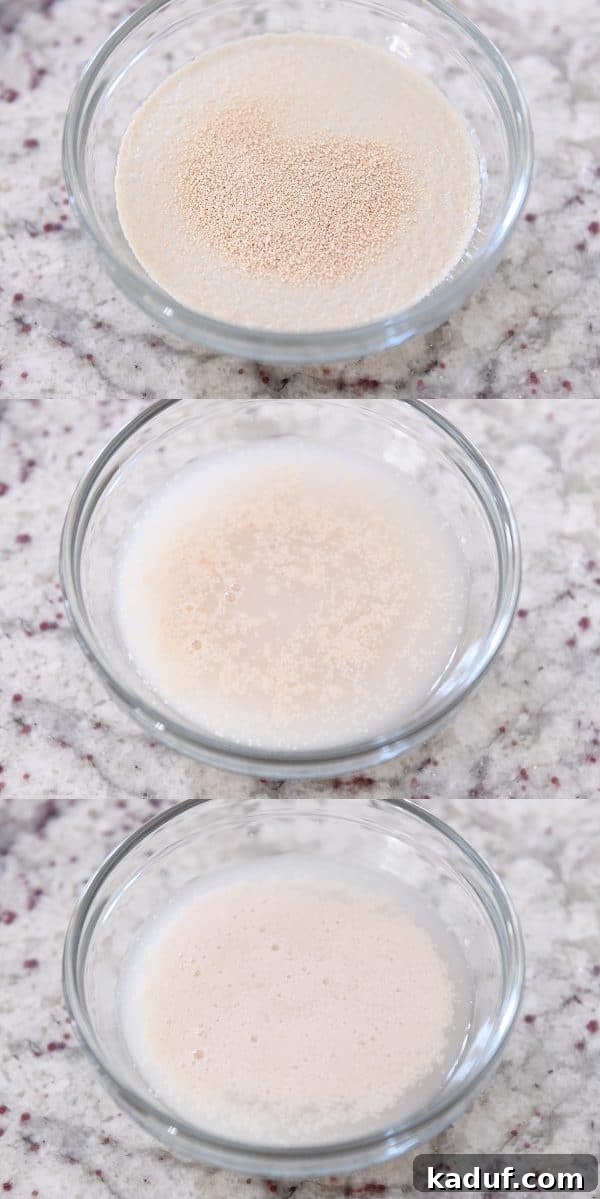
The Goldilocks Principle: Water Temperature for Optimal Yeast Activity
The temperature of your water or liquid is paramount when baking with yeast. There’s a “sweet spot” that ensures optimal yeast activity – not too hot, and not too cold.
Generally, aim for your liquid to be around 110°F (43°C). This temperature is ideal for activating yeast without harming it. If the water is too hot (above 130°F / 54°C), it can kill the delicate yeast cells, rendering them inactive and preventing your dough from rising. Conversely, if the water or liquid is too cold (below 95°F / 35°C), the yeast will activate very slowly, or not at all, leading to a sluggish or non-existent rise in your dough.
While an instant-read thermometer is an excellent tool for precision, don’t fret if you don’t have one. You can often “eyeball” the temperature. A good rule of thumb is to run water from your tap and test it with your finger. It should feel comfortably warm, like a pleasant bath – not hot enough to cause discomfort, but definitely warmer than lukewarm. In my experience, it takes extremely hot-to-the-touch water to truly kill yeast, so aim for genuinely warm water, and you’ll likely be fine.
Storing Your Yeast for Longevity and Freshness
Proper storage is essential to maintain the potency and shelf life of your yeast. Yeast is a living organism, and its activity can degrade over time, especially when exposed to air, moisture, and warmth.
Once you open a package of yeast, the best way to store it is in an airtight container, such as a mason jar, in the freezer. The cold temperature significantly slows down the yeast’s activity, preserving its freshness for a much longer period than refrigeration alone. When you’re ready to bake, you can use the yeast directly from the freezer – there’s no need to bring it to room temperature first, as it will activate once it hits the warm liquid in your recipe.
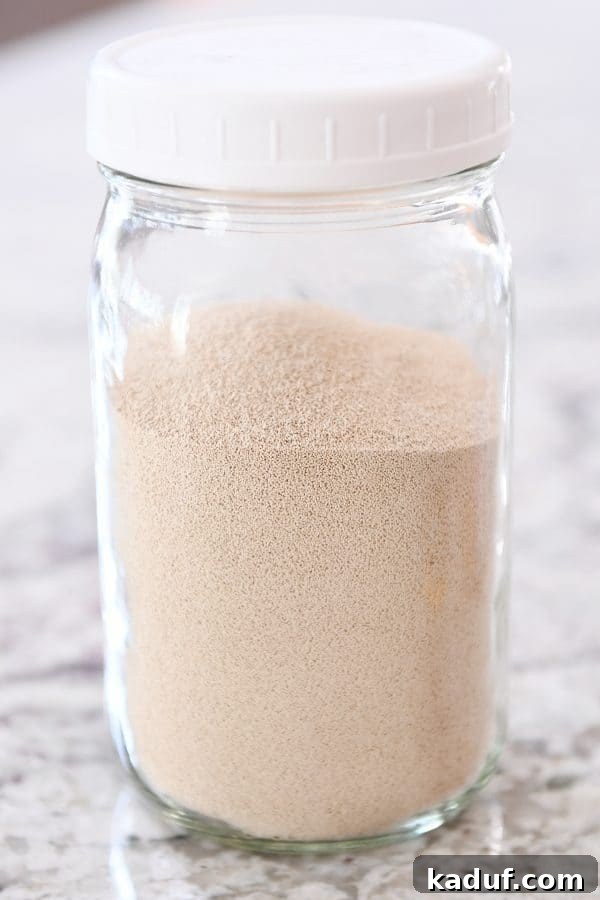
While the refrigerator can also extend yeast’s life compared to pantry storage, the freezer offers superior long-term preservation. Always check the expiration date on your yeast package. If you’ve lost the packaging or are unsure about its age, you can easily test its viability by proofing a teaspoon of yeast in about 1/4 cup of warm water with a pinch of sugar. If it foams and bubbles within 5-10 minutes, it’s still good to use!
The Art of Flour in Yeast Doughs: Finding the Perfect Balance
Unlike many other baking recipes that demand precise measurements, the amount of flour needed for yeast doughs is often a guideline rather than an exact science. This concept can be a bit challenging to grasp, especially when you’re used to the precision of cake or cookie recipes.
Several factors influence the ideal flour quantity: environmental conditions like humidity and elevation, the specific brand and type of flour (different flours have varying protein and absorption rates), and even how you measure flour (the “spoon and level” method versus scooping directly from the bag). These subtle variances mean that the perfect flour amount can differ from batch to batch.
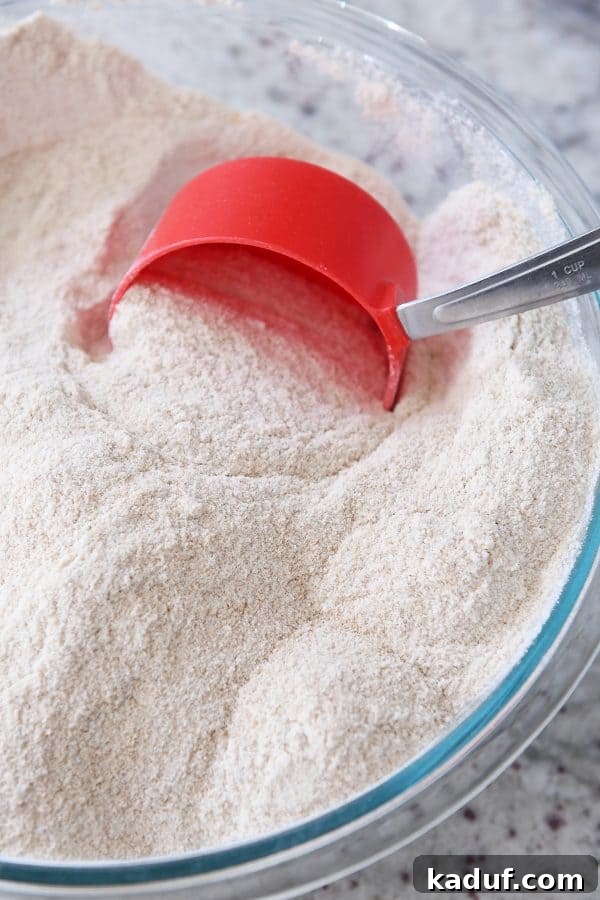
Consider a typical white sandwich bread recipe that might call for 6 1/2 to 7 1/2 cups of flour. While I might consistently use around 7 cups, some bakers might find 6 1/2 cups is perfect, while others may need up to 8 cups to achieve the right consistency. The key is to learn to read your dough rather than strictly adhering to a number.
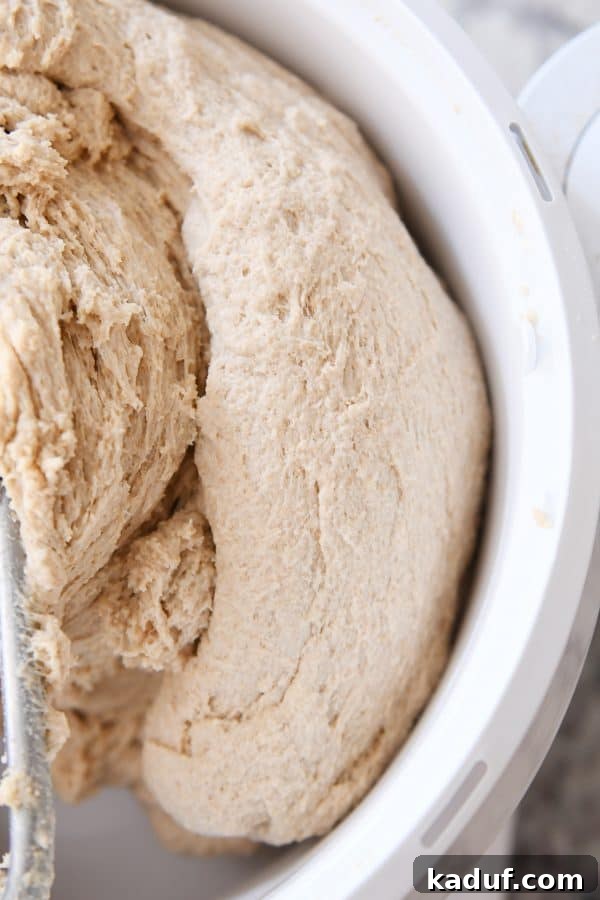
When making dough with a stand mixer, my approach is to gradually add flour until the dough forms a soft, slightly sticky ball that pulls away cleanly from the sides and bottom of the mixing bowl (especially if using a Bosch or similar mixer with a central dough hook). It’s crucial not to over-flour the dough, as too much flour will result in a dense, tough, and dry bread that won’t rise properly. Conversely, too little flour will leave you with an overly sticky, unmanageable mess that struggles to hold its structure and rise.
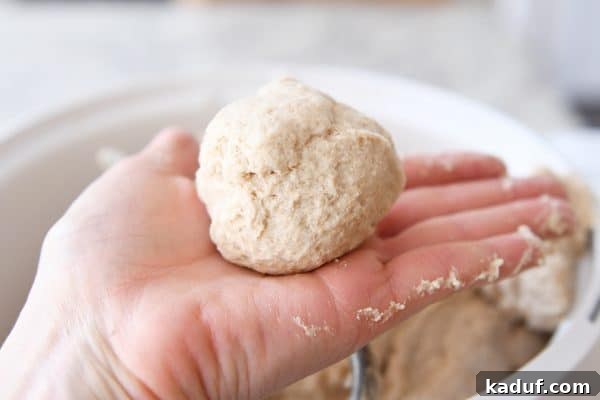
At this stage, you might notice a sticky residue on your fingers if you touch the dough directly, as shown in the picture below. Resist the urge to panic and add more flour immediately!
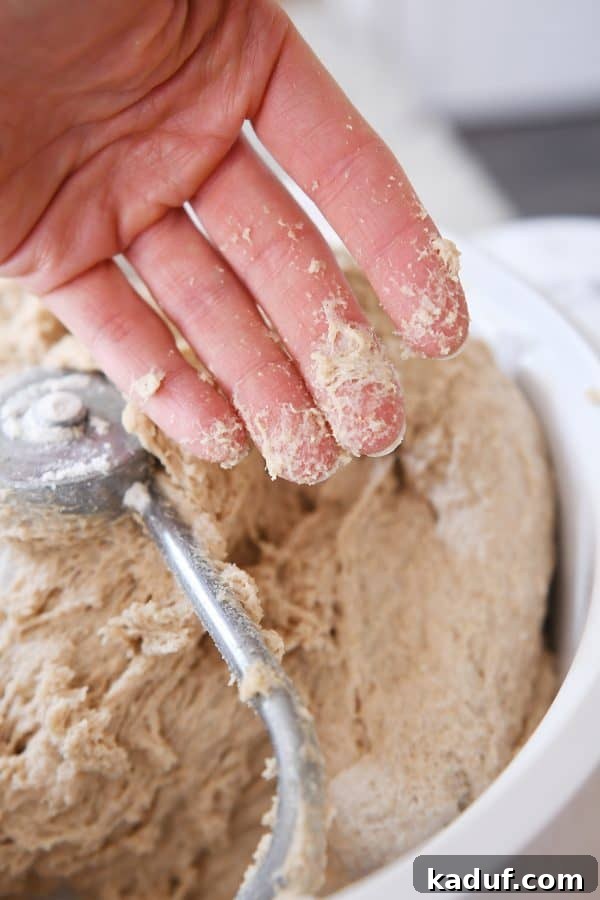
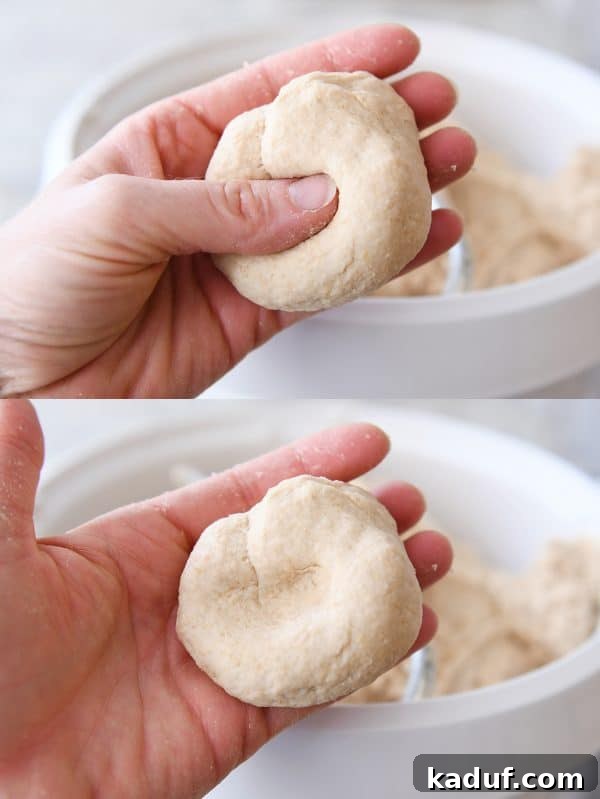
Perform a quick test: grab a small piece of dough and roll it between your hands. If it forms a soft ball without becoming a gummy, excessively sticky mess, you’re likely at the right consistency. The ball should feel tacky to the touch and slightly sticky, but it should hold its shape and leave minimal residue on your hands (the dough on the side of my hand in the image is from when I initially pulled a chunk from the bowl, not from the rolling test).
If the dough can be rolled into a soft, cohesive ball like this, it probably doesn’t need more flour. Another excellent indicator is the “dimple test.” Gently press a finger into the ball of dough. You should be able to pull your finger away cleanly, and the indentation should remain. When you become accustomed to the sensation of perfectly floured bread dough, it feels almost magical – incredibly soft, deliciously squishy, and wonderfully pliable.
Kneading: The Foundation of Great Bread Structure
Kneading is not just a step; it’s the very foundation of light, airy, and fluffy bread. The primary purpose of kneading is to develop the gluten in the dough. Gluten, formed from proteins found in flour, creates a stretchy, elastic network that traps the carbon dioxide gas produced by the yeast. This trapped gas allows the dough to rise and expand, giving bread its characteristic texture.
If the dough is not kneaded sufficiently, the gluten network won’t be fully developed. This can result in a finished product that is dense, crumbly, and tough, with a poor rise. Conversely, over-kneading, though less common with home mixers, can also weaken the gluten structure. The best guideline for kneading time will always be found in your specific recipe, as different doughs require varying levels of gluten development.
For instance, enriched sweet doughs (like those for cinnamon rolls or brioche) often require less intensive kneading compared to lean doughs or whole wheat breads. Whole wheat flour, with its bran particles, can sometimes “cut” the gluten strands, so recipes using it may call for longer kneading times, sometimes up to 6-9 minutes in a stand mixer, to ensure robust gluten development. If you’re kneading by hand, as opposed to using a stand mixer, you’ll generally need to double the recommended kneading time to achieve the same gluten development.
While a stand mixer (such as a Bosch Universal or KitchenAid) makes kneading incredibly easy, most yeast doughs (excluding very wet, no-knead varieties like ciabatta or English muffin bread) can certainly be made by hand. Hand kneading involves a rhythm of pushing, folding, and turning the dough, requiring a bit more practice to manage stickiness without adding excessive flour. However, the satisfaction of creating bread entirely by hand is immensely rewarding.
A classic test for proper gluten development is the “windowpane test.” Take a small piece of dough (about the size of a golf ball) and gently stretch it with your fingers. If it can be stretched thin enough to be translucent, allowing light to pass through without tearing, then the gluten is well-developed and your dough is sufficiently kneaded.
Troubleshooting Your Yeast Dough: Why Isn’t It Rising?
A lack of rise in your yeast dough can be one of the most disheartening experiences in baking. Fortunately, most rising problems can be traced back to a few common culprits:
- Expired or Inactive Yeast: If your yeast is old or wasn’t stored properly, it might be dead or too weak to produce enough carbon dioxide. Always check the expiration date, and if in doubt, perform a proofing test.
- Incorrect Water Temperature: As discussed, water that’s too hot (over 130°F / 54°C) will kill the yeast, while water that’s too cold (below 95°F / 35°C) will severely inhibit its activity, leading to a very slow or absent rise.
- Cold Kitchen Environment: Yeast thrives in a warm, draft-free environment. If your kitchen is too cold, the yeast activity will slow considerably. To create an ideal proofing spot, you can place the dough in a slightly warm (but not hot) oven with just the light on, or in a microwave (turned off) with a cup of hot water.
- Insufficient Kneading: Without adequate kneading, the gluten structure won’t develop sufficiently to trap the gases produced by the yeast. This leads to a dough that can’t hold its rise and results in dense bread.
- Too Much or Too Little Flour: Over-floured dough becomes stiff and dry, preventing the gluten from expanding and the dough from rising properly. Under-floured dough, while sticky, might also struggle to rise upwards, often spreading out instead, because it lacks the structure to hold its shape.
- Enriched Ingredients: Ingredients like butter, milk, and eggs can slow down yeast activity. While they contribute to a richer flavor and softer texture, they can inhibit the yeast slightly. This is normal, and these doughs simply require more time to rise.
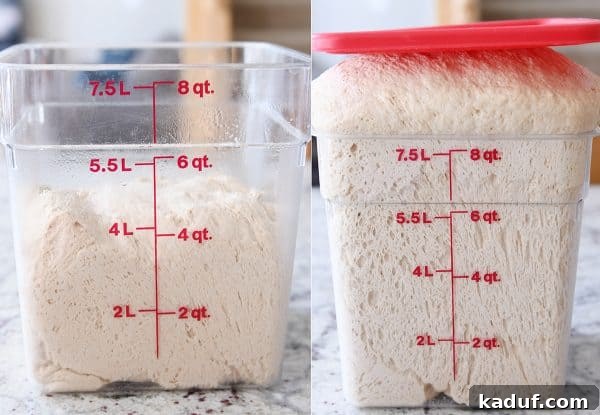
It’s also important to note that dough can sometimes rise for *too long*, a condition known as over-proofing. An over-proofed dough will appear overly puffy and gassy, and when baked, it may collapse in the oven, resulting in a dense, crumbly texture. A good rise doubles the dough in volume, but doesn’t make it look stretched or overly inflated.
Ready to Bake? 5 Easiest Yeast Dough Recipes to Start With
Now that you’re armed with foundational knowledge, it’s time to put it into practice! Here are five beginner-friendly yeast recipes that are perfect for building your confidence. Even if you’re an experienced baker, these recipes are consistently delicious.
- Divine 1-Hour Breadsticks
- Easy Homemade French Bread
- Small Batch Whole Wheat Bread
- French Bread Rolls
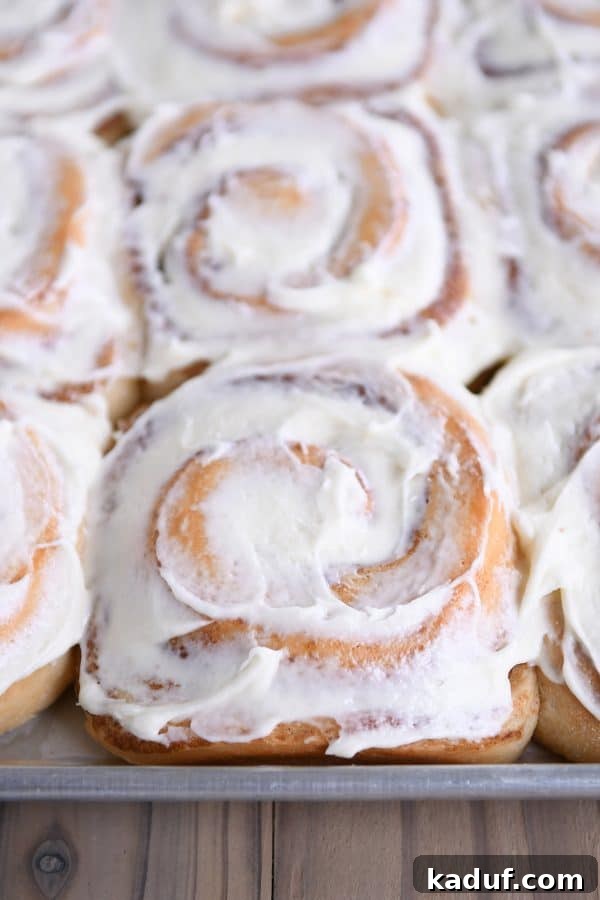
- Small Batch Cinnamon Rolls
And for those days when you prefer minimal effort but maximum flavor, check out these fantastic no-knead, no-mixer bread recipes:
- Super Easy Focaccia Bread
- Buttery Flaky Make-Ahead Dinner Rolls
- Rustic Crusty Bread
- Overnight Cinnamon and Sugar Sweet Rolls
Beyond the Basics: Continuing Your Yeast Baking Journey
This guide has laid out the essential groundwork for successful yeast baking, but the world of bread is vast and exciting! There are many more fascinating aspects to explore, such as working with different types of flour (like whole wheat or specialty grains), delving into the complexities of sourdough starters and their interplay with commercial yeast, exploring various shaping techniques, or understanding the nuances of bulk fermentation and final proofing.
For now, we hope this foundational guide serves as your trusted companion, helping you navigate the basics with ease and enthusiasm. Our ultimate goal, and the driving force behind all the yeast bread recipes on our site, is to empower you to feel like a true bread-making champion in your own home. Remember, every master baker started somewhere, and with practice and a little patience, you’ll be creating incredible loaves and rolls in no time!
Do you have any lingering questions, or perhaps a favorite yeast baking tip you’d love to share? We encourage you to join the conversation and contribute your insights in the comments section below!
Disclaimer: I am a participant in the Amazon Services LLC Associates Program, an affiliate advertising program designed to provide a means for me to earn fees by linking to Amazon.com and affiliated sites. As an Amazon Associate I earn from qualifying purchases.