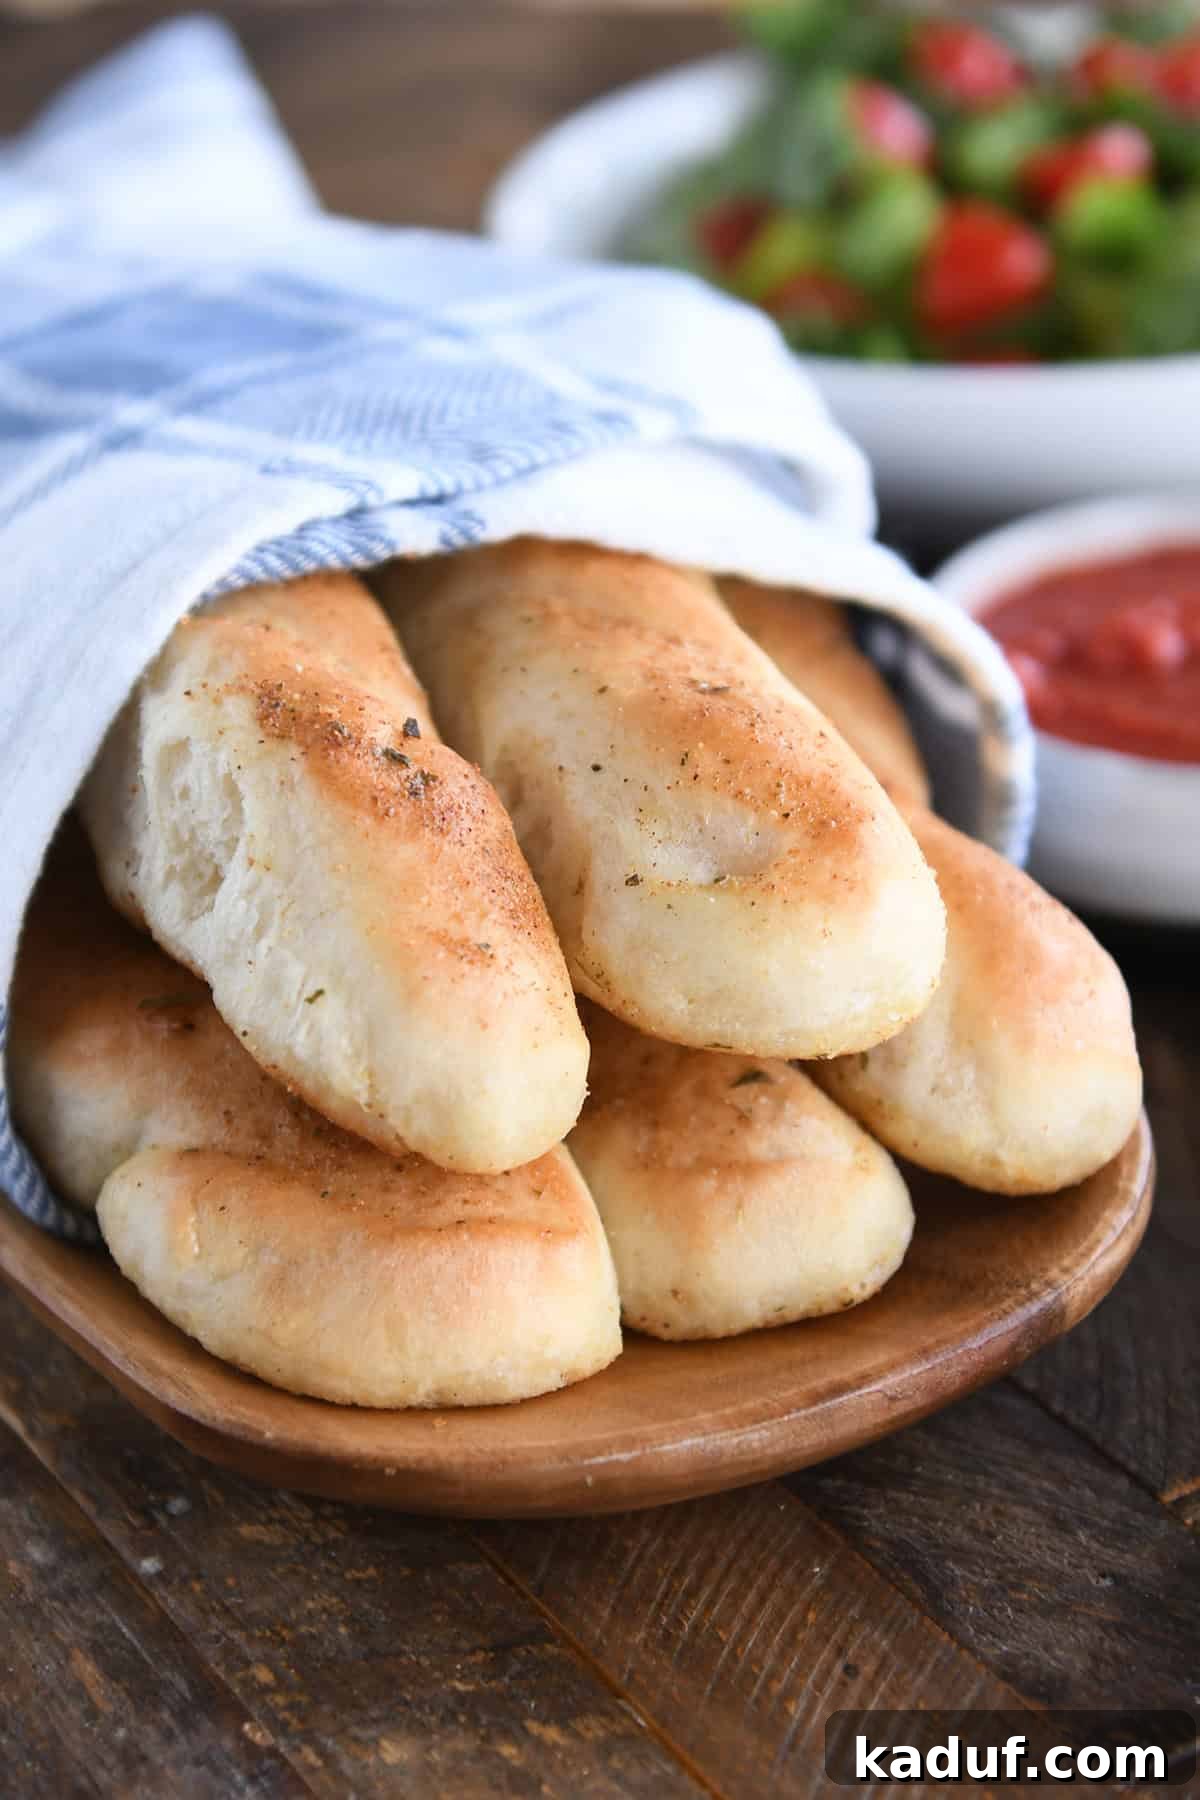
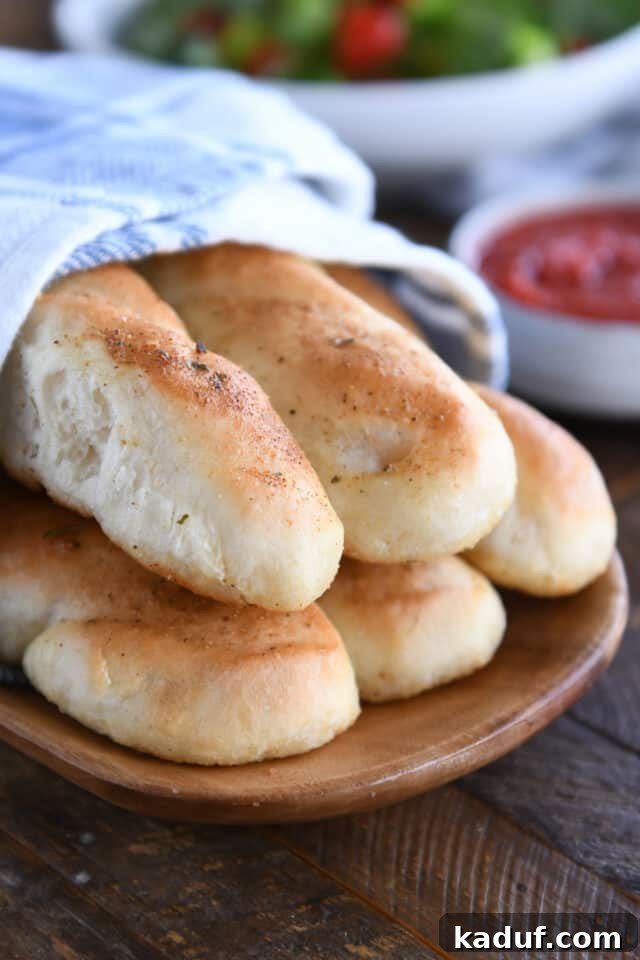
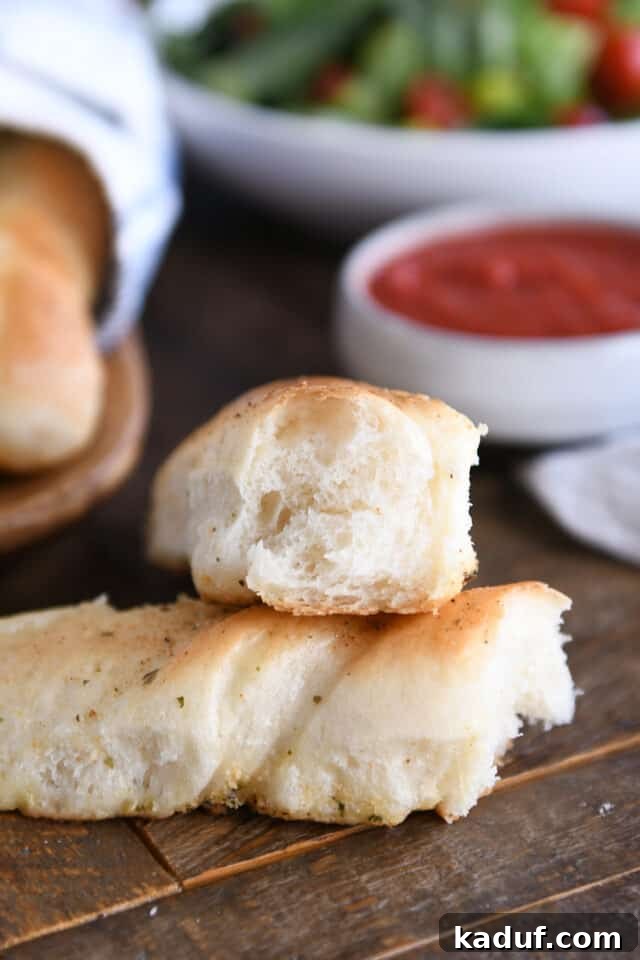
In search of a perfectly easy, incredibly fast, and unbelievably delicious breadstick recipe? Look no further! These divine homemade breadsticks are a testament to how simple and rewarding making yeast dough from scratch can be. Achieve golden, fluffy breadsticks in just under an hour, making them an ideal last-minute addition to any meal.
For nearly two decades, this homemade breadstick recipe has been a beloved staple in countless kitchens, earning its reputation as one of the most frequently prepared bread dishes. Its irresistible combination of ease, speed, and mouth-watering flavor makes it an undisputed winner for busy weeknights, celebratory dinners, or simply when a craving for warm, fresh bread strikes. Forget complicated baking processes; this recipe simplifies yeast dough, transforming what many perceive as a daunting task into a delightful and accessible culinary experience. Whether you’re a seasoned baker or just starting your journey with yeast, these breadsticks are guaranteed to impress with minimal effort.
Crafting the Perfect Homemade Breadstick Dough
The foundation of these exquisite breadsticks lies in an incredibly straightforward and forgiving dough. Designed for simplicity, this recipe removes the intimidation often associated with yeast baking, ensuring a smooth process from start to finish. The beauty of this breadstick dough is its remarkable adaptability. It can be effortlessly prepared in a stand mixer, where a trusty dough hook does all the hard work, gently kneading the ingredients into a smooth, elastic mass. For those who prefer a more hands-on approach or don’t own a stand mixer, the dough comes together just as beautifully by hand. With an old-fashioned bowl, a sturdy spoon, and a bit of hand-kneading, you’ll achieve the same fantastic results.
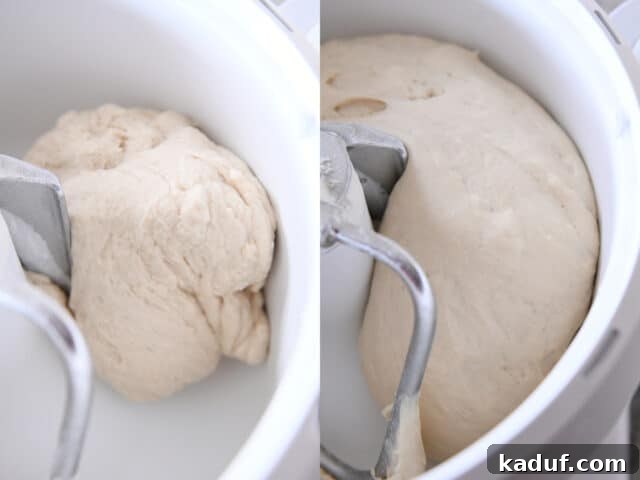
This dough is particularly resilient and practically foolproof, making it ideal for beginners. It’s designed to be pliable and easy to work with, allowing for minor adjustments without compromising the final texture. Once mixed, the dough requires a brief resting period, which conveniently takes place right in the mixing bowl. This short rise is all it needs to become wonderfully airy and ready for shaping, contributing significantly to the “under an hour” timeline of this recipe. The minimal effort required for dough preparation means you can focus on the exciting parts of baking, confident that your breadsticks will turn out perfectly every time.
Efficiently Cutting and Shaping Your Delicious Breadsticks
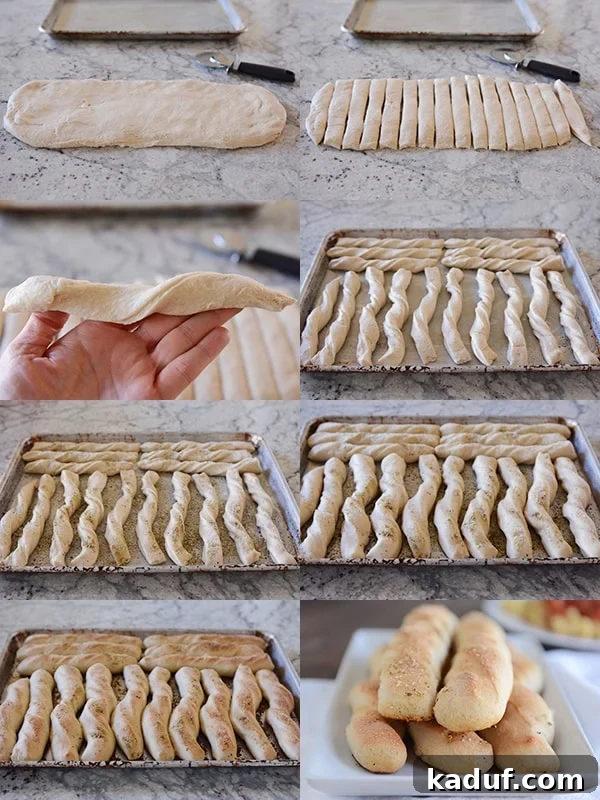
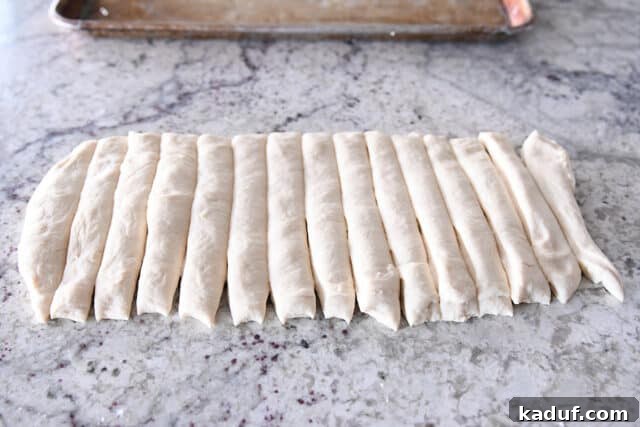
Once your resilient dough has completed its brief, yet vital, resting period, the fun of shaping begins. This stage is surprisingly quick and satisfying. Gently pat the risen dough onto a lightly greased countertop or a silicone mat, forming a thick, even rectangle approximately 16 inches long by 7 inches wide. The exact dimensions aren’t critical; aim for a uniform thickness to ensure even baking. This rectangular shape provides the perfect canvas for creating consistent breadstick strips.
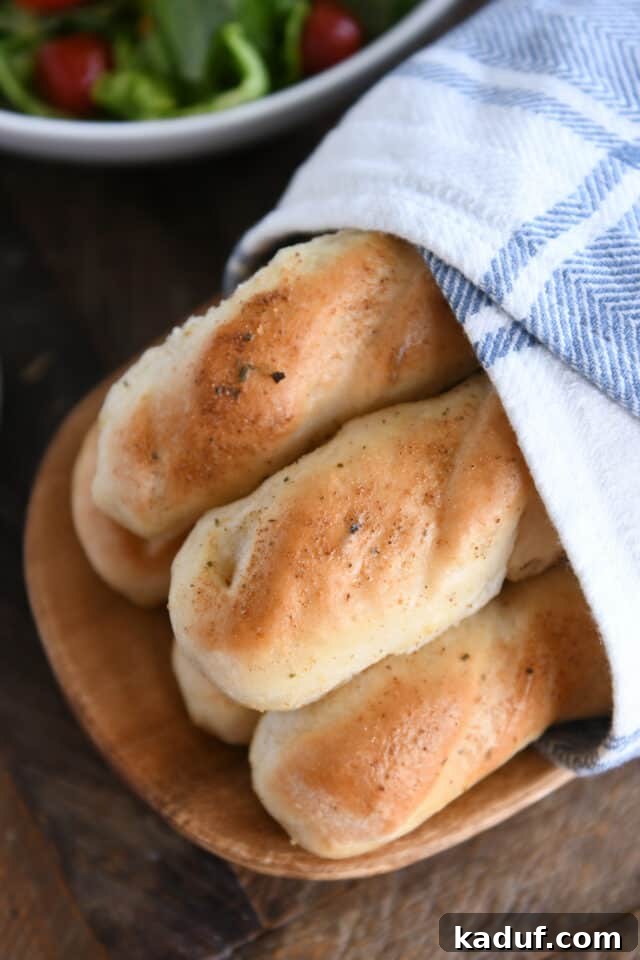
For effortless and precise cutting, a pizza cutter is your best friend. Glide it across the dough to create strips about 1 inch wide. The ease and speed of this method are unmatched, making the process both enjoyable and efficient. Once cut, you have the option to give each strip a playful twist. While completely optional, twisting the dough strips adds a delightful visual appeal and contributes to a unique, slightly chewier texture that many find irresistible. It’s a small step that adds a touch of artisanal charm to your homemade breadsticks.
Carefully arrange your twisted (or straight!) breadstick strips onto a large half sheet pan that has been generously slathered with melted butter, as detailed in the recipe. This butter layer not only prevents sticking but also infuses the bottoms of the breadsticks with an incredible rich flavor and helps them achieve a beautiful golden-brown crispness. Typically, one batch of this versatile dough yields an impressive 14 to 16 delectable breadsticks, making it perfect for feeding a hungry family or a gathering of friends.
A standard batch consistently produces between 14-16 perfectly sized homemade breadsticks, ensuring plenty for everyone.
Now for the crowning touch: seasoning! This is where you can truly personalize your breadsticks. While a garlic seasoning blend is a consistent crowd-pleaser and highly recommended (there are numerous fantastic options available at your local grocery store, such as Johnny’s garlic spread or Spice Islands Garlic and Herb), don’t hesitate to experiment. If a pre-mixed blend isn’t on hand, a simple sprinkle of dried oregano, dried basil, or a classic Italian seasoning mix will provide a wonderful aromatic flavor. For an extra layer of savory goodness, consider adding a dusting of grated Parmesan cheese alongside your herbs and a touch of garlic salt. The possibilities are endless, allowing you to tailor these breadsticks to complement any meal or satisfy any craving.
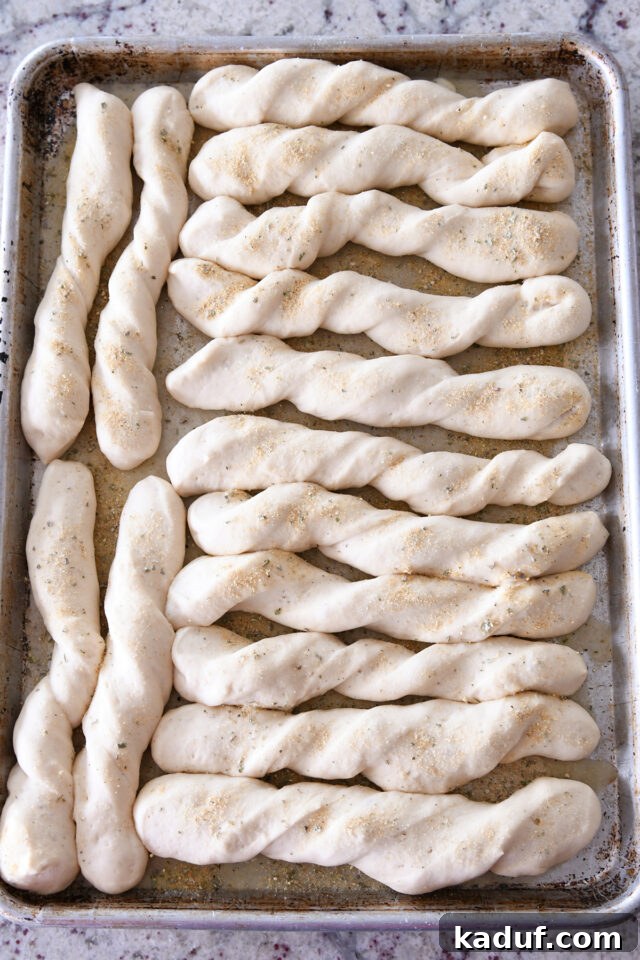
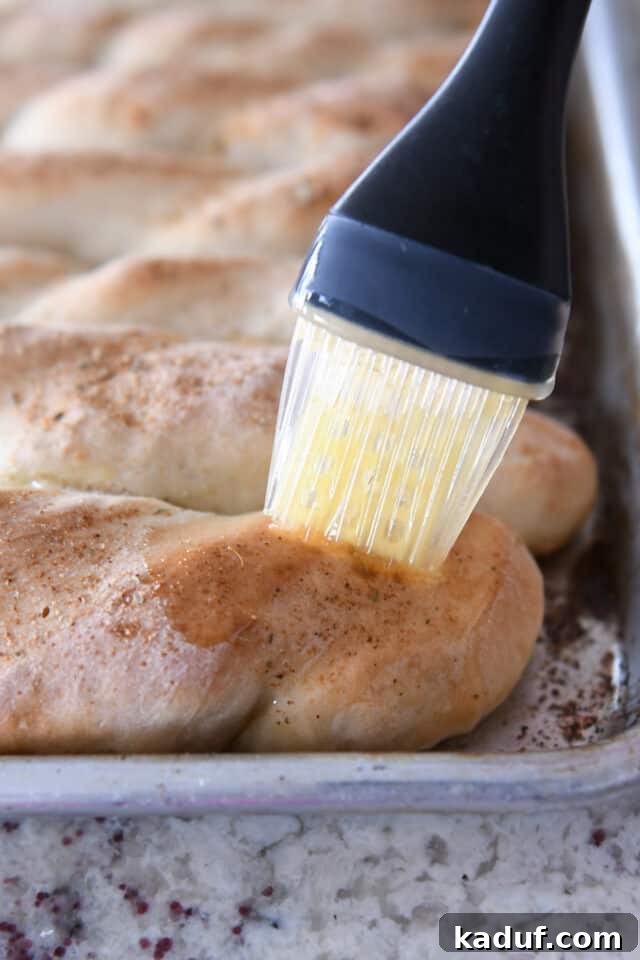
After seasoning, the breadsticks get one final, crucial rest period. This allows them to rise further, becoming noticeably puffy and airy, which is key to their light and soft interior. This brief proofing stage ensures maximum fluffiness before they head into the preheated oven. Bake them until they reach a beautiful golden hue, signaling their crispy exterior and perfectly cooked interior. For an ultimate indulgence, consider brushing the hot, baked breadsticks with a bit more melted butter immediately after they emerge from the oven. This final touch adds an extra layer of richness and a glossy finish that makes them utterly irresistible.
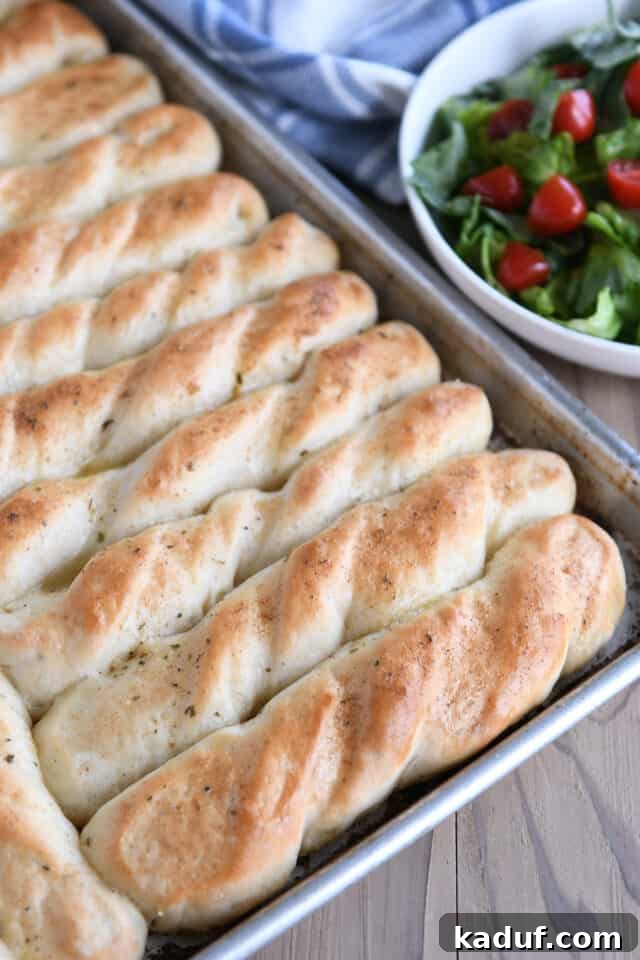
Prepare to be utterly amazed by how effortlessly these breadsticks come together and how incredibly delicious they taste. The simplicity of the recipe belies the profound satisfaction you’ll feel when serving these warm, aromatic delights. It’s often the case that once you try them, you’ll want more, which is why we frequently double the recipe. It requires hardly any extra effort but yields double the goodness, ensuring there are plenty for everyone to enjoy. Plus, leftovers (if there are any!) make fantastic snacks and additions to school lunches, disappearing almost as quickly as the fresh batch.
Their versatility makes them the perfect companion to a vast array of dishes. From hearty and comforting Instant Pot pastas, like a creamy baked ziti, to light and nourishing creamy soups, these breadsticks elevate any meal. They are not just a side dish; they are a flavorful experience that complements and enhances the main course. These breadsticks are truly fabulous – a go-to recipe that consistently delivers on taste, convenience, and pure culinary joy.
A Resounding Fan Favorite: What Everyone Loves About These Breadsticks
With an astounding track record of over 500 five-star reviews, this homemade breadstick recipe has solidified its place as a cherished favorite among home cooks everywhere. The overwhelming positive feedback isn’t just about the taste, but also about the unparalleled convenience and the joy it brings to the kitchen. It’s more than just a recipe; it’s a proven winner that consistently delivers exceptional results.
Judy, a satisfied baker, enthusiastically shares: “Love love love this recipe. So quick. So convenient. So YUMMY! I make these all the time; they’re truly a game-changer for dinner.” ⭐️⭐️⭐️⭐️⭐️
Lauren recounts her success: “These came out absolutely amazing… I’m already on my second batch this week because my husband demanded more! Definitely a huge hit with the whole family.” ⭐️⭐️⭐️⭐️⭐️
KD praises the simplicity: “Just tried this recipe tonight for our movie night, and it’s going to be a regular! They are so soft and fluffy, and the recipe itself is incredibly easy to follow. Perfect for beginners!” ⭐️⭐️⭐️⭐️⭐️
Maegen found creative inspiration: “Made these last night and they turned out spectacular. We even doubled the batch and used butter, cinnamon, and sugar on half for a fantastic dessert breadstick. We will definitely be making these again!” ⭐️⭐️⭐️⭐️⭐️
These testimonials highlight the key reasons this recipe resonates so deeply with home bakers: its speed, its foolproof nature, its delicious outcome, and its versatility to adapt to different tastes and occasions. It’s a recipe that not only produces delicious bread but also fosters confidence and creativity in the kitchen.
Frequently Asked Questions for Divine 1-Hour Breadsticks
Absolutely! For convenient meal planning, you can shape the breadsticks, place them on the prepared baking pan, cover them tightly with greased plastic wrap, and refrigerate for up to 12 hours before baking. When ready to bake, simply remove them from the refrigerator and let them sit at room temperature for about 30 minutes to an hour (or until visibly puffy) before baking as directed.
Yes, definitely! While a stand mixer simplifies the process, this dough is very forgiving and can be easily mixed and kneaded by hand. Just combine the ingredients in a large bowl and knead on a lightly floured surface until the dough is smooth and elastic. It may take a few extra minutes of kneading compared to a mixer, but the results will be just as delicious.
My go-to is typically a garlic/herb seasoning blend, such as Johnny’s garlic seasoning or a generic store-bought garlic and herb mix. These blends offer a balanced, savory flavor. However, feel free to use your favorite dried herbs like basil, oregano, rosemary, or a classic Italian seasoning blend. A sprinkle of garlic salt and grated Parmesan cheese also works wonders for a more traditional garlic breadstick flavor.
Yes, these breadsticks freeze beautifully! Once fully baked and cooled, place them in a single layer on a baking sheet and freeze until solid. Then, transfer the frozen breadsticks to a freezer-safe bag or airtight container. They can be stored in the freezer for up to 2-3 months. To reheat, simply warm them in a preheated oven at 350°F (175°C) for about 5-10 minutes, or until heated through and crisp.
If your dough isn’t rising, the most common culprit is inactive yeast or water that’s either too hot or too cold. Ensure your warm water is between 105-115°F (40-46°C). Water that’s too hot will kill the yeast, while water that’s too cold won’t activate it. Also, check the expiration date on your instant yeast to ensure it’s fresh. A warm environment can also help with rising; try placing the covered bowl in a slightly warm oven (turned off) or a draft-free spot.
Divine 1-Hour Breadsticks
Pin
Rate
Ingredients
Dough:
- 1 ½ cups warm water
- 1 tablespoon instant yeast
- 2 tablespoons sugar
- 1 teaspoon salt
- 3 to 4 cups (426-568 g) flour (see note)
Butter and Topping:
- 3 tablespoons butter, melted (for the baking sheet)
- Dried herbs, garlic salt and grated Parmesan cheese
Instructions
-
In an electric stand mixer fitted with the dough hook (or in a large bowl if making by hand), combine the warm water, instant yeast, sugar, salt, and one cup of the flour. Mix on low speed until just combined, or stir well with a sturdy spoon.
-
Gradually add the remaining flour, a half cup at a time, until the dough begins to pull away cleanly from the sides of the bowl. Once it gathers, knead for approximately three minutes in the mixer, or 5-7 minutes by hand. The ideal dough should be soft and slightly sticky to the touch, but not leave significant residue on your fingers.
-
Allow the dough to rest, covered, in the bowl for 10 minutes. This short rest allows the gluten to relax, making the dough easier to handle and shape.
-
While the dough is resting, preheat your oven to 400 degrees F (200°C). Prepare a large, rimmed baking sheet (approximately 11×17 inches) by spreading the melted butter evenly over its surface. This will give your breadsticks a wonderfully crisp and flavorful bottom crust.
-
On a lightly greased countertop or a non-stick baking mat, gently pat the rested dough into a long, even rectangle, roughly 16 inches by 7 inches. Use a pizza cutter to slice the dough into strips about 1 inch wide (adjust slightly for thicker or thinner breadsticks).
-
Take each dough strip and twist it slightly a few times (this step is optional but adds a great texture and visual appeal). Place the twisted strips about 1/2-inch apart on the prepared buttered baking sheet. Lightly sprinkle the breadsticks with your choice of dried herbs, garlic salt, and grated Parmesan cheese.
-
Allow the seasoned breadsticks to rise for a final 20 minutes in a warm, draft-free spot until they appear noticeably puffy. (You may cover them loosely with greased plastic wrap, though often it’s not necessary for such a short rise.) Bake for 15 minutes, or until they are beautifully golden brown on top and cooked through. Serve warm, optionally brushed with a little extra melted butter for an even richer finish.
Notes
Choosing Your Flour: Over the years, I’ve experimented with various flours, each offering a slightly different characteristic. Most often, I use white whole wheat flour, which results in a heartier, slightly more dense breadstick without sacrificing deliciousness. They are also absolutely spectacular when made with bread flour, which contributes to a chewier texture. Of course, regular unbleached all-purpose flour works wonderfully too, providing a classic soft breadstick. For what I consider the magical combination (after countless batches!), I recommend using a blend of about 10 ounces (283g) bread flour and 9 ounces (255g) white whole wheat flour. This mix delivers the best of both worlds in terms of flavor and texture.
Understanding Flour Amount in Yeast Doughs: It’s crucial to remember that with all yeast doughs, the exact amount of flour specified in a recipe should be treated as a guide, not an unbreakable rule. Factors such as humidity, ambient temperature, altitude, and even the brand of flour can significantly impact how much flour your dough will absorb. Rather than strictly adhering to cup or weight measurements, I always recommend judging when to stop adding flour by the dough’s texture, appearance, and feel. It should be soft and just slightly sticky, but not so sticky that it leaves a large amount of residue on your fingers. This intuition comes with practice, but trust your senses more than the numbers for perfect results.
Working with Yeast: If you’re new to baking with yeast or simply want to refresh your knowledge, this tutorial on working with yeast can be incredibly helpful. For this specific breadstick recipe, your dough should feel wonderfully soft and have just a hint of stickiness, but it shouldn’t be overly wet or leave excessive dough clinging to your hands. A properly floured dough will be manageable and elastic.
Recommended Products
Recipe Source: This exceptional recipe has been lovingly adapted from my sister-in-law, Erin W., a true kitchen wizard whose culinary wisdom has inspired many delicious meals.