
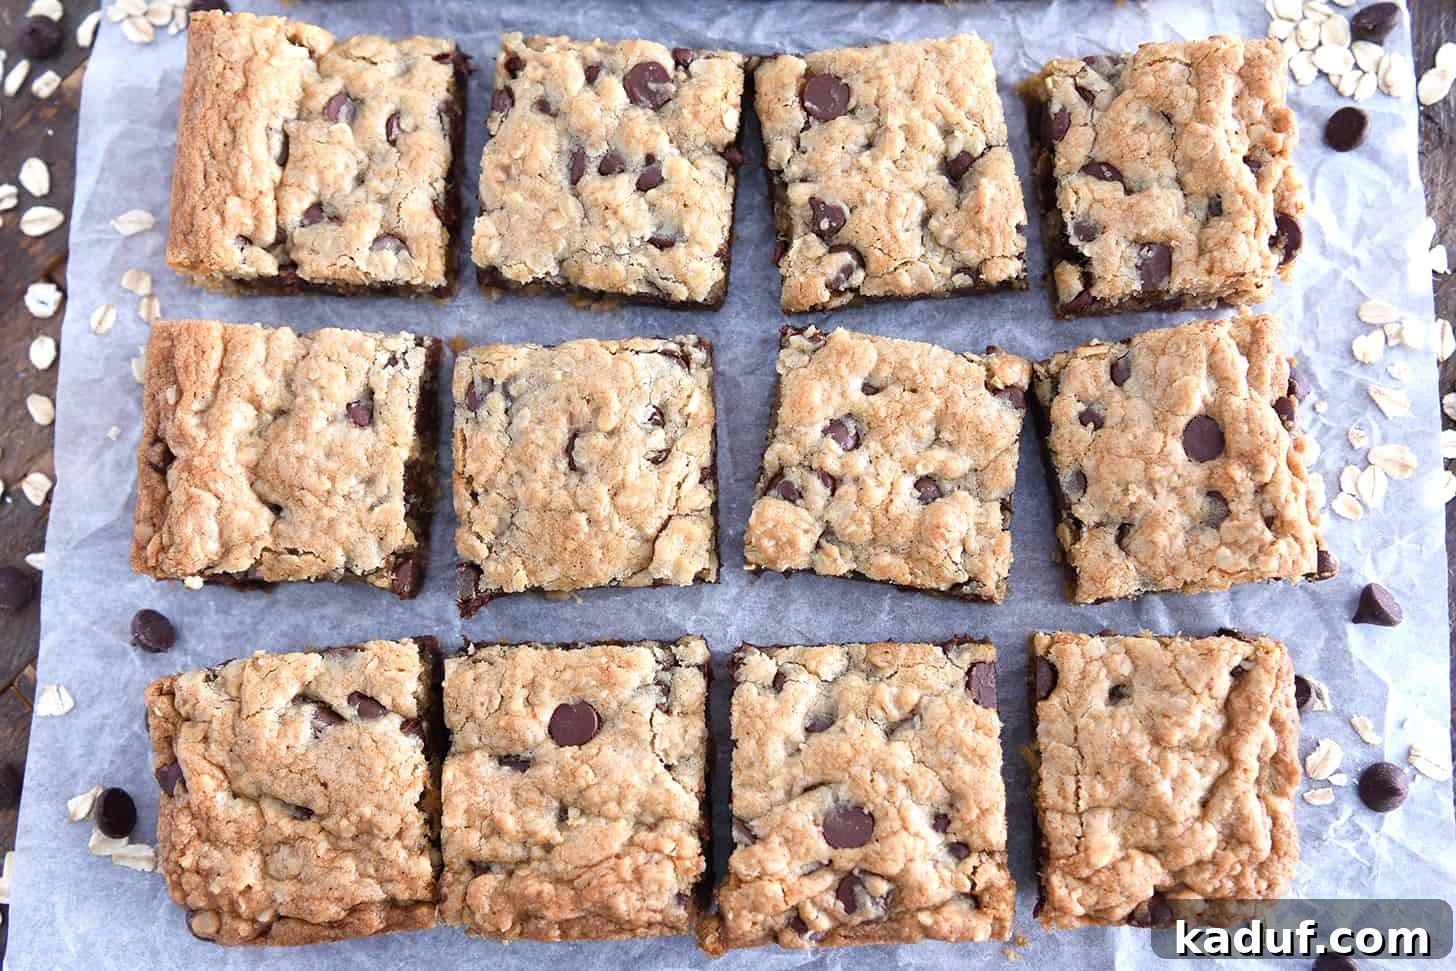
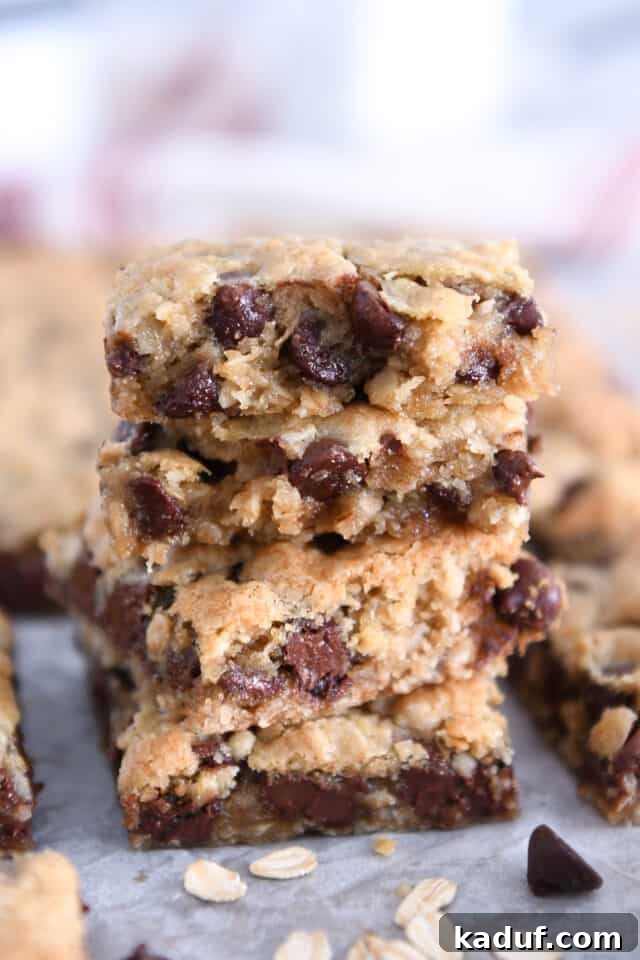
These super easy oatmeal chocolate chip cookie bars are soft, chewy, and so delicious! The perfect fast fix for any cookie craving!
The Ultimate Easy Oatmeal Chocolate Chip Cookie Bars: Soft, Chewy, and Irresistible
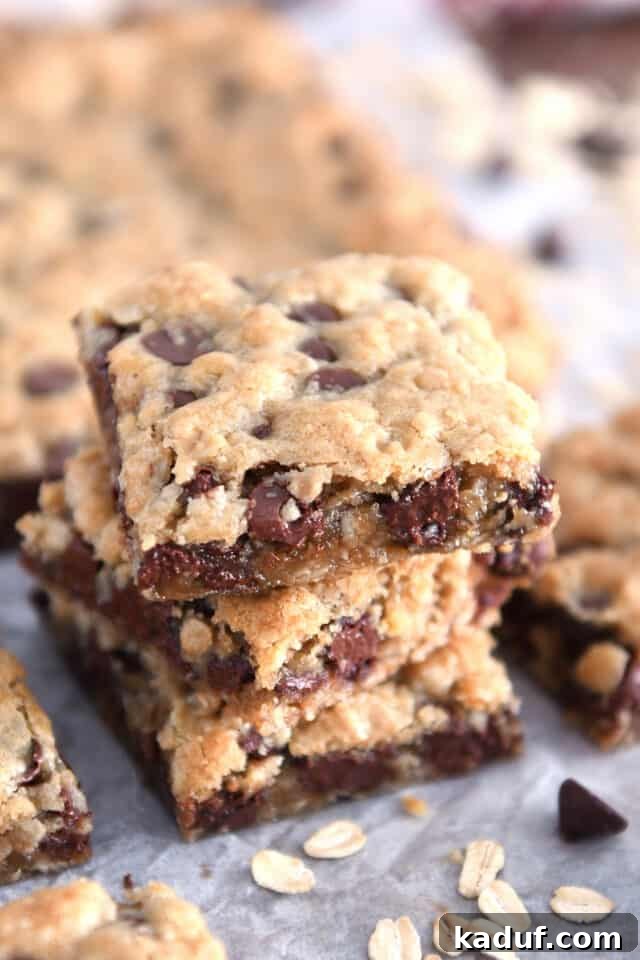
There’s truly nothing more comforting and satisfying than a warm, gooey, homemade cookie bar, generously studded with rich chocolate chips. This recipe for oatmeal chocolate chip cookie bars isn’t just one of my all-time favorites; it’s a testament to how simple ingredients can create an extraordinary dessert. Forget the hassle of scooping individual cookies; these bars deliver all the beloved flavor and texture in an effortlessly bakeable form, making them an ideal treat for any occasion, from casual weeknight desserts to impressive potluck contributions. If you’re searching for a quick, delicious, and deeply satisfying dessert, look no further – these oatmeal chocolate chip cookie bars are guaranteed to hit the spot every time.
Crafting the Perfect Easy Cookie Dough for Irresistible Bars
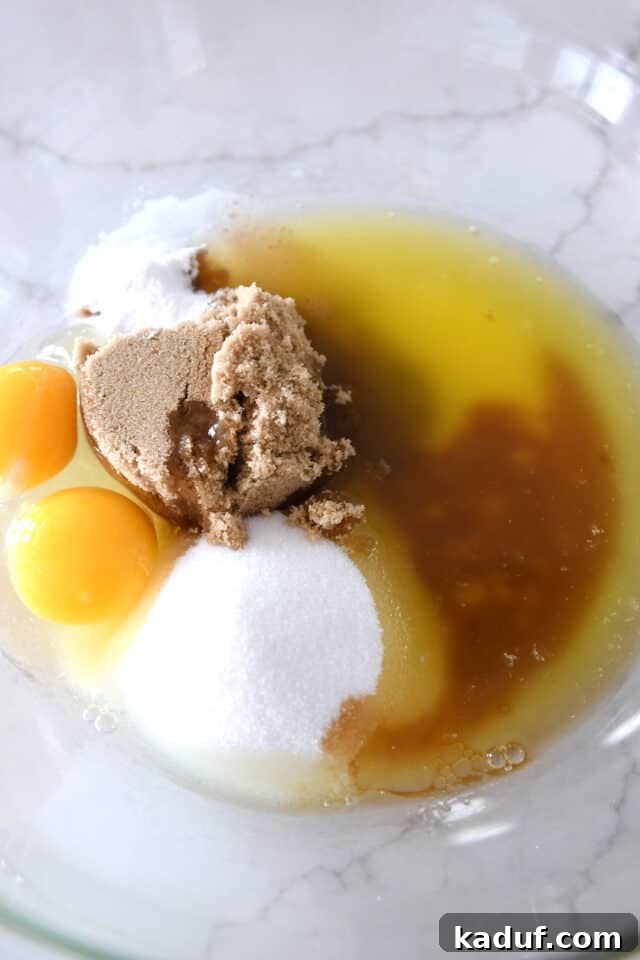
The foundation of these outstanding oatmeal chocolate chip cookie bars lies in their incredibly straightforward dough. What makes it so easy? The secret is melted butter, which simplifies the mixing process considerably. No need for a stand mixer or softening butter for hours – just one bowl, a few simple steps, and minimal fuss. This approach not only saves time but also guarantees a consistently delicious and perfectly textured bar that tastes like it came from your favorite bakery.
The Harmony of Wet Ingredients: Building Flavor and Chewy Texture
Each wet ingredient in this recipe plays a pivotal role in developing the signature soft, moist, and wonderfully chewy texture that defines these bars:
- Melted Butter: This is the cornerstone of our easy, one-bowl method. Melted butter creates a tender crumb and imparts a rich, deep buttery flavor throughout the bars. For an extraordinary depth of flavor that will truly elevate your baking, consider browning the butter before incorporating it. This extra step introduces nutty, caramelized notes that are simply unparalleled. If you opt for browned butter, allow it to cool slightly before adding it to the sugars to prevent cooking the eggs prematurely.
- Granulated Sugar + Brown Sugar: The strategic combination of these two sugars is essential for both flavor and texture. Granulated sugar contributes a crispness to the edges and a clean sweetness, while brown sugar, rich in molasses, provides moisture, an irresistible chewiness, and a subtle caramel undertone that beautifully complements the oats and chocolate. This duo ensures a perfectly balanced sweetness that isn’t cloying.
- Egg + Extra Egg Yolk: The large egg serves as a binder, giving structure to the bars. However, the addition of an extra large egg yolk is our secret weapon for maximizing chewiness and richness. Egg yolks are full of fat and emulsifiers, which contribute to a supremely tender texture and a luxurious, dense chewiness that sets these bars apart from standard cookies. This small adjustment makes a significant difference in the final product.
- Baking Soda + Salt + Vanilla Extract: These essential ingredients are crucial for flavor and leavening. Baking soda reacts with the brown sugar and other ingredients to provide the perfect rise, ensuring the bars are soft and light, not heavy or dense. Salt is vital for balancing the sweetness, preventing the bars from tasting bland, and enhancing all the other delicious flavors. Finally, pure vanilla extract adds a warm, inviting aroma and a classic flavor note that is indispensable in any high-quality baked good.
Pro Tip: Elevate Your Bars with Browned Butter! For a truly next-level flavor experience, try browning the butter before adding it to your wet ingredients. The nutty, toasted notes it imparts will transform these cookie bars from delicious to absolutely unforgettable. It’s an easy technique that yields incredible results, making it well worth the extra few minutes. Just be sure to let it cool a bit before combining with the sugars and eggs!
The Essential Dry Ingredients: Bringing the Dough Together
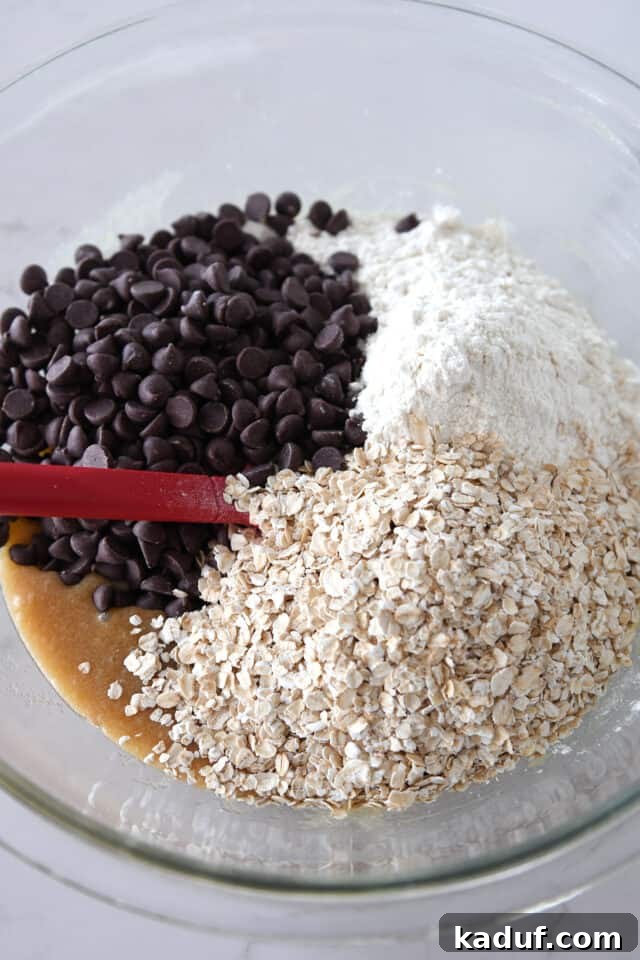
Once your flavorful wet ingredients are perfectly combined, it’s time to fold in the dry components that give these bars their comforting structure and texture. This stage is quick and forgiving, making the entire process enjoyable and stress-free:
- All-Purpose Flour: The fundamental ingredient that provides the necessary bulk and structure to hold our delicious bars together.
- Oats (Quick Oats or Old-Fashioned Rolled Oats): The defining element of “oatmeal” cookie bars! Oats introduce a wonderful chewiness and a wholesome, hearty texture that contrasts beautifully with the gooey chocolate chips. While both quick oats and old-fashioned rolled oats work well, quick oats will result in a slightly finer, more integrated texture, whereas old-fashioned oats will provide a more discernible, substantial chew. Choose according to your preference!
- Chocolate Chips (Semisweet Forever!): The ultimate indulgent hero of any cookie bar. While I personally champion semisweet chocolate chips for their classic, perfectly balanced sweetness and rich chocolate flavor, this is where you can truly make the recipe your own. Feel free to experiment with dark chocolate chunks for a more intense cocoa experience, creamy milk chocolate for a sweeter profile, or even white chocolate chips for a delightful visual and taste contrast. A mix of different chocolate types can also be incredibly satisfying!
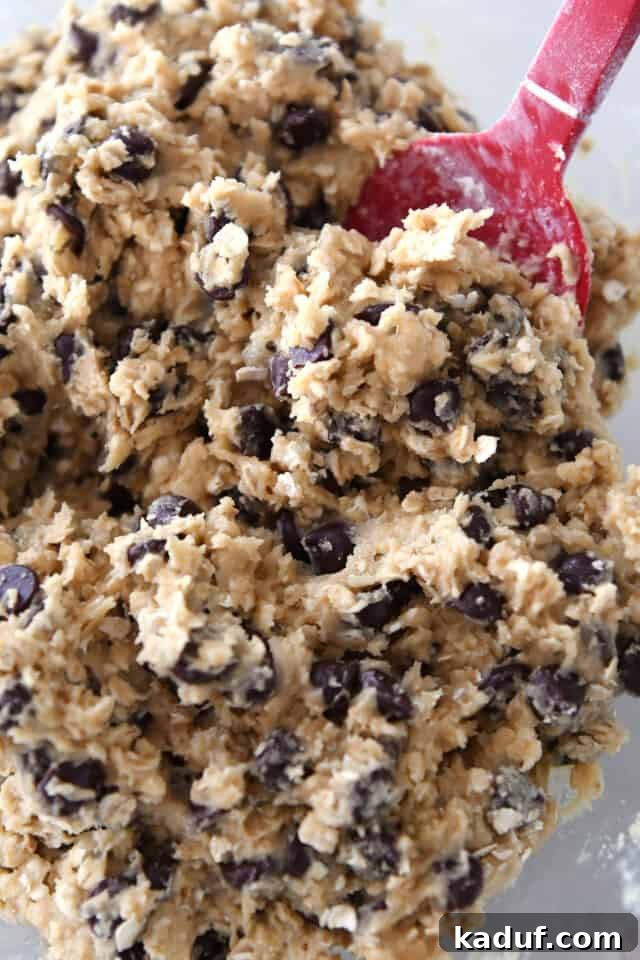
The beauty of this recipe extends to the mixing of the dry ingredients. There’s no need to overthink it; simply add the flour, oats, and chocolate chips to your wet mixture and mix until just combined. Overmixing can develop the gluten in the flour, leading to tougher bars, so a gentle hand and a few stirs are all that’s required. This dough comes together so easily and quickly, you might just blink and miss how fast you’ve prepared a pan full of future deliciousness. It’s truly a testament to the simplicity and efficiency of this beloved recipe, making it accessible even on the busiest days.
Baking to Perfection: Tips for Success and Doubling the Recipe
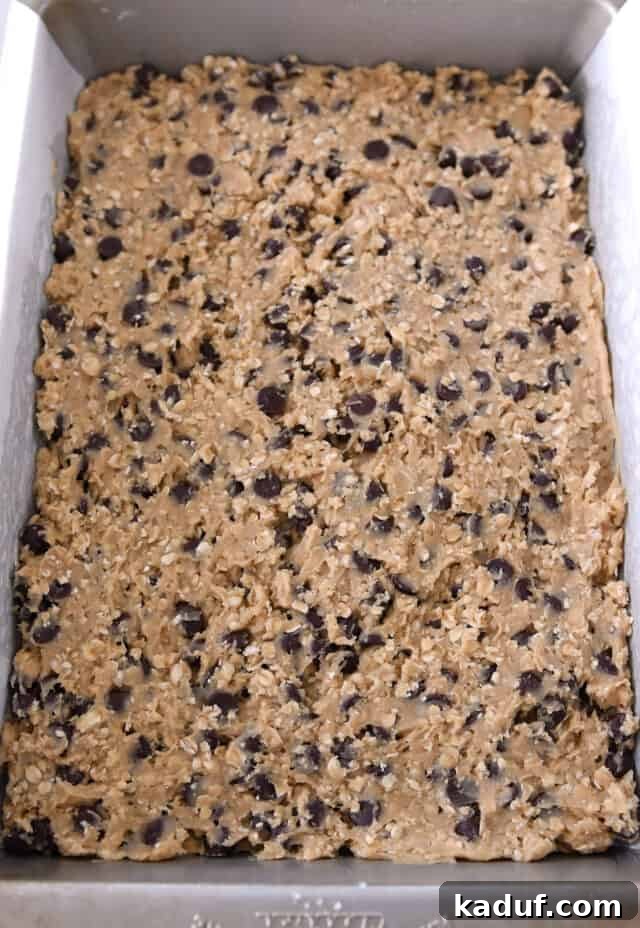
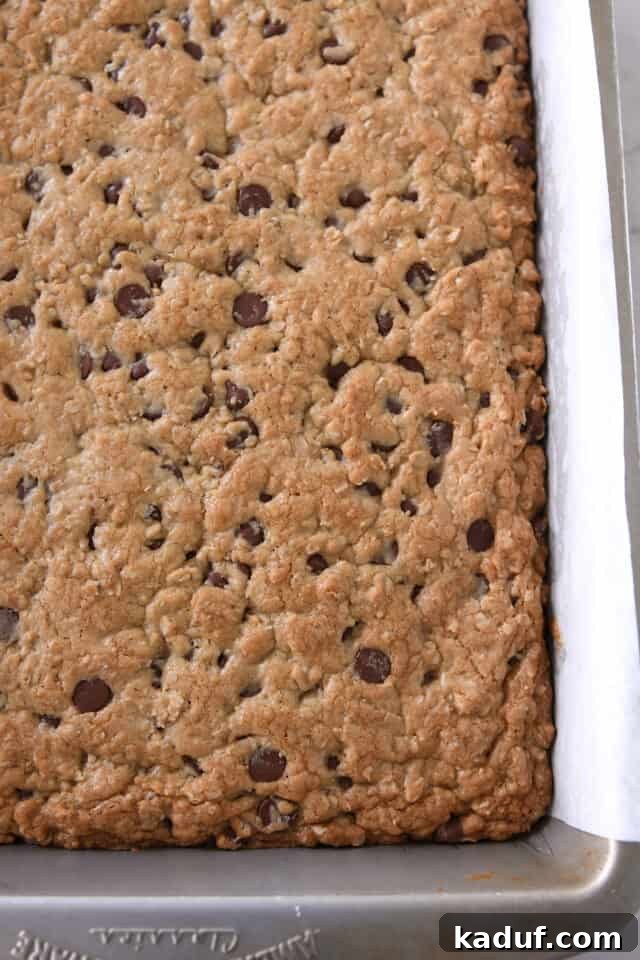
Achieving the perfect oatmeal chocolate chip cookie bar is all about attention to detail, especially when it comes to baking time. The standard recipe is designed for a 9×13-inch baking pan, which provides an ideal surface area for an even bake. However, the most crucial tip for these bars is to resist the urge to overbake! The secret to their incredible softness and chewiness lies in removing them from the oven when they are just slightly underbaked. This ensures a gooey center that is absolutely divine, contrasting beautifully with the lightly golden edges.
Scaling Up: Expert Tips for Doubling the Recipe for Larger Batches
Whether you’re hosting a party, preparing for a school event, or simply want to stock up on these delightful treats, doubling the recipe is a fantastic and highly recommended option. A double batch can be baked efficiently and perfectly in a half sheet pan, which typically measures approximately 11×17 inches. This larger pan size accommodates the increased volume of dough, allowing it to spread evenly and bake uniformly, ensuring you have plenty of bars to share and enjoy.
The Counterintuitive Truth About Baking Time: It’s a common misconception that doubling a recipe automatically means doubling the baking time. For these cookie bars, and many other baked goods in larger pans, this is often not the case. In fact, I’ve found that baking a double batch in a wider, larger pan like a half sheet might even require *less* baking time than two individual 9×13-inch pans. The increased surface area allows for more efficient heat distribution and evaporation, which can accelerate the cooking process. Therefore, it’s essential to keep a very close eye on your bars, especially as they approach the end of the suggested baking window. Look for edges that are set and lightly golden, while the center still appears slightly soft and gooey. This visual cue is your best indicator that they are ready to be removed from the oven, ensuring that desirable chewy texture we all love!
Freezing and Storing Cookie Bars: Enjoy Them Anytime!
One of the many fantastic qualities of these easy oatmeal chocolate chip cookie bars is their exceptional ability to be stored and enjoyed over time. While nothing quite beats a warm bar straight from the oven or a room-temperature slice on the day they’re made, their impressive shelf-life makes them perfect for meal prepping desserts, preparing for future events, or simply having a delightful treat readily available whenever a craving strikes.
Long-Term Storage: Freezing for Future Indulgence
For those looking to extend the enjoyment of these delicious bars, freezing is an excellent option. Baked and completely cooled cookie bars can be frozen for several months without compromising their texture or flavor. To ensure optimal freshness and prevent freezer burn, follow these detailed steps:
- Cool Completely: Before any wrapping or storing, ensure the baked bars are completely cool. Warm bars will create condensation, leading to soggy textures and ice crystals.
- Slice and Flash Freeze: Once cooled, slice the bars into individual squares or your preferred portion sizes. Arrange the cut squares in a single layer on a parchment-lined baking sheet. Place the sheet in the freezer for about 1-2 hours, or until the bars are firm. This “flash-freezing” step prevents them from sticking together when stored in a larger container.
- Wrap and Store: After flash-freezing, transfer the firm squares into freezer-safe resealable bags, an airtight container, or wrap them individually in plastic wrap and then foil. If stacking multiple layers in a container, place a piece of parchment paper between each layer for easy separation.
- Label: Don’t forget to label the bag or container with the date of freezing. They typically maintain their best quality for up to 3 months.
- Thawing and Reheating: When you’re ready to enjoy, simply remove the desired number of bars from the freezer. Let them thaw at room temperature for about 30-60 minutes. For that irresistible warm, gooey “fresh-baked” experience, gently warm them in the microwave for 5-10 seconds, or in a preheated oven at 300°F (150°C) for a few minutes until heated through.
Short-Term Storage: Keeping Them Fresh in the Refrigerator
If you plan to devour your cookie bars within a few days, they store beautifully in the refrigerator for 2 to 3 days. Simply place them in an airtight container to maintain their moisture and protect them from absorbing other aromas in the fridge. When you’re ready for a delightful bite, you have two fantastic options:
- Warm and Gooey: For a quick revival, pop a bar into the microwave for just 5-10 seconds. This will bring back that glorious warm, soft, and melty chocolate chip goodness, making it taste as fresh as the moment it came out of the oven.
- Chilled and Chewy: Many people find cold cookie bars to be a unique and equally delicious experience! Chilling them gives them a denser, firmer, yet still wonderfully chewy texture. It’s a different kind of indulgence, perfect for a hot day or when you prefer a more substantial bite.
No matter how you choose to store or enjoy them, these oatmeal chocolate chip cookie bars promise a consistently delicious and satisfying experience.
A Timeless Favorite: Decades of Deliciousness and Raving Reviews
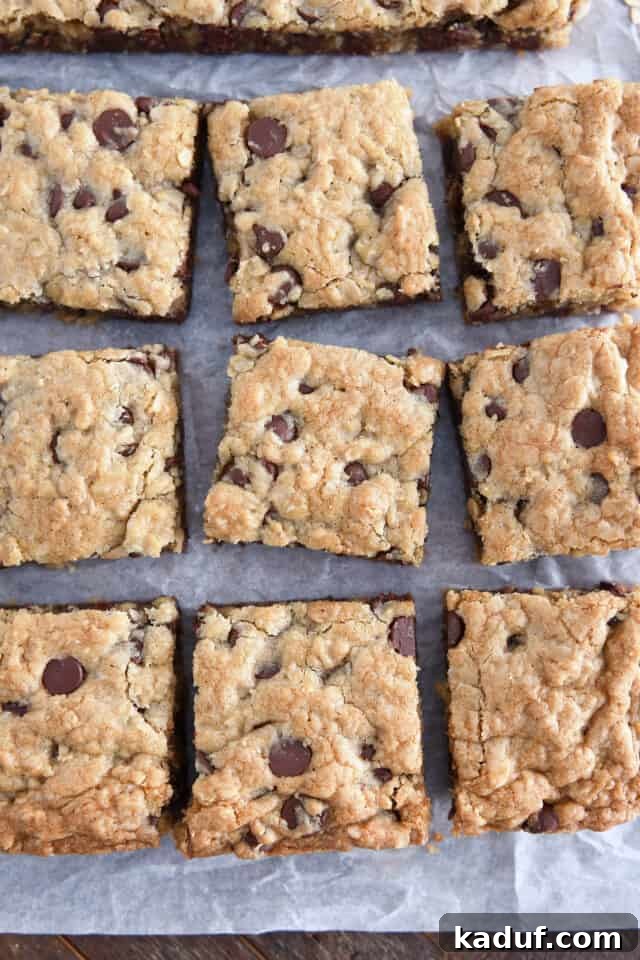
While I certainly appreciate the charm of a classic, old-fashioned oatmeal chocolate chip cookie, there’s an undeniable brilliance in baking and serving the dough in bar form. It’s more than just a matter of convenience; it’s about achieving consistent results, effortless portioning, and the sheer joy of pulling a single pan full of comforting goodness from the oven. These oatmeal chocolate chip cookie bars have been a beloved recipe for decades, a cherished staple in my kitchen and a resounding favorite among countless others who have tried them. Their enduring popularity is a true testament to their perfect balance of flavors, irresistible textures, and remarkable ease.
The proof, as they say, is in the pudding – or, in this case, in the delightful feedback from happy bakers who have made these bars a part of their own family traditions:
Liz M. recently shared her experience: “My 12-year-old has made these twice in the last week all by herself. Came out amazing! The second time she kicked it up a notch with browned butter. I didn’t even know she knew how to brown butter! Thank you for this amazing recipe!” This heartwarming feedback perfectly illustrates the recipe’s simplicity and accessibility, even inspiring young bakers to confidently tackle more advanced techniques like browning butter, with fantastic results!
Cyndi B. enthusiastically raved: “Hi Mel, just letting you know that today is my third time making these. We recently had visitors from Germany and I made these. The kids literally fought over the last bar! This recipe was a big, big hit. Also, I added some nuts last time and they were great. Thanks Mel, you rock.” It’s truly wonderful to hear how these bars bring so much joy, create memorable moments, and even spark a little friendly competition! Cyndi’s note about adding nuts is also a fantastic idea for customization, showing the recipe’s versatility.
Samantha J. also commented on her success: “Delicious! I doubled the recipe and used a combination of bittersweet and white chocolate chips. Everyone raved about them at our neighborhood cookout.” Samantha’s experience further highlights the ease of doubling the recipe for larger gatherings and the delicious potential of experimenting with different chocolate combinations, ensuring everyone finds something to love.
These genuine testimonials underscore why this recipe continues to be a cherished staple. It’s more than just a list of ingredients; it’s a foundation for creating cherished memories, satisfying sweet cravings, and bringing smiles to faces with ease and confidence. We invite you to try them and discover your own delightful experience!
Oatmeal Chocolate Chip Cookie Bars Recipe
24
Bars (9X13-inch pan)
20
mins
20
mins
40
mins
Pin
Ingredients
-
¾
cup
(170 g)
butter, melted -
½
cup
(106 g)
granulated sugar -
½
cup
(106 g)
lightly packed brown sugar -
1
large
egg -
1
large
egg yolk -
1
teaspoon
vanilla extract -
1
teaspoon
baking soda -
¼
teaspoon
salt -
1 ½
cups
(213 g)
all-purpose flour -
1
cup
(100 g)
quick oats or old-fashioned rolled oats -
2
cups
(340 g)
chocolate chips or chocolate chunks
Instructions
-
Preheat oven to 350 degrees F (175°C). Lightly grease a 9X13-inch baking pan with cooking spray or line it with parchment paper and lightly grease the parchment. Set aside.
-
In a large mixing bowl, add the melted butter, granulated sugar, brown sugar, large egg, extra large egg yolk, vanilla extract, baking soda, and salt. Mix thoroughly by hand using a whisk or rubber spatula, or use an electric mixer on low speed, until all ingredients are well-combined and the mixture is smooth.
-
Add the all-purpose flour, oats, and chocolate chips to the wet mixture. Stir gently until the dry ingredients are just evenly combined with the wet, and no streaks of flour remain. Be careful not to overmix the dough, as this can develop the gluten and result in tougher cookie bars.
-
Press the prepared batter evenly into the bottom of your greased 9×13-inch pan. Ensure the dough is spread to the edges for consistent baking. Bake for 18-20 minutes. It’s crucial not to overbake these bars! They are at their absolute best when slightly underbaked. Look for edges that are lightly golden brown and a center that still appears a tiny bit soft and moist when gently pressed. This ensures maximum chewiness and a gooey interior.
Notes
Doubling the Recipe: This recipe scales up wonderfully for larger gatherings! To make a double batch, simply double all ingredient quantities and bake in a half sheet pan (an approximately 11X17-inch rimmed baking sheet). Remember that baking time may vary and could even be slightly less due to the larger surface area, so monitor closely.
Flour Adjustment Update: The original version of this bar recipe, first published in 2008, called for 1 ¾ cups of all-purpose flour. However, through extensive testing and feedback over the years, I’ve found that reducing the flour amount to 1 ½ cups results in significantly softer, moister, and ultimately chewier bars, which is the preferred texture for this delightful treat.
Customization Ideas: Feel free to personalize your oatmeal chocolate chip cookie bars by mixing in ½ cup of chopped nuts (such as walnuts or pecans), shredded coconut, a combination of different chocolate chip varieties (dark, milk, or white chocolate), or even a sprinkle of sea salt on top before baking for a sweet and salty contrast.
Mel
Dessert
American
Bake
Nutrition Information (per bar)
- Serving: 1 Bar
- Calories: 185kcal
- Carbohydrates: 24g
- Protein: 2g
- Fat: 9g
- Saturated Fat: 6g
- Cholesterol: 33mg
- Sodium: 129mg
- Fiber: 1g
- Sugar: 14g
Recommended Products
Recipe Source: Adapted from Mel’s Kitchen Cafe
Recipe originally published June 2008; comprehensively updated March 2024 with new photos, expanded content, detailed recipe notes, and ingredient adjustments for enhanced flavor and texture.
More Irresistible Cookie Bar Recipes to Explore:
If you’ve fallen in love with these oatmeal chocolate chip cookie bars, you’re in for an even greater treat! Explore more of our favorite bar recipes that are just as easy to make, equally delicious, and perfect for satisfying any sweet craving or impressing at your next gathering. From classic flavors to exciting new combinations, there’s a bar recipe here for everyone.