
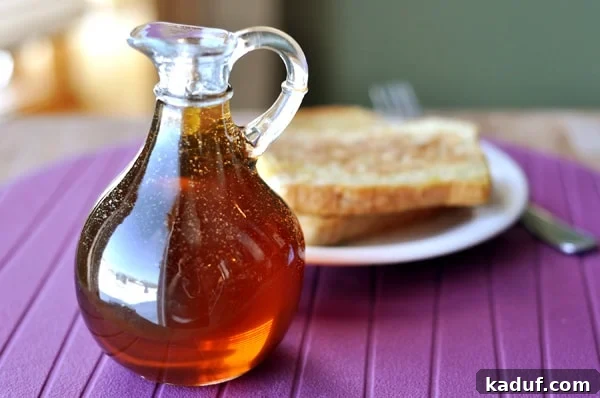
This homemade maple syrup is simple and easy to make and costs a heck of a lot less than store-bought pure maple syrup.
The Ultimate Guide to Homemade Maple Syrup: Delicious, Affordable, and Additive-Free
For many, the breakfast table isn’t complete without a generous drizzle of syrup. Whether it’s fluffy pancakes, golden French toast, or crispy waffles, that sweet, sticky companion is essential. But if you’re like me, you’ve probably wrestled with the “syrup conundrum” – the challenge of finding a syrup that is both delicious and doesn’t break the bank or compromise your health with questionable ingredients.
The quest for the perfect syrup has been a long one. For years, I found myself in a constant battle with morning grumpiness, not just from waking up, but from the dilemma of what to pour over our breakfast favorites. We enjoy hot breakfast meals almost every single morning, making the syrup choice a significant part of our daily routine.
The Great Syrup Conundrum: Why Store-Bought Falls Short
When it comes to commercial syrups, the options are often disappointing. The standard “pancake syrup” found in most grocery stores is typically a far cry from natural goodness. It’s often laden with high-fructose corn syrup, artificial flavors, and a host of other additives designed to mimic the real thing without any of the nutritional value or authentic taste. My conscience simply wouldn’t allow me to drench our wholesome breakfasts in such concoctions.
This leaves two primary alternatives: authentic pure maple syrup or a homemade version. While pure maple syrup is undoubtedly the gold standard for flavor and natural goodness, its price tag can be daunting. For a while, I resigned myself to purchasing pure maple syrup from bulk stores like Sam’s Club, enduring the high cost each time. However, with a recent focus on trimming our grocery budget, even that indulgence became unsustainable.
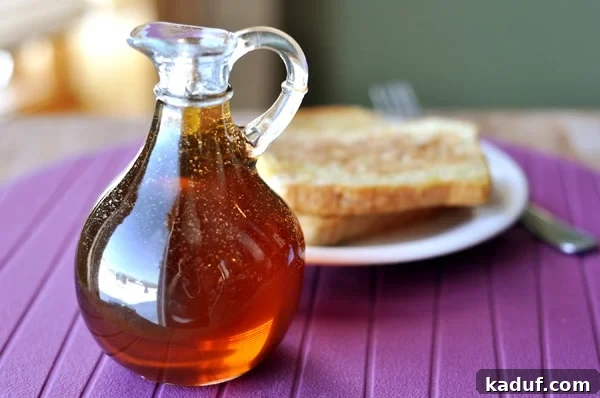
My exploration into other homemade syrup recipes also presented its own set of challenges. Many recipes I tried, particularly those featuring buttermilk, left an unappealing film on top of the syrup. Others contained so much corn syrup that I questioned the point of making them myself – I might as well have just bought the cheaper, additive-filled store brands. My desire was simple: a delicious, maple-like syrup without the exorbitant cost of pure maple and free from unnecessary junk. Was that truly too much to ask?
Your Homemade Syrup Solution: A Game Changer for Breakfast
After much experimentation and a little kitchen agony, I finally discovered the perfect solution! This homemade maple syrup recipe is incredibly straightforward, surprisingly easy to prepare, and most importantly, it tastes remarkably like real maple syrup. This isn’t just a decent substitute; it’s a delightful, budget-friendly alternative that has transformed our breakfast experience. Hooray!
One of the key characteristics of this homemade syrup, due to the absence of corn syrup, is its slightly thinner consistency compared to some conventional pancake syrups. However, this is perfectly acceptable to my family, as we’ve grown accustomed to the consistency and authentic taste of pure maple syrup, which is naturally quite thin. In fact, you’ll find this homemade version is probably a tad bit thicker than pure maple syrup, offering a satisfying mouthfeel.
For those mindful of sugar intake, I’ve previously analyzed the nutritional content of this recipe. While pure maple syrup typically contains around 50g of sugar per 1/4 cup serving, my homemade version clocks in at approximately 48 or 49g for the same amount. This makes it very comparable to pure maple syrup in terms of sweetness, without the hidden additives often found in “light” or “low-sugar” commercial brands, which can be packed with their own set of processed ingredients to compensate for reduced sugar.
The Magic Ingredient: Pure Maple Extract
The secret to achieving that unmistakable maple flavor in this homemade syrup lies in the quality of your maple extract. I highly recommend using a pure maple extract whenever possible. Pure extracts typically have minimal additives, often containing only caramel coloring for visual appeal, ensuring a more authentic and less artificial taste. I source my pure maple extract from Cook’s Vanilla, but if you can find a reputable brand locally, that’s even better!
If pure maple extract isn’t readily available, you can certainly use an artificial maple extract like Mapleine. While the flavor profile might be slightly different, it will still yield a delicious, maple-like syrup. Just be aware that artificial extracts often contain more synthetic ingredients. The goal here is to create a syrup that you feel good about serving your family, so choose the best quality ingredients you have access to.
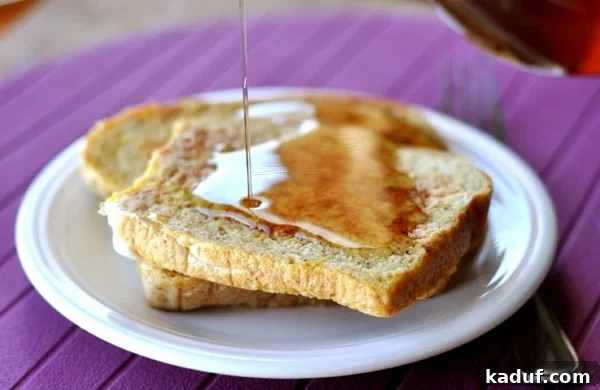
This homemade maple syrup has brought a genuine sense of satisfaction to my kitchen. Has it miraculously transformed me into a morning person? Haha, not even close! But it has certainly made the prospect of rolling out of bed to prepare breakfast for my family a little bit sweeter, and that’s a win in my book.
Crafting Your Own Liquid Gold: The Recipe
Homemade Maple Syrup
1 hr
15 mins
1 hr 15 mins
Pin
Ingredients
- 8 cups granulated sugar
- 1 cup packed light or dark brown sugar
- ½ cup honey
- 4 cups water
- 2 teaspoons pure maple extract
- 2 teaspoons pure vanilla extract
Instructions
-
In a large 5-6 quart pot, combine the granulated sugar, brown sugar, honey, and water. Stir well to combine the ingredients. Bring this mixture to a rolling boil over medium-high heat, then immediately reduce the heat to low to allow the mixture to gently simmer.
-
Cover the pot with a lid and let the mixture simmer gently for 15 minutes. This simmering process helps the sugars dissolve completely and the flavors to meld. After 15 minutes, remove the pot from the heat and allow it to cool, still covered, for 20 minutes. This cooling period is crucial before stirring in the delicate maple and vanilla extracts, preventing their flavors from evaporating with the heat.
-
After stirring in the extracts, let the syrup continue to cool in the pot for another 40 minutes or so, stirring occasionally. This allows the syrup to thicken slightly as it cools. Once the syrup has cooled sufficiently, carefully pour it into clean jars or other airtight containers. Leave the containers uncovered until the syrup reaches room temperature. This prevents condensation from forming and keeps the syrup at its best.
-
Once cooled to room temperature, cover the jars or containers tightly and store them in the refrigerator. This homemade maple syrup will stay fresh for up to 2 months. If you prefer a warm syrup, gently reheat a portion before serving.
Notes
Storage Tips: For best results and to ensure longevity, always store your homemade maple syrup in clean, airtight containers in the refrigerator. Proper storage prevents spoilage and maintains flavor.
Customization: Feel free to experiment with the type of brown sugar (light or dark) for subtle variations in flavor depth. Dark brown sugar will impart a richer, more molasses-like undertone. You can also adjust the amount of vanilla extract to your liking.
Mel
Breakfast
American
Stovetop
Recommended Products
Beyond Pancakes: Creative Uses for Your Homemade Syrup
While homemade maple syrup is undeniably perfect for pancakes, waffles, and French toast, its versatility extends far beyond the traditional breakfast plate. Here are some inspiring ideas to make the most of your delicious, homemade creation:
- Sweetener for Drinks: Stir it into your morning coffee or tea for a natural sweetener, or use it to make maple lattes. It’s also fantastic in cocktails, adding a touch of sophisticated sweetness.
- Oatmeal and Yogurt Topping: Elevate your breakfast oatmeal, overnight oats, or plain yogurt with a generous drizzle. Add some fresh fruit and nuts for a complete meal.
- Baking Ingredient: Substitute some of the sugar in your favorite baked goods with this syrup for added moisture and a subtle maple flavor in muffins, quick breads, or cookies.
- Glazes and Dressings: Create a delectable glaze for roasted vegetables (like carrots or sweet potatoes), ham, or salmon. Whisk it into vinaigrettes for a sweet and savory salad dressing.
- Dessert Enhancement: Pour it over ice cream, fresh fruit salads, or even simple baked apples. It can also be used to sweeten whipped cream.
- Marinades: Incorporate it into marinades for chicken, pork, or tofu to add a touch of sweetness and help with caramelization during cooking.
FAQs About Homemade Maple Syrup
How long does homemade maple syrup last?
When stored properly in airtight containers in the refrigerator, this homemade maple syrup will keep for up to 2 months. Its high sugar content acts as a natural preservative, but refrigeration is key to maintaining freshness and preventing spoilage.
Can I make this syrup sugar-free?
This specific recipe relies on granulated and brown sugars, along with honey, for its texture and flavor profile. While you could experiment with sugar substitutes like erythritol or xylitol, the resulting consistency and taste would be quite different. It might require additional thickeners and extensive tweaking to achieve a similar mouthfeel without traditional sugars. For a truly sugar-free option, specialized sugar-free syrup recipes would be more appropriate.
Why is my syrup too thin or too thick?
The consistency of your syrup can be influenced by several factors. If your syrup is too thin, it might be because it didn’t simmer long enough, or the extracts were added while the mixture was still too hot, causing some of the liquid to evaporate. You can gently reheat it and simmer uncovered for a few more minutes to reduce it slightly. If it’s too thick, you might have simmered it for too long, reducing too much of the water. To thin it out, simply stir in a tablespoon or two of hot water until it reaches your desired consistency.
The Joy of DIY: A Sweet Reward
Embracing the world of homemade maple syrup is more than just a culinary choice; it’s a decision that impacts your budget, your health, and your enjoyment of everyday meals. By taking a little time to prepare this simple recipe, you gain control over the ingredients, avoid unwanted additives, and save a significant amount of money compared to buying pure maple syrup. The satisfaction of pouring your own homemade, delicious, and wholesome syrup over a stack of warm pancakes is a sweet reward in itself.
So, bid farewell to the dilemma of costly pure maple syrup and the disappointment of artificial alternatives. Embrace this homemade solution and elevate your breakfast experience with a syrup that truly delivers on taste, quality, and affordability. Your taste buds (and your wallet) will thank you!
Recipe Source: Mel’s Kitchen Cafe