
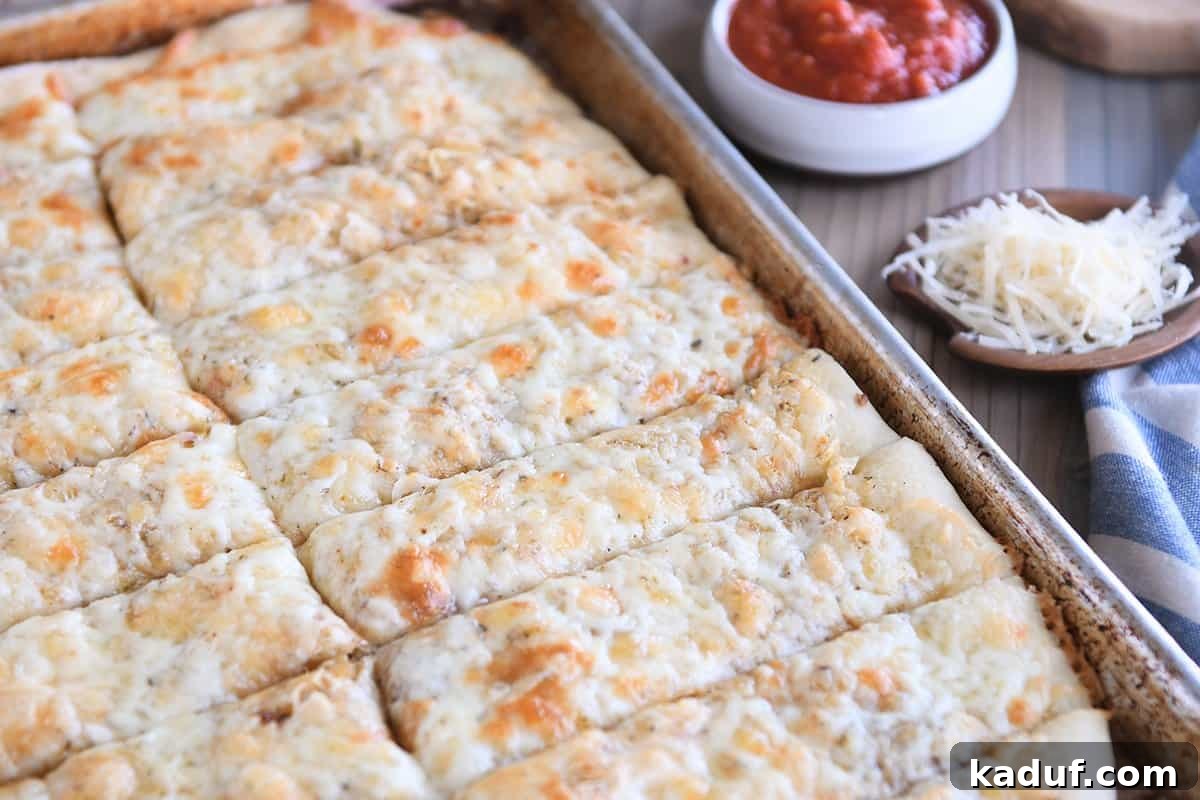
Welcome to the world of irresistible, homemade goodness! There’s an undeniable magic that happens when warm, pillowy bread meets melted, bubbly cheese and savory garlic. These easy cheesy breadsticks aren’t just a snack; they’re an experience, a delightful symphony of flavors and textures that will have everyone reaching for “just one more.” Forget the complexity of a stand mixer or long proofing times; our recipe focuses on simplicity without sacrificing an ounce of flavor. With a dough that comes together effortlessly by hand and a garlicky, cheesy topping that’s truly divine, these breadsticks are destined to become your new favorite go-to for any occasion.
Whether you’re hosting a game night, planning a casual dinner, or simply craving something utterly comforting, these breadsticks fit the bill perfectly. They are astonishingly simple to prepare, making them accessible even for novice bakers. And when dipped into a rich marinara sauce, they transcend mere snack status to become a culinary marvel. Get ready to embark on a delightful baking journey that promises delicious results with minimal effort.
Easy Homemade Breadsticks: The Dough That Dreams Are Made Of
The foundation of any great breadstick is, of course, the dough. For these easy cheesy breadsticks, we’ve prioritized simplicity and accessibility above all else. This isn’t just a simple dough; it’s an incredibly straightforward recipe designed to be mixed and kneaded entirely by hand, eliminating the need for any specialized kitchen equipment like a stand mixer. It’s a slightly refined version of our much-loved breadstick recipe, perfected for quick and easy preparation.
The beauty of this dough lies in its forgiving nature. You’ll start by gently stirring together the warm water, yeast, and a touch of sugar. This crucial step activates the yeast, creating a frothy mixture that indicates your yeast is alive and ready to work its magic. Within minutes, you’ll add the remaining ingredients, and with just a few stirs, watch as a shaggy ball of dough begins to form. Don’t worry about achieving a perfectly smooth consistency at this stage; rustic charm is part of its appeal.
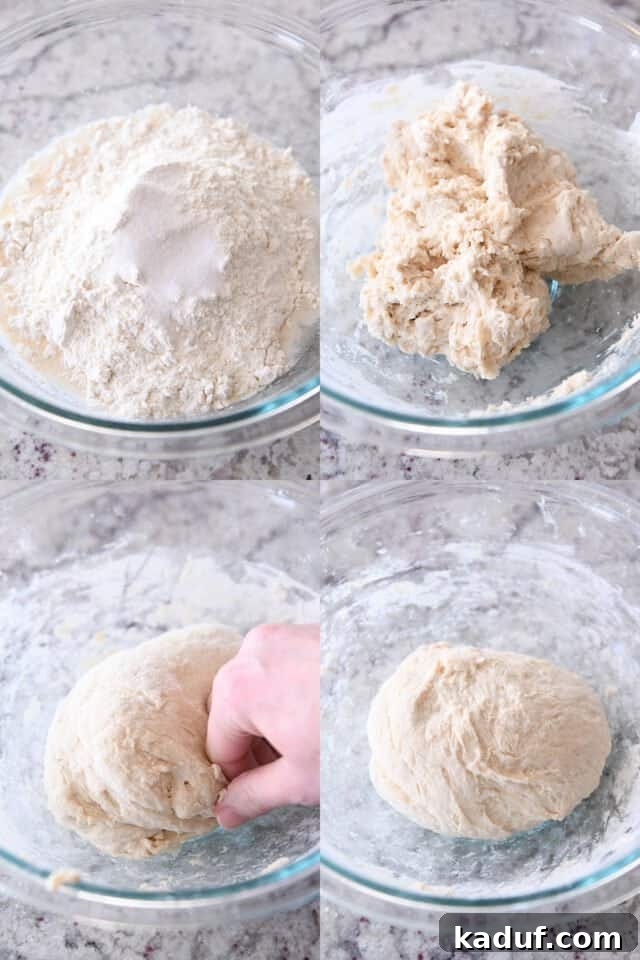
Once your dough has formed a rough ball, it’s time for a quick hand-knead. Ditch the spoon and use your hands right there in the bowl. A mere 15 to 20 gentle kneads are all it takes to bring the dough together. The goal isn’t a super-smooth, elastic dough, but rather one that’s soft and pliable, ready for its brief rest. It’s perfectly fine if it still has some minor bumps and texture; we’re aiming for deliciously amazing breadsticks, not a showpiece of technical baking perfection. The hardest part, if you can even call it that, is already done!
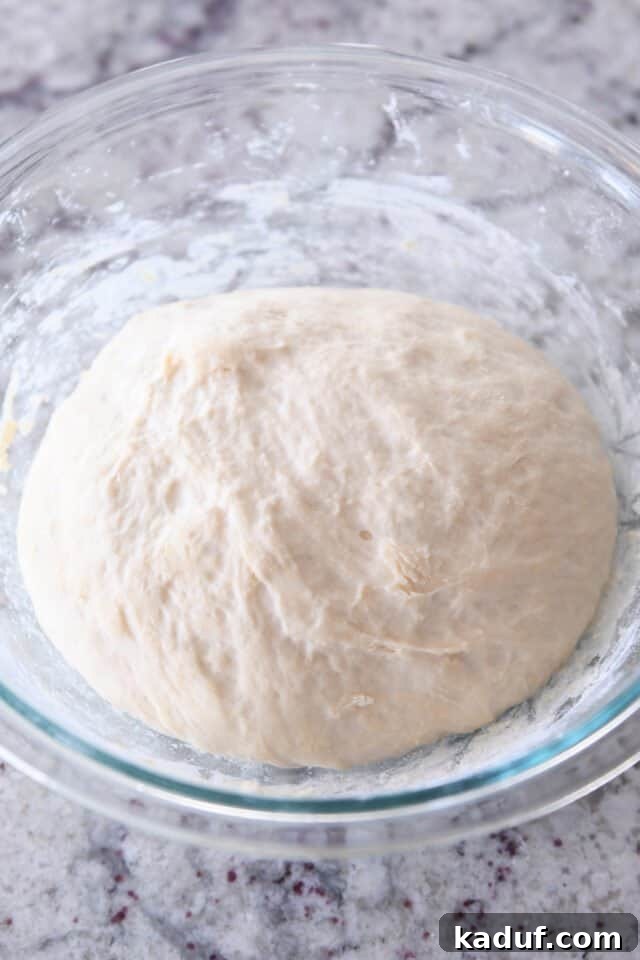
After this minimal kneading, the dough needs a short, sweet rise. Cover the bowl and let it rest for just 15-20 minutes. During this time, the yeast will work quickly, causing the dough to become noticeably puffy. While it might not double in size, a good amount of visible puffiness is your cue that it’s ready for the next exciting stage: transforming into glorious cheesy breadsticks.
Crafting Your Cheesy, Garlicky Masterpiece
Turning that lump of puffy dough into magical, golden, cheesy breadsticks is surprisingly easy and incredibly rewarding. The process is straightforward, ensuring you get from dough to deliciousness in no time. Here’s a simple breakdown of the steps that lead to cheesy breadstick perfection:
- **Prepare Your Pan:** Start by lightly greasing a half sheet pan. This is typically a rimmed baking sheet, about 11×17 inches. You can use nonstick cooking spray for convenience or brush it with a thin layer of melted butter for extra flavor.
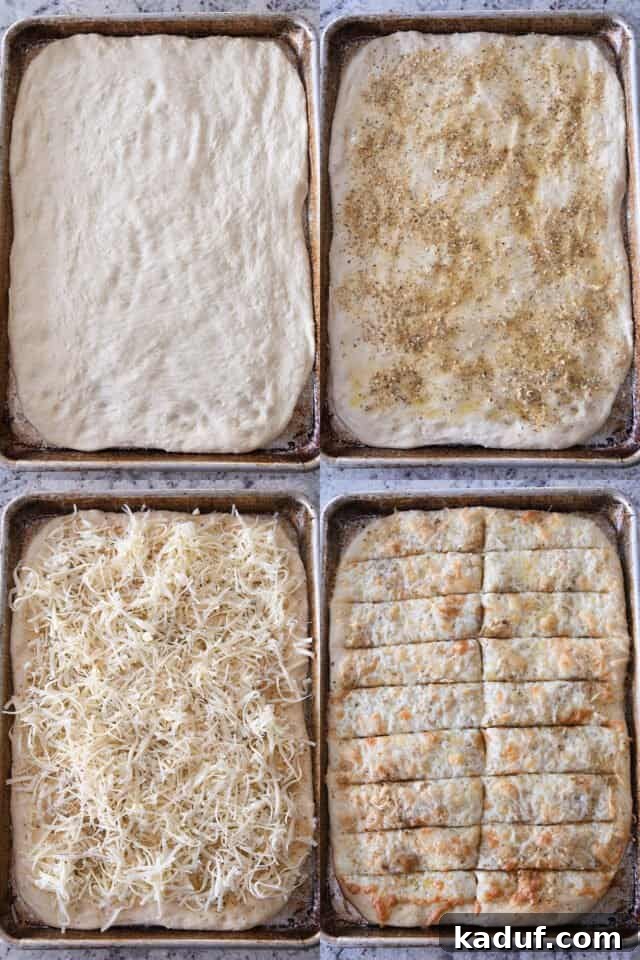
- **Shape the Dough:** Gently press the risen dough into a mostly even rectangle across the bottom of the prepared pan. Aim for an even thickness to ensure uniform baking. If the dough resists, cover it and let it rest for 5-10 minutes to allow the gluten to relax, then try pressing again.
- **Butter Up!** This is a step you absolutely do not want to skip. Brush the entire surface of the dough with melted butter or olive oil. This not only adds a rich flavor but also helps create that coveted golden crust and provides a sticky base for our seasonings.
- **Season Generously:** Sprinkle your chosen garlic and herb seasonings over the buttered dough. Don’t be shy! This layer is where much of the signature savory flavor comes from.
- **Load on the Cheese:** Now for the best part! Pile on a generous amount of shredded mozzarella and Parmesan cheese. More cheese equals more happiness, and you want that delightful, bubbly, melted cheese pull.
- **Bake to Golden Perfection:** Transfer your pan of cheesy delight to the preheated oven and bake until the breadsticks are beautifully golden brown, and the cheese is melted and bubbling invitingly.
- **Slice and Serve:** Once baked, carefully remove the pan from the oven. Let it cool for just a minute or two before slicing the large rectangle into individual breadsticks.
- **Indulge:** This is the most important step: abandon any preconceived notions about eating just one. These are truly irresistible.
Achieving Golden Perfection: Baking Tips and Tricks
Through numerous recipe tests, we’ve discovered some valuable techniques to ensure your breadsticks achieve that perfect golden crust and tender interior. The method of baking can significantly impact the final texture, and while a baking stone yielded the most consistently perfect results in our “blog worthy” taste test (a rigorous process involving feeding friends and foes alike!), don’t despair if you don’t own one.
Pro tip: If you don’t have a dedicated baking stone, a simple overturned baking sheet can be a fantastic substitute. Preheat it along with your oven to 425 degrees F. Placing your breadstick pan directly on this preheated surface mimics the thermal properties of a baking stone, ensuring an evenly cooked, perfectly golden bottom crust. This direct heat transfer creates a crispy exterior that contrasts beautifully with the soft, chewy interior.
Even if you lack both a baking stone and an extra baking sheet, you can still achieve excellent results. Simply preheat your oven to 425 degrees F and place the breadsticks on the lowest rack. The closer proximity to the heat source will help in developing that desired golden-brown bottom. The key is always a high initial heat to get a good crust development before the cheese over-bakes.
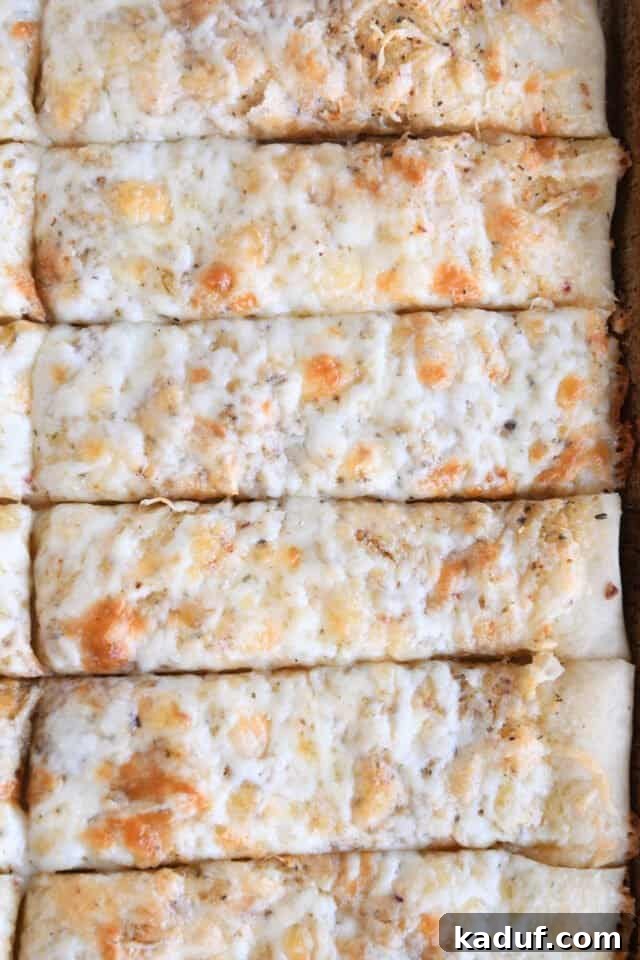
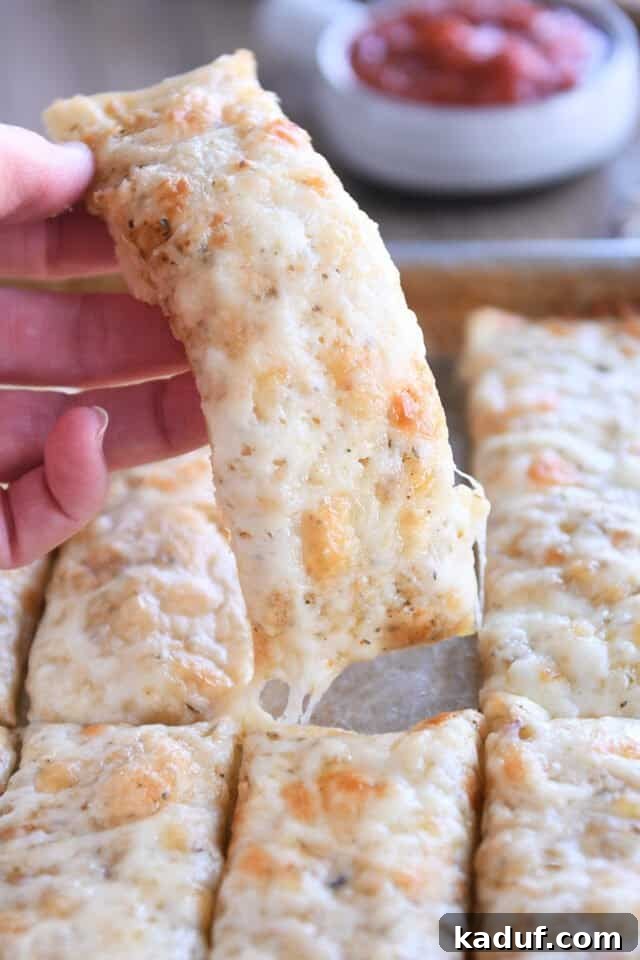
The combination of rich, buttery flavors, aromatic garlic and herbs, and the melted, bubbly cheese nestled atop a soft, chewy breadstick is nothing short of heavenly. Each bite offers a satisfying blend of textures and tastes that will delight your palate. These easy cheesy breadsticks are incredibly versatile and can elevate any meal.
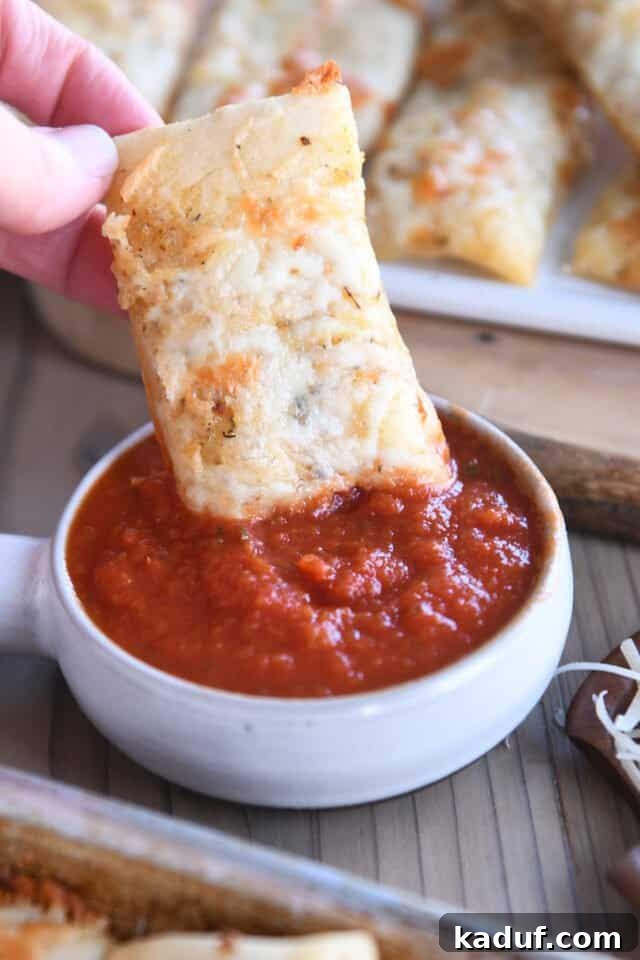
Of course, dunking them in a generous bowl of marinara sauce is a classic choice – and for good reason! The tangy tomato complements the savory cheese and garlic perfectly. But don’t stop there. They’re also fantastic alongside a hearty pasta dish, a comforting bowl of soup, or a fresh, crisp salad. They can even stand alone as a delightful appetizer for gatherings or the star of a casual lunch. Our kids often fight over the (rare) leftovers, enthusiastically packing them into their school lunches. There are truly countless reasons to fall in love with these simple, scrumptious breadsticks.
Developing this recipe was a labor of love, a quest for the ultimate easy cheesy breadstick that could be consistently delicious and approachable for home bakers. It took a considerable number of variations and tests, mostly centered on refining the dough to achieve the perfect thickness – not too thin to be dry, not too thick to be dense. Every trial, every tweak, every batch baked brought us closer to the perfection you see today.
And let me tell you, no one, absolutely no one, complained about the abundance of cheesy breadsticks that filled our kitchen during the extensive recipe testing phase. My family was more than happy to be the official taste-testers! In fact, there was at least one memorable recipe testing session where an entire batch vanished without a trace before the kids even returned from school. Such is the power and allure of these ultra-yummy babies!
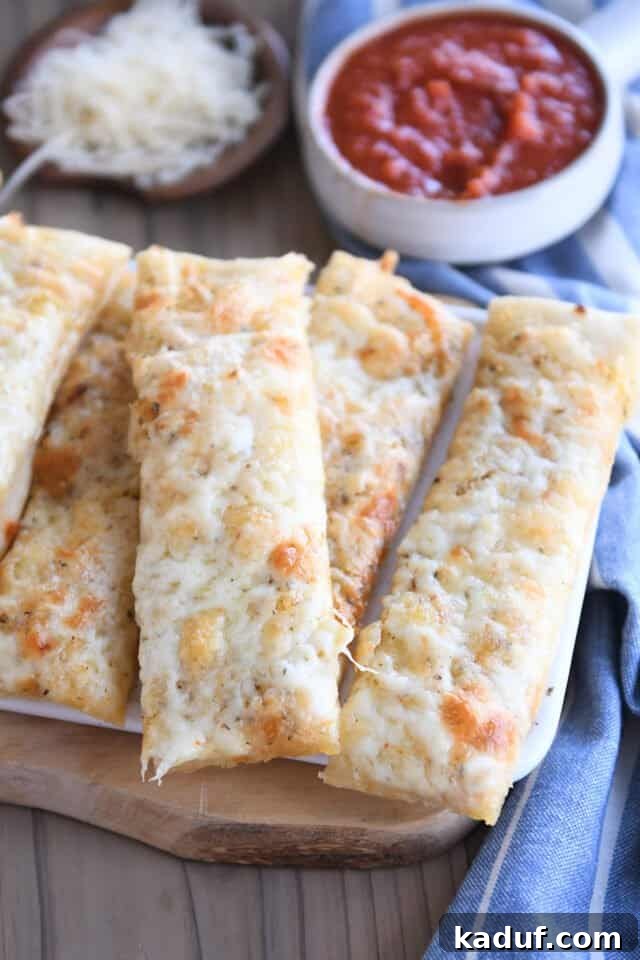
We’re confident these breadsticks will become a staple in your kitchen. They embody everything we love about homemade baking: warmth, flavor, and the joy of sharing something truly special. Enjoy the process, savor the aroma, and delight in every cheesy bite!
One Year Ago: Easy Yogurt Flatbread
Two Years Ago: Lemon Bar White Chocolate Brownies
Three Years Ago: Easy Choco-Banana Bars
Four Years Ago: Extra Fudgy Brownies {One Bowl!}
Five Years Ago: The Best White Sandwich Bread
Six Years Ago: Mexican Chopped Salad with Cilantro Lime Vinaigrette
Seven Years Ago: Shepherd’s Pie
Eight Years Ago: Incredible Chocolate Pudding {Dairy, Egg and Gluten Free}
Nine Years Ago: How to Cook Perfect Brown Rice
Ten Years Ago: Smoked Salmon Chowder
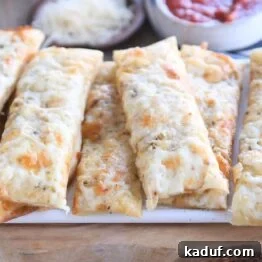
Easy Cheesy Breadsticks
Pin
Rate
Ingredients
- 1 cup warm water
- 2 teaspoons instant or active dry yeast
- 1 teaspoon sugar
- 1 teaspoon salt
- 2 to 2 ¼ cups all-purpose or bread flour
- 2 tablespoons melted butter or olive oil
- 1 tablespoon garlic herb seasoning (see note)
- 1 ½ to 2 cups shredded mozzarella cheese
- ½ cup shredded Parmesan cheese
Instructions
- Preheat the oven to 425 degrees F. Place a baking stone on a rack in the lower third of the oven. If you don’t have a baking stone, use an overturned half sheet pan (if neither option is available, bake the breadsticks on the lowest rack in the oven). Allow the baking stone/baking sheet to heat at 425 degrees for at least 15-20 minutes before baking the breadsticks.
- In a large bowl, stir together the warm water, yeast, and sugar. Let sit for 3-4 minutes until foamy.
- Add the salt and flour and stir together until the dough forms a shaggy ball. It should be soft and slightly sticky but not overly wet.
- Knead the dough (right in the bowl) 15-20 times, greasing your hands or adding additional flour a tablespoon at a time, if needed. Don’t over flour the dough; it should be soft and pliable.
- Knead and pat the dough one final time into a ball, cover the bowl, and let the dough rise for 15-20 minutes until noticeably puffy.
- Lightly grease a half sheet pan with nonstick cooking spray (or brush with melted butter).
- Grab the dough from the bowl and stretch it out just a bit into a thick rectangle before placing on the sheet pan. Press the dough evenly into a large rectangle in the bottom of the sheet pan. (If the dough springs back or doesn’t press out evenly, leave the dough alone and let it rest for 10-15 minutes to relax the gluten and then continue pressing it into a large rectangle.)
- Brush the dough with the two tablespoons melted butter or olive oil. Sprinkle with the garlic herb seasonings.
- Sprinkle the mozzarella cheese evenly over the top of the dough followed by the Parmesan cheese.
- Bake immediately or let the dough rest for 10-15 minutes for slightly puffier breadsticks.
- Place the sheet pan of breadsticks directly on the preheated pizza stone or overturned baking sheet, and bake for 15-17 minutes until the breadsticks are golden and the cheese is bubbly.
- Cut the breadsticks in half lengthwise (the long way) and then cut into strips for about 18 breadsticks total.
Notes
Garlic Herb Seasoning: We recommend a good quality garlic herb seasoning (often found at Costco, Walmart, or Amazon). If you don’t have store-bought seasoning, you can create your own blend using: 1/4 teaspoon kosher salt + 1 teaspoon dried basil + 1 teaspoon dried oregano + 1/2 teaspoon garlic powder + 1/4 teaspoon dried thyme.
Proofing the Yeast: While technically you can add all dough ingredients at once, we’ve found that allowing the yeast to proof (get foamy) in warm water for a few minutes before adding salt and flour gives this quick-rising dough a beneficial head start, ensuring a good rise within its short proofing time.