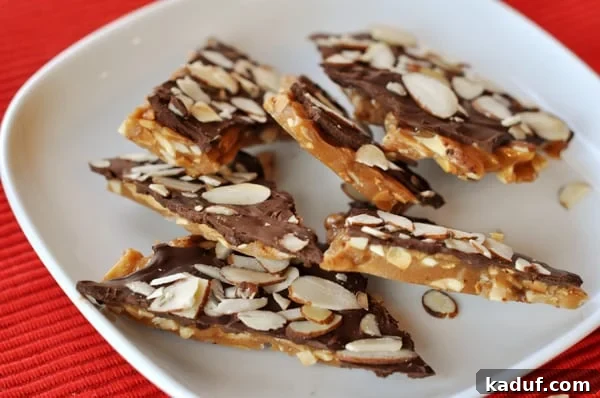
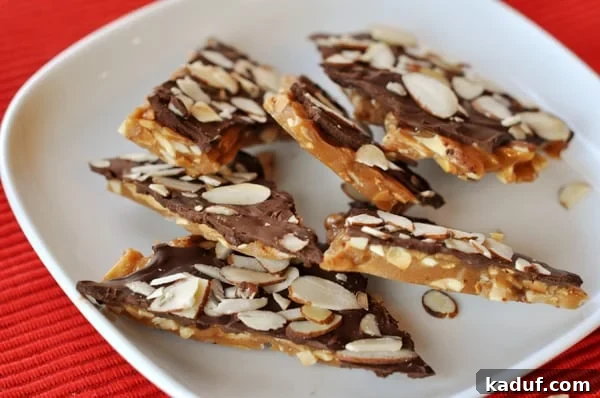
Indulge in the irresistible crunch and buttery sweetness of homemade almond roca. This classic confectionery, often a holiday favorite, is surprisingly simple to make and promises to elevate your kitchen into a sweet-making sanctuary. Prepare to become a true Christmas confectionery rock star with this phenomenal homemade almond roca recipe!
Mastering Homemade Almond Roca: Your Guide to Confectionery Excellence
For many home bakers, the world of candy making can seem intimidating. Visions of burnt sugar, sticky messes, and temperamental candy thermometers often deter even the most adventurous cooks. I completely understand this apprehension! Crafting confections, especially those requiring precise temperatures, feels like a delicate dance between art and science. It’s a journey filled with trial and error, where even seasoned candy makers occasionally face a less-than-perfect batch.
While I wouldn’t call myself a candy-making expert, my enthusiasm for experimenting with sweet recipes continues to grow. Each successful batch, especially of a classic like almond roca, brings a genuine sense of accomplishment. It’s truly a fun and rewarding experience that makes you feel like a culinary wizard in your own kitchen!
Unlocking the Secrets of Candy Making: Your Candy Thermometer
To help you embark on this delightful journey and experience the same joy, my first priority is to help you befriend your candy thermometer. This essential tool is often the gatekeeper to a whole new world of delectable homemade treats. Once you understand and trust your thermometer, countless confections and delicate candies will become accessible to your home kitchen.
The key to successful candy making with a thermometer lies in its accuracy. Before you begin any recipe, it’s crucial to calibrate your candy thermometer. This simple process ensures your readings are spot-on, preventing common issues like undercooked or overcooked candy. The linked tutorial also offers valuable advice on choosing the best type of candy thermometer for your needs.
Beyond calibration, consistency is vital. Don’t be discouraged if your first attempt isn’t flawless. Candy making, like any culinary skill, improves with practice. And remember, when it comes to candy, strict adherence to the recipe is paramount. This isn’t the time for improvisation; follow each step precisely to ensure the perfect texture and flavor for your buttery almond roca.
The Irresistible Allure of Homemade Almond Roca
Now, let’s talk about the star of the show: almond roca. I’ve been perfecting this recipe for years, and while I often declare my love for various treats on this site, most I can walk away from after a reasonable “taste test” session. But this? This is different. This homemade almond roca is utterly delicious and incredibly hard to stop eating.
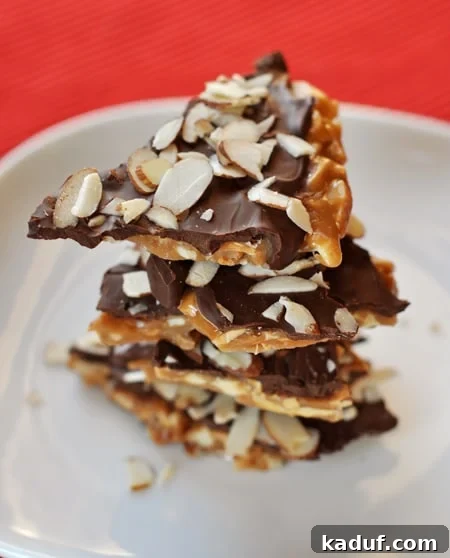
Imagine this: perfectly toasted almonds encased in a rich, buttery, and satisfyingly crunchy toffee, all generously draped in a thick layer of smooth, melted chocolate. To complete this symphony of textures and flavors, another sprinkle of delicate slivered almonds adorns the top. It’s a magnificent combination of sweet, salty, crunchy, and smooth that defines true confectionery bliss.
This recipe is more than just a dessert; it’s an experience. The process of making it, the aroma filling your home, and finally, tasting that first exquisite piece – it all culminates in a feeling of pure culinary triumph. I promise that mastering this homemade almond roca will truly transform you into a confectionery rock star, making you the undisputed hero of any holiday gathering or simply your own kitchen!
For detailed step-by-step photos and invaluable troubleshooting tips, please scroll down below the recipe card.
One Year Ago: Coconut Macadamia Nut Triangles
Two Years Ago: Holiday Morning Buns
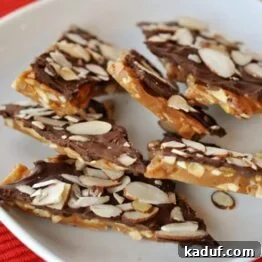
Classic Homemade Almond Roca
2
pounds of almond roca
10 minutes
25 minutes
35 minutes
Pin
Rate
Ingredients
-
1 cup
(227 g) unsalted butter -
1 cup
(212 g) granulated sugar -
2 packages (3-ounces each)
(170 g) slivered almonds -
2 cups
(340 g) semi-sweet chocolate chips -
1 (3-ounce) package
(85 g) sliced almonds
Instructions
-
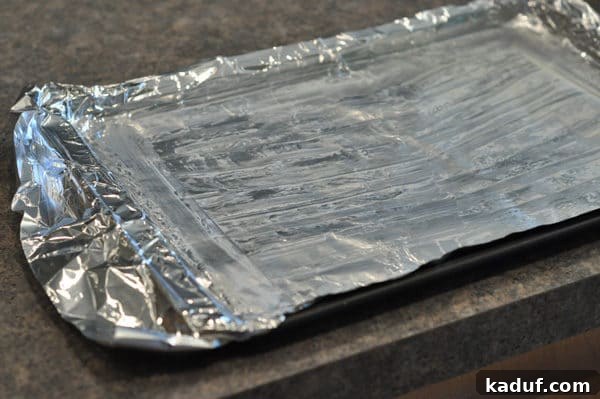
Prepare Baking Sheet: Line a large rimmed baking sheet with aluminum foil, ensuring the foil extends slightly beyond the edges for easy handling later. Lightly butter the entire surface of the foil and set it aside. This prepares a non-stick surface for your toffee.
-
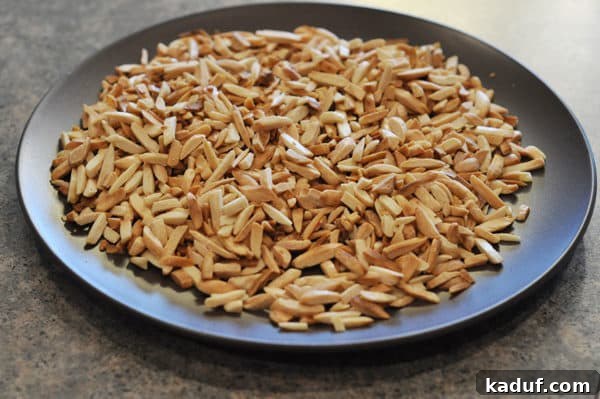
Toast Slivered Almonds: Spread the slivered almonds in a single, even layer on a separate baking sheet. Toast them in a preheated oven at 300°F (150°C) for approximately 5-6 minutes. Keep a very close eye on them, checking frequently, until they turn a beautiful golden brown and become fragrant. Over-toasting can make them bitter, so watch carefully! Remove from the oven and allow them to cool completely.
-
Start the Toffee Base: In a medium-sized, heavy-bottomed saucepan, combine the butter and sugar. Place the saucepan over low heat and cook, stirring continuously with a heatproof spatula, until the butter is entirely melted and the sugar crystals have completely dissolved. This step is crucial and requires patience; do not rush it by increasing the heat. It may take five to six minutes for the sugar to fully dissolve. Maintaining low heat prevents the mixture from scorching and ensures a smooth toffee.
-
Boil and Reach Hard Crack Stage: Once the sugar is dissolved and the butter is melted, increase the heat to medium. Continue to stir gently as the mixture comes to a full boil. This too may take a few minutes. Once boiling, clip a candy thermometer securely to the side of the pan, ensuring the tip is submerged in the mixture but not touching the bottom. Continue stirring gently in a figure-eight motion, avoiding scraping the sides of the pan (this helps prevent crystallization). The mixture will gradually deepen in color, progressing from a light golden to a rich amber, until it reaches the hard crack stage, registering precisely 300°F (150°C) on your candy thermometer.
-
Incorporate Almonds and Spread Toffee: Immediately remove the saucepan from the heat the moment it reaches 300°F. Swiftly stir in the toasted, slivered almonds. Then, pour the hot candy onto the prepared baking sheet. Be careful not to scrape the bottom or sides of the pot; leave any hardened sugar behind to prevent crystallization in your finished roca. Using an offset spatula or a buttered knife, quickly spread the toffee into a thin, even layer on the baking sheet. Work quickly, as the toffee will begin to set rapidly.
-
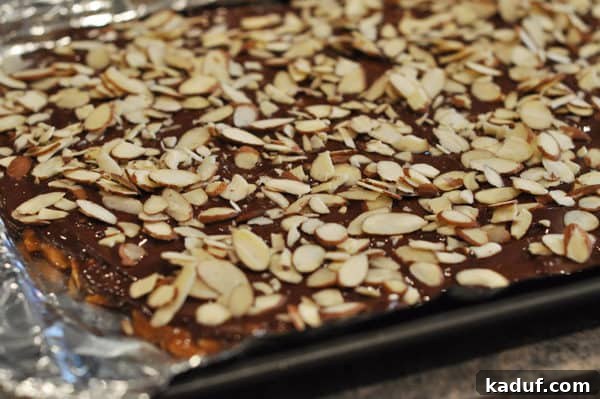
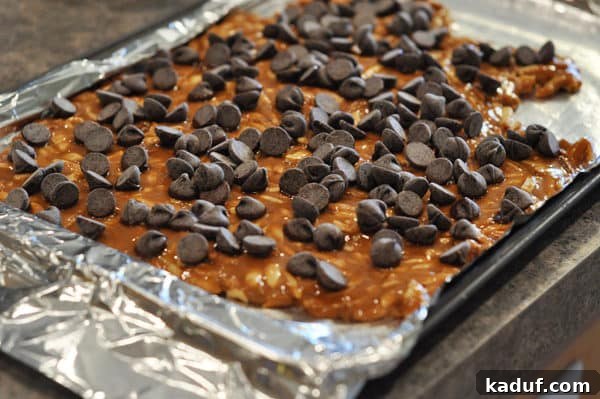
Add Chocolate and Final Almonds: Generously sprinkle the chocolate chips over the hot toffee. Create a “tent” over the baking sheet with another piece of foil, allowing the residual heat from the toffee to gently melt the chocolate for 2-3 minutes. Carefully remove the foil tent and, using your offset spatula, spread the melted chocolate evenly across the toffee layer. Finally, sprinkle the remaining sliced almonds over the still-warm chocolate.
-
Cool and Break: Set the candy aside at room temperature to allow the chocolate to fully set and the almond roca to cool completely. While refrigeration can speed up the setting process, a rapid drop in temperature might cause the chocolate to “bloom,” resulting in white streaks or blotches. This doesn’t affect the taste but can diminish its smooth, shiny appearance. Once fully cooled and set, break the almond roca into irregular, bite-sized pieces. Store in an airtight container at room temperature for up to 2 weeks, or in the refrigerator for longer freshness.
Notes
Gifting: Almond roca makes a wonderful homemade gift! Package pieces in decorative tins or cellophane bags tied with festive ribbons.
Variations: Experiment with different types of chocolate (milk, dark, or white) or substitute pecans or walnuts for the almonds for a unique twist.
Mel
Dessert, Confectionery
American
Stovetop
Recommended Products
Almond Roca Troubleshooting Tips
Q: While cooking my toffee, the butter seemed to separate, forming a greasy layer. Why does this happen, and what can I do?
A: Butter separation, often seen in caramel and toffee, can occur due to sudden temperature shifts. To prevent this, aim for a steady medium-low to medium heat throughout the cooking process. Avoid cranking the heat up or down drastically. If you notice separation while the mixture is boiling, try stirring vigorously until it recombines. Some home cooks also suggest adding a tiny pinch of baking soda, then stirring until cohesive. If separation occurs after pouring the toffee onto the pan, you can gently blot the excess butter with paper towels before proceeding with the chocolate and almonds. This won’t affect the flavor of your delicious homemade almond roca.
Q: Why did my almond roca/toffee turn grainy or crystallize?
A: This common and frustrating issue arises during the cooking stage when sugar crystals cling to the sides of the pot and crystallize. If these crystallized sugars are scraped back into the boiling mixture while stirring, they can act as “seed crystals,” causing the entire batch of toffee to crystallize and become grainy or coarse. To avoid this, stir gently in a figure-eight motion, focusing on the bottom of the pot to prevent scorching, but consciously avoid scraping the sides. When pouring the hot toffee onto your prepared baking sheet, resist the urge to scrape out every last bit from the pot. Leave any clinging, crystallized sugar behind; it’s better to lose a small amount than to ruin the entire batch of smooth, buttery almond roca.
Step-by-step Pictures for Perfect Almond Roca:
Prepare your work surface! Here’s the buttered foil-lined baking sheet, ready for the addictive toffee.
I always toast my slivered almonds ahead of time and let them cool on a plate. This ensures they’re ready to be quickly stirred into the hot toffee at the right moment.
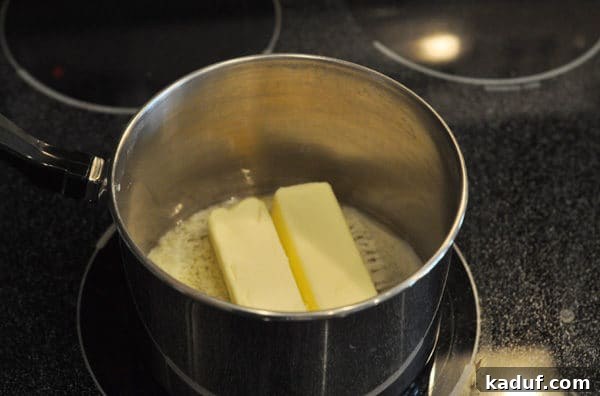
Begin by melting the butter in your heavy-bottomed saucepan over medium-low heat.
Once the butter is mostly melted, add the granulated sugar and stir continuously to combine. This careful mixing ensures the sugar dissolves properly.
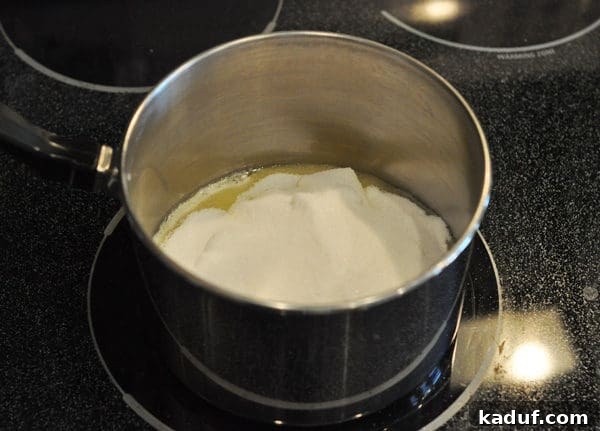
Patience is key here! It will take a few minutes for the mixture to become completely smooth and for all the sugar to dissolve. Resist the urge to increase the heat, as this can lead to scorching or crystallization.
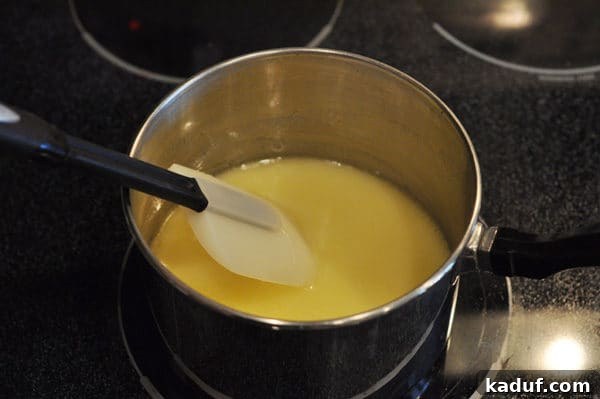
After the sugar dissolves, increase the heat to medium. The mixture will soon begin to bubble vigorously.
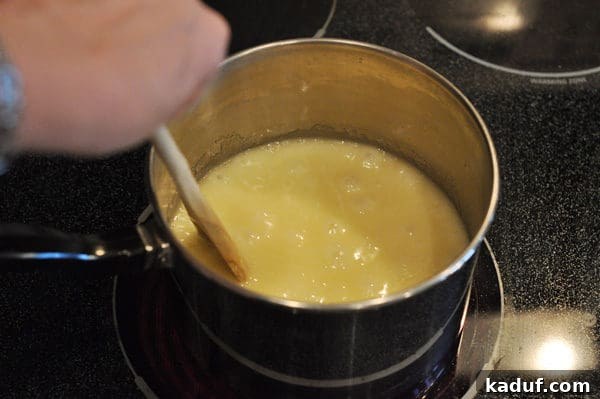
Once the toffee mixture is boiling steadily, carefully clip your candy thermometer to the side of the pot. Ensure the tip is submerged in the liquid but not touching the bottom. Always follow your thermometer’s specific instructions for placement.
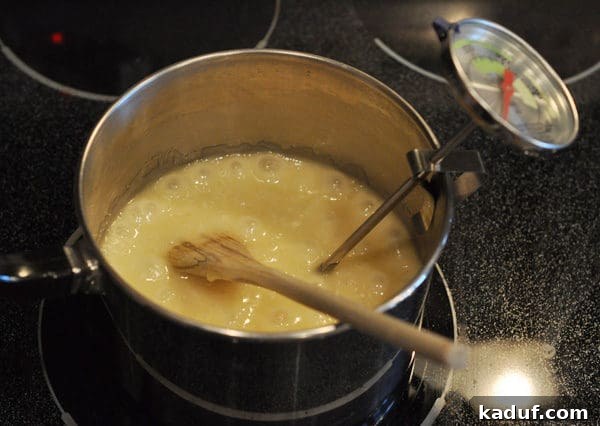
Continue stirring gently and consistently. This ensures even cooking and prevents scorching. Watch the temperature climb steadily.
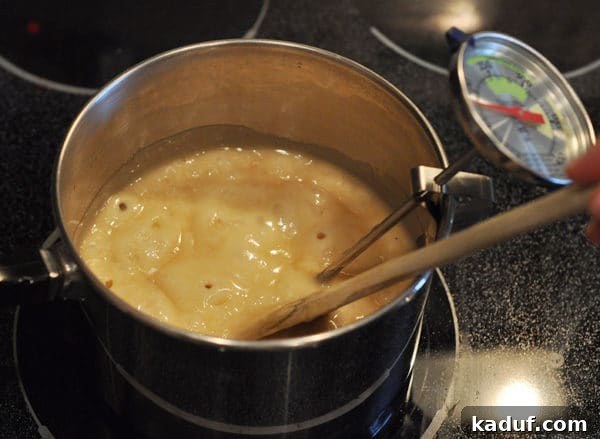
The mixture will begin to take on a beautiful golden hue. This is a sign it’s progressing nicely toward the hard crack stage.
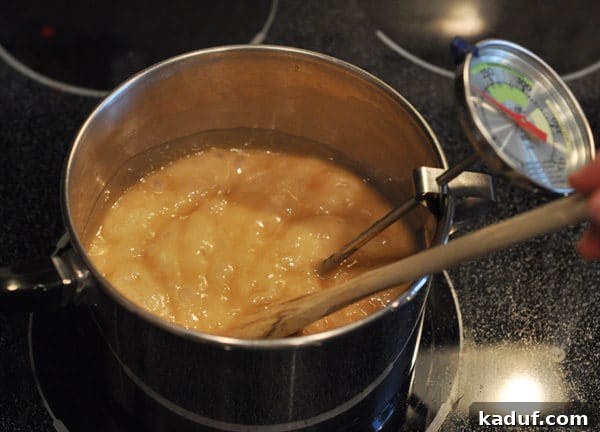
As it gets closer to 300°F, the color will deepen to a rich, dark amber. This indicates it’s almost at the perfect hard crack stage for crunchy almond roca.
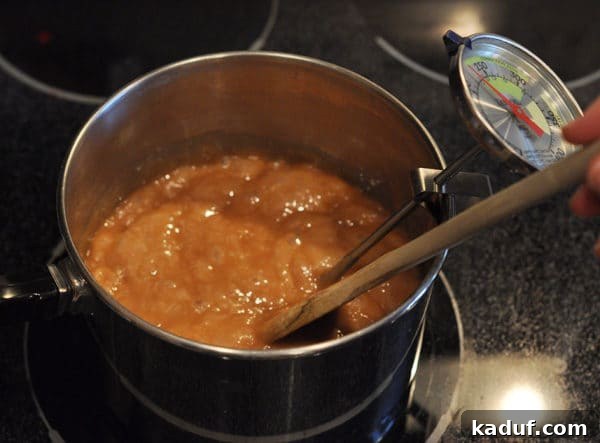
Once the toffee hits 300°F, immediately remove from heat, stir in the toasted almonds, and quickly pour the mixture onto your prepared baking sheet. Remember, do not scrape the bottom or sides of the pot to avoid incorporating crystallized sugar.
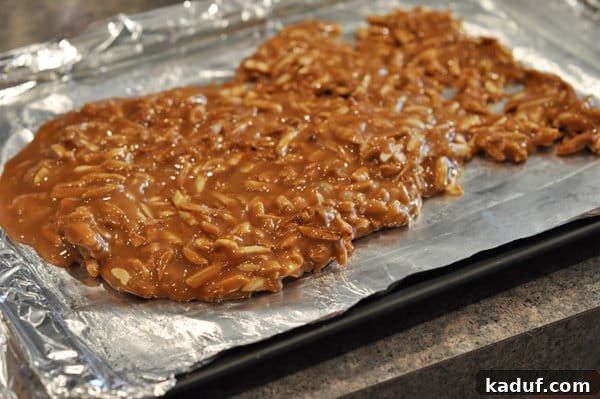
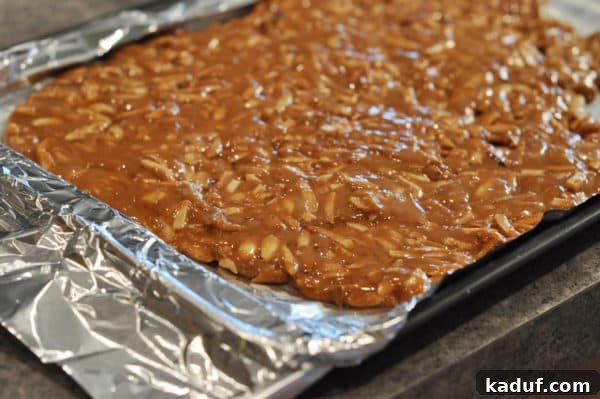
Using an offset spatula, spread the almond-infused toffee into an even, thin layer on the baking sheet. You must work swiftly as it hardens rapidly!
Generously sprinkle chocolate chips over the hot toffee. The residual heat will begin to melt them.
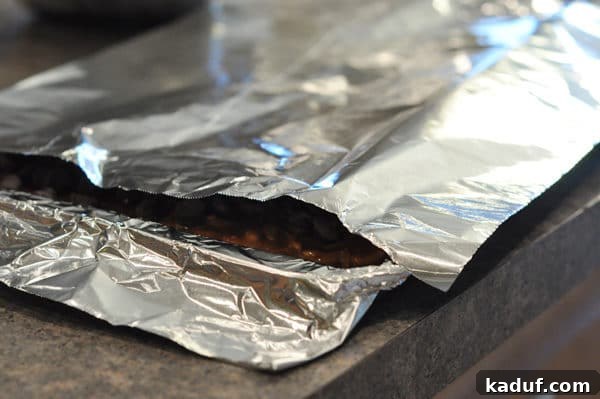
Tent the entire baking sheet with foil. This traps the heat, allowing the chocolate chips to melt perfectly without scorching.
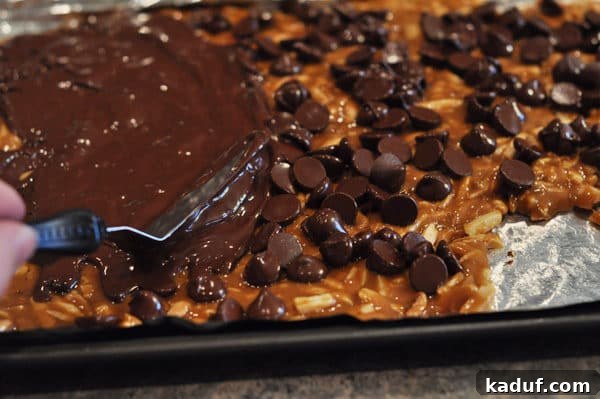
After a couple of minutes, remove the foil to reveal beautifully melted, glossy chocolate chips!
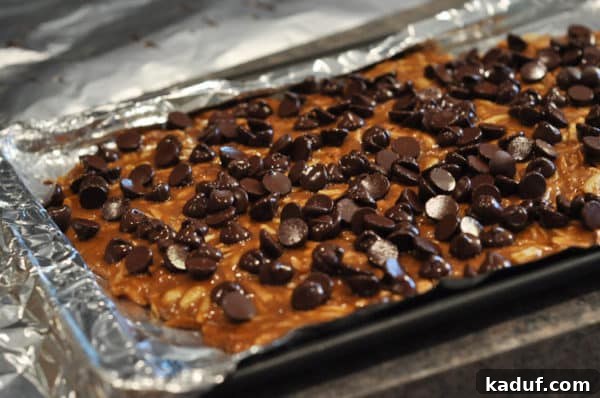
With an offset spatula, gently spread the melted chocolate into an even, luscious layer across the toffee. Try your best not to lick the spatula… yet!
Finally, sprinkle the remaining sliced almonds over the wet chocolate layer. This adds another layer of nutty flavor and a lovely visual appeal. Let the almond roca cool completely at room temperature until the chocolate is firm and the toffee is set.