
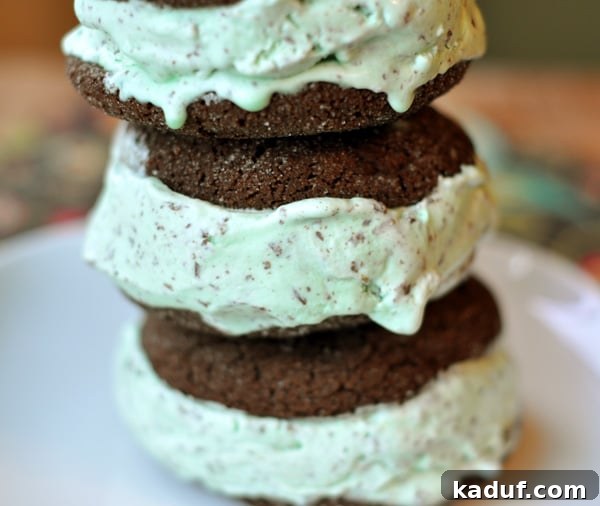
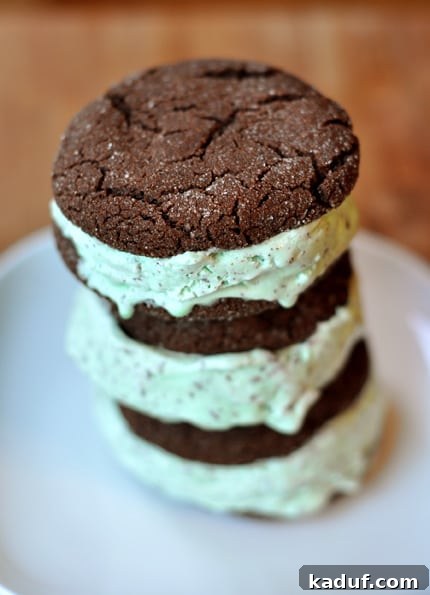
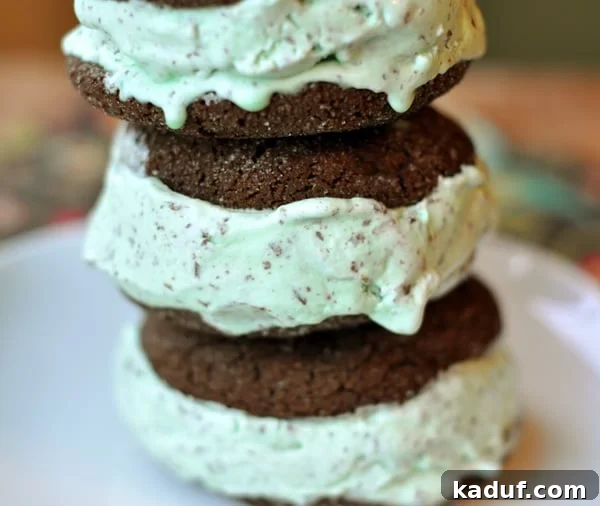
Indulge in the ultimate summer delight with these homemade chocolate-mint chip ice cream sandwiches! Featuring a rich, decadent chocolate cookie base and a refreshing mint ice cream filling, they're the perfect treat to cool down and satisfy your sweet tooth.
There are some desserts so undeniably good, so utterly irresistible, that words barely do them justice. These homemade chocolate-mint chip ice cream sandwiches fall squarely into that category. Imagine the perfect balance of a deeply chocolatey, chewy cookie embracing a frosty, creamy, and invigorating mint chocolate chip ice cream. It's a symphony of textures and flavors that will have you reaching for another before you even realize the first is gone.
I recall a recent occasion after making a batch of these glorious creations. We had guests over, and everyone enjoyed them immensely. After the gathering, there were precisely three sandwiches left, carefully tucked back into the freezer. The next morning, within a mere 12 hours, they had vanished. Completely. Without a trace. Eaten by someone (who shall remain nameless) who clearly couldn't resist their allure.
While I can't officially comment on the whereabouts of the disappeared treats or who might be responsible for such a deliciously daring feat – consuming three ice cream sandwiches in less than a day – I do have a prime suspect. And, strictly off the record, I hear they would readily admit that every single calorie was unequivocally worth it. And on that note, let's just say, some secrets are best kept between a person and their freezer full of mint chocolate goodness.
What truly elevates these ice cream sandwiches from merely delicious to absolutely divine is the cookie itself. Unlike many recipes where cookies turn rock-hard in the freezer, these chocolate wonders remain remarkably soft and delightfully chewy. Even after extended freezing (beyond 24 hours, they might firm up a bit), a quick 10-minute rest on the counter before serving is all it takes to restore them to their perfect, melt-in-your-mouth texture. This magical chewiness ensures that every bite is a pleasure, without the risk of breaking a tooth – a small detail that makes a huge difference in the enjoyment of a frozen dessert.
Combining a wonderfully simple yet utterly decadent chocolate cookie recipe with creamy, refreshing mint chocolate chip ice cream creates a treat that truly captures the essence of summer. It’s the perfect blend of rich chocolate and cool mint, wrapped up in a charming, handheld package. If you’re a fan of cookies, a lover of ice cream, and especially devoted to the classic pairing of chocolate and mint, then you’re about to discover your new favorite dessert.
Why You'll Love This Chocolate-Mint Chip Ice Cream Sandwich Recipe
This recipe isn't just about making ice cream sandwiches; it's about creating a truly memorable dessert experience. Here's why these homemade delights will quickly become a favorite:
- **Irresistible Flavor Combination**: The pairing of rich, dark chocolate with cool, invigorating mint is a timeless classic. It’s a match made in dessert heaven, offering a refreshing burst with every bite.
- **Perfect Texture Balance**: The secret lies in the cookies. They are baked to be perfectly soft and chewy, a texture that miraculously holds up even after freezing. This prevents the dreaded "rock-hard" cookie often found in store-bought ice cream sandwiches, ensuring a delightful eating experience.
- **Homemade Goodness**: There’s nothing quite like the satisfaction of creating a delicious treat from scratch. You control the quality of ingredients, and the resulting freshness is unparalleled. Plus, it’s a fun project for all ages!
- **Customizable**: While mint chocolate chip is a star, the chocolate cookie base is versatile. You can easily swap out the ice cream flavor to suit any preference or occasion, making this a recipe you'll revisit often.
- **Ideal for Summer Gatherings**: These individual portions are easy to serve, require no plates or forks, and are guaranteed to be a hit at BBQs, pool parties, or any warm-weather celebration. They are also perfect for a cozy night in!

Chocolate-Mint Chip Ice Cream Sandwiches
Pin
Ingredients
- ½ cup (71 g) all-purpose flour
- ¼ cup (21 g) unsweetened cocoa powder
- ¼ teaspoon baking soda
- ¼ teaspoon salt
- 4 ounces (113 g) semisweet or bittersweet chocolate, chopped
- 4 tablespoons (57 g) butter
- ¾ cup (159 g) packed light brown sugar
- 1 large egg
- ½ teaspoon vanilla extract
- ¼ cup (43 g) semisweet chocolate chips
- 3 tablespoons sugar
- 1 pint mint chocolate chip ice cream
Instructions
-
**1. Prepare for Baking:** Preheat your oven to 325ºF (160ºC). Line two large rimmed baking sheets with parchment paper or silicone baking mats (like Silpat). Alternatively, lightly grease the baking sheets with cooking spray. This step is crucial for preventing sticking and ensuring easy removal of the delicate cookies.
-
**2. Mix Dry Ingredients:** In a medium-sized bowl, whisk together the all-purpose flour, unsweetened cocoa powder, baking soda, and salt. Whisking ensures these dry ingredients are thoroughly combined and evenly distributed throughout the dough. Set aside.
-
**3. Melt Chocolate and Butter:** In a large, microwave-safe bowl, combine the chopped semisweet or bittersweet chocolate and the butter. Microwave on low power, using 1-minute intervals, stirring well after each minute. Continue until the chocolate and butter are completely melted and smoothly combined. Be very careful not to use high power, as chocolate can scorch easily. Allow this rich chocolate mixture to cool slightly before proceeding. This prevents the egg from cooking when added.
-
**4. Combine Wet Ingredients:** Once the chocolate mixture has cooled slightly, whisk in the packed light brown sugar, the large egg, and the vanilla extract. Beat the mixture until all ingredients are well incorporated and the mixture is smooth and glossy. The brown sugar adds moisture and chewiness, essential for these ice cream sandwich cookies.
-
**5. Form the Dough:** Gradually add the whisked dry flour mixture to the wet ingredients, stirring until just combined. Overmixing can lead to tough cookies. Fold in the semisweet chocolate chips. For uniform size, roll the dough into approximately 16 balls. If you prefer larger ice cream sandwiches, aim for 12 to 14 balls. Roll each cookie dough ball in the extra granulated sugar – this adds a delightful sparkle and a slight crispness to the edges.
-
**6. Bake the Cookies:** Transfer the sugared dough balls to your prepared baking sheets, ensuring they are spaced about 2 inches apart to allow for spreading. Bake for 12 to 15 minutes, or until the cookies are visibly puffed and the edges are set, but the centers still look soft. Do not overbake if you want them to remain chewy after freezing.
-
**7. Cool and Chill Cookies:** Carefully transfer the baked cookies to a wire rack to cool completely to room temperature. This is essential before freezing or assembling. Repeat the baking process with any remaining dough. Once all cookies are fully cooled, place them in an airtight container and transfer them to the freezer. They need to be very cold and firm before assembly to prevent the ice cream from melting too quickly.
-
**8. Assemble the Sandwiches:** Remove the chilled cookies from the freezer. Working quickly to prevent melting, arrange half of the cookies bottom-side up. Place a small scoop of mint chocolate chip ice cream in the center of each cookie. Top with a second cookie and gently press down to spread the ice cream to the edges.
-
**9. Final Freeze:** Immediately wrap each assembled ice cream sandwich tightly in plastic wrap to prevent freezer burn and keep them fresh. Return them to the freezer for at least 1 hour, or until thoroughly firm. This ensures they are perfectly set and ready to enjoy!
Chef's Notes for Perfect Ice Cream Sandwiches
**Ice Cream Variety**: While mint chocolate chip is a classic choice and absolutely delicious here, feel free to let your imagination run wild! This chocolate cookie base pairs wonderfully with almost any ice cream flavor. Consider classic vanilla bean, rich coffee ice cream, playful strawberry swirl, or even a robust peanut butter swirl for a different twist. The possibilities are endless, allowing you to customize this treat for any preference.
**Serving Frozen Sandwiches**: For the best eating experience, especially if your ice cream sandwiches have been frozen for more than 12-24 hours, allow them a brief "relaxation period" before serving. Simply take them out of the freezer and let them sit on the kitchen counter for about 5-10 minutes. This short rest allows the cookies to soften up just enough, preventing them from being too hard and ensuring a perfectly tender bite. This small step makes a big difference!
**Cookie Size**: The recipe suggests rolling 16 balls for standard-sized sandwiches or 12-14 for larger ones. Consistency in size is key for even baking and aesthetically pleasing sandwiches. A cookie scoop can be a valuable tool for achieving uniform cookies.
**Cooling is Crucial**: Ensure the cookies are completely cooled before assembling. Warm cookies will instantly melt the ice cream, leading to a messy and less enjoyable sandwich. Freezing the cooled cookies for a short period before assembly also helps in maintaining their shape and prevents the ice cream from melting too quickly during the assembly process.
**Storage**: For optimal freshness and to prevent freezer burn, always wrap each individual ice cream sandwich tightly in plastic wrap, then place them in an airtight freezer-safe container or a heavy-duty freezer bag. This will keep them delicious for up to 2-3 weeks.
Recommended Products
Recipe Source: adapted slightly from allyou.com
Other Refreshing Desserts You Might Enjoy:
There you have it – a recipe for the most delectable chocolate-mint chip ice cream sandwiches you’ll ever make. This simple, yet impressive dessert is perfect for any occasion, from casual summer get-togethers to a quiet evening indulgence. With their perfectly chewy cookies and cool, creamy filling, these sandwiches are guaranteed to become a household favorite. So, roll up your sleeves, gather your ingredients, and prepare to create a batch of frozen bliss that will disappear faster than you can say "mint chocolate!"