
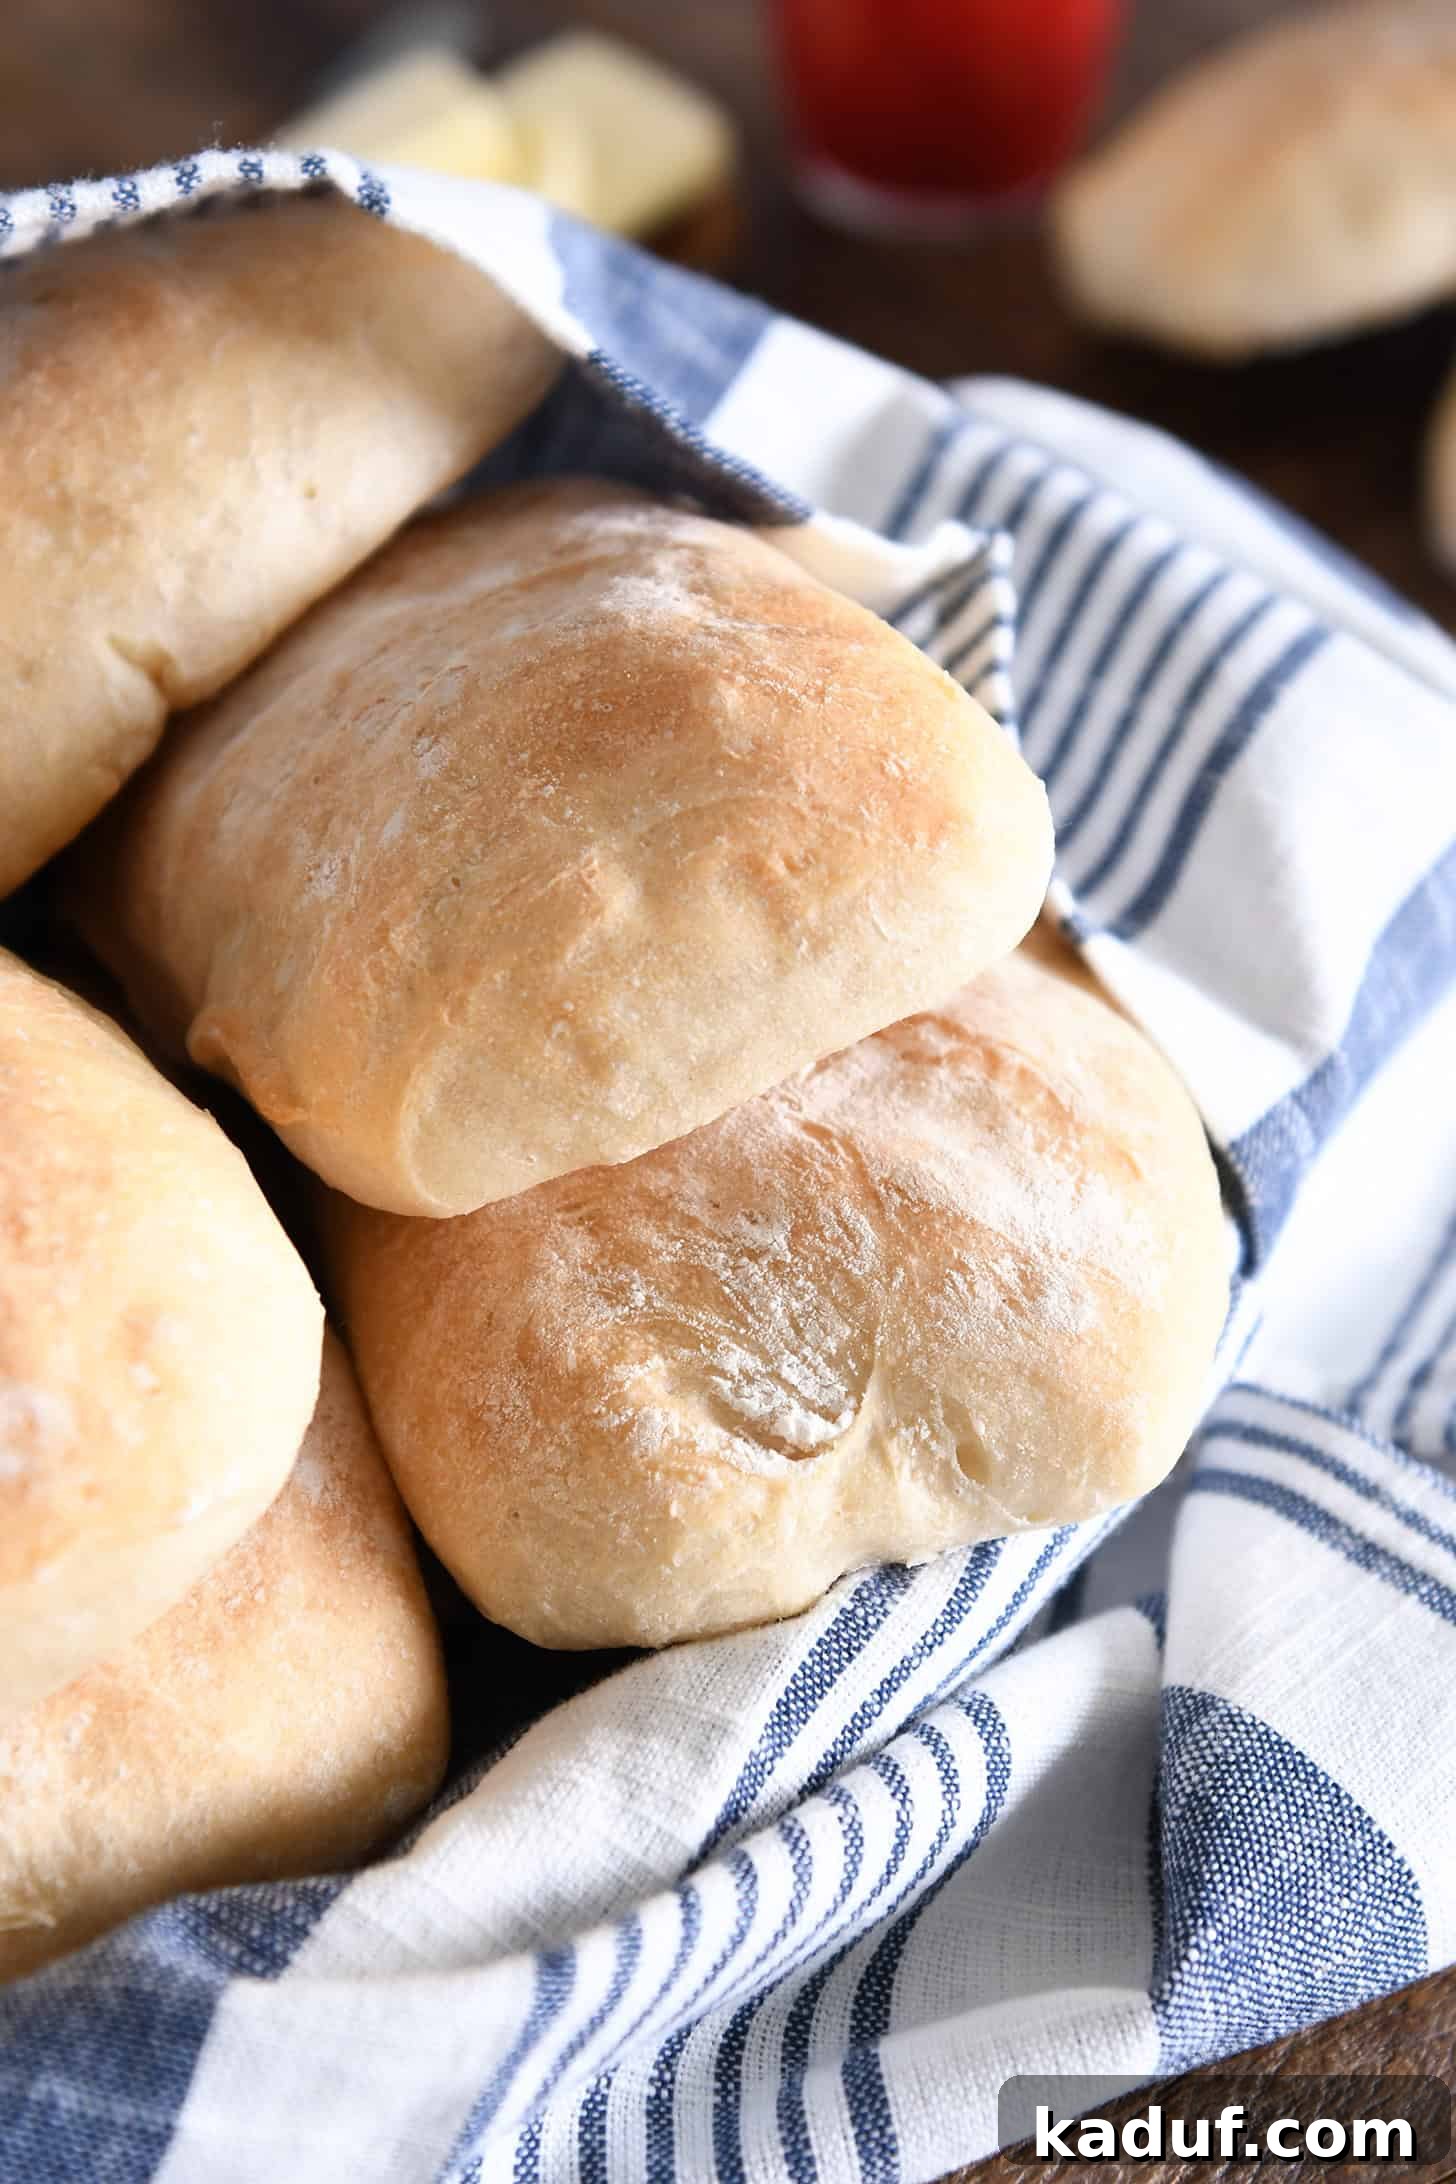
Craving the satisfying chew and airy lightness of authentic ciabatta rolls but don’t have two days to spare? You’re in luck! This revolutionary recipe for **easy same-day ciabatta rolls** delivers all the incredible flavor and texture of traditional Italian bread in just a few hours. Perfect for elevated sandwiches or as a delightful side dish, these rolls will become your new go-to for homemade bread bliss.
Imagine pulling warm, freshly baked ciabatta rolls from your oven, their crust crisp and golden, their interior a marvel of fluffy, open crumb. Now, imagine achieving this culinary feat not over an arduous two-day process, but in a single afternoon. This recipe makes that dream a delicious reality, bringing the magic of artisanal bread-making right into your kitchen. Prepare to be amazed!

Unveiling the Unique Charm of Ciabatta Rolls
Ciabatta, which charmingly translates to “slipper” in Italian, is renowned for its elongated, flattened shape and distinct texture. Unlike many other bread varieties, classic ciabatta dough is strikingly simple, relying on just four fundamental ingredients: flour, water, salt, and yeast. However, what truly sets it apart is its exceptionally high hydration level. This means the dough is considerably wetter and stickier than the more common yeast doughs you might be used to, which typically demand extensive kneading.
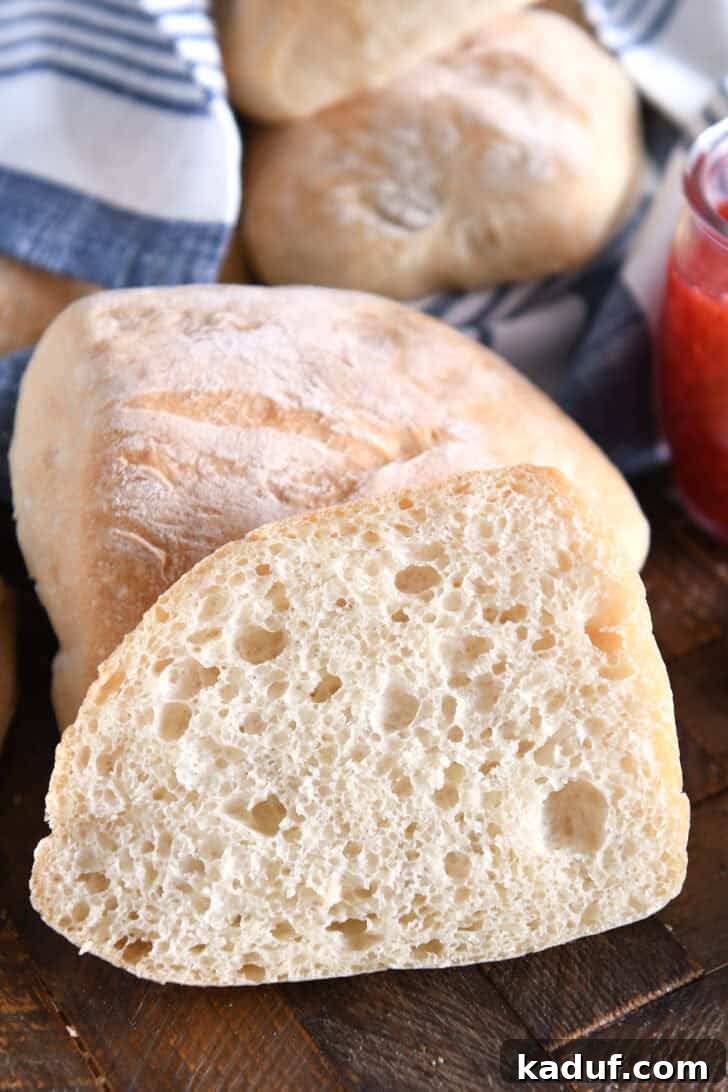
This high hydration, coupled with a specific mixing and shaping technique, is the secret behind ciabatta’s signature characteristics: an exquisitely chewy crust and an incredibly airy, fluffy interior dotted with large, irregular holes – often referred to as an “open crumb.” Traditionally, achieving these desirable qualities in ciabatta requires a lengthy, two-day process, beginning with a pre-ferment called a “biga” that ferments overnight to develop complex flavors and strengthen the dough’s structure. However, this innovative recipe for **same-day ciabatta rolls** bypasses the overnight biga entirely, allowing you to enjoy fresh, artisan-quality bread in just a few hours.
Instead of the traditional long fermentation, we accelerate the process by using a slightly increased amount of instant yeast. This boost in leavening power is perfectly balanced by employing a clever technique known as “stretch and fold” during the dough’s rising period. This method effectively develops the gluten and introduces air into the dough without any laborious kneading, resulting in a beautifully structured crumb even on a compressed timeline.
The beauty of this recipe lies in its simplicity: the dough is effortlessly mixed by hand in a bowl. There’s no need for a stand mixer, and no strenuous kneading is required, making it accessible for bakers of all skill levels.
Mastering the Stretch and Fold Technique
The stretch and fold technique is the cornerstone of developing strength and elasticity in high-hydration doughs like ciabatta, all without the effort of traditional kneading. This simple yet effective method is absolutely critical for the success of these easy same-day ciabatta rolls, ensuring that signature airy, open crumb.
Here’s how to execute this vital technique:
- After thoroughly mixing your wet, shaggy dough, cover it and allow it to rest for the specified time until it becomes noticeably puffy. This initial rest allows the flour to fully hydrate and the gluten development to begin naturally.
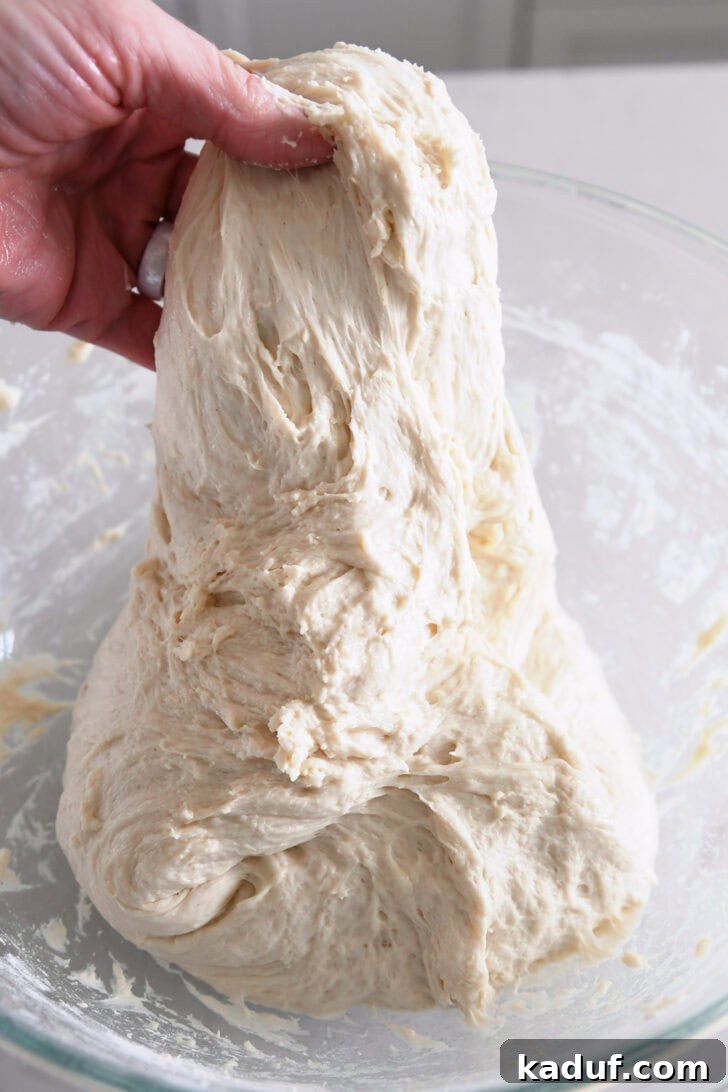
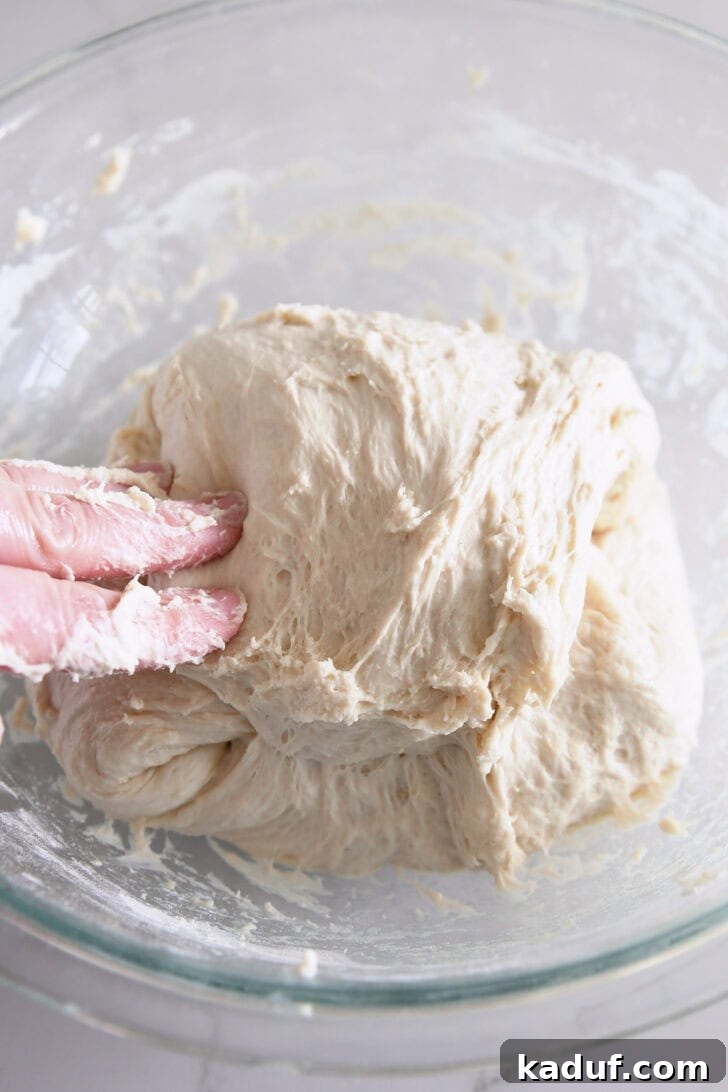
- To perform the stretch and fold, first lightly wet your hand with cool water to prevent sticking. Reach underneath one side of the dough, gently pulling it upwards, stretching it as far as it will comfortably go without tearing.
- Once stretched, fold this portion of the dough over the top towards the center of the bowl.
- Rotate the bowl about a third of a turn and repeat the stretch and fold process with the next section of dough. Continue this sequence for a total of 3 to 4 stretches and folds around the entire dough.
- Cover the dough again and let it rest until it becomes puffy once more. This resting period is just as important as the active folding, allowing the gluten to relax and develop further.
- Repeat the stretch and folds one more time, following the same gentle technique. You will notice the dough transforming with each set, becoming progressively smoother and more manageable.
- After the second round of stretch and folds, let the dough rise undisturbed until it has doubled significantly in size.
The magic of the stretch-and-fold method: This technique is a baker’s best friend for high-hydration doughs. It gently strengthens the gluten structure and enhances the elasticity of the dough, preparing it for its characteristic rise and texture. As you repeat the stretching and folding, you’ll observe the dough transition from its initial wet and shaggy state to one that is smoother, more cohesive, and firmer. This action also expertly incorporates air and volume into the dough, which is crucial for forming those coveted large, irregular air pockets that define a perfect ciabatta crumb.
Delicate Shaping for Authentic Ciabatta Rolls
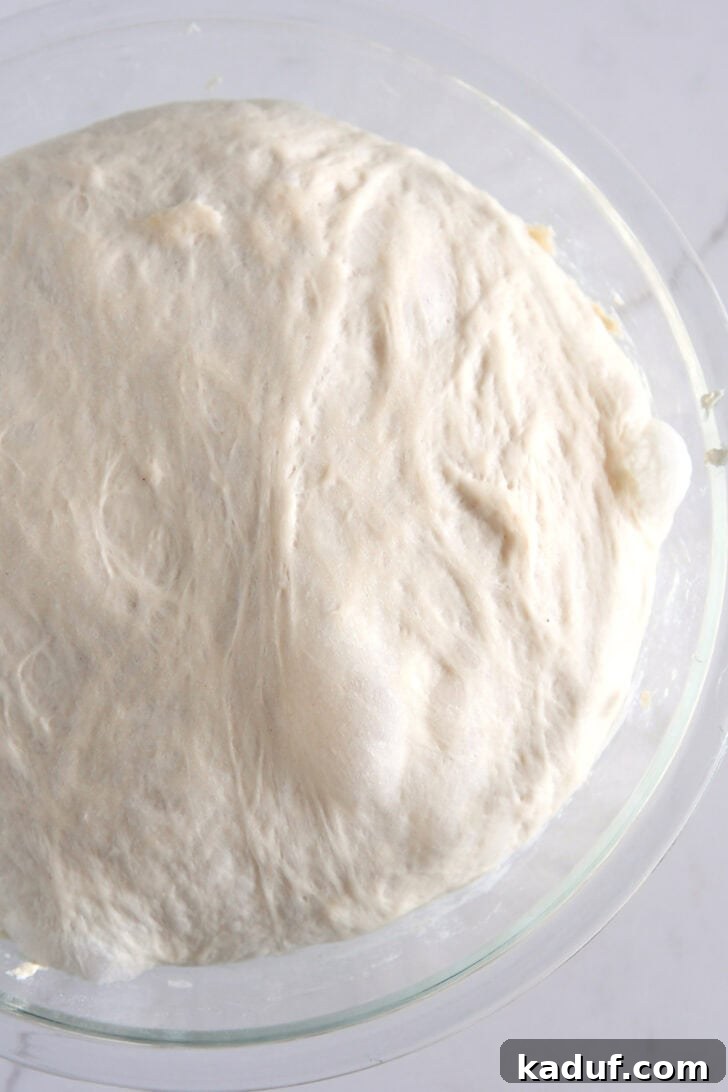
As your ciabatta dough completes its final rise, you’ll undoubtedly notice it has become a lively mass, filled with numerous bubbles – some large, some small – visible throughout its surface. These air pockets are precious, representing the delicate structure you’ve meticulously built through the stretch and fold technique and careful fermentation. Preserving them during shaping is paramount to achieving the desired open, airy crumb.
When the dough is perfectly risen and ready to be shaped into individual rolls, the most crucial step is to handle it with extreme gentleness. Lightly flour your work surface, then delicately turn the dough out onto it, being careful to avoid degassing (i.e., fully deflating) the dough. The goal is to retain as much of that trapped air as possible.
Once on the floured surface, gently press the dough into a thick rectangle. Resist the urge to aggressively push or punch the dough. Instead, use light, even pressure to form it into your desired shape. Then, using a pizza cutter, bench scraper, or sharp knife, carefully cut the rectangle into individual squares or rustic rectangles. Again, execute this step with a light hand, ensuring you don’t inadvertently force the precious air bubbles out of the dough. Think of it as guiding the dough rather than manipulating it.
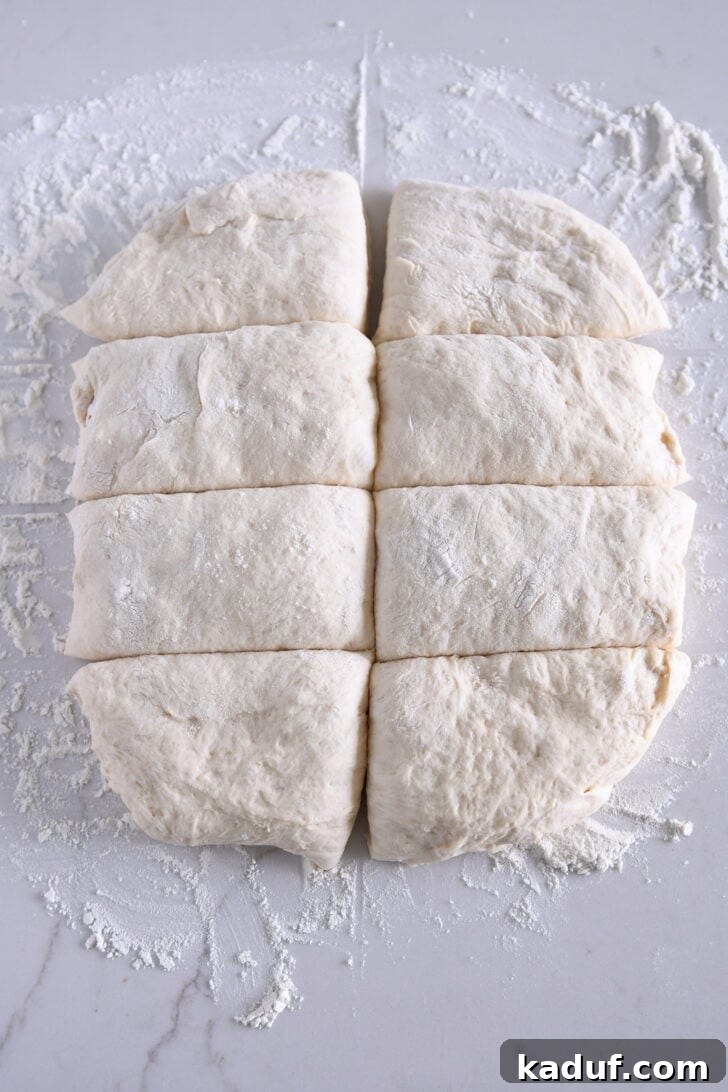
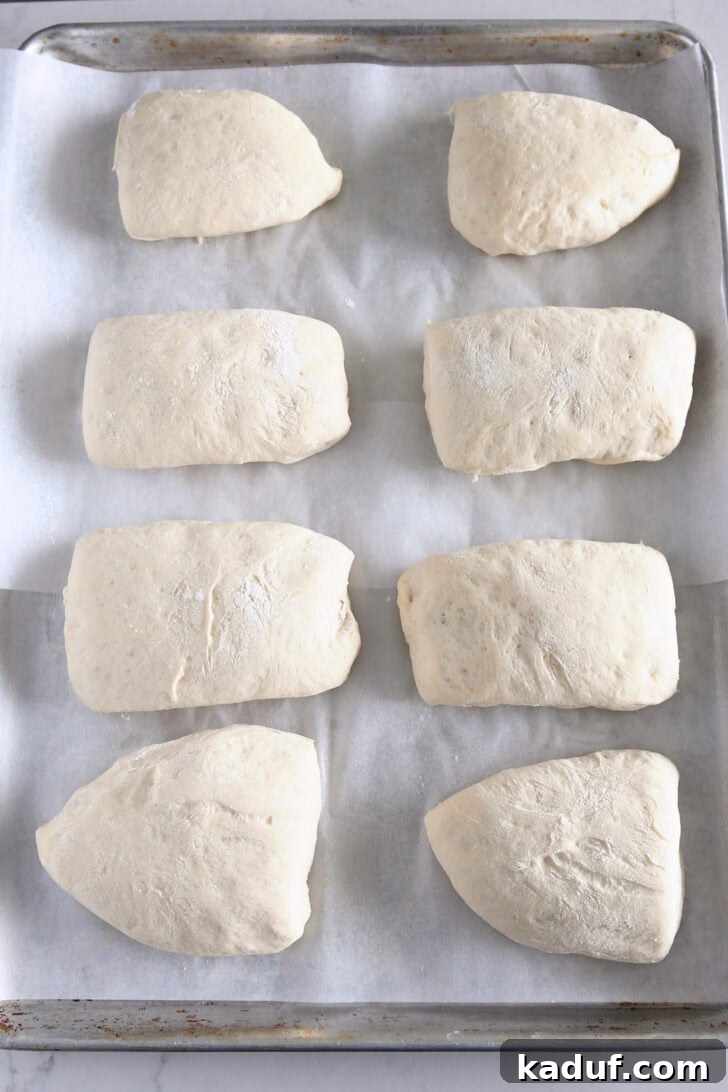
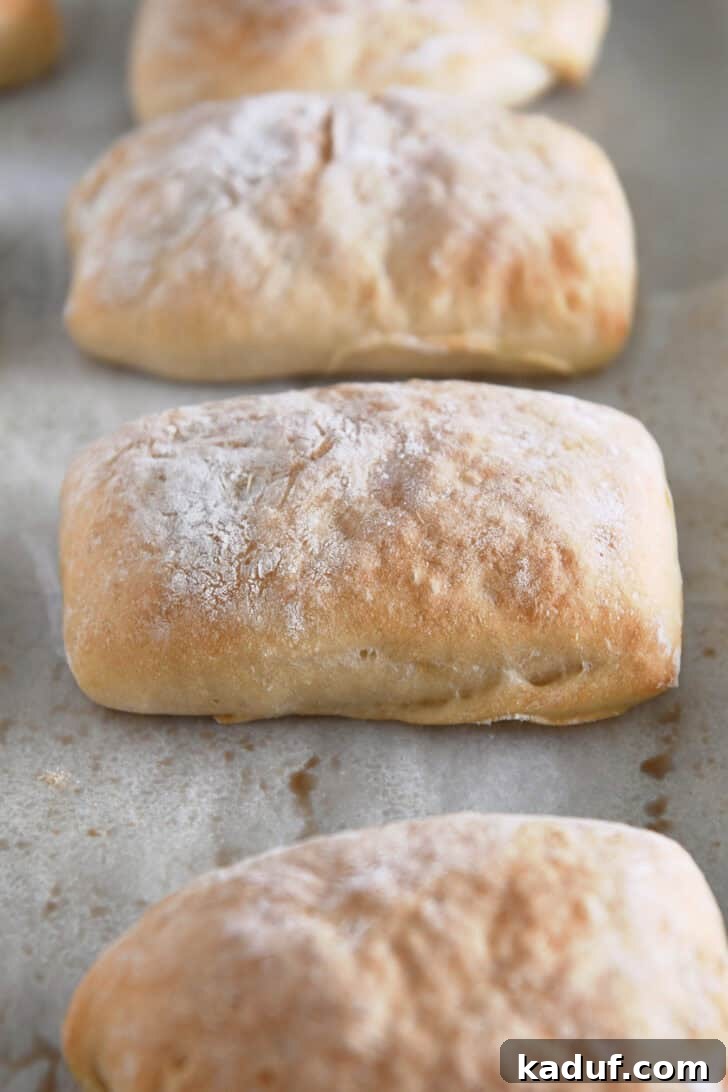
As these shaped ciabatta rolls undergo their final proof and then bake in the oven, the captured air, along with the high hydration, will expand, developing that characteristic wonderfully airy, incredibly chewy, and fluffy crumb that is the hallmark of truly great ciabatta bread. Don’t fret about achieving perfectly uniform shapes with flawlessly smooth tops and edges. Ciabatta rolls are inherently rustic in appearance; their charmingly irregular forms are part of their authentic appeal and beauty. Embrace the artisanal look!
By diligently following these streamlined instructions for mixing, the innovative stretch-and-fold technique, gentle shaping, and precise rising, you will successfully create easy same-day ciabatta rolls that are every bit as delicious and satisfying as their more time-intensive, two-day counterparts. Get ready to impress your family and friends with your baking prowess!
Delicious Ways to Serve Your Homemade Ciabatta Rolls
The versatility of these homemade ciabatta rolls is truly one of their greatest assets. Their robust texture and delightful flavor make them an ideal accompaniment for a vast array of dishes, transforming everyday meals into something special. Here are some of our favorite ways to enjoy them:
- As a Perfect Side Dish: These rolls shine alongside hearty pasta dishes, comforting soups, or any meal that benefits from a rustic bread for soaking up delicious sauces.
- Elevated Garlic Bread: Slice them in half, spread with plenty of butter, garlic, and herbs, then toast until golden for the most incredible cheesy garlic bread you’ve ever tasted.
- The Ultimate Sandwich Base: Their sturdy yet airy structure makes ciabatta rolls perfect for sandwiches. Whether you’re making classic cold cut sandwiches piled high with fresh ingredients or pressing them into gourmet hot panini sandwiches, their chewiness holds up beautifully to fillings.
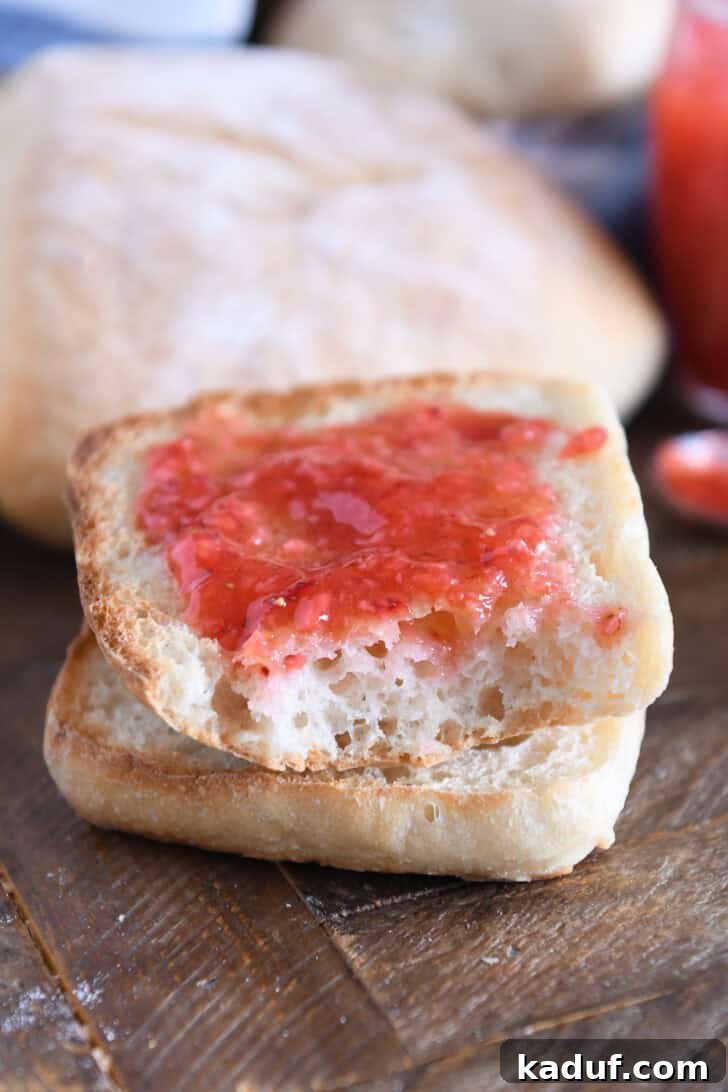
- Breakfast Delight: Simply toast a roll, slather it generously with rich butter and your favorite fruit jam or marmalade for a simple yet satisfying breakfast.
- Appetizer Extravaganza: Cut them into smaller pieces, toast lightly, and serve with olive oil and balsamic vinegar for dipping, or as crostini bases for bruschetta.
Lately, I’ve found myself whipping up a batch of these glorious rolls in the morning, knowing they’ll make an effortlessly incredible dinner. Our absolute latest obsession: toasted and buttered ciabatta rolls layered with succulent grilled chicken, a generous dollop of honey mustard, melty havarti cheese, crispy bacon, fresh lettuce, and ripe tomato. The combination of textures and flavors is absolutely divine, making for a sandwich experience that’s truly SO GOOD!
I sincerely hope you embrace the joy of baking and savor every bite of this recipe for easier ciabatta rolls. They truly are an incredible addition to any meal, proving that homemade artisan bread can be both accessible and utterly delicious.
One Year Ago: Easy Spicy Garlic Ramen Noodles
Two Years Ago: The Very Best Blueberry Muffins
Three Years Ago: Easy Cheesy Weeknight Pasta Bake {Make-Ahead and Freezable}
Four Years Ago: Butterscotch Rice Krispie Treats
Five Years Ago: Homemade Orange Sweet Rolls {New and Improved}
Six Years Ago: Honey Lime Chicken or Pork Enchiladas
Seven Years Ago: Thick and Chewy Chocolate Chip Cookie Bars
Eight Years Ago: Lemon Cream Cheese Crumb Muffins
Nine Years Ago: Doubletree Hotel Copycat Chocolate Chip Cookies
Ten Years Ago: Quinoa Chocolate Chip Oatmeal Granola Cookies
Easy Same Day Ciabatta Rolls
Pin
Rate
Ingredients
- 2 cups (460 g) very warm water (105 to 110 degrees F)
- 1 tablespoon (10 g) instant yeast
- 4 cups (568 g) bread flour
- 1 ½ teaspoons (9 g) table salt
Instructions
-
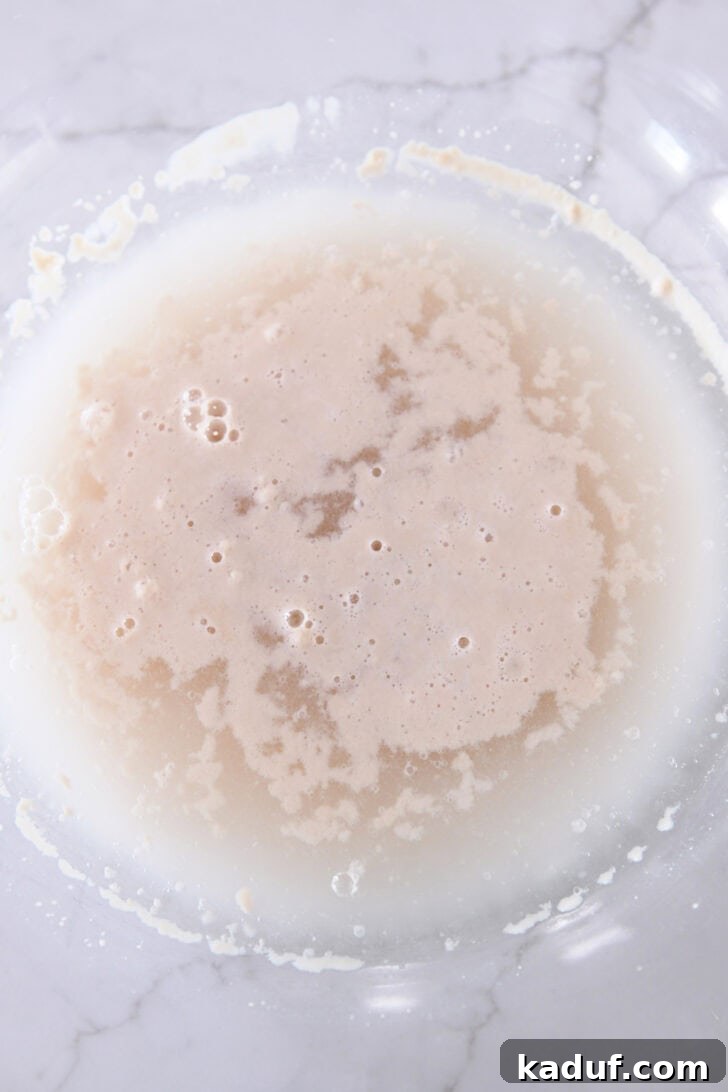
In a large bowl, combine the very warm water and instant yeast. Stir gently and allow to stand for 5 to 6 minutes until the mixture becomes foamy, indicating the yeast is active.
-
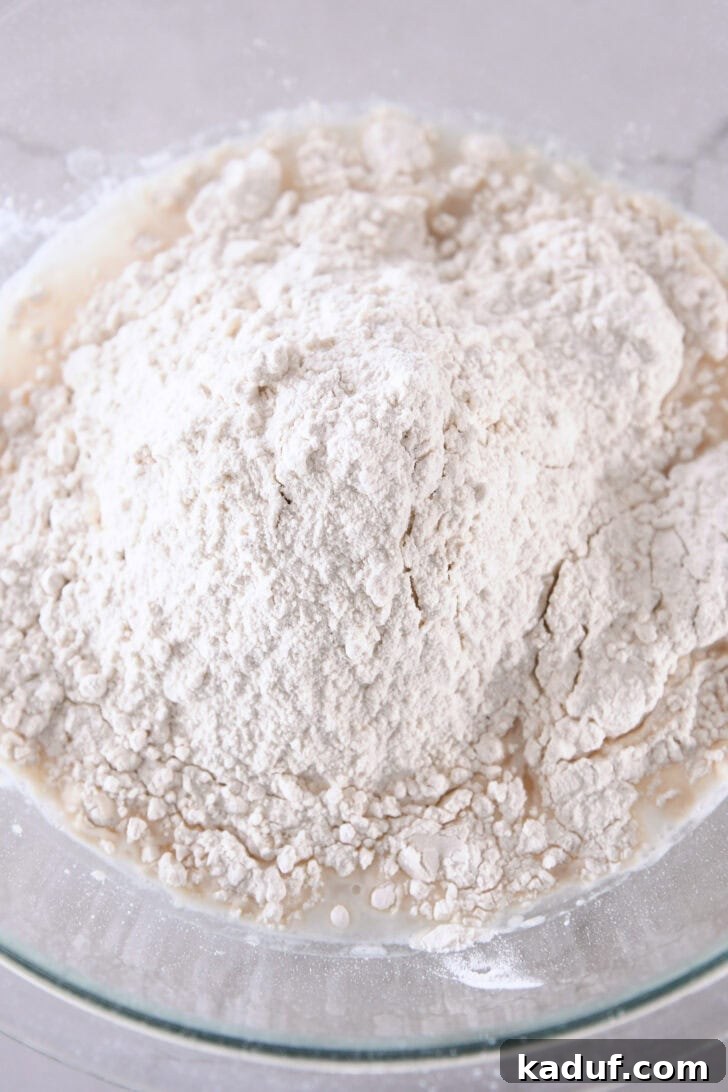
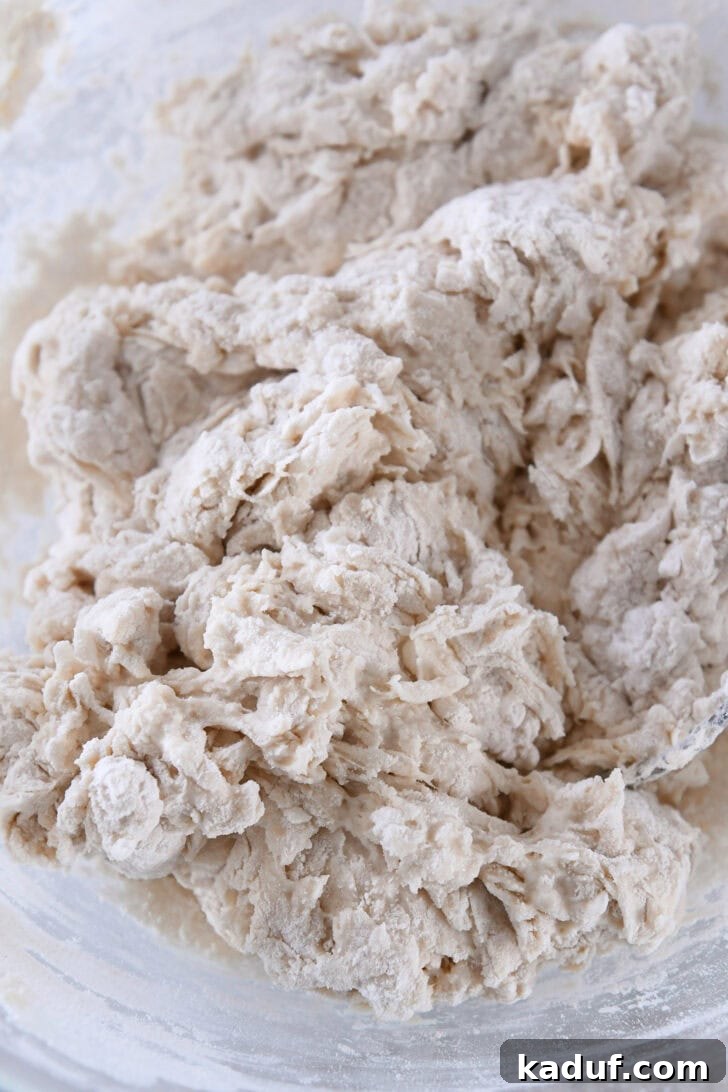
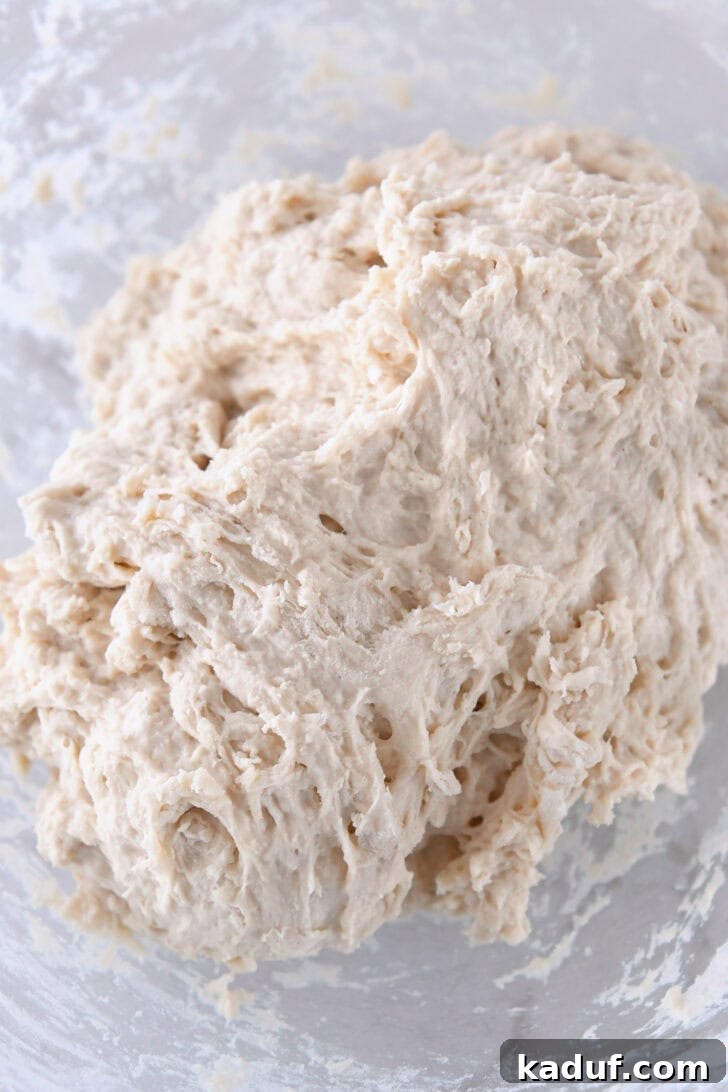
Add the bread flour and salt to the yeast mixture. Mix thoroughly until all ingredients are just combined and no dry streaks of flour remain. The dough will have a wet, shaggy texture.
-
Cover the bowl with plastic wrap or a damp towel and let the dough rest in a warm, draft-free spot for 45 to 60 minutes, until it appears visibly puffy.
-
Perform the first stretch and fold: lightly wet your hand with cool water to prevent the dough from sticking. Gently pull a portion of the dough up from the side of the bowl and fold it over the top towards the center. Rotate the bowl about a third of a turn and repeat this stretch and fold. Continue this process one more time, for a total of 3-4 folds around the dough.
-
Re-cover the bowl and let the dough rest again for another 45 to 60 minutes until puffy. Repeat the stretch and folds once more (3 to 4 stretches and folds around the dough).
-
After the second round of stretch and folds, cover the dough and allow it to rise in a warm, draft-free location until it has doubled in size. This typically takes 1 to 1 1/2 hours.
-
While the dough is completing its final rise, prepare two half sheet pans by lining them with parchment paper and lightly greasing the parchment with cooking spray. Set aside.
-
On a lightly floured counter, gently turn the bowl onto its side and carefully scrape (or allow gravity to do the work) to release the dough from the bowl onto the counter without deflating it. It’s crucial not to disturb the air bubbles that have formed.
-
With lightly floured hands, gently pat the dough into a rectangular shape, approximately 8×12 inches and at least 1/2 to 3/4-inch thick. Avoid pressing too hard.
-
Using a pizza cutter, bench scraper, or sharp knife, carefully cut the dough into about 8 to 10 squares or rectangles. Again, be gentle to avoid deflating the dough during this process.
-
Carefully transfer the shaped rolls to the prepared sheet pans, spacing them about 1 to 2 inches apart. Cover them again and let rise until noticeably puffy, typically 45 to 60 minutes.
-
Preheat your oven to 425 degrees F (218 degrees C). To create a steamy environment crucial for a crisp crust, place a heat-safe pan of hot water on the bottom oven rack while the oven preheats, OR toss several ice cubes onto the bottom of the oven (avoiding direct contact with glass door) right before placing the rolls in.
-
Bake for 15 to 16 minutes, or until the rolls are beautifully golden brown and fully baked through.
Notes
Flour: While bread flour is recommended for its higher protein content, which contributes to a chewier and more structured crumb, all-purpose flour can be used as a substitute. Please note that using all-purpose flour may result in rolls that are slightly less chewy and fluffy than those made with bread flour.
Recommended Products
Recipe Source: Adapted from Mel’s Kitchen Cafe