
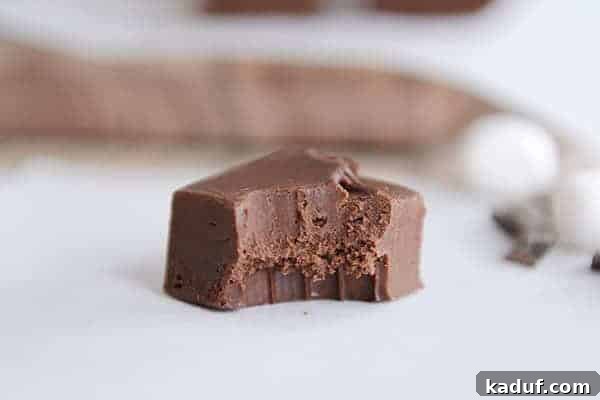
This easy homemade fudge recipe will transform your dessert game! Experience creamy, rich, and utterly delicious fudge that comes together in under 15 minutes, with endless possibilities for customization and add-ins.
From Fudge Skeptic to Enthusiast: My Journey to the Easiest Ever Fudge
For many years, I openly admitted (perhaps a dozen times over) that I wasn’t a fan of fudge. I know, it sounds almost sacrilegious coming from someone who adores all things chocolate. My aversion often led to bewildered looks and even playful questioning of my culinary sanity. After years of reflection, I pinpointed the root cause of my “meh” attitude towards this classic confection: it was almost always overwhelmingly sweet. This intense sweetness frequently overshadowed the very essence of what I craved – the deep, complex flavor of chocolate.
If I was going to indulge in a chocolate treat, I wanted it to be dark, decadent, and undeniably worth every single bite. Unfortunately, traditional fudge rarely met that standard for me. It was often too granular, too sugary, and left me feeling like I’d just eaten a block of solidified sugar rather than a rich chocolate experience.
The Fudge Revelation: A Family Reunion Miracle
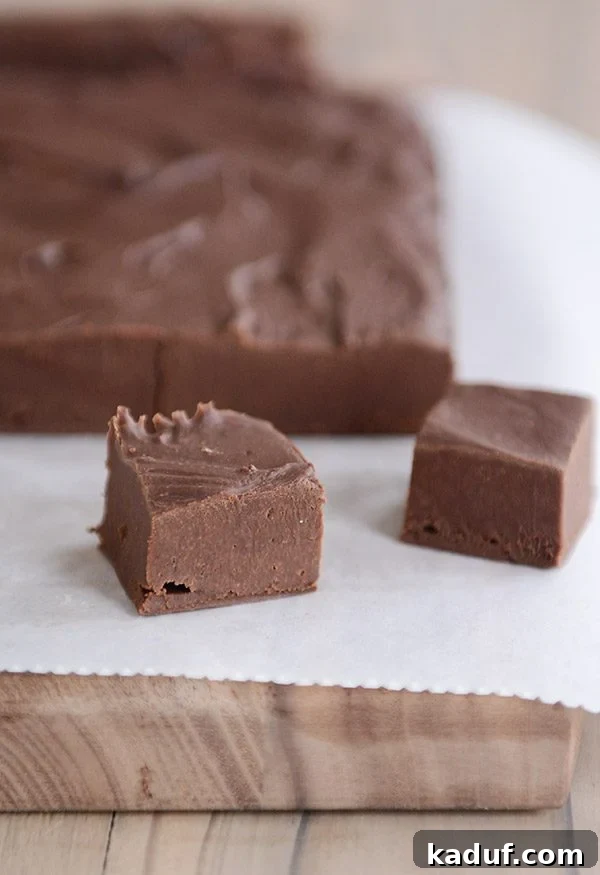
Then came a fateful summer at a family reunion near Jackson Hole. My wonderful Great Aunt Kathy presented me with a sample of her legendary fudge. With a hesitant bite, my perception of fudge was utterly transformed. It was, without exaggeration, the most incredible fudge I had ever tasted. It wasn’t overly sweet; instead, it boasted a profound chocolate flavor, a silken texture, and a melt-in-your-mouth richness that made me wish I could eat it forever. It was a true culinary epiphany, changing my entire outlook on this beloved dessert.

The bonus? Aunt Kathy revealed just how ridiculously easy her fudge was to make. That’s when I knew: it was time to let fudge back into my life, and into my kitchen. My previous notions of fussy candy thermometers and endless stirring were shattered.
Adapting a Masterpiece: Crafting Your Go-To Fudge Recipe
Unfortunately, Aunt Kathy’s original recipe called for a specialty chocolate that isn’t widely available. Eager to recreate that magical experience, I embarked on a mission to adapt her recipe using readily accessible ingredients. After numerous batches, countless taste tests, and a fair amount of experimentation, I finally landed on a homemade fudge recipe that, while not an exact clone of Aunt Kathy’s, captures its spirit and, most importantly, its incredible taste and texture. This recipe has earned my enthusiastic seal of approval, which, given my past skepticism, speaks volumes.
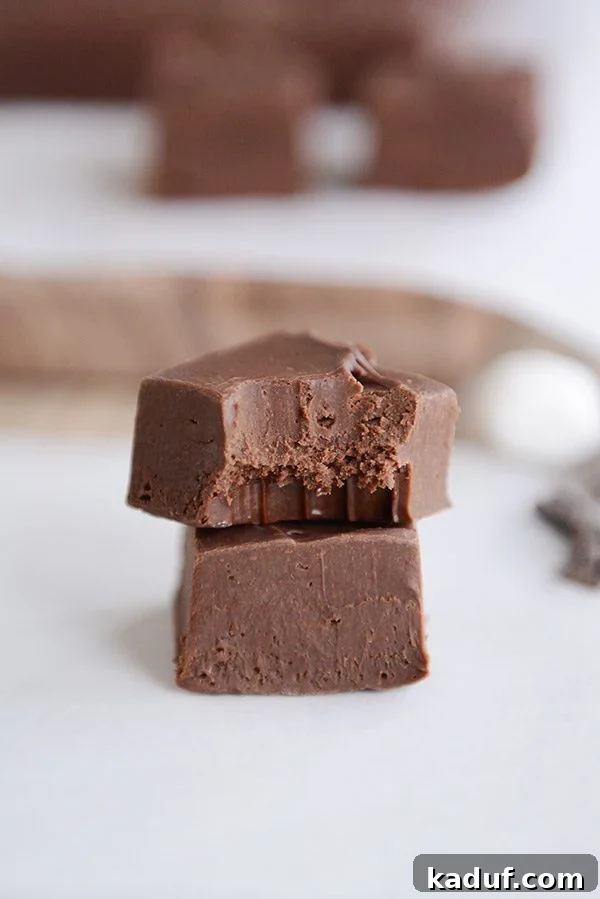
This easy homemade fudge is decadently creamy, boasting a soft, almost truffle-like richness. Yes, it’s sweet – it’s fudge, after all! – but its sweetness is perfectly balanced by the generous amount of semisweet chocolate and the essential additions of salt and vanilla. These elements work in harmony to prevent it from becoming cloyingly sweet, allowing the true chocolate flavor to shine through.

Why This Is The Best Easy Homemade Fudge Recipe You’ll Find
While “marshmallow fudge” recipes have been around for ages, often celebrated for their simplicity, this particular rendition stands head and shoulders above any other marshmallow or traditional fudge recipe I’ve encountered. It’s not just easy; it’s reliably delicious, consistently producing a superior texture and taste. This recipe truly is a game-changer for anyone seeking a classic chocolate fudge that’s both simple to prepare and uniquely satisfying.
Mastering the Art of Microwave Fudge: Tips for Success
The beauty of this recipe lies in its simplicity and speed. Using a microwave significantly cuts down on prep and cook time, making homemade fudge accessible even on busy days. Here are a few tips to ensure your fudge turns out perfectly every time:
- Choose Quality Chocolate Chips: The type of chocolate you use makes a significant difference. I’ve found Ghirardelli semisweet chocolate chips to be consistently excellent, offering a rich flavor and smooth melt. A blend of half Ghirardelli semisweet chips and half Trader Joe’s semisweet chunks also yields fantastic results. Invest in good quality chocolate for the best flavor.
- Even Heating is Key: Microwaving in short, 45-second intervals and stirring thoroughly after each ensures even melting and prevents the chocolate from scorching. Patience here pays off in a silky-smooth fudge.
- Don’t Skimp on Salt and Vanilla: These ingredients are crucial for balancing the sweetness and enhancing the chocolate flavor, giving the fudge a gourmet touch that elevates it beyond basic.
- Line Your Pan: Using foil and lightly greasing it makes removing and cutting the fudge incredibly easy, ensuring clean edges and less mess.
Unleash Your Creativity: Endless Fudge Add-In Options
One of the most exciting aspects of this fudge recipe is its incredible versatility. The base is perfect on its own, but it also serves as a blank canvas for countless flavor combinations. Get creative and customize your batch!
- Nutty Variations: Stir in chopped walnuts, pecans, almonds, or peanuts for added crunch and flavor. Toasted nuts can elevate the experience even further.
- Peanut Butter Perfection: For a delightful peanut butter swirl, add a few dollops of creamy or chunky peanut butter along with the chocolate and marshmallows before melting. For a more distinct peanut butter flavor, stir in peanut butter chips after the mixture is smooth.
- Candy Cravings: M&M’s, chopped candy bars, toffee bits, or crushed peppermints (especially festive during holidays) can be folded in for extra texture and sweetness.
- Fruity & Exotic: Consider dried cranberries, cherries, or even shredded coconut for a tropical twist.
- Extract Experiments: While vanilla is classic, don’t hesitate to experiment with other extracts. Peppermint extract is fantastic for a holiday treat, almond extract adds a sophisticated touch, and a hint of orange extract can brighten the chocolate.
- Swirls and Toppings: After spreading the fudge into the pan, swirl in caramel sauce, white chocolate, or more peanut butter for a marbled effect. Top with flaky sea salt, extra chocolate chips, or sprinkles for a beautiful finish.
Remember, for any chunky add-ins like nuts, M&M’s, or peanut butter chips, it’s best to fold them in after the chocolate mixture has fully melted and is smooth. If you add meltable items like peanut butter chips too early, they will fully incorporate, which might be desired for a seamless flavor. Adding them right after melting the base allows them to soften and create delightful ribbons of flavor as the fudge cools.
Storage and Serving Suggestions
This easy homemade fudge stores beautifully. Once set, cut it into squares and keep it in an airtight container in the refrigerator for several days. For longer storage, you can even freeze it for up to a month, ensuring you always have a delicious treat on hand. Serve it with a cup of coffee or hot cocoa, or wrap individual pieces as charming homemade gifts for friends and family. It’s also a perfect addition to any dessert platter.
One Year Ago: Russian Potato and Mushroom Leek Soup
Two Years Ago: Decadent Double Chocolate Mint Cookies
Three Years Ago: Dark Chocolate Sea Salt Caramel Pretzel Bark {Snappers Knock Off}
Four Years Ago: Cinnamon Roll Caramel Popcorn
Five Years Ago: Red Velvet Cheesecake Cake
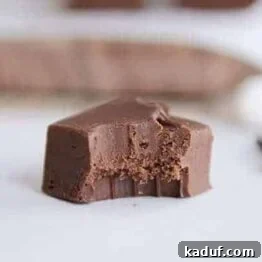
Easiest-Ever Fudge
Pin
Ingredients
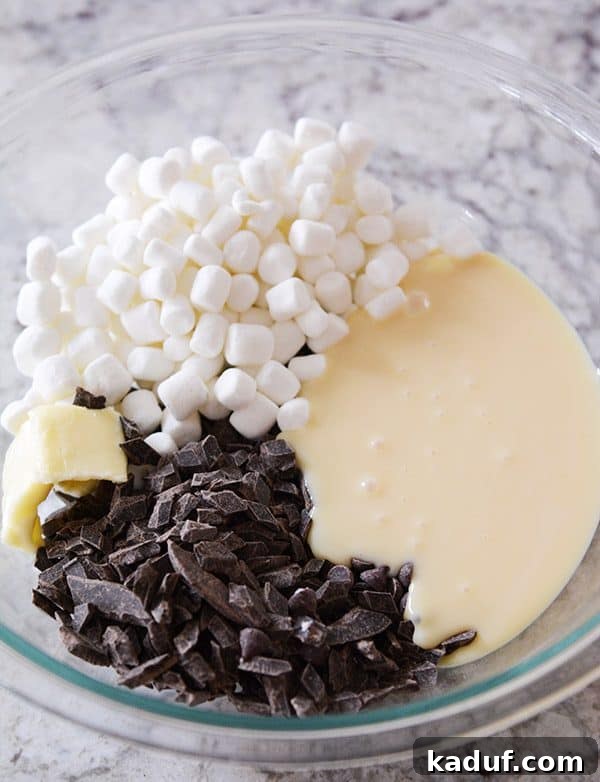
- 3 cups (510 g) semisweet chocolate chips
- 2 cups (114 g) mini marshmallows
- 1 (14-ounce) can sweetened condensed milk
- 2 tablespoons butter
- Pinch of salt
- 1 teaspoon vanilla extract, can sub another flavored extract, like peppermint
- Optional add-ins: peanut butter chips OR peanut butter, chopped nuts, toffee bits, M&M’s (see note for when to add)
Instructions
-
Line an 8X8- or 9X9-inch pan with foil and lightly butter or grease with nonstick cooking spray. Set aside.
-
In a large microwave-safe bowl, combine the chocolate chips, marshmallows, sweetened condensed milk, butter, and salt. Microwave for 45-second intervals, stirring thoroughly in between each interval, until the mixture is completely smooth and creamy. Stir in the vanilla (or your chosen flavored extract).
-
If desired, fold in any add-in ingredients such as chopped nuts, M&M’s, peanut butter chips, toffee bits, dried fruit, or coconut.
-
Spread the fudge evenly into the prepared pan. Top with any additional garnishes, like more chopped nuts or other suggestions, gently pressing them into the soft fudge. Cover the pan with plastic wrap and refrigerate for 1-2 hours until fully set. (While you can enjoy it right away, it will be quite soft and sticky, though undeniably delicious!) Once set, cut into squares.
-
The fudge will keep well for several days when stored in an airtight container in the refrigerator.
Notes
Peanut Butter: If you plan to add peanut butter (creamy or chunky) to the recipe, incorporate it into the bowl with the marshmallows and chocolate chips before beginning the melting process.
Add-Ins: For any other chunky add-ins (such as additional chocolate chips, toffee bits, chopped nuts, shredded coconut, peanut butter chips, dried fruit, or crushed peppermints), add them after the mixture has been melted and is smooth and creamy. While meltable ingredients like peanut butter chips or extra chocolate will soften slightly when added to the warm fudge, they need to be folded in fairly quickly before the fudge begins to set. This technique can create delightful little ribbons of melty flavor throughout the fudge.
Chocolate Chips: The brand of chocolate chips you choose significantly impacts both the taste and texture of your fudge. I have consistently achieved the best results using Ghirardelli semisweet chocolate chips. Another excellent option is a blend of half Ghirardelli semisweet chips and half Trader Joe’s semisweet chunks.
Recommended Products
Recipe Source: Inspired by my great Aunt Kathy, this fudge recipe from Allrecipes, and a Nestle Tollhouse fudge recipe.