
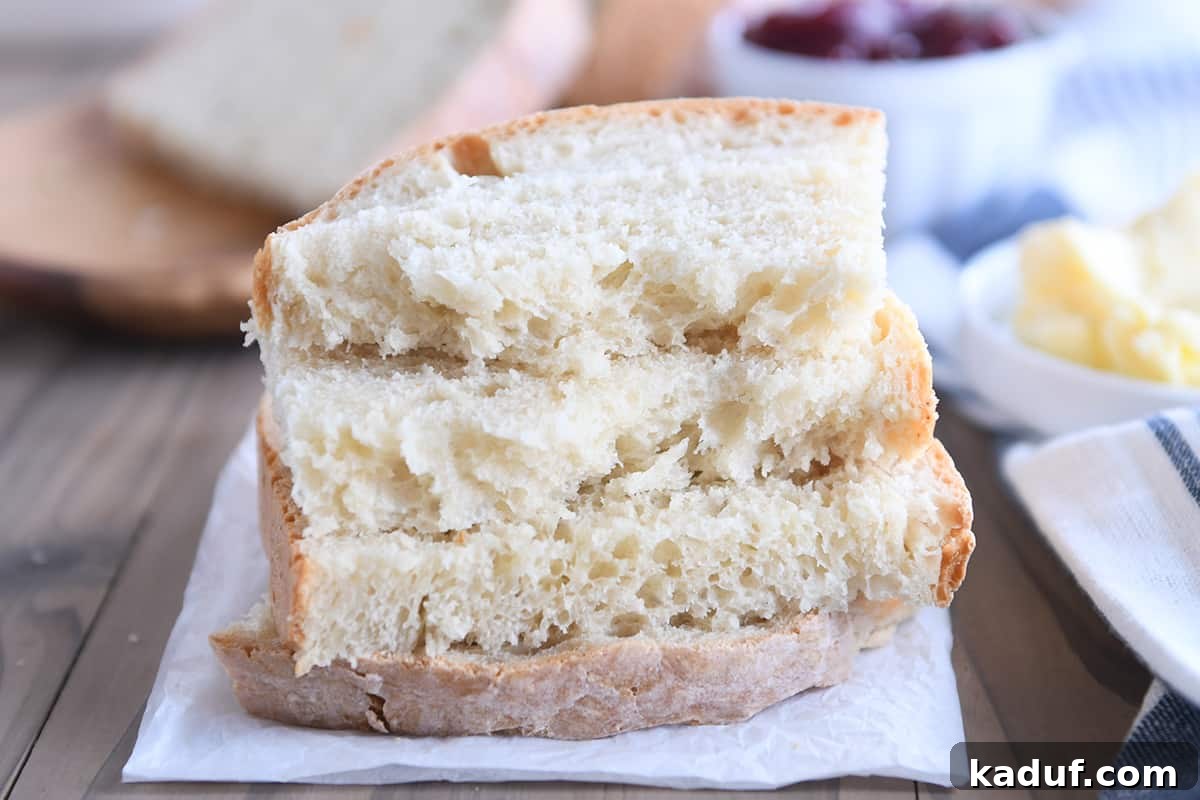
Discover the ultimate “no-fuss” baking experience with this incredibly easy no-knead sourdough peasant bread. Enjoy its soft, fluffy texture and delicious tang without long rising times or complicated techniques. Perfect for beginners and seasoned bakers alike, this recipe works beautifully with either active, fed sourdough starter or unfed discard.
Are you searching for an effortless way to enjoy homemade sourdough bread? Look no further! This might just be the simplest and most rewarding sourdough bread recipe you’ll ever encounter. Imagine a warm, golden-crusted loaf, soft and airy on the inside, ready to elevate any meal. The best part? You can achieve this perfection in just an hour or two from start to finish, thanks to its quick-rise nature and flexible starter requirements.
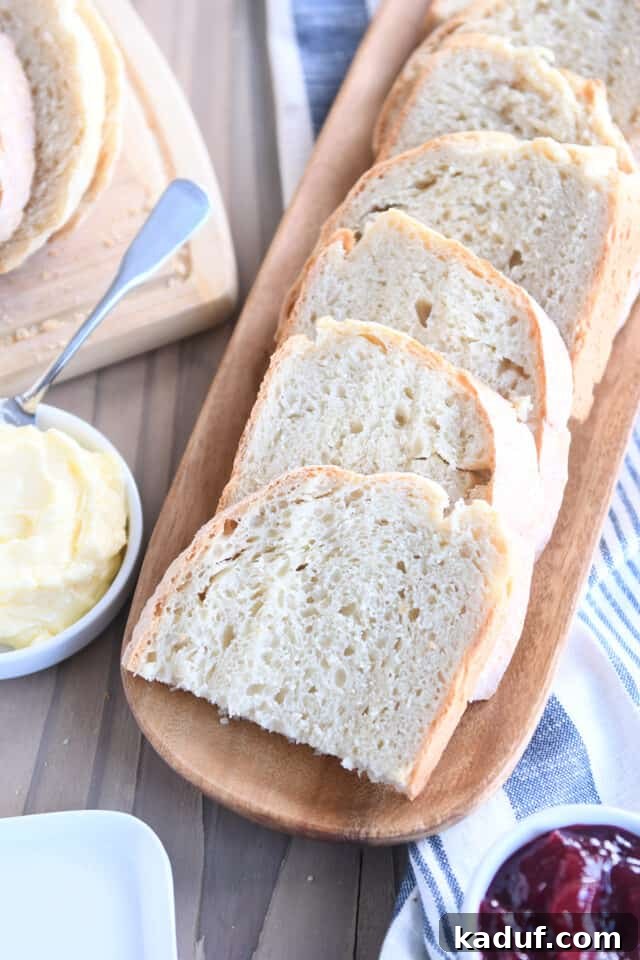
Embracing the Simplicity of Sourdough Peasant Bread
Following the immense success and adoration for our classic easy peasant bread recipe, it was only a matter of time before we brought you a sourdough rendition. This version maintains all the beloved characteristics of its predecessor—its incredible ease, minimal effort, and delightful texture—while infusing it with that unmistakable, tangy sourdough depth.
For many, the world of sourdough can seem daunting, perhaps even a bit intimidating with its rising popularity and the perception of complex, time-consuming processes. You might picture intricate scoring patterns on artisan loaves that require hours of proofing and precise techniques. We completely understand that apprehension! However, maintaining a sourdough starter doesn’t have to be an arduous daily chore, nor do you need to aspire to bake gallery-worthy bread every single time. It’s about enjoying the process and the phenomenal results.
Personally, I am a firm advocate for the “Lazy Girl Sourdough Method.” This approach has transformed my relationship with baking, bringing a wonderful sense of calm and a steady supply of delicious, wholesome carbohydrates into my life. With recipes like today’s easy sourdough peasant bread and delightful treats such as these sourdough pumpkin muffins, I can confidently testify that keeping a sourdough starter, even tucked away in the fridge, is 100% worth the minimal effort.
*And good news! I have several other effortless sourdough discard recipes coming your way very soon. Trust me, they are absolutely phenomenal!

Before we delve deeper into the baking process, can we pause for a moment of appreciation? This easy sourdough peasant bread truly creates the most incredible grilled cheese sandwiches imaginable. The crust gets wonderfully crispy, while the interior remains soft and flavorful, perfectly cradling gooey melted cheese. This reason alone should inspire you to get hustling in the kitchen and whip up a loaf of this extraordinary bread!
Understanding Your Sourdough Starter: Fed vs. Discard
One of the beautiful advantages of this particular recipe is its flexibility: it welcomes both active, fed sourdough starter and unfed sourdough discard. This means you don’t need to meticulously plan your baking around your starter’s feeding schedule. You can simply grab your discard straight from the refrigerator, or use your freshly fed, bubbly starter.
It’s important to remember that not all sourdough starters are created equal. The consistency can vary significantly based on individual feeding ratios. For instance, my sourdough starter, which I use for testing, is typically fed at a 1:1:1 ratio (by weight) of starter, water, and flour, resulting in a specific texture. Your starter might be thicker or thinner than mine, and that’s perfectly normal!
If your sourdough starter tends to be thicker (as might be the case with a lower hydration starter or one fed with different flour types), you may need to incrementally add a little more water to the recipe until your dough reaches the described “shaggy” consistency. Conversely, if your starter is notably thinner or more liquid, consider reducing the initial water in the recipe by about ½ cup and adding more only if the dough appears too dry. Adjusting to your unique starter’s hydration level will ensure the perfect dough texture for this delicious bread.
The Marvel of a Wet and Shaggy Dough
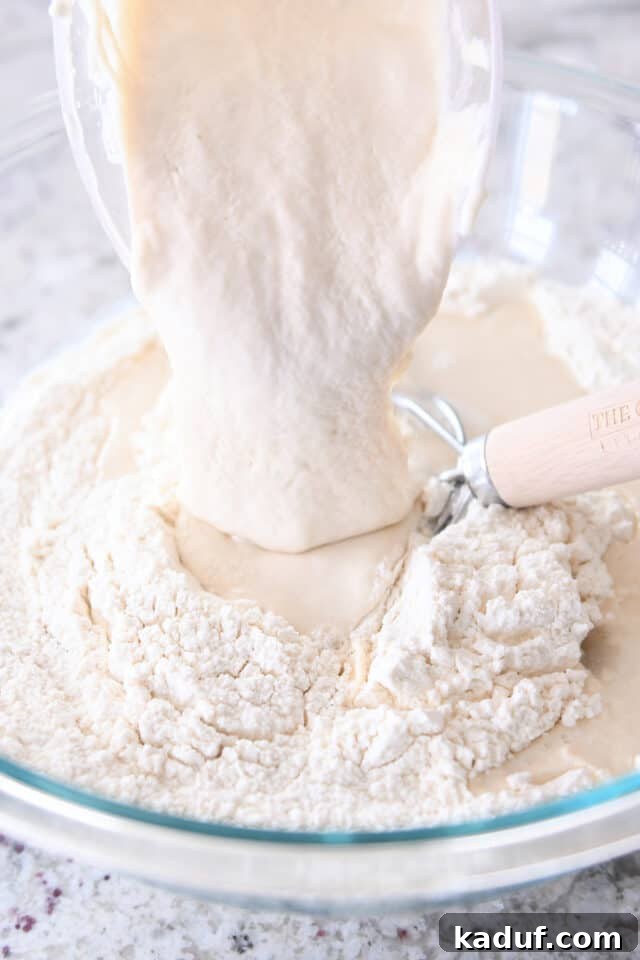
The dough for this sourdough peasant bread comes together remarkably fast, and its higher hydration level is intentional. Unlike traditional bread doughs that require vigorous kneading to develop gluten, this wetter dough can be easily mixed by hand. The moisture allows the gluten to develop naturally over time, giving you a tender crumb without the manual effort.
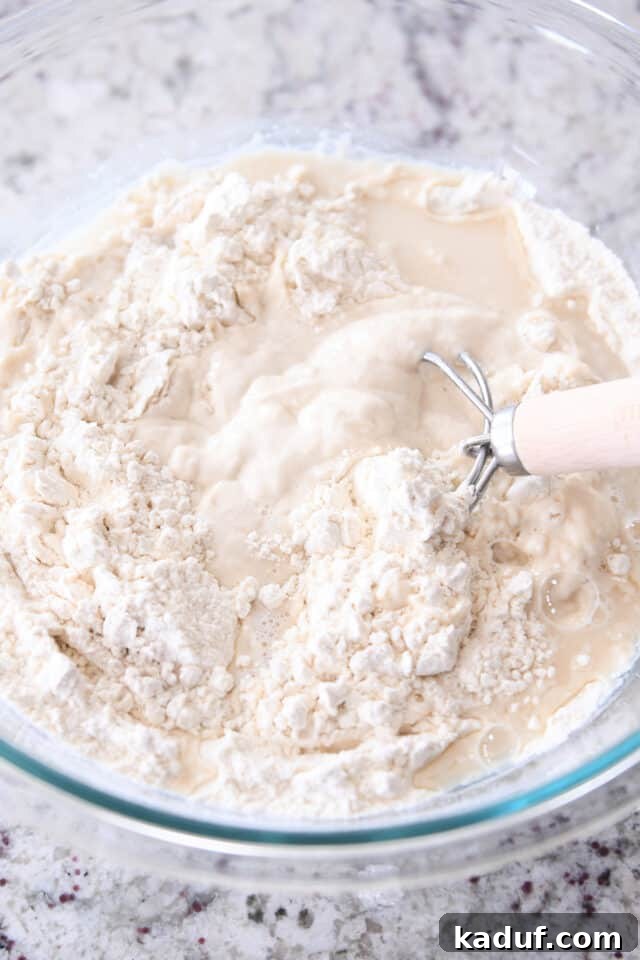
Simply combine all the ingredients and mix with a rubber spatula or wooden spoon until all the dry flour is fully incorporated. What you’ll achieve is a very rough, sticky, and shaggy ball of dough in the bottom of your bowl. Don’t worry about achieving a smooth, uniform texture at this stage; its rustic appearance is part of its charm and success.
Once mixed, cover the bowl and allow the dough to rise in a warm spot in your kitchen. This first rise is critical; you’re looking for the dough to become noticeably puffy and roughly double in size. Depending on the ambient temperature of your kitchen, this process will typically take about 1 to 1.5 hours. A warmer environment will accelerate the rise, while a cooler one will slow it down. This relatively short rising time is one of the factors that makes this sourdough recipe so incredibly user-friendly.
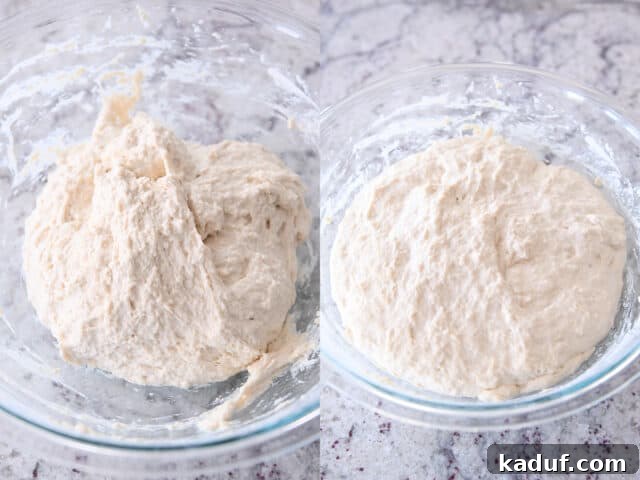
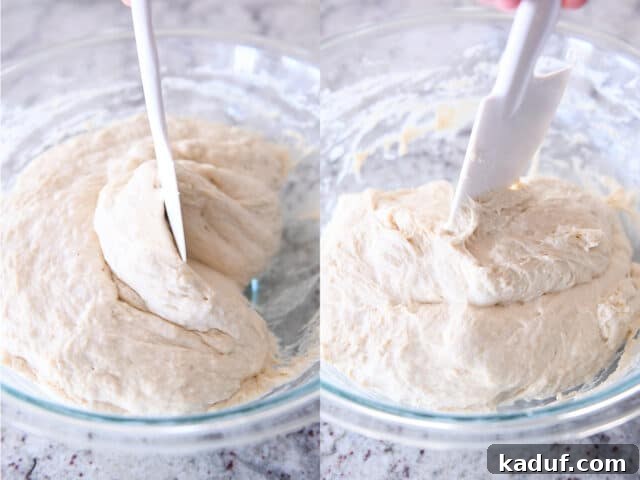
Due to the inherent softness and stickiness of this high-hydration dough, you won’t be able to achieve a perfectly smooth, taut shape with your bare hands, as you might with a traditional kneaded dough. And that’s absolutely fine! The beauty of peasant bread lies in its rustic charm.
Instead, the method involves gently encouraging the dough into a cohesive shape. Use a rubber spatula to carefully scrape the risen dough away from the sides of the bowl, pushing it towards the center to form a rough ball.
From here, you have a couple of straightforward options:
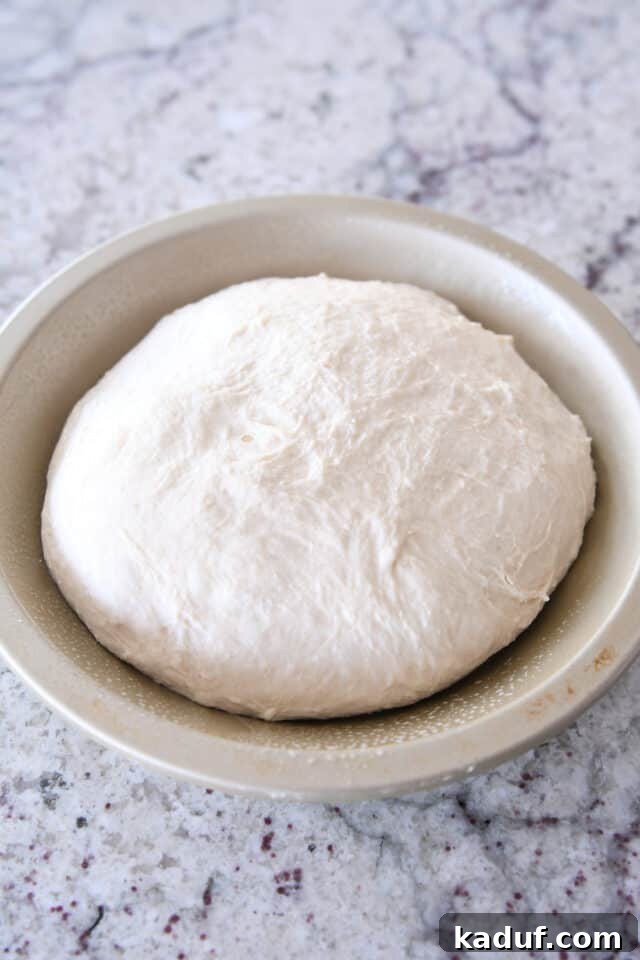
- Simply scrape the dough directly into your generously prepared baking pan, letting it settle into its rustic form.
- For a slightly more structured loaf, lightly grease your hands with a bit of cooking spray or oil. Then, quickly grab the dough and attempt to form as much of a round shape as possible, tucking the edges underneath. You can visualize this technique by watching the video on our original peasant bread post.
Release any expectations of a perfectly smooth, tightly structured loaf. This bread celebrates a more natural, organic shape, and its irregular beauty is part of its delicious appeal. Embrace the process, and trust that the result will be wonderfully satisfying. 👍🏼
Choosing Your Ideal Baking Pan
The choice of baking pan can subtly influence the final shape and texture of your sourdough peasant bread. I personally have a strong preference for baking this bread in a 9-inch pie plate. This size and shape consistently yield a loaf that is neither too tall nor too flat, striking a perfect balance for easy slicing and serving. The wider, shallower design allows for more surface area to brown, contributing to a delightful crust.
While metal and ceramic pie plates tend to produce a slightly taller bake due to better heat conduction, a glass pie plate also works exceptionally well. Regardless of your material choice, the most crucial step is to generously grease your pie plate. Whether you use a nonstick cooking spray or a liberal coating of butter, ensure every inch of the pan’s interior is thoroughly covered. This prevents the sticky dough from adhering and ensures an easy release after baking.
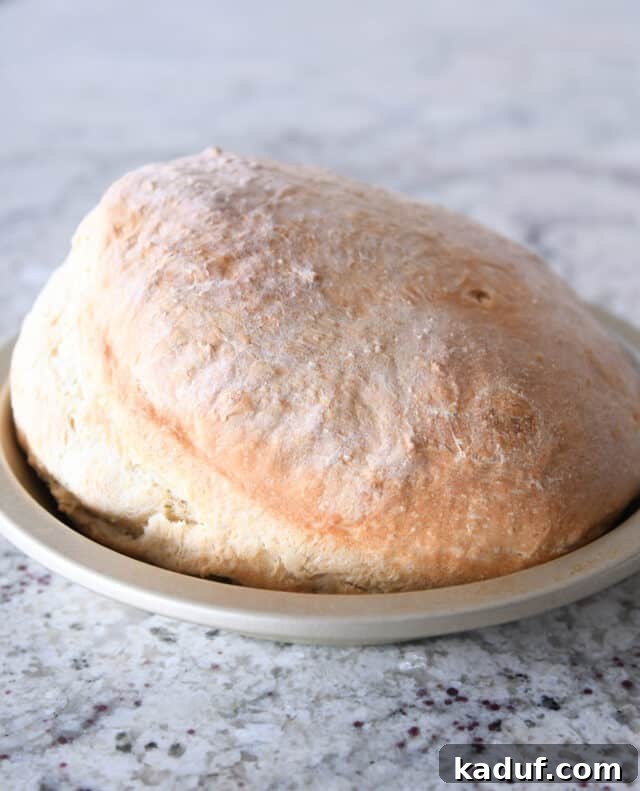
It’s quite common and entirely normal for this bread to develop a split on one side or another during the baking process. This characteristic “oven spring” splitting is often attributed to several factors: the high hydration of the dough, the vigorous leavening action of the sourdough starter, and the rapid expansion of gases within the loaf as it bakes. Embrace these rustic cracks; they add character to your homemade loaf and are a hallmark of artisanal bread.
Fed Sourdough vs. Sourdough Discard: A Comparative Look
One of the most frequently asked questions about sourdough baking revolves around the difference between using a freshly fed, active starter and using unfed discard. For this easy no-knead sourdough peasant bread, both options yield fantastic results, but there are subtle distinctions worth noting.
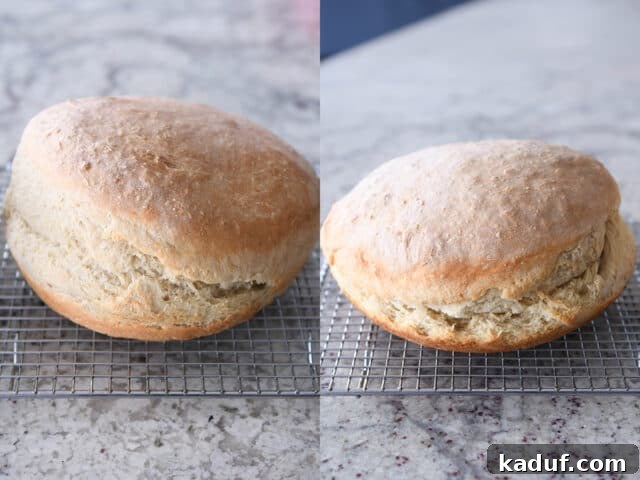
As you can see in the comparison below, there is a slight visual difference in the finished loaves depending on whether you use fed or discard sourdough starter. The bread pictured on the left was crafted with a vigorous, freshly fed sourdough starter, while the loaf on the right was made using unfed sourdough discard.
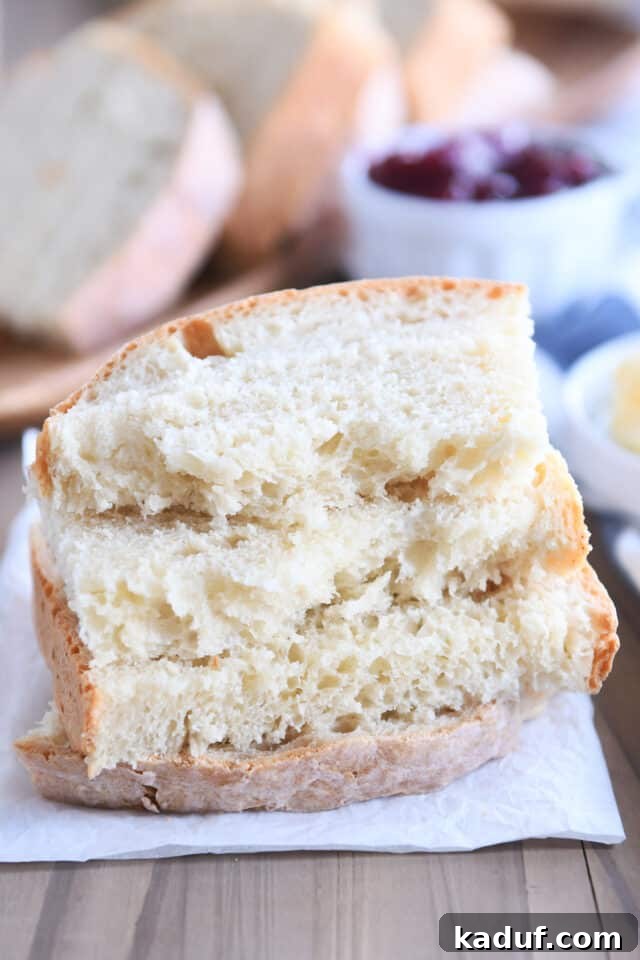
Visually, the loaf made with fed sourdough starter often exhibits a slightly more open crumb structure, appearing a touch airier and lighter. The discard loaf, while still wonderfully soft and fluffy, might have a slightly denser, yet equally pleasing, texture. Both loaves, once sliced, are equally delicious, soft, and perfect for any use. The choice ultimately comes down to what you have on hand and your personal preference for a slightly more open or closed crumb.
An Important Baking Note: Ensure Your Bread is Fully Baked!
Due to the relatively wet nature of this dough, it is absolutely crucial to bake this sourdough peasant bread thoroughly. An underbaked loaf, especially one with a higher moisture content, can unfortunately result in a gummy or dense interior. I’ve observed that this sourdough version often requires a slightly longer baking time compared to the original, non-sourdough peasant bread recipe to achieve that perfect cooked-through consistency.
Pro Tip for Perfect Baking: Keep a close eye on your bread as it bakes. If the top begins to brown too quickly or becomes excessively dark before the interior is fully cooked, simply tent the loaf loosely with a piece of aluminum foil. This will protect the crust from burning while allowing the inside to finish baking. Conversely, if you notice the bottom of the bread browning too rapidly, adjust your oven rack to a higher position (the middle or even slightly above) to distribute the heat more evenly and prevent scorching.
A Truly Fantastic Loaf of Bread Awaits!
Prepare yourself, because this bread is dangerously delicious and incredibly versatile. The sourdough tang is present and delightful, offering a nuanced flavor profile without ever being overwhelming. It strikes the perfect balance, making it an ideal companion for nearly any meal.
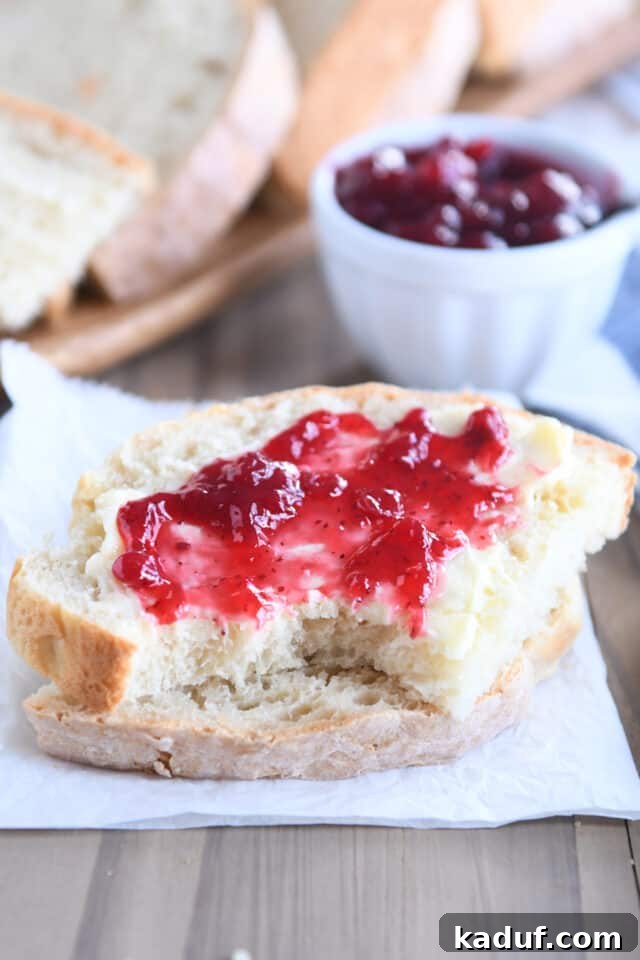
Imagine serving warm slices alongside a hearty bowl of soup, transforming a simple dinner into a gourmet experience. It’s equally fantastic for crafting gourmet sandwiches, enjoying with a spread of butter and jam for breakfast, or simply tearing off a piece to savor on its own. Its soft, fluffy interior and crisp crust make it utterly irresistible.
When it comes to the often-complex world of sourdough baking, this recipe truly stands out for its approachable and user-friendly nature. It strips away the intimidation, proving that homemade sourdough doesn’t have to be a multi-day project. I have a strong feeling that this easy sourdough peasant bread is the recipe that will convert many of you into confident, enthusiastic sourdough bakers. And honestly, that thought brings me immense joy!
One Year Ago: Easy Chicken Enchilada Casserole
Two Years Ago: Snickerdoodle Brookie Bars
Three Years Ago: Honey Balsamic BBQ Pulled Pork Sandwiches {Instant Pot or Slow Cooker}
Four Years Ago: Caramel Oat Chocolate Chunk Shortbread Bars
Five Years Ago: Delicious Whole Grain Hulk Muffins {Naturally Green!}
Six Years Ago: Thin and Chewy Funfetti Blondies {From-Scratch}
Seven Years Ago: Lemon Sticky Buns with Lemony Cream Cheese Glaze
Eight Years Ago: Skillet Baked Spaghetti {One Pot, 30-Minute Meal}
Nine Years Ago: Sweet Baked Ham
Ten Years Ago: No-Bake Nutella Cheesecakes
Easy No-Knead Sourdough Peasant Bread
Yield: 10 slices (1 loaf)
Prep Time: 2 hrs
Cook Time: 45 mins
Total Time: 2 hrs 45 mins
Ingredients
- 3 ½ cups (497 g) all-purpose or bread flour
- 2 teaspoons granulated sugar
- 2 teaspoons instant yeast (see note)
- 1 ½ teaspoons salt
- 1 ½ cups (338 g) warm water
- 1 cup (275 g) sourdough starter (fed or discard)
Instructions
- In a large bowl, combine the flour, sugar, instant yeast, and salt. Whisk these dry ingredients together thoroughly. Add the warm water and sourdough starter to the bowl, then mix with a rubber spatula or wooden spoon. Continue mixing until all dry streaks of flour have disappeared, and the ingredients form a shaggy, sticky ball of dough.
- Cover the bowl tightly with plastic wrap or a clean kitchen towel. Allow the dough to rise in a warm place until it has visibly doubled in size and appears puffy. This primary rise typically takes approximately 1 to 1 ½ hours, depending on the warmth of your kitchen environment.
- While the dough is rising, position an oven rack in the center of your oven. Preheat the oven to 425°F (220°C).
- Generously grease a 9-inch pie plate or an 8 ½-by-4 ½-inch loaf pan using cooking spray or butter. It’s crucial to be very liberal with the greasing to prevent sticking. (Refer to the notes section for alternative pan sizes and options.)
- After the first rise, use a rubber spatula to gently scrape the dough away from the sides of the bowl, guiding it towards the center to form a rough ball. Lightly grease your hands with cooking spray or oil, then carefully transfer (or simply plop!) the dough into your prepared pan. Do not worry if the loaf doesn’t look perfectly smooth or uniformly shaped; its rustic appearance is part of its charm. You can attempt to form a rough ball by tucking the edges underneath, but if the dough is too sticky, just get it into the pan as best you can.
- Allow the dough to rest, uncovered, in the prepared pan for an additional 15-20 minutes. During this short secondary rise, the dough should become slightly puffy.
- Bake the bread for 15 minutes at 425°F (220°C). After 15 minutes, reduce the oven temperature to 375°F (190°C) and continue baking for another 25-30 minutes, or until the loaf is deeply golden brown and sounds hollow when tapped on the bottom. It is essential for the bread to bake fully to prevent a gummy interior. Let the bread cool completely on a wire rack before slicing (see note below for best results).
Notes
- Salt: This recipe uses standard table salt. If you opt for coarse kosher salt, increase the amount to 2 to 2 ½ teaspoons to achieve the same level of seasoning.
- Yeast: While this recipe has been developed with instant yeast, active dry yeast can likely be substituted. To do so, dissolve 1 tablespoon of active dry yeast in ¼ cup of the warm water specified in the recipe. Let it sit until foamy and bubbling, then reduce the remaining warm water in the recipe by ¼ cup. Add this yeast mixture along with the rest of the water to the dry ingredients.
- Baking Pans: Although a 9-inch pie plate is recommended for a balanced loaf, the dough can be divided into two smaller portions and baked in 1-quart bowls or smaller loaf pans if desired. Many bakers successfully use greased Pyrex bowls, but I find pie plates or traditional loaf pans most consistent.
- Sourdough Starter: This recipe incorporates a small amount of instant yeast for quicker rising times. I have not tested it using 100% sourdough starter (omitting commercial yeast), as that method typically requires much longer, often overnight, fermentation. However, if using an active, fed sourdough starter, you may be able to reduce the instant yeast to 1 teaspoon and still achieve good results.
- Warm Bread: The allure of warm, freshly baked bread is undeniable! While it’s tempting to slice into this loaf straight from the oven, for the softest, fluffiest interior and best texture, it is highly recommended to let the bread cool completely on a wire rack before cutting.
Author: Mel Gunnell
Course: Bread
Cuisine: American
Method: Bake