
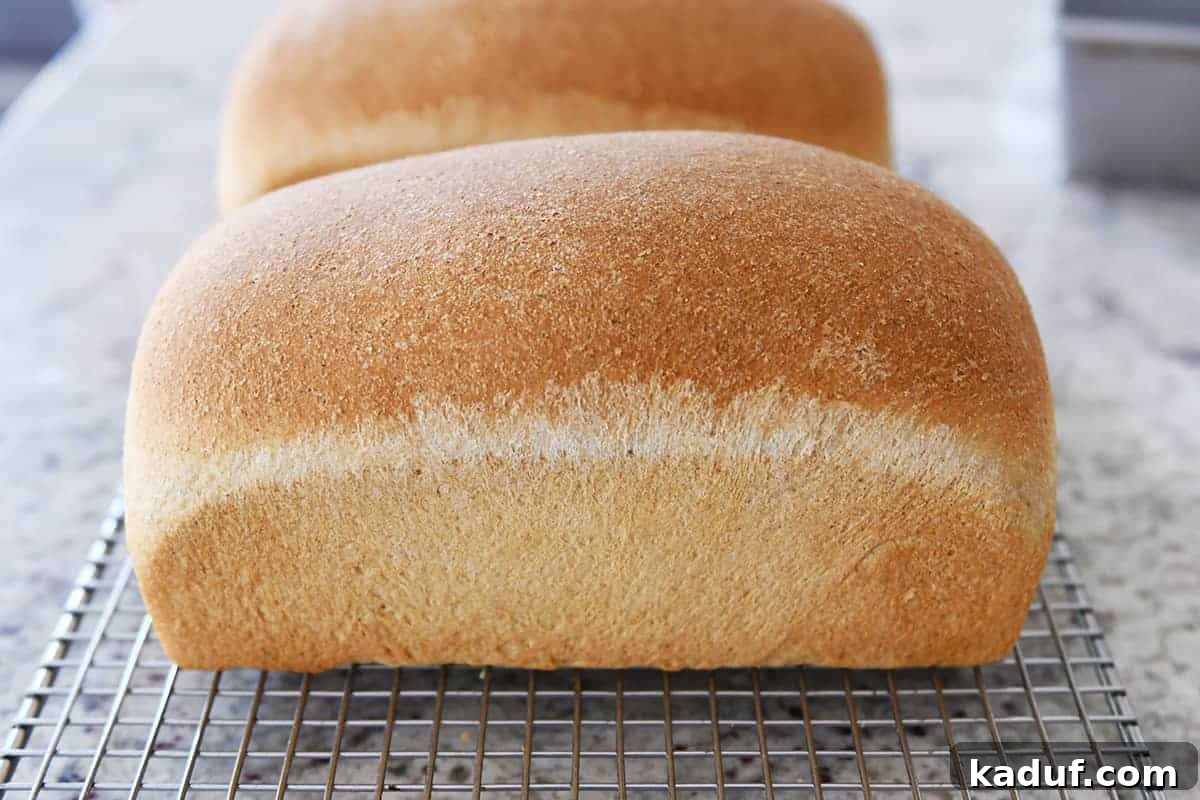
Ever dreamed of baking fluffy, soft, and utterly delicious whole wheat bread right in your own kitchen? It’s not just a dream – it’s entirely achievable! This meticulously crafted small batch whole wheat bread recipe is your definitive guide to baking success. Whether you prefer the convenience of a KitchenAid or Bosch stand mixer, or the hands-on satisfaction of kneading by hand, this recipe is designed to deliver perfect results every time.
For those new to the delightful world of homemade whole wheat bread, or if you’re seeking a recipe that doesn’t overwhelm your kitchen with a baker’s dozen of loaves, your search ends here. We’re about to embark on a journey to create a manageable, smaller batch of whole wheat bread – two perfect loaves that are wonderfully easy to make. Prepare to be amazed by its fluffy texture, exceptional softness, and irresistible flavor, even when made with 100% whole wheat flour!
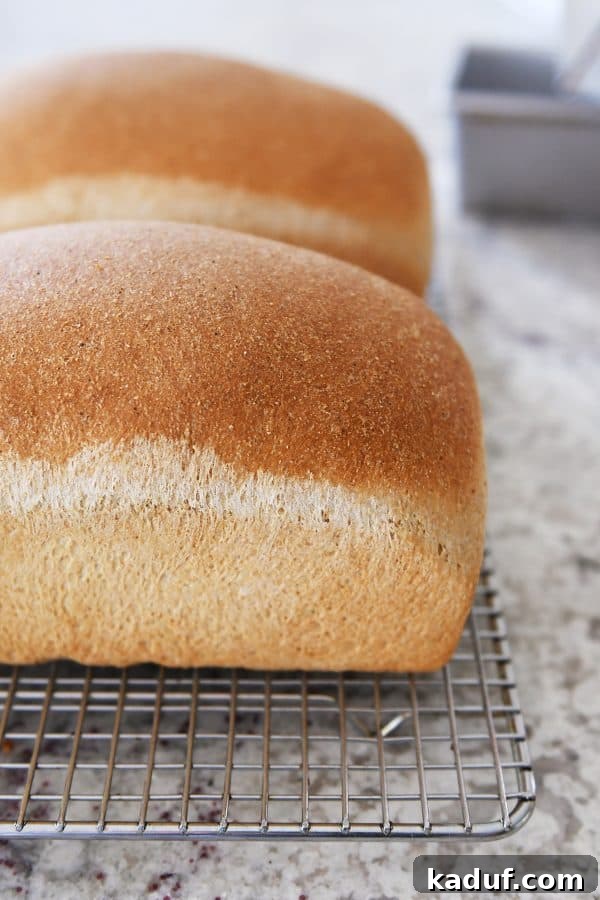
The Joy of Baking Small Batch Whole Wheat Bread
As a busy parent with a household full of hungry mouths, large batch baking often seems like the only sensible option for me. Those extra loaves freeze beautifully, becoming instant meal solutions for bustling weekdays. However, I completely understand that not everyone’s life mirrors the delightful chaos of my own. Many aspiring bakers, myself included at times, desire to bake fewer loaves at once. Perhaps you live in a smaller household, prefer to mix dough by hand, or simply own a KitchenAid mixer that performs best with moderate quantities of dough.
This “small batch” approach caters perfectly to these needs, providing a recipe that yields two beautiful, fresh loaves. It means less leftover bread, more frequent fresh baking experiences, and the sheer satisfaction of mastering a foundational skill without the commitment of an industrial-sized operation. It’s about bringing the warmth and aroma of freshly baked bread to your home on your terms.
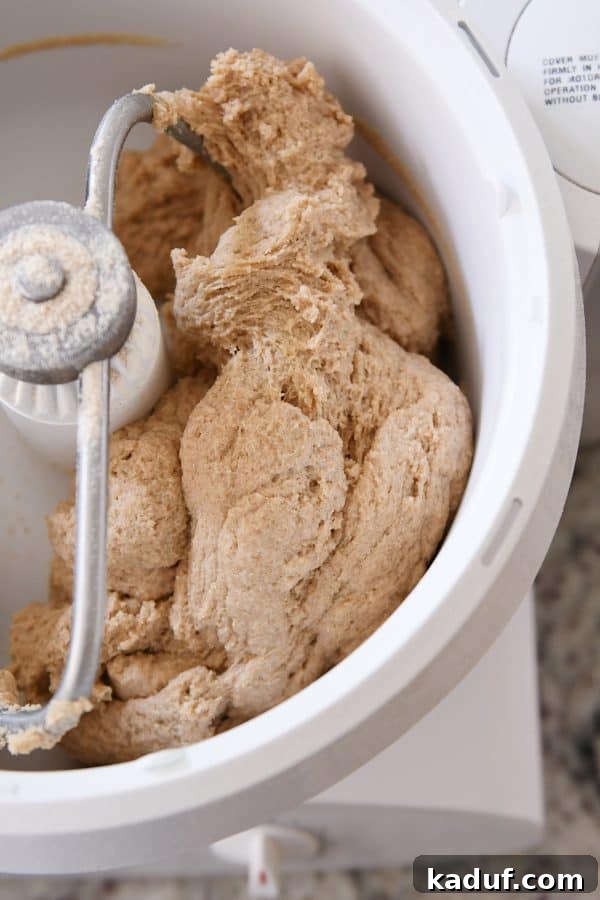
Mastering Your Mixer: KitchenAid vs. Bosch (and Hand Mixing)
I frequently rely on my Bosch Universal stand mixer for bread making. Its robust motor and large capacity are ideal for tackling considerable dough volumes, making it my go-to for my family’s needs. However, over the years, I’ve received countless requests for a reliable small batch recipe that performs exceptionally well in a KitchenAid mixer. This recipe is my answer to those requests.
While a “small batch” can vary in definition for different individuals, for this recipe, it means yielding two perfectly sized loaves of whole wheat bread. It’s an ideal quantity for a single household or when you simply crave fresh bread without an abundance of leftovers. And rest assured, while I’ll be demonstrating the process using a KitchenAid, this versatile recipe is equally suited for a Bosch stand mixer or even the traditional method of kneading by hand. The principles remain the same, ensuring a delicious outcome regardless of your chosen mixing method. For those with a KitchenAid, I specifically tested this recipe with the Costco version of this model, ensuring its compatibility and excellent performance. If you’re mixing by hand, be prepared for a good arm workout, as kneading is crucial for developing the gluten that gives bread its structure and texture.
Essential Ingredients for Fluffy Whole Wheat Bread
Crafting perfect whole wheat bread starts with understanding its core ingredients. Each component plays a vital role in achieving that coveted fluffy texture and rich flavor.
- Whole Wheat Flour: The Foundation
For this recipe, I almost exclusively use hard white wheat berries, which I grind at home for optimal freshness and flavor. If you’re using store-bought flour, opt for white whole wheat flour. It produces a loaf with a lighter color and a slightly finer texture, often more appealing to those new to whole wheat baking. Hard red wheat flour is also an excellent choice, though it will result in a darker, potentially denser loaf with a more robust flavor profile. The key is to choose high-quality flour for the best results. - Vital Wheat Gluten: The Secret to Softness
Vital wheat gluten is a powerhouse ingredient, especially when baking with 100% whole wheat flour. It significantly helps in developing the gluten structure in the dough, leading to a much fluffier, softer loaf. Whole wheat flour inherently has shorter gluten strands compared to all-purpose flour, making vital wheat gluten essential for achieving a light, airy texture. You can typically find it in the baking aisle of most grocery stores, often alongside other specialty flours. Many brands include Vitamin C, which is perfectly fine to use and further aids in gluten activation. I frequently purchase my vital wheat gluten from Amazon, favoring reliable brands like Bob’s Red Mill or Honeyville. - Yeast: The Life of the Loaf
Instant yeast is my preferred choice for this recipe due to its convenience. Unlike active dry yeast, instant yeast doesn’t require proofing in warm water before being added to the dry ingredients, saving you a step and some time. Ensure your yeast is fresh for optimal rising power. - Lemon Juice or Vitamin C: The Gluten Activator
A small amount of lemon juice (bottled or fresh) or a finely crushed 1000mg Vitamin C tablet plays a crucial role in activating the gluten, working in conjunction with the vital wheat gluten. This helps create a stronger, more elastic dough, contributing significantly to the final loaf’s structure and rise.
Before You Begin: Helpful Resources for Bread Making
To further enhance your bread-making journey, here are some previous articles that offer valuable insights and foundational knowledge, especially if you’re venturing into whole wheat bread for the first time:
The Best Whole Wheat Bread Recipe: This post features my original, larger batch whole wheat bread recipe, from which this small batch version is adapted. The full recipe yields 5-6 loaves and is best suited for heavy-duty mixers like a Bosch Universal, as it’s too much dough for most standard KitchenAid models.
Step-by-Step Tutorial for Whole Wheat Bread: A quick visual guide with pictures for making the larger whole wheat bread recipe.
Bosch vs. KitchenAid Stand Mixers: An in-depth comparison of these two popular stand mixers, explaining why I opt for the Bosch for my larger bread recipes. The comments section also offers a wealth of community insights.
Wheat 101: Understanding Varieties and Sourcing: A comprehensive overview of different wheat types, where to purchase them, and what to make. As mentioned, I typically use and grind hard white wheat berries at home for their lighter color and milder flavor.
Wheat Grinding 101: A Guide to Grain Mills: Everything you need to know about wheat grinders. I personally use a KoMo Wolfgang grain mill, which is a fantastic investment for home bakers, though more budget-friendly options like Harvest mills are great for beginners.
Step-by-Step Guide to Small Batch Whole Wheat Bread
Now, let’s dive into the practical steps for creating your perfect small batch whole wheat bread. This tutorial will guide you through each stage, ensuring a smooth and successful baking experience. Remember, baking is a journey of discovery, and each loaf brings you closer to perfection!
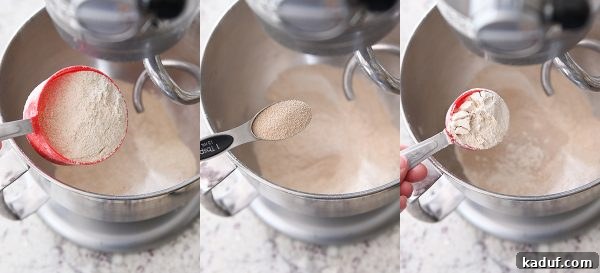
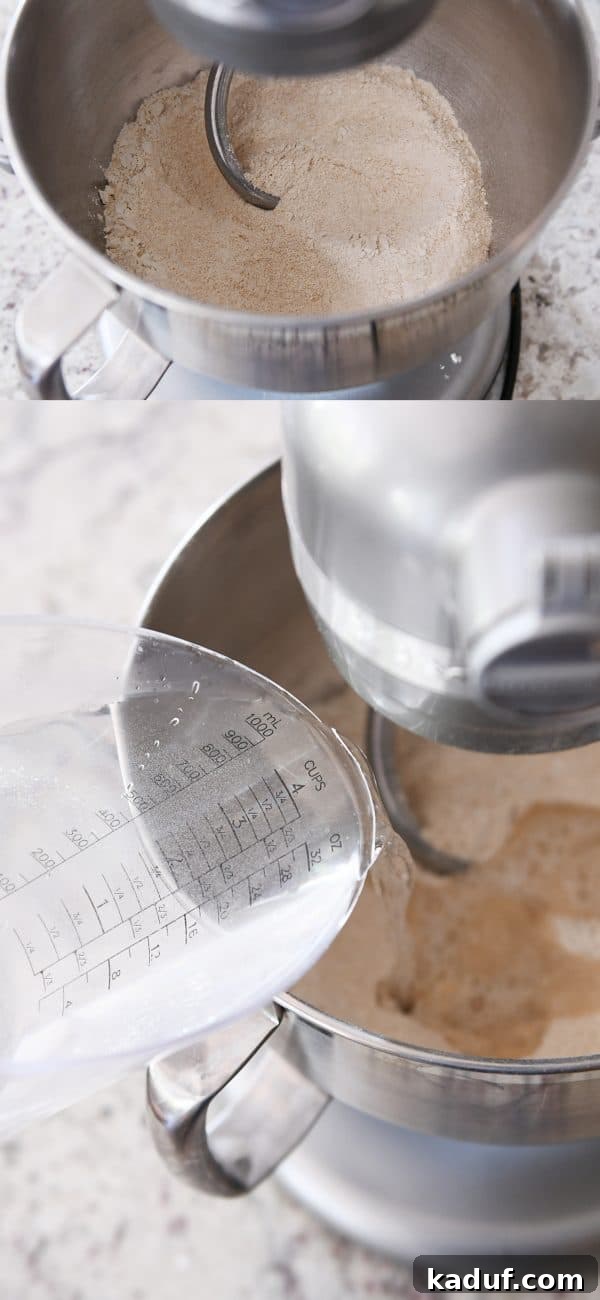
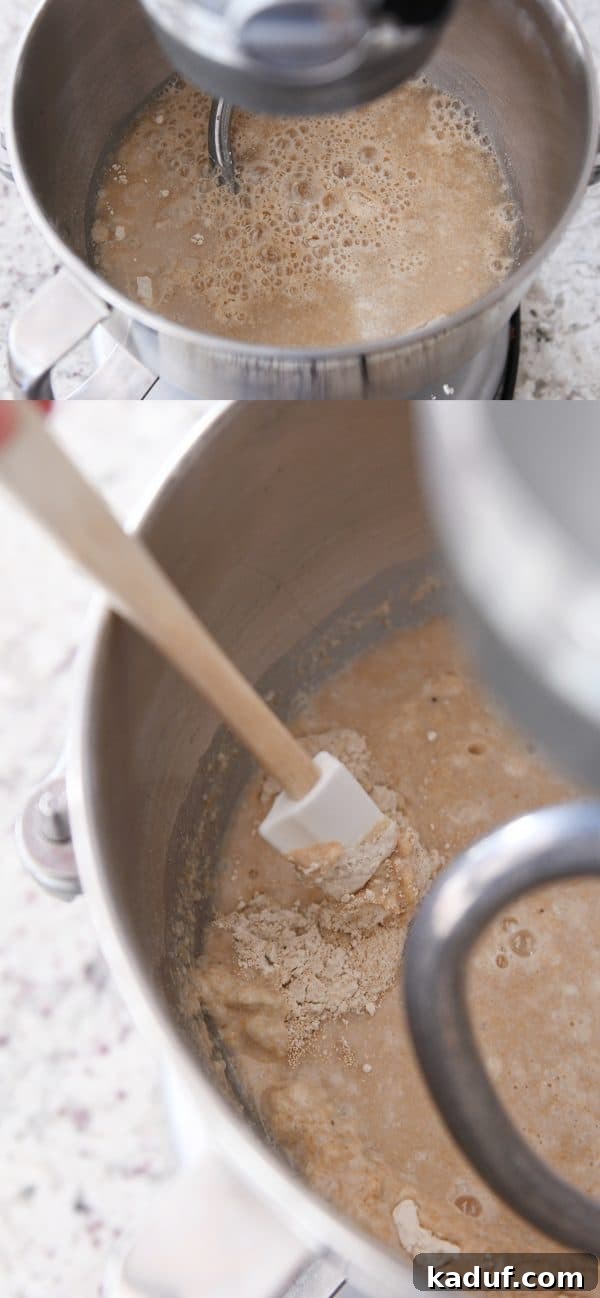
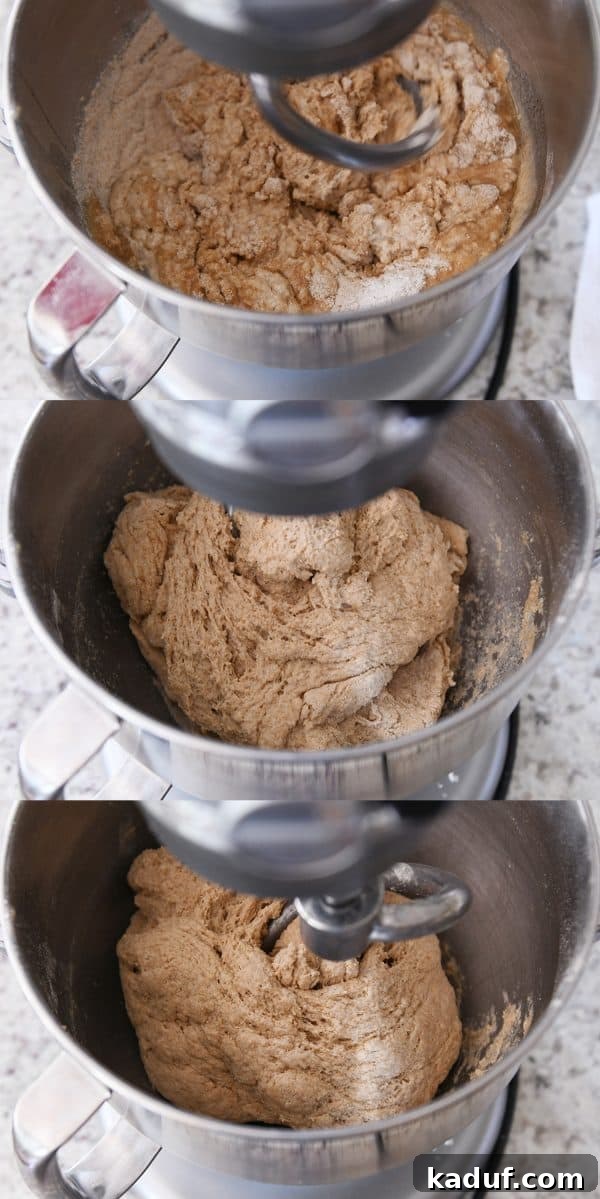
To begin, prepare your initial dry mixture: In the bowl of your stand mixer, fitted with the dough hook attachment, combine three cups of whole wheat flour, 1 1/2 tablespoons of instant yeast, and 1/4 cup of vital wheat gluten. Whisk these dry ingredients together thoroughly to ensure even distribution. Next, pour in 2 3/4 cups of warm water. Mix on low speed until the ingredients are just combined. If using a KitchenAid, you might find it helpful to use a rubber spatula to scrape down the sides and bottom of the bowl at this stage, as the mixture will be quite wet and shaggy. Once mixed, cover the bowl and let this “sponge” mixture rest for 10-12 minutes. During this time, the yeast will begin to activate, and you’ll notice it becoming slightly puffy with small bubbles forming on the surface – a sign of healthy yeast at work.
After the sponge has rested and activated, it’s time to add the remaining liquid and flavoring agents. To the mixer bowl, add 1/3 cup of oil, 1/3 cup of honey, 1 tablespoon of salt, and 1 tablespoon of lemon juice (either bottled or freshly squeezed). As previously mentioned, the lemon juice (or a finely crushed 1000mg Vitamin C tablet) is essential for assisting in gluten development, contributing to the bread’s structure and elasticity.
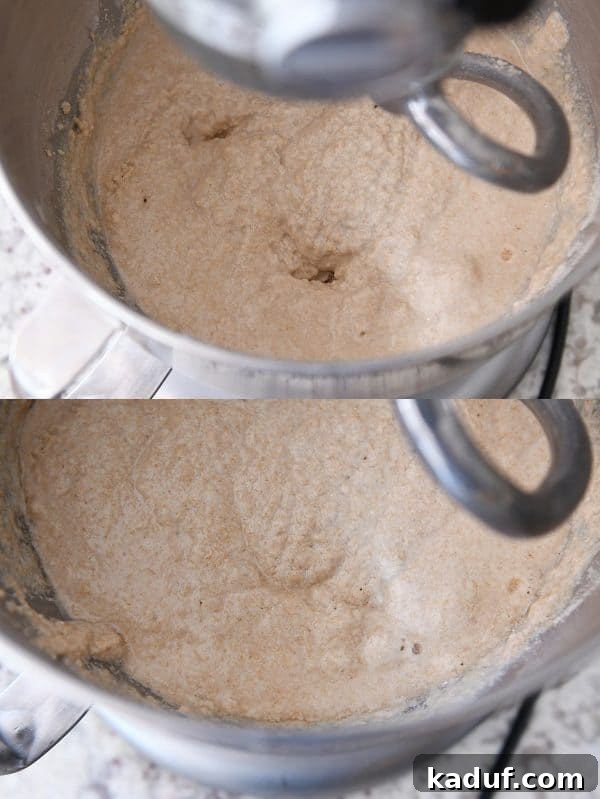
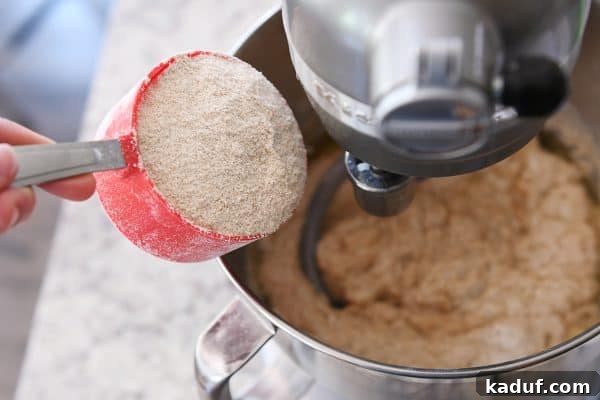
With these new additions, begin mixing on low speed with the dough hook. While the mixer continues to run, gradually start incorporating the remaining flour, adding it about 1/2 cup at a time. The dough will initially appear quite messy and shaggy, but with continued mixing, it will slowly start to come together. Continue adding flour until the dough begins to pull away cleanly from the sides of the bowl, leaving minimal sticky residue. It’s crucial not to rush this process or add too much flour too quickly. The dough will continue to absorb moisture as it kneads, so patience is key. If the dough remains overly sticky after several minutes of kneading, it’s perfectly fine to add a little more flour, a tablespoon at a time, until the desired consistency is achieved.
The total amount of flour needed can vary based on several factors, including the humidity in your kitchen, your elevation, and even how you measure your flour. Don’t be too concerned with the exact quantity; aim for a dough that is soft, pliable, and just slightly tacky to the touch. Once the dough has reached this consistency, let it knead on speed 1 or 2 for 6-7 minutes. This extended kneading time is vital for developing strong gluten strands, which will result in a perfectly textured, soft, and smooth dough.
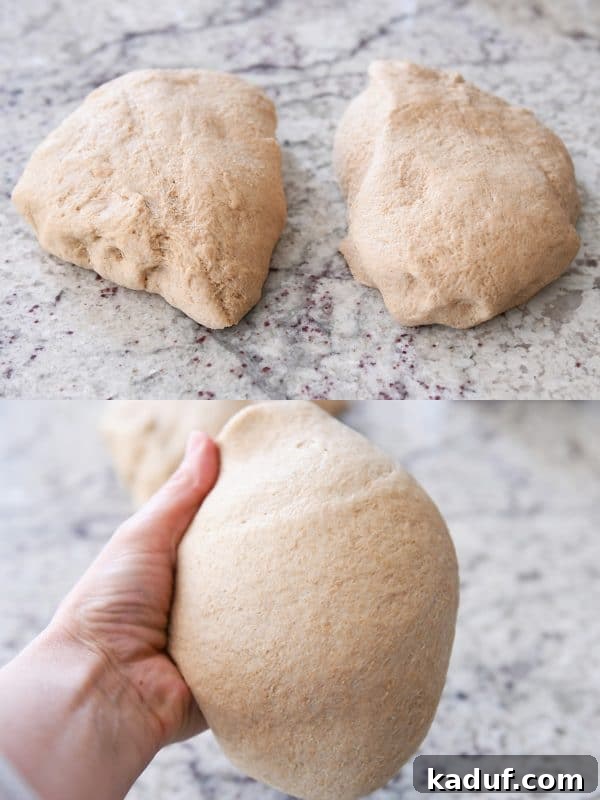
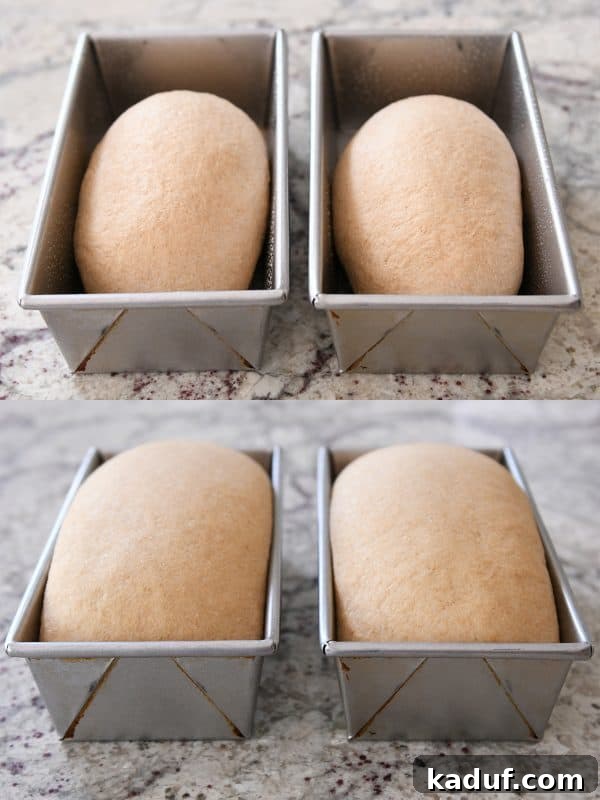
Once thoroughly kneaded, turn the dough out onto a lightly greased counter. Divide the dough into two even pieces. For each piece, form it into a smooth, taut loaf shape. This shaping technique is important for creating a well-structured loaf that rises evenly. Place each shaped loaf into lightly greased 8 1/2-inch by 4 1/2-inch bread pans. My go-to bread pans over the years have been these reliable Chicago Metallic pans, and more recently, I’ve fallen in love with these USA bread pans. The USA pans, in particular, offer exceptional, even baking.

Cover the loaf pans with a large, clean tea towel (I highly recommend these white tea towels for all your bread and roll baking needs). Let the dough rise in a warm, draft-free spot until it has risen 1-2 inches above the edge of the bread pan. This can take anywhere from 30 to 60 minutes, depending on the warmth of your environment.
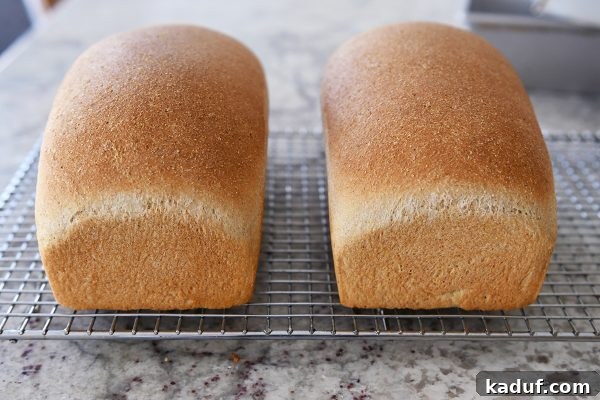
Preheat your oven to 350 degrees F (175 degrees C) with an oven rack positioned in the middle. Bake the loaves for 28-32 minutes, or until they are golden brown on top and baked through. For precision, an instant-read thermometer inserted into the center of the loaf should register between 180-190 degrees F (82-88 degrees C). This ensures your bread is perfectly cooked, with a soft interior crumb and a delicious crust.
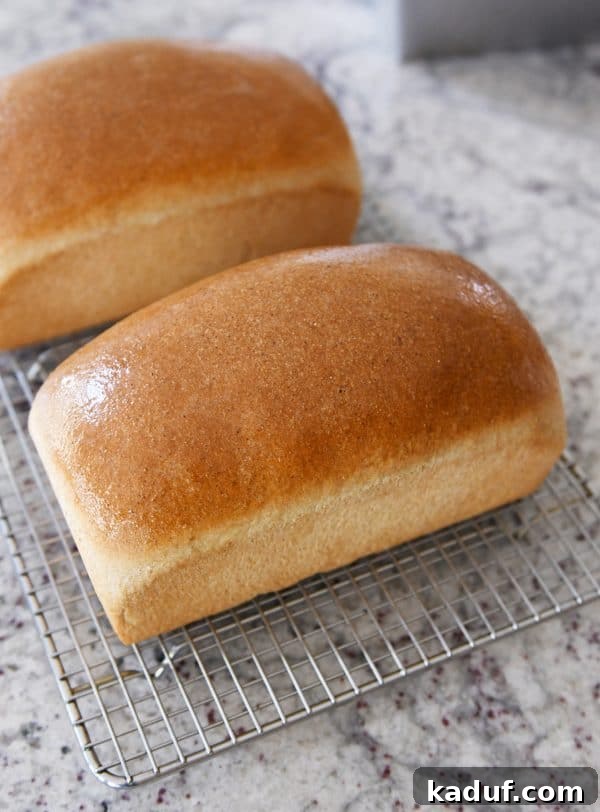
Once baked, immediately turn the loaves out onto a wire cooling rack. If desired, generously slather the tops with butter while the bread is still warm – this adds an incredible richness and a soft crust. Allow the bread to cool completely before slicing. This step is crucial, as slicing warm bread can compromise its texture. The internal structure needs time to set, resulting in a cleaner cut and a more satisfying chew. This small batch yields two loaves, making it ideal for immediate enjoyment and perhaps one to share, or save for later.
This bread also freezes beautifully! Once completely cooled, I often place one of the loaves into a dedicated bread bag and freeze it. When you’re ready to enjoy it, simply thaw it at room temperature or gently warm it in the oven for that “freshly baked” experience all over again.
There you have it! Making two loaves of wholesome whole wheat bread is not only entirely doable but, dare I say, quite easy with this recipe. I sincerely hope this recipe perfectly meets the needs of those who prefer not to have an abundance of loaves on hand at any given time, or those with smaller capacity mixers like a KitchenAid. Enjoy the comforting aroma and delicious taste of your homemade, soft, and fluffy whole wheat bread!
Happy bread making!
One Year Ago: Pumpkin Cream Cheese Muffins
Two Years Ago: Double Chocolate Chunk Muffins
Three Years Ago: White Bean Chicken Chili
Four Years Ago: Classic Slow Cooker Chili
Five Years Ago: White Texas Sheet Cake
Perfect Whole Wheat Bread {Small Batch; Two Loaves}
Pin
Rate
Ingredients
- 5-6 cups (710 to 852 g) whole wheat flour, I prefer white whole wheat vs red whole wheat
- 1 ½ tablespoons instant yeast
- ¼ cup vital wheat gluten (see note)
- 2 ¾ cups warm water
- 1 tablespoon lemon juice, bottled or fresh
- ⅓ cup oil
- ⅓ cup (113 g) honey
- 1 tablespoon salt
Instructions
-
In the bowl of a stand mixer fitted with the dough hook, mix together 3 cups of the whole wheat flour, yeast, and gluten. Add the warm water and mix well. Cover the bowl and let the mixture rest for 10-12 minutes.
-
Add the lemon juice, oil, honey, and salt. Mix on low speed.
-
With the mixer running on low speed, continue adding flour 1/2 cup at a time until the dough pulls away from the sides of the bowl (don’t overflour! A little stickiness is ok as long as the dough forms a ball and doesn’t leave a lot of residue on your fingers).
-
Let the mixer knead the dough for 5-6 minutes until the dough is soft and smooth.
-
Turn the dough onto a lightly greased counter and divide in half. Shape each half into a taut loaf and place in a lightly greased loaf pan (8 1/2- X 4 1/2-inches).
-
Cover the loaf pans and let the loaves rise until they are 1-2 inches above the edge of the loaf pan.
-
Preheat the oven to 350 degrees F. Make sure an oven rack is in the middle/center position. Bake the loaves for 28-32 minutes until golden and baked through (an instant-read thermometer should register 180-190 degrees in the center of the loaf).
-
Turn the bread onto a wire rack. Brush the tops with butter, if desired. Let cool completely.
Notes
Vital Wheat Gluten: Is often found in the baking aisle at the grocery store (near the flour). Many brands of vital wheat gluten have Vitamin C added; those are ok to use in this recipe. I usually buy my gluten from Amazon – the Bob’s Red Mill brand or the Honeyville brand.
Recommended Products
Recipe Source: Adapted from my favorite whole wheat bread recipe (special thanks to Julie, a dedicated MKC reader, and her sister-in-law, Becky, for initially suggesting and refining this scaled-down version).