
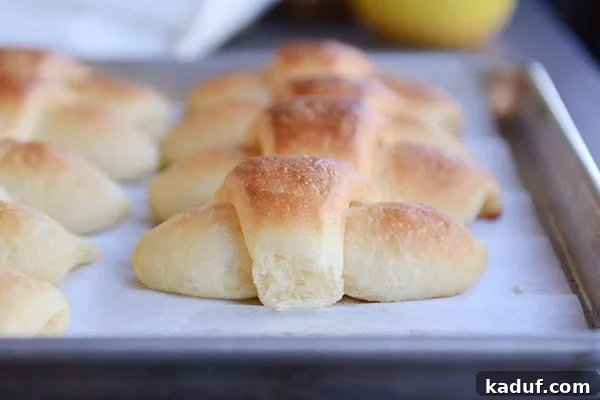
Experience the magic of effortless baking with these incredible make-ahead overnight dinner rolls. So buttery, irresistibly flaky, and wonderfully delicious, they redefine convenience in the kitchen – no kneading or stand mixer required!
Prepare to be utterly delighted, because today’s recipe for homemade crescent rolls is truly something special. While I might sound consistently excited about the dishes I share, it’s only because I believe every recipe on this blog should bring genuine joy and exceptional flavor to your table. You won’t find any “filler” content here, just tried-and-true recipes that I’m genuinely passionate about.
Forget the endless scrolling for mediocre ideas; my focus is always on sharing recipes that are truly worth your time and effort – or, in this case, very little effort! And today, I’m thrilled to finally unveil what I consider to be an absolute game-changer in the world of dinner rolls.

This extraordinary roll recipe is a testament to simplicity and perfection. It’s entirely make-ahead friendly, designed for ease with no need for a stand mixer or strenuous kneading. The result? Cute, little crescent rolls that are consistently buttery, beautifully flaky, tender, and, dare I say it, absolutely perfect. Yes, *perfect*.
The Secret Behind These Perfect Crescent Rolls
The inspiration for this phenomenal recipe comes from my dear blogging friend, Jolie, who generously shared her mother’s cherished crescent roll recipe with me months ago. From the very first read-through, I was captivated! This isn’t your typical yeast dinner roll dough; it’s something wonderfully unique and surprisingly straightforward.
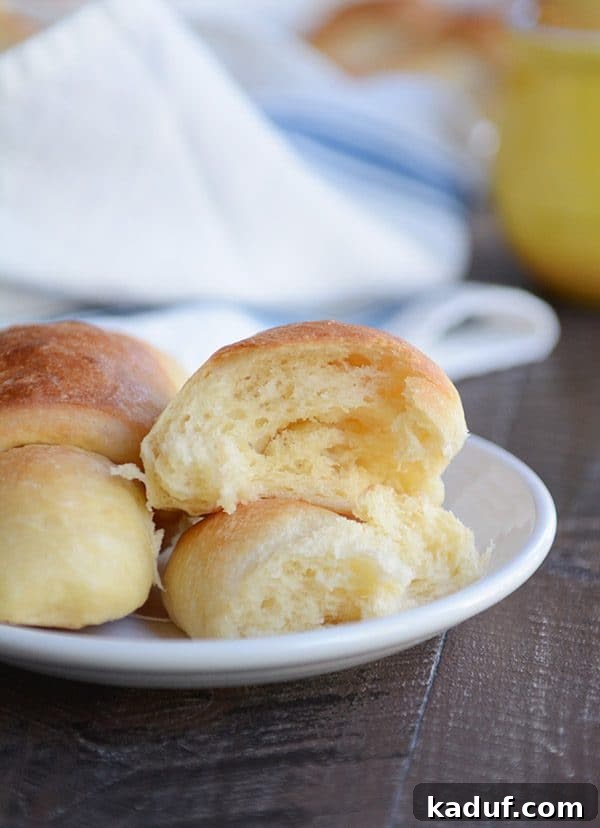
What sets this recipe apart, as I hinted, is the revolutionary “no-knead” method. You won’t need any fancy equipment like a stand mixer or a dough hook. All you truly require is a reliable bowl and a fork – or perhaps a spatula or spoon if you’re feeling adventurous. This simple approach makes gourmet-quality rolls accessible to every home baker, regardless of experience level.
The dough shares some similarities in method with my popular overnight cinnamon and sugar twists. While the ingredients differ, the core principle of an extended chill time remains. You’ll combine a rather unusual, admittedly lumpy dough, then simply refrigerate it. This chilling period needs to be at least four hours, but here’s the truly amazing part: you can leave it for up to four days! This flexibility is a game-changer for meal planning and holiday preparations.
The Magic of Overnight Chilling and No-Knead Dough
While the dough rests in the refrigerator, a subtle yet profound transformation takes place. This extended cold proofing allows the flavors to deepen, and the gluten to relax and develop naturally without any manual kneading. The result is an incredibly tender and flavorful roll that tastes like it took hours of painstaking effort, when in reality, it took minimal hands-on time.
The chilled dough becomes a dream to work with. It rolls out effortlessly, transforming into beautiful, delicate circles. Before you know it, you’ll have perfectly shaped buttery crescent rolls rising gently on your baking sheet, patiently awaiting their turn in the oven. The anticipation builds as they promise to bake into flaky, golden perfection.
Achieving Flaky Perfection: Tips and Tricks
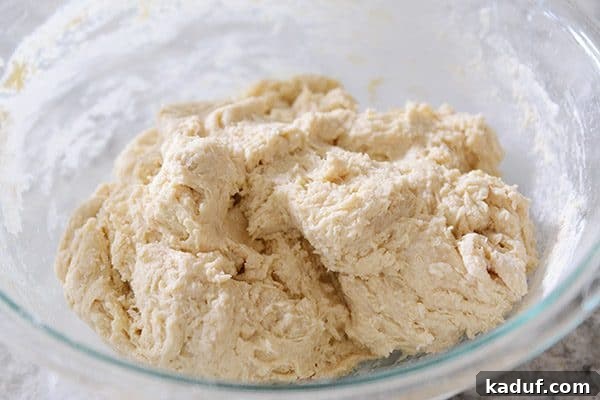
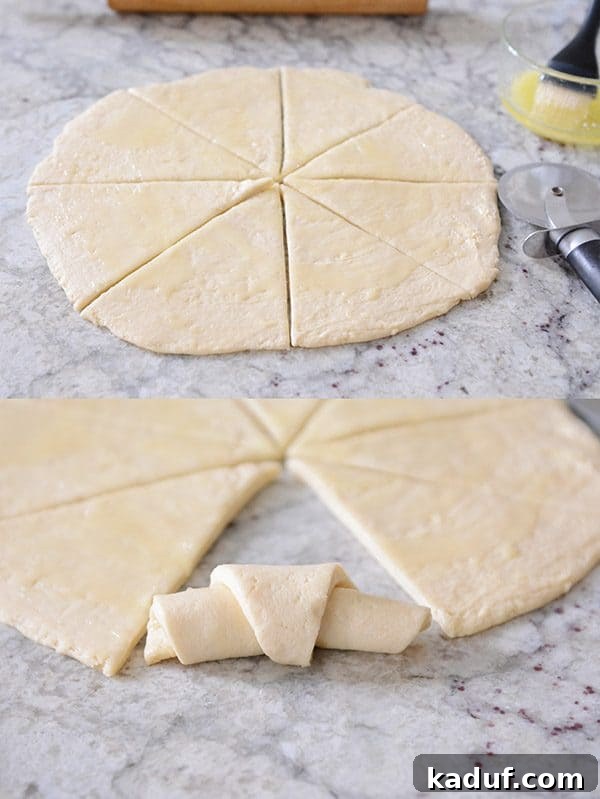
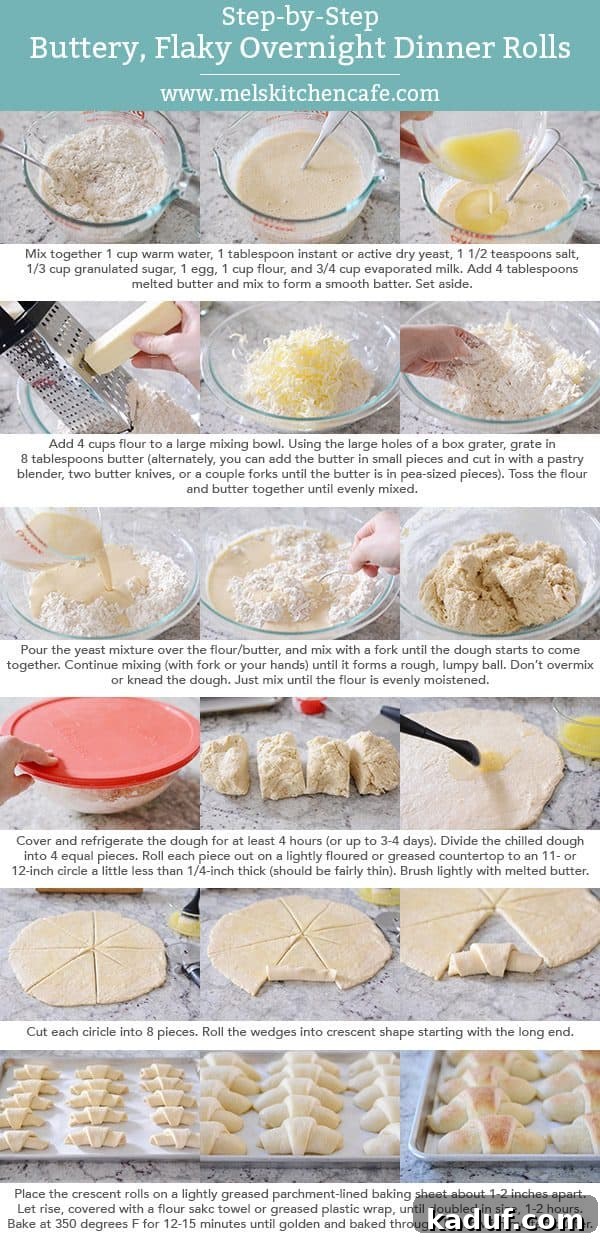
Despite the recipe’s inherent simplicity, I’ve included a step-by-step visual guide below to ensure your success. This is particularly helpful for understanding the dough mixing process, which, as mentioned, doesn’t quite follow traditional yeast dough conventions. The unique “lumpy” texture is precisely what contributes to the incredible flakiness and tender crumb of these rolls.
**Pro Tip for Flakiness:** The secret to those beautiful, airy layers lies in incorporating the chilled butter. Grating the cold butter directly into the flour ensures it remains in tiny, separate pieces, which then melt during baking to create steam and pockets of air, resulting in an exquisitely flaky texture. Resist the urge to overmix; a slightly rough, shaggy dough is exactly what you’re aiming for.
These overnight crescent rolls have quickly become a cherished favorite in my family. And while I’m right there with them, sneaking one (or five!) straight off the baking sheet, my deepest appreciation stems from their remarkable ease. The “overnight” factor is truly revolutionary, allowing you to prepare a delicious, warm batch of rolls with virtually no last-minute fuss on the day you plan to serve them. Find all the details on how to maximize this make-ahead benefit in the recipe and notes section.
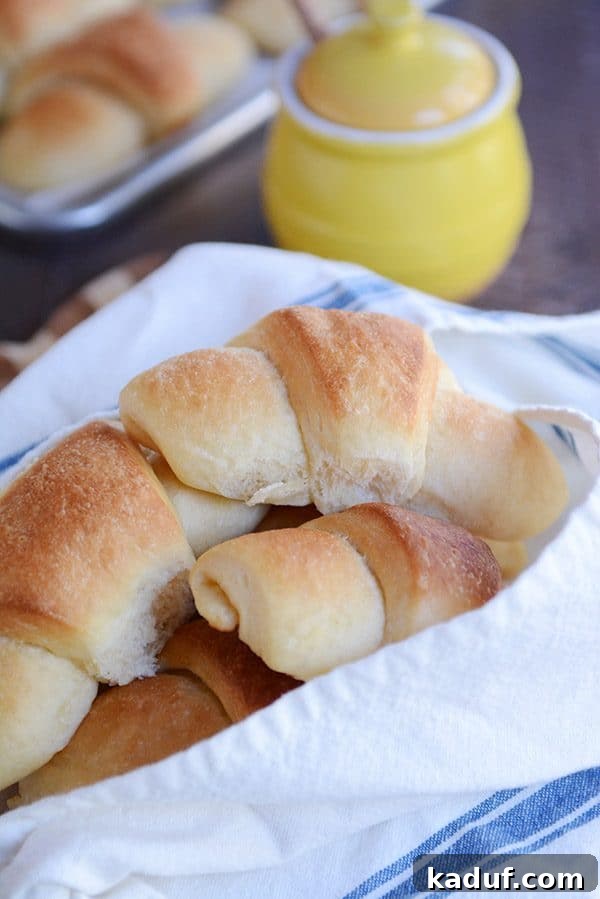
Perfect for Any Occasion: Holidays, Dinners, and Beyond
Are you on the hunt for the ultimate roll recipe to grace your Thanksgiving table? Perhaps you’re planning another festive holiday menu, or simply find yourself craving warm, homemade dinner rolls just because? Any of these reasons are perfectly valid in my book for whipping up a batch of these extraordinary crescent rolls.
These buttery, flaky, and wonderfully tender crescent rolls are not just a side dish; they’re a centerpiece. Their versatility makes them ideal for grand holiday feasts, intimate family dinners, or even as a delightful accompaniment to a simple soup or salad. Imagine the aroma filling your kitchen, the soft texture melting in your mouth, and the sheer satisfaction of serving something so delicious with such minimal effort.
I genuinely hope these incredible make-ahead overnight dinner rolls become a staple in your kitchen and make a lasting impression on everyone who tries them. They are more than just a recipe; they are a delightful culinary experience waiting to happen!
One Year Ago: Skillet Honey Garlic Chicken {20-Minute Meal}
Two Years Ago: Chocolate Cream Pudding Pie with Graham Cracker Crust
Three Years Ago: Warm Russian Tea
Four Years Ago: Healthy Applesauce Carrot Muffins {a.k.a. Carrot Cake Muffins}
Five Years Ago: Whole Wheat Blender Pancakes
Make-Ahead Buttery, Flaky Overnight Crescent Dinner Rolls
Pin
Ingredients
- 1 cup warm water
- ¾ cup evaporated milk
- ⅓ cup (71 g) granulated sugar
- 1 tablespoon instant or active dry yeast
- 1 ½ teaspoons salt
- 1 large egg
- 1 cup + 4 cups all-purpose flour
- ¼ cup (57 g) salted butter, melted
- ½ cup (113 g) salted butter, chilled
- Melted butter for brushing dough and baked rolls
Instructions
-
In a medium bowl or 4-cup liquid measuring cup, whisk together the water, evaporated milk, sugar, yeast, salt, egg, and 1 cup of the flour. Add the melted butter and mix until a smooth batter forms. Set aside.
-
In a large bowl, add the remaining 4 cups flour. Using the large holes of a box grater, grate the 1/2 cup chilled butter into the flour. Toss the flour and butter together until evenly combined. Alternately, you can cut the butter into cubes and cut it into the flour using a pastry blender or two butter knives (or forks) until the butter is in pea-sized pieces.
-
Pour the yeast mixture over the flour/butter and use a fork or spatula to mix until the dough starts to come together. Mix just until the dough forms a rough, lumpy ball and the flour is evenly moistened (see tutorial above).
-
Cover the bowl and refrigerate the dough for at least 4 hours and up to 3-4 days.
-
When ready to make rolls, divide the chilled dough into 4 equal pieces. Roll each piece (or one at a time, depending on how many rolls you want to make – the remaining dough can go back in the fridge) into an 11- or 12-inch circle about 1/4-inch thick or slightly less than. It should be fairly thin. Brush the dough circle with a tablespoon or two of melted butter.
-
Cut the circle into 8 equal pieces. Roll each wedge into a crescent shape starting at the wide end. Place the rolls on a parchment-lined baking sheet a few inches apart. Cover lightly with a towel or greased plastic wrap and let rise until doubled in size, about 2 hours.
-
Preheat the oven to 350 degrees F. Bake the rolls for 12-15 minutes until golden and baked through. Out of the oven, brush the tops with melted butter, if desired.
Notes
Recommended Products
Recipe Source: Adapted slightly from a cherished family recipe shared by Jolie, a delightful reader of Mel’s Kitchen Cafe. I made minor adjustments, including reducing the butter in the dough by half, grating chilled butter into the flour for enhanced flakiness, and refining the rolling technique.