
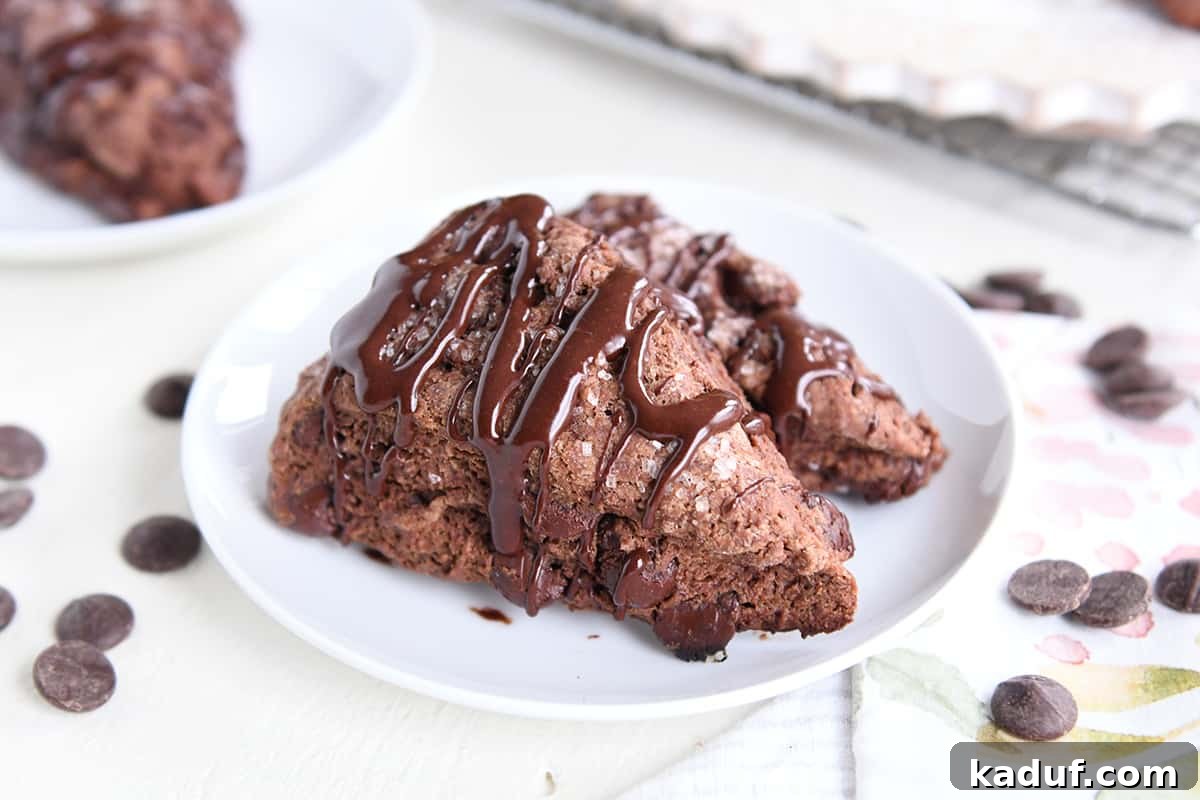
Indulge in the ultimate chocolate experience with these ultra-chocolatey, incredibly flaky, and wonderfully tender Triple Chocolate Scones. They are surprisingly easy to whip up, and that luscious chocolate drizzle truly elevates them to heavenly status.
For every chocolate enthusiast, these Triple Chocolate Scones are more than just a treat; they’re a revelation. Crafting the perfect chocolate scone has been a journey, one that involved numerous delightful test batches (much to the joy of eager taste-testers!). The outcome? A recipe that delivers unparalleled richness and texture, making every bite a decadent escape.
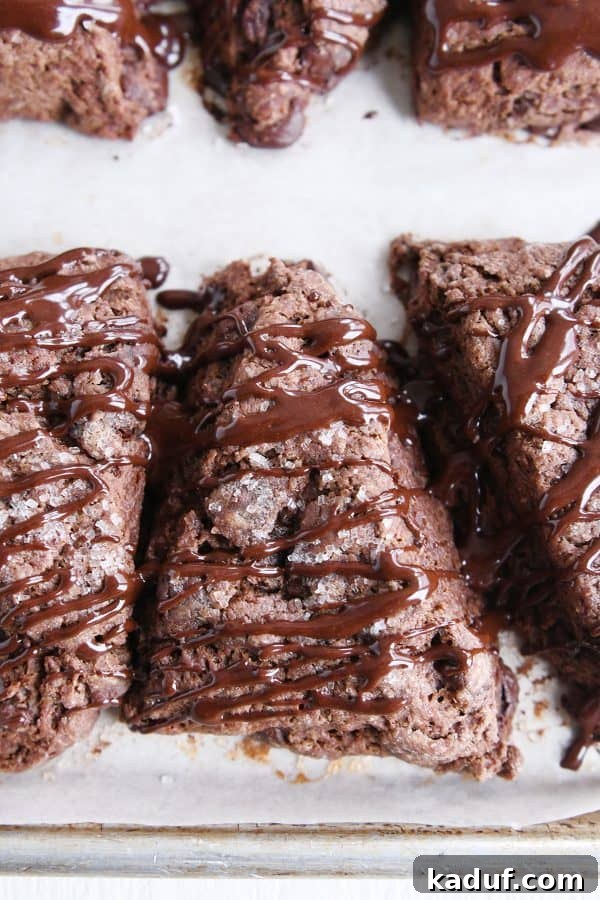
Building upon the foundational excellence of our beloved basic scone recipe, perfecting these chocolate versions required meticulous adjustments and a keen eye for balance. The goal was simple: create a scone that truly celebrated chocolate in its triple forms – cocoa powder in the dough, rich chocolate chips baked within, and a silky chocolate glaze on top. Each iteration brought us closer to this blissful outcome, ensuring every scone boasted an irresistible combination of flakiness, tenderness, and intense chocolate flavor. Rest assured, no one complained about being “forced” to sample the path to this pure, chocolatey heaven.
If the idea of baking homemade scones feels daunting, let me dispel that notion with absolute certainty. Scones are, in fact, incredibly easy to make. Forget the fancy bakery displays and elaborate techniques; with a few simple steps and a commitment to quality ingredients, you can achieve remarkable results right in your own kitchen. These Triple Chocolate Scones are especially perfect for surprising the chocolate lovers in your life, or simply treating yourself to a moment of pure bliss. Seriously, why don’t we all make scones more often? They offer such a delightful reward for minimal effort.
Scone Traditions: A Tale of Two Pastries
My culinary upbringing painted a very specific picture of what a “scone” truly was. For me, it was a piece of flat bread dough, lovingly fried in oil until golden brown, then generously slathered with butter and honey, or perhaps a sprinkle of cinnamon and sugar. This was the scone I knew, a comforting, rustic treat deeply embedded in my childhood memories.
It wasn’t until I reached my twenties that I encountered the “other” scone – the elegant, baked pastry often associated with British tea time. This revelation was a moment of culinary enlightenment, opening my eyes to a whole new world of baked goods. Prior to this discovery, I recall engaging in spirited (and likely ill-informed) debates with at least three and a half college roommates about the authentic definition of a “real” scone. These debates, naturally, often ended with my sophisticated East Coast friends, who frequently sported slacks and heels and majored in subjects like art theory, gently correcting my “hillbilly scone theories.” I’m quite sure many eye-rolls were directed my way!
Despite my initial stubbornness and a touch of intimidation at this new, refined pastry, I have since wholeheartedly embraced and fallen in love with the simple elegance of the baked scone. There’s a particular joy in their delicate crumb and flaky layers that has won me over completely. Understanding the difference between these two cherished forms of “scones” has only deepened my appreciation for the versatility and rich history of this delightful baked good. Both versions hold a special place in different culinary traditions, and while my heart has expanded to adore the baked variety, I still carry fond memories of those fried, honey-drenched childhood treats.
The Secret to Flaky Scones: Master the Cold Butter Technique
These incredibly easy chocolate scones truly are a one-bowl wonder, coming together remarkably fast. After you’ve whisked your dry ingredients to perfection, the critical next step is incorporating the butter. This “cutting in the butter” process is absolutely essential for achieving those signature flaky layers that define a perfect scone. The cold butter melts slowly during baking, creating pockets of steam that push the dough layers apart, resulting in that coveted tender, flaky texture.
Traditionally, cutting in butter can be a tedious process that many home bakers dread. But fear not, because I’m here to share two brilliant hacks that will transform this step from a chore into a breeze:
- **Utilize a Food Processor:** This is by far the quickest method. Simply pulse your cold butter with the dry ingredients until coarse crumbs form. It makes incredibly fast work of the process, ensuring the butter stays perfectly cold.
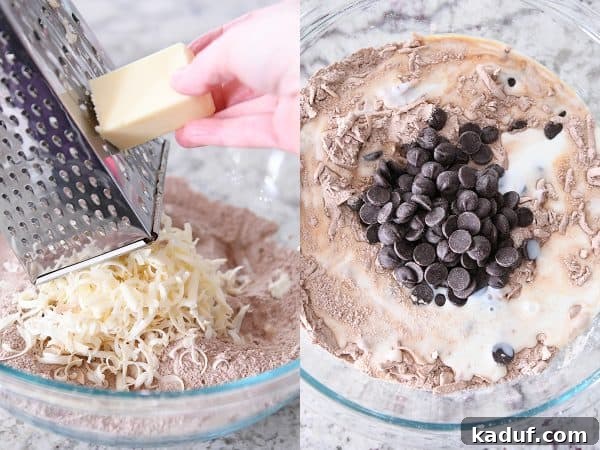
- **Grab a Box Grater:** My personal favorite! Grating cold butter on the large holes of a box grater is surprisingly effective and less messy than you might think. Work quickly, and the butter will remain cold and perfectly distributed, coating the dry ingredients evenly without melting in your hands. This trick creates tiny, uniform butter pieces that are ideal for flakiness.
Of course, you can always opt for classic methods like a pastry blender or two butter knives to cut the butter into pea-sized pieces. The key, regardless of the tool you choose, is to ensure the butter remains as cold as possible throughout the process and is evenly distributed into small, pea-like fragments. This attention to detail in butter incorporation is the cornerstone of creating truly spectacular, tender, and flaky scones every single time.
Perfecting Your Scone Dough: The Art of Gentle Mixing
Once your cold butter strands are beautifully coated with the dry ingredients, it’s time to introduce the chocolate chips – opting for dark chocolate chips adds a rich depth that is simply irresistible! Following this, gently pour in the buttermilk and vanilla extract. These wet ingredients are what will bring your dough together, but the way you mix them is paramount to the scone’s final texture.
Begin mixing the dough with a rubber spatula, using a light hand. The goal is to bring the ingredients together just until they form shaggy, cohesive pieces. This mixing process should be incredibly brief, ideally taking less than a minute. This is not the time for vigorous kneading or extensive mixing. Why the haste? Because overmixing scone dough is the cardinal sin of scone making. Too much agitation develops the gluten in the flour excessively, leading to scones that are tough, dry, and lacking that desirable tender crumb. A few minimal dry spots in the dough are perfectly acceptable and even preferred; they indicate you haven’t overmixed.
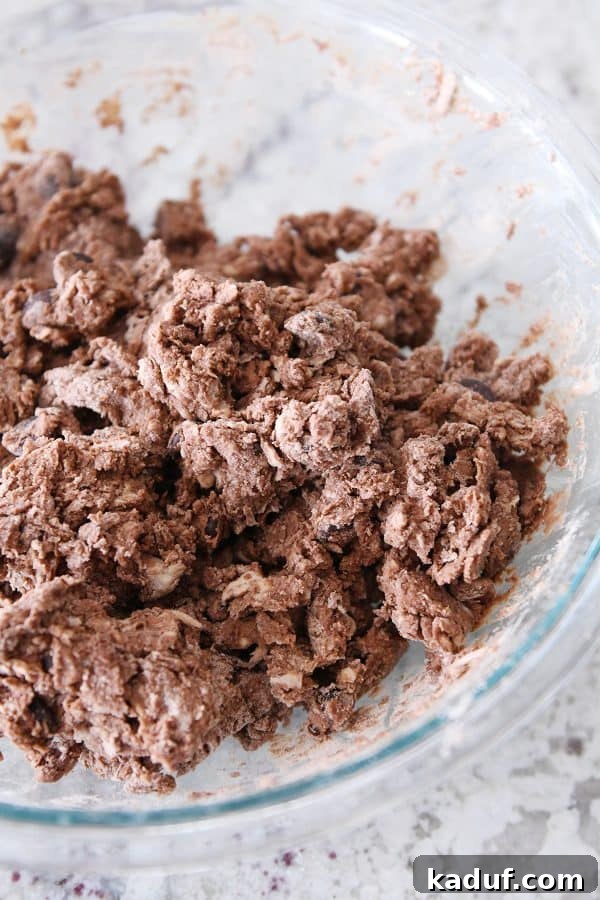
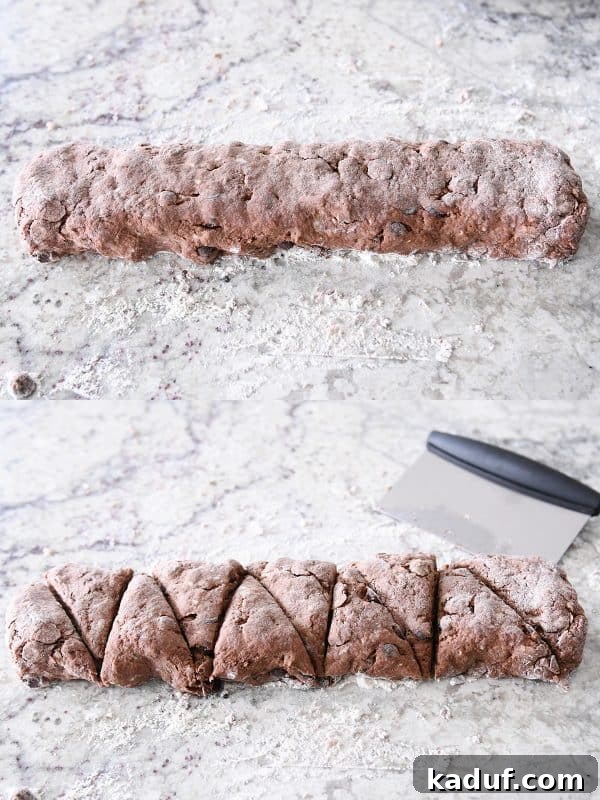
When your dough presents as a clumpy, slightly shaggy mass with just a few dry patches, it’s ready for shaping. Lightly flour your work surface, turn the dough out, and gently pat it into a long rectangle. Aim for dimensions of approximately 15×3 inches. Next, employing a sharp knife or a bench knife (which I consider one of the most indispensable kitchen tools!), cut the rectangle into 12-14 triangular wedges. There’s no strict rule for the number or size; whether you prefer smaller, delicate scones or generously sized, “honkin’ big” ones, the choice is entirely yours. Trust your intuition and cut them to your heart’s desire!
The Golden Rule of Scone Baking: Avoid Over-Baking
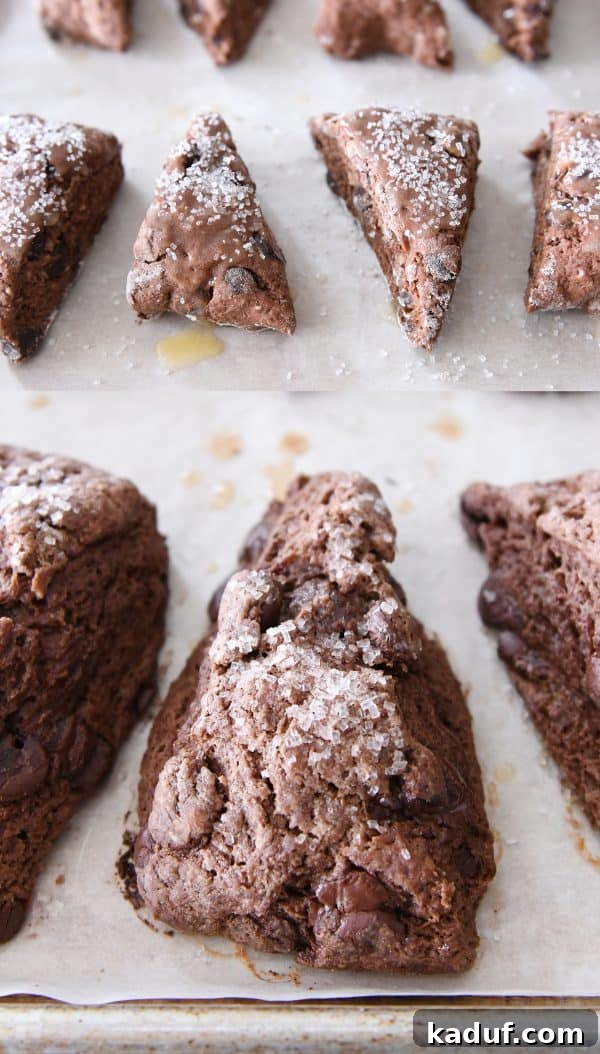
Once your beautifully shaped scones are ready, gently transfer them to a half-sheet pan lined with parchment paper. Arrange them with about half an inch of space between each one to ensure even baking. Before they go into the oven, brush the tops with a little melted butter and sprinkle generously with sugar.
**If you have it, coarse sugar is highly recommended!** This type of sugar not only adds a lovely sparkle but also provides the most incredibly delightful crunchy sweetness to the top of the scones. The textural contrast between the tender scone and the sparkling, sugary crust is simply divine. If coarse sugar isn’t available, regular granulated sugar will still work beautifully.
Bake the scones until they are just set. This is a crucial step for achieving perfect scones. They should feel firm to the touch and appear lightly browned, but crucially, not overly dark or hard. If you find yourself uncertain about whether they are done, it’s always better to err on the side of slightly underbaking. A slightly underbaked scone will be incredibly tender and moist, whereas an overbaked scone will quickly become dry and crumbly, losing its delightful texture. Keep a close eye on them during the last few minutes of baking, as oven temperatures can vary.
The Irresistible Chocolate Glaze: A Sweet Finishing Touch
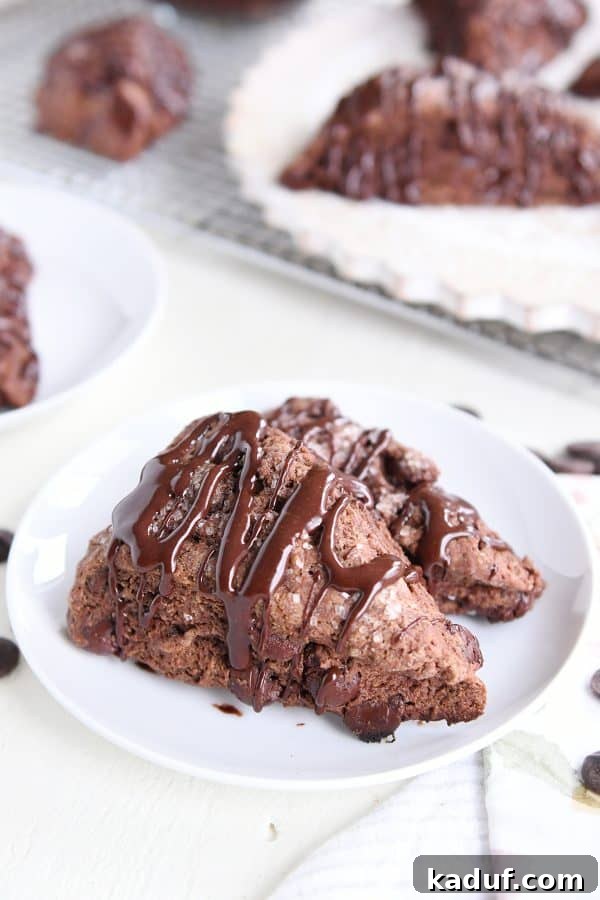
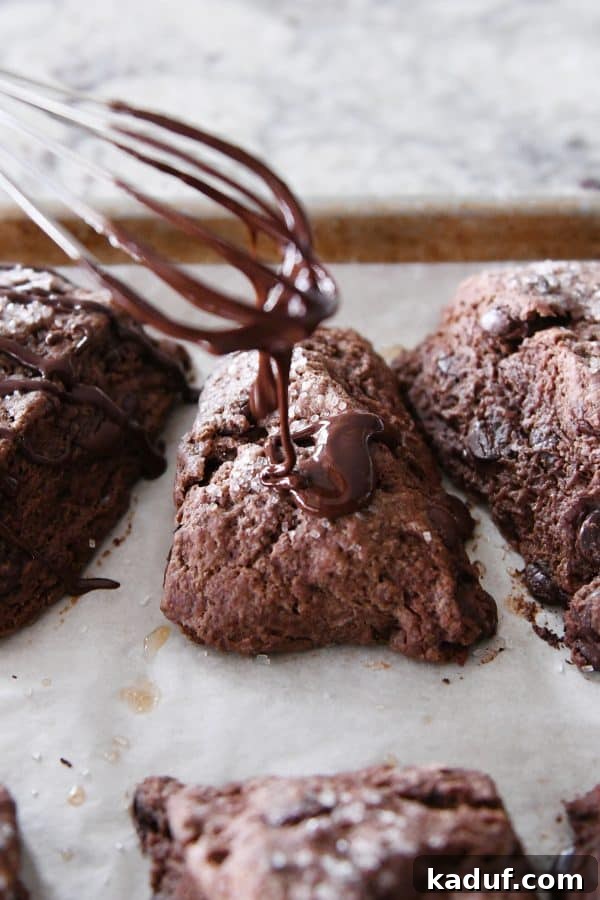
The moment your chocolate scones have cooled to either room temperature or are still slightly warm, it’s time for the crowning glory: the decadent chocolate glaze. This simple yet luscious topping adds another layer of chocolate flavor and a beautiful visual appeal that makes these scones truly irresistible.
For a quick and easy application, I often opt for the classic method of simply whipping the glaze around with a whisk and then letting it artfully drip over the scones. This creates a rustic, homemade look that’s wonderfully charming. However, if you’re feeling a bit more ambitious and want to unleash your inner artist, you can pour the prepared glaze into a small piping bag (or even a Ziploc bag with the corner snipped off). This allows for more precise drizzling, enabling you to create intricate patterns and scone “art” that will impress anyone who sees them. Regardless of your chosen method, ensure the glaze is distributed generously over each scone, allowing it to cascade down the sides, creating a truly enticing treat.
Understanding Scone “Tipping” and Embracing Flakiness
Occasionally, you might notice your scones “tipping” or slightly warping during the baking process. Don’t worry, this isn’t a sign of failure! This can be attributed to various factors, including the mixing technique, how wet and dry ingredients are measured, and even the specific recipe’s butter-to-flour ratio.
This particular scone recipe, and the foundational one it’s adapted from, intentionally features a slightly higher butter-to-flour ratio. This is a deliberate choice, as I firmly believe that the best scones are those that are ultra-flaky, incredibly soft, and wonderfully tender. This generous amount of butter is what contributes significantly to that melt-in-your-mouth texture.
As a result of this higher fat content, the scones might exhibit a slight twist or tip as they bake and the butter creates steam pockets, expanding the layers. However, I consider this a minor, almost charming, characteristic – a small price to pay for achieving the absolute perfect scone texture. It’s a visual cue of the incredible flakiness waiting within. For those who prefer a more uniform shape, this scone dough also performs beautifully when baked in a mini or regular scone pan, which helps maintain their structure.
Sidenote: This scone dough works great baked in a mini or regular scone pan. These specialized pans help maintain a consistent shape, which can be particularly useful if you’re aiming for perfectly uniform scones every time, or if you simply prefer a slightly different presentation.
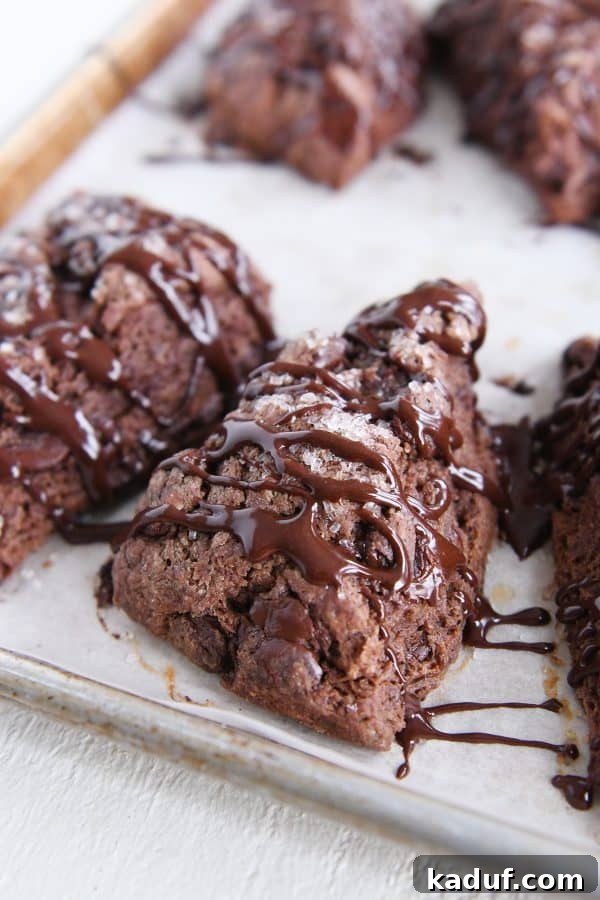
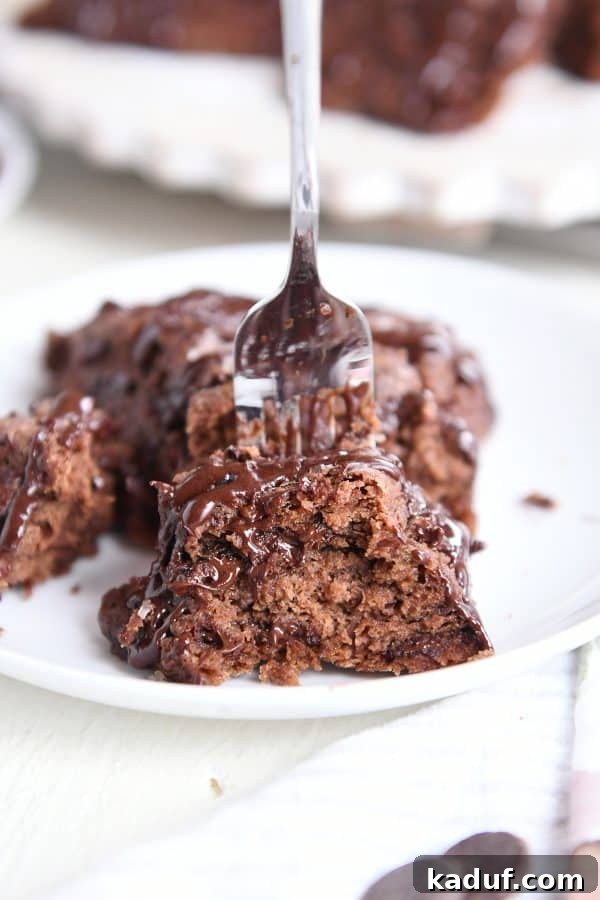
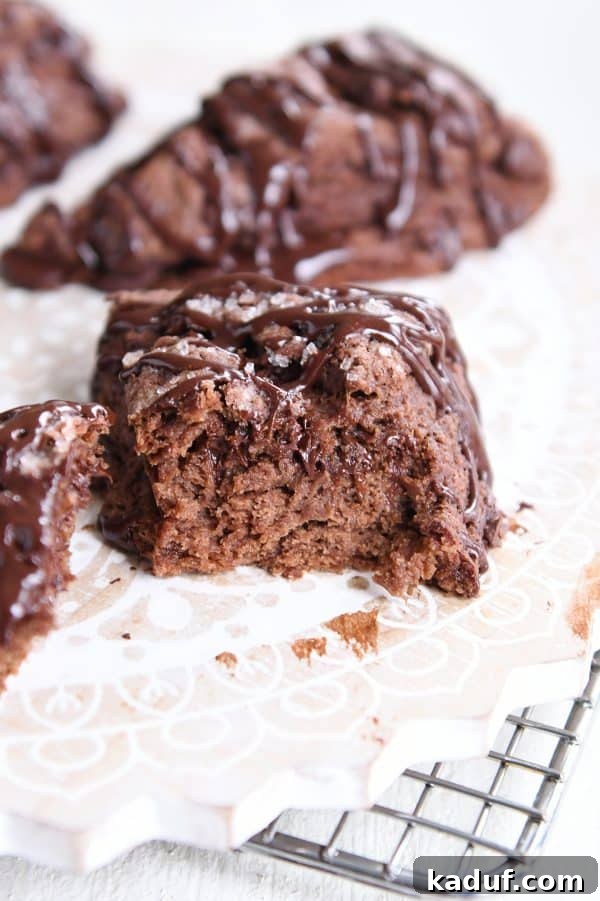
These Triple Chocolate Scones are more than just divine; they’re an experience. There’s a particular magic in their rich flavor and tender texture that makes them an instant favorite. For the ultimate indulgence, I highly recommend my absolute favorite way to enjoy them: a quick pop in the microwave. Heating a scone for just 15-20 seconds is enough to gently warm it, giving both the luscious chocolate glaze and the baked-in chocolate chips a wonderfully sultry, melty vibe that is truly irresistible. The slight warmth enhances the aroma and deepens the chocolate notes, transforming an already fantastic treat into something extraordinary.
This simple trick also works wonders for rejuvenating scones that are a day or two old, making them taste as fresh and tender as the moment they emerged from the oven. You’ll either love me or (perhaps playfully) hate me for sharing this secret, as it makes resisting a second or third scone almost impossible. Prepare to have your perception of “leftover” scones completely redefined. Enjoy these delightful chocolate creations and savor every blissful, flaky, and intensely chocolatey bite.
One Year Ago: Easy Sugar Cookie Bars
Two Years Ago: Quick and Easy Egg Roll Skillet Meal
Three Years Ago: One-Bowl Fudgy Brownie Cookies
Four Years Ago: White Velvet Sugar Cookies
Five Years Ago: Russian Cream with Berries
Six Years Ago: Classic Strawberry Shortcake {With a Decadent Chocolate Version}
Seven Years Ago: No-Bake Berry Yogurt Cheesecakes

Triple Chocolate Scones
Pin
Rate
SaveSaved!
Ingredients
Scones:
- 3 cups (426 g) all-purpose flour
- ½ cup (43 g) natural unsweetened cocoa powder (see note)
- ¾ cup (159 g) granulated sugar
- 2 teaspoons baking powder
- ½ teaspoon baking soda
- ½ teaspoon salt
- ¾ cup (170 g) cold salted butter
- 1 cup (170 g) semisweet or dark chocolate chips, regular or mini size
- 1 ¼ cups buttermilk (see note)
- 1 teaspoon vanilla extract
- 2 tablespoons (28 g) butter, melted
- Coarse sugar, for sprinkling (see note)
Glaze:
- ¼ cup (21 g) cocoa powder
- ¾ cup (86 g) powdered sugar
- 2-3 tablespoons milk or cream
Instructions
-
Preheat the oven to 400 degrees F. Line a half sheet pan with parchment paper and set aside.
-
For the scones: in a large bowl, whisk together the flour, cocoa powder, sugar, baking powder, baking soda and salt. Using the large holes of a box grater, grate the butter into the dry ingredients. Toss to combine so the butter pieces are evenly coated with dry ingredients.
-
(An alternative to the box grater is to cut the butter into pieces, add to the dry ingredients and then cut in with a pastry blender or two butter knives until butter is in pea-size pieces. The dough can also be mixed in a food processor.)
-
Add the chocolate chips; toss to combine. Add the buttermilk and vanilla extract.
-
Mix with a rubber spatula until the dough starts to come together. Don’t over mix! A few dry spots are ok. To test, press a handful of dough together. If it clumps together, it’s good to go. If it’s falling apart, add a few more tablespoons buttermilk.
-
Turn the dough onto a lightly floured surface and pat into a long rectangle, about 15X3-inches. Cut into 10-12 triangle wedges.
-
Place on a baking sheet about 1/2-inch apart. Brush with melted butter and sprinkle with sugar.
-
Bake for 12-15 minutes until just set and no longer doughy (err on the side of under baking just slightly if you aren’t sure).
-
Let the scones cool until lightly warm or room temperature.
-
For the glaze: whisk together the cocoa powder and powdered sugar. Add the milk or cream and whisk until a thick but pourable glaze forms, thinning with additional milk, if needed.
-
Drizzle scones with glaze. Serve scones at room temperature or lightly warmed up.
Notes
Buttermilk: I’ve found store bought buttermilk works better than homemade buttermilk (milk + lemon juice) because it is thicker. If wanting a homemade option, I’d suggest whisking together half sour cream/half milk. You could also try using cream in place of the buttermilk.
Sugar: coarse granulated sugar or raw turbinado sugar is delightful – if you don’t have those, regular granulated sugar works.
Recommended Products
Recipe Source: from Mel’s Kitchen Cafe (adapted from this favorite scone recipe)