
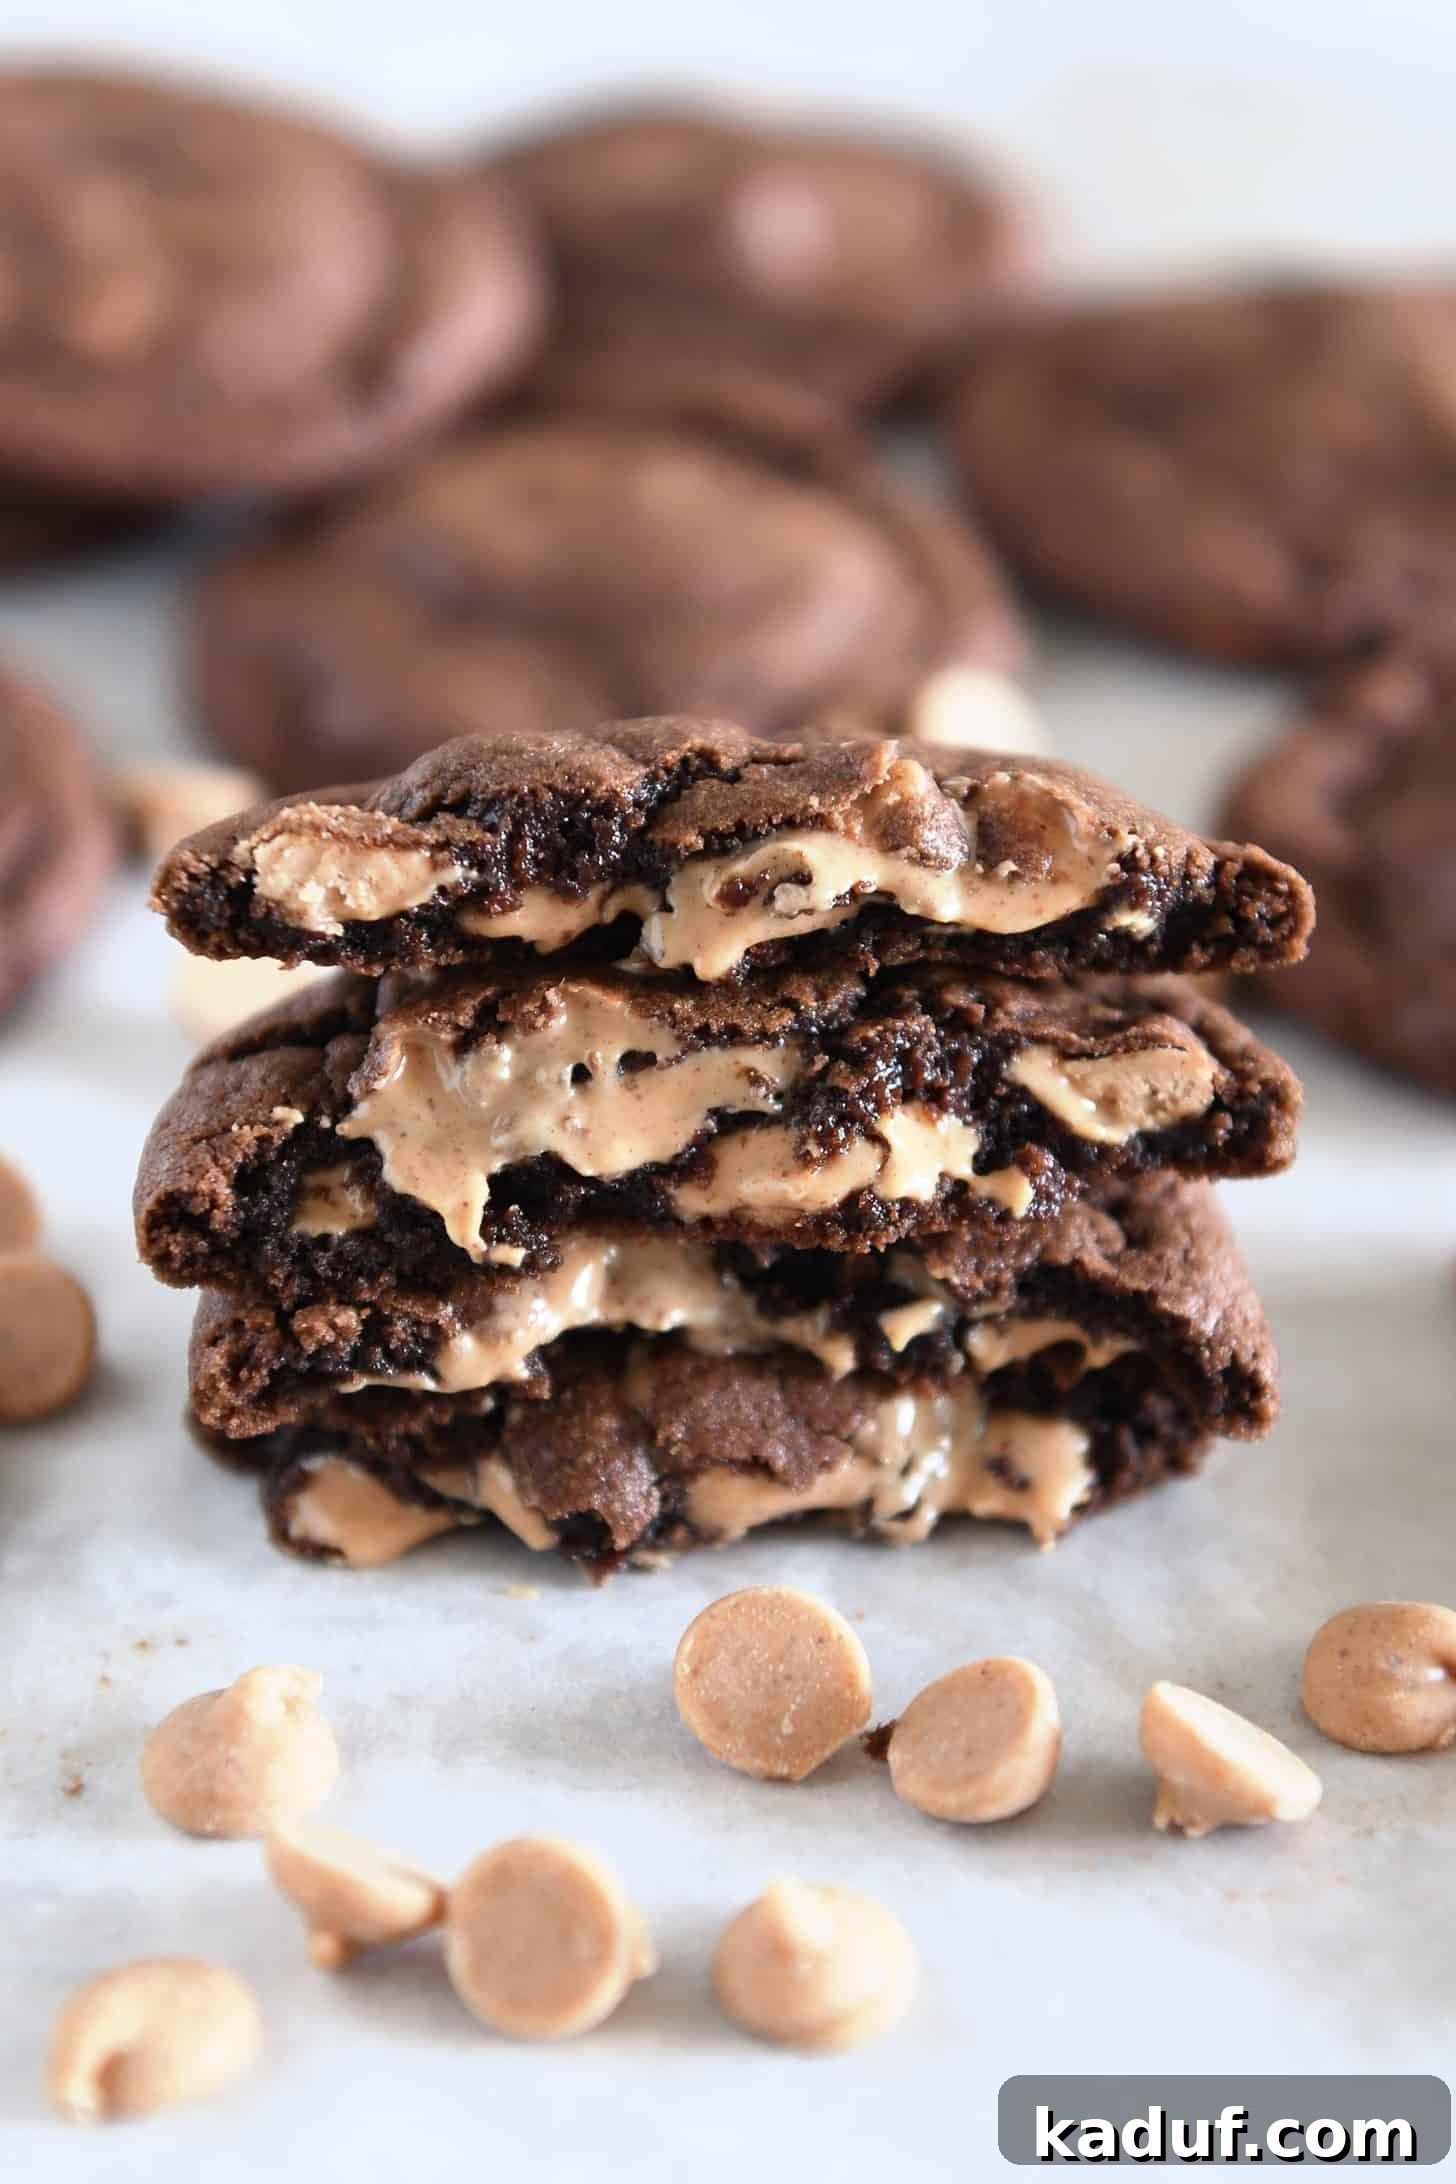
The Ultimate Soft & Chewy Chocolate Peanut Butter Chip Cookies: A Decadent Delight
Indulge in the perfect harmony of rich chocolate and creamy peanut butter with these unbelievably soft and chewy cookies. This recipe promises a baking experience as delightful as the cookies themselves, ensuring every bite is a moment of pure bliss. Prepare to discover your new favorite chocolate peanut butter chip cookie recipe!
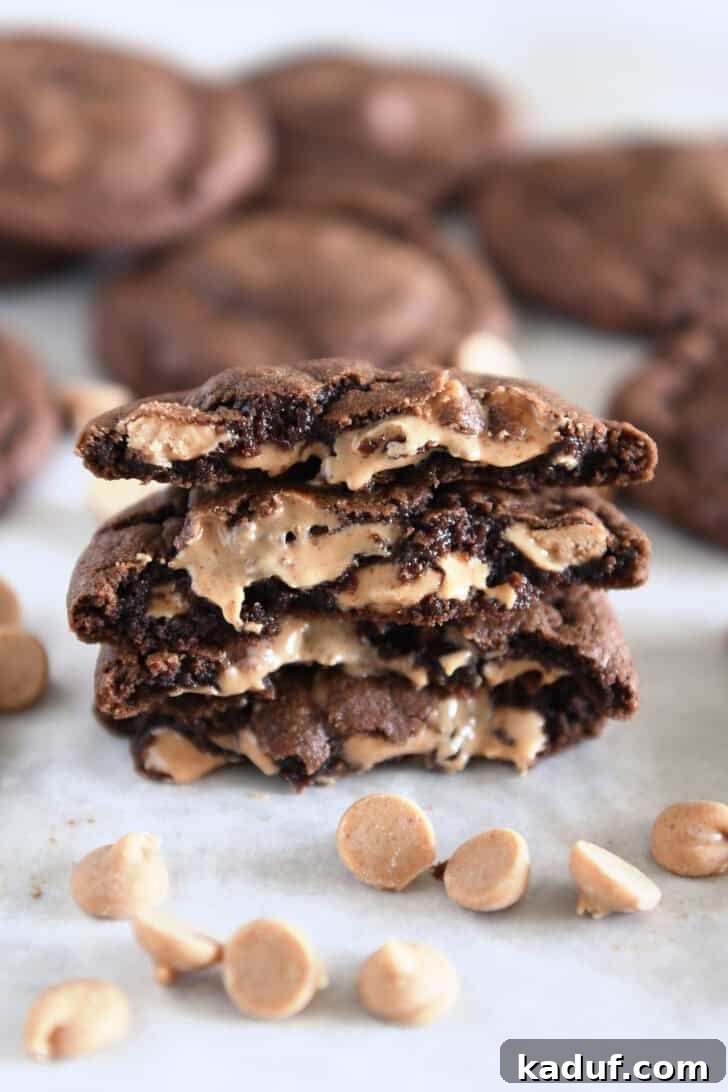
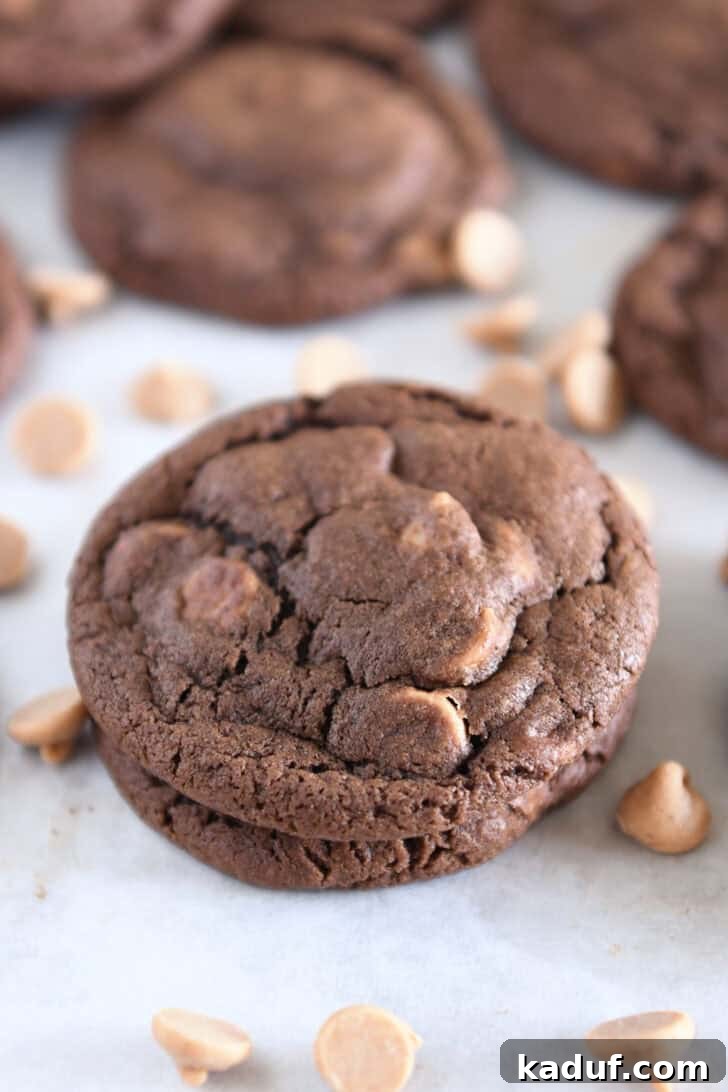
These aren’t just cookies; they are a celebration of two beloved flavors coming together in a symphony of texture and taste. Every batch of these chocolate peanut butter chip cookies delivers an irresistibly soft, perfectly chewy, and deeply chocolatey experience. The way the smooth peanut butter chips melt into the rich cocoa dough creates an explosion of flavor that will leave you craving more. This recipe has quickly become one of my all-time favorites, and I’m confident it will earn a cherished spot in your recipe collection too. Get ready to bake some magic!
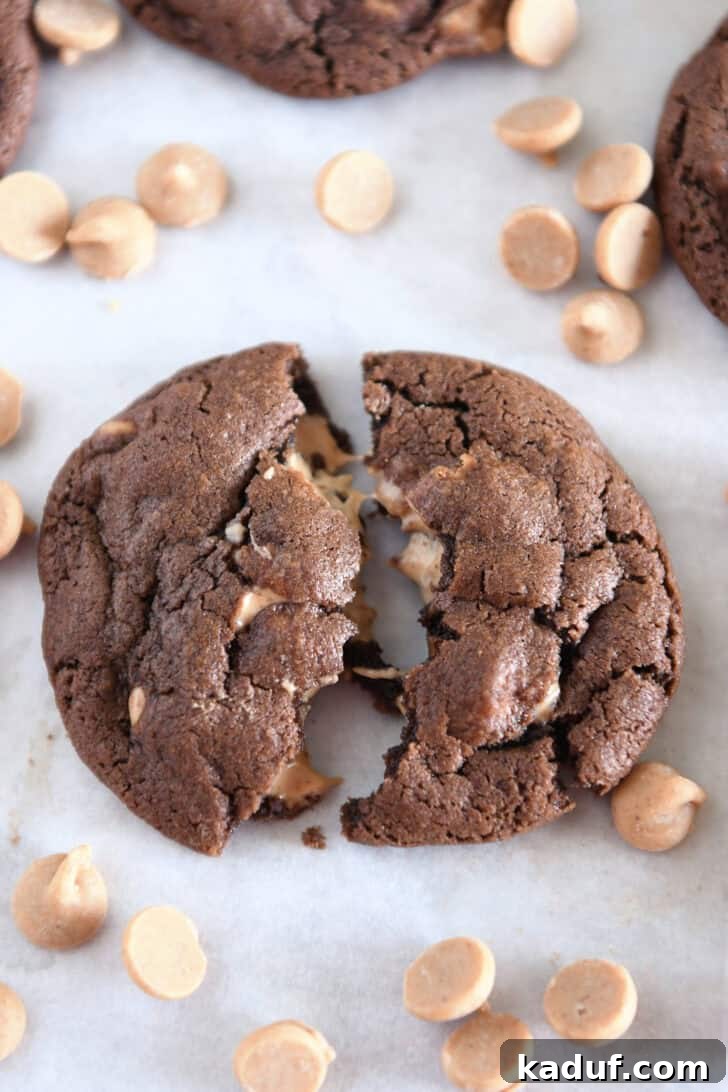
Mastering the Decadent Chocolate Cookie Dough
The foundation of any exceptional cookie lies in its dough, and our chocolate peanut butter chip cookie dough is nothing short of spectacular. This recipe focuses on simplicity without compromising on flavor or texture, coming together with minimal fuss. You’ll use classic ingredients like softened butter, granulated and brown sugars, fresh eggs, and pure vanilla extract – the familiar essentials for a truly great cookie. The process is straightforward, ensuring even novice bakers can achieve bakery-quality results right from their own kitchen.
The Secret to a Smooth Dough: Sifting Dry Ingredients
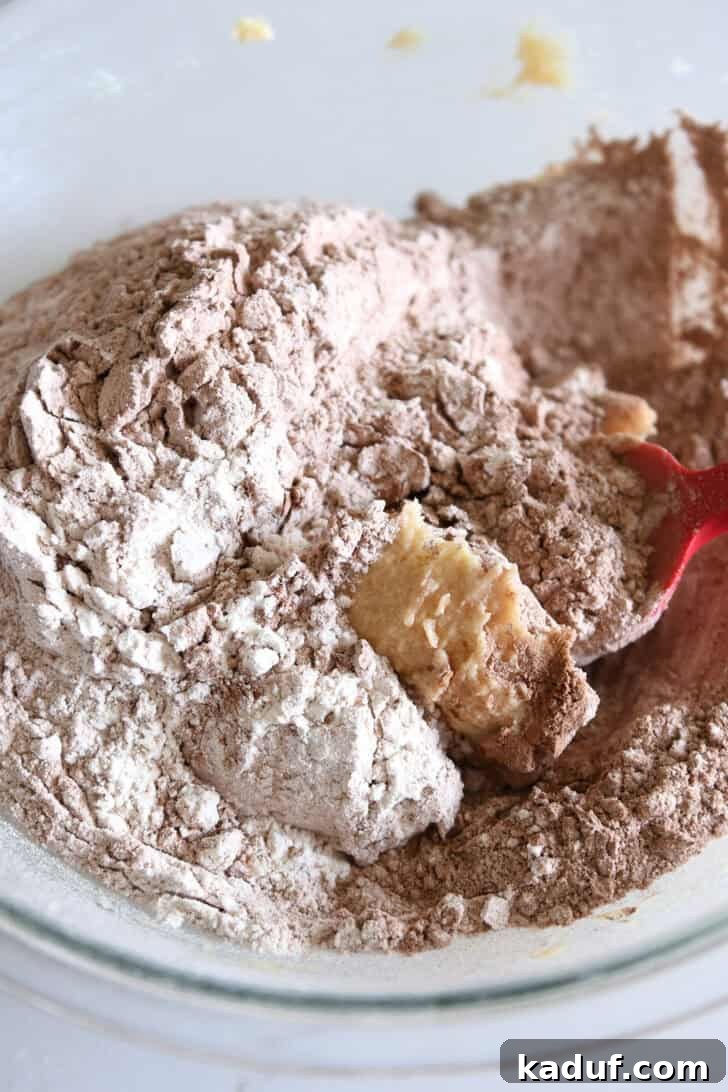
While it might seem like an extra step, taking a moment to whisk or sift your dry ingredients together before incorporating them into the wet mixture is a game-changer for these chocolate cookies. Cocoa powder, especially natural unsweetened varieties, can often contain small, stubborn lumps that are difficult to break down once mixed into a wet dough. Sifting ensures that your flour, cocoa, baking soda, and salt are evenly distributed and free of any unwelcome clumps. This crucial step guarantees a cohesive, smooth, and uniformly flavored cookie dough, leading to a superior final product that bakes beautifully and has a consistent texture. Trust us, this small effort yields big rewards in terms of cookie quality and enjoyment.
Tips for Creaming Butter and Sugar
Achieving that light and creamy texture when combining butter and sugars is vital. Ensure your butter is truly softened to room temperature – not melted, but easily indented with a finger. Room temperature butter creams beautifully with sugar, incorporating air that contributes to the cookies’ soft, chewy structure. Cream them together for 1 to 2 minutes using a stand mixer with a paddle attachment or a handheld electric mixer until the mixture is visibly lighter in color and fluffy. This aeration process is key to preventing dense cookies and ensuring a tender crumb. Don’t rush this step, as it forms the backbone of your cookie’s texture.
Understanding Cocoa Powder: Natural vs. Dutch-Process
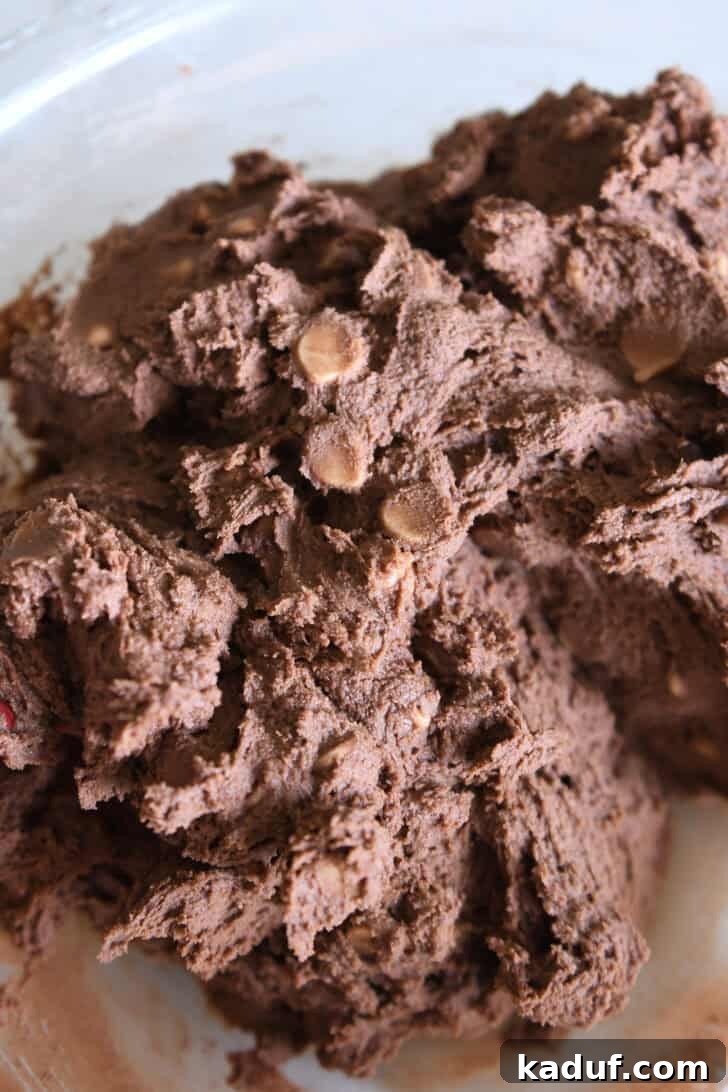
The type of cocoa powder you choose significantly impacts the flavor, color, and even the texture of your chocolate cookies. This recipe specifically calls for natural, unsweetened cocoa powder – the kind you likely have in your pantry, such as standard Hershey’s cocoa. Natural cocoa powder is acidic, meaning it reacts with baking soda (an alkali) to produce carbon dioxide. This reaction helps leaven the cookies, giving them a slight lift and a distinct, robust chocolate flavor with a subtle tang. Don’t be alarmed if your mixed cookie dough initially appears lighter in color than you might expect; these cookies beautifully deepen in both flavor and hue as they bake and cool, developing into a wonderfully rich chocolate.
When to Use Dutch-Process Cocoa
For an even darker, richer, and less acidic chocolate cookie, you absolutely can substitute Dutch-process cocoa powder. Dutch-process cocoa has been treated with an alkali to neutralize its acidity, resulting in a darker color and a smoother, milder chocolate flavor, often described as more earthy or less fruity than natural cocoa. If you opt for Dutch-process cocoa, it’s crucial to adjust the leavening agents in the recipe. Because Dutch-process cocoa is non-acidic, it won’t react with baking soda alone. Therefore, you must reduce the amount of baking soda to 1/4 teaspoon and incorporate 1 teaspoon of baking powder. Baking powder contains its own acid and base, allowing it to provide the necessary lift when using non-acidic Dutch-process cocoa. This adjustment ensures your cookies achieve the desired soft and chewy consistency without being overly dense or flat, while delivering that deep, intense chocolate color and flavor you might be looking for.
Sourcing Quality Cocoa
While standard cocoa powder works wonderfully, experimenting with higher quality natural or Dutch-process cocoa can elevate your cookies even further. Look for brands that specify “natural unsweetened” or “Dutch-processed” on their packaging. A good quality cocoa powder will impart a deeper, more complex chocolate flavor to your cookies, making them truly unforgettable and adding another layer of indulgence to this already decadent treat.
Peanut Butter Chips and Beyond: Endless Variations
While these cookies are undeniably exquisite with the classic combination of chocolate and creamy peanut butter chips – especially when enjoyed warm, with the chips melty and luscious – the robust chocolate cookie base is incredibly versatile. It’s perfectly structured to support a myriad of other delightful additions and flavor combinations, making it a recipe you can truly make your own. The deep chocolate flavor pairs beautifully with almost any sweet or even slightly savory mix-in, offering endless possibilities for customization.
Creative Cookie Chip Add-In Ideas:
- The Best of Both Worlds: Combine half peanut butter chips with half semisweet chocolate chips for a perfectly balanced, rich flavor profile. The subtle bitterness of semisweet chocolate complements the creamy sweetness of peanut butter beautifully, creating a harmonious bite.
- Pure Chocolate Indulgence: Go all in with chocolate chips! Whether you prefer the creamy sweetness of milk chocolate, the balanced flavor of semisweet, or the intense depth of bittersweet, a batch loaded purely with chocolate chips is always a winner. For a truly complex chocolate experience, try mixing different types of chocolate chips.
- Elegant White Chocolate: White chocolate chips melt into a wonderfully smooth, sweet contrast against the dark chocolate cookie, offering a sophisticated flavor and a visually appealing marbling effect.
- Crunchy & Sweet: Chocolate chips paired with buttery toffee bits create an irresistible textural contrast and a rich, caramelized sweetness that will have you reaching for more. The subtle crunch of toffee adds another layer of enjoyment.
- A Zesty Surprise: For the adventurous palate, try adding fresh orange zest directly into the cookie dough. Its bright, citrusy notes are surprisingly harmonious with semisweet chocolate chips, creating a sophisticated and refreshing twist on a classic. The unexpected burst of flavor is truly delightful.
- Nutty Crunch: Incorporate chopped walnuts, pecans, or almonds for an added layer of texture and earthy flavor. Toasting the nuts lightly before adding them can enhance their aroma and depth.
- Minty Fresh: For a refreshing treat, especially during holidays or for mint chocolate lovers, add mint chocolate chips to the dough. The cool mint pairs exquisitely with the rich chocolate.
- Salty & Sweet Perfection: Crush some pretzels and fold them into the dough along with your favorite chips for a delightful salty-sweet crunch. This combination is highly addictive!
- Caramel Swirl: Small caramel bits or chopped soft caramels can add a gooey, buttery dimension to these chocolate cookies, creating pockets of melted caramel goodness.
The possibilities are truly endless with this adaptable cookie dough, making it a fantastic base for all your creative baking aspirations. What unique combinations will you create to make these chocolate cookies uniquely yours?
Serving and Storage Tips for Maximum Enjoyment
While these chocolate peanut butter chip cookies are always a crowd-pleaser, there are a few tips to maximize their deliciousness. Nothing quite compares to enjoying one of these cookies slightly warm, perhaps straight from the oven, with a scoop of creamy vanilla bean ice cream or a tall, cold glass of milk. The warmth enhances the melty chips and the rich chocolate aroma, creating a truly irresistible dessert experience. For an extra touch of decadence, a sprinkle of sea salt on top of the warm cookies can elevate their flavor beautifully.
Storing Your Cookies
To keep your cookies fresh and soft, store them in an airtight container at room temperature for up to 3-4 days. For an even chewier, fudgier texture, they are absolutely divine when stored in the fridge and eaten cold. For longer storage, these cookies freeze exceptionally well. Once completely cooled, place them in a single layer in a freezer-safe bag or container, separated by parchment paper, for up to 3 months. Thaw at room temperature for a few hours, or warm briefly in the microwave for a fresh-baked feel whenever a craving strikes.
Make-Ahead Dough Option
For ultimate convenience, you can also prepare the cookie dough ahead of time. Scoop the dough balls onto a parchment-lined baking sheet and freeze until firm (about 1-2 hours). Then, transfer the frozen dough balls to a freezer-safe bag or container. When a cookie craving strikes, simply bake from frozen, adding an extra 2-4 minutes to the baking time. This is perfect for fresh, warm cookies anytime, without the full prep work each time!
Troubleshooting Common Cookie Problems
Even the best recipes can sometimes yield unexpected results. Baking is both an art and a science, and understanding how to troubleshoot common cookie issues can save your batch and improve your skills. Here are some solutions to common cookie woes, ensuring your chocolate peanut butter chip cookies turn out perfect every time:
Cookies Too Puffy?
- The “Pan Bang” Method: Immediately after removing the baking sheet from the oven, gently drop it a few inches above your counter. This helps deflate the cookies slightly and encourages those coveted crinkly edges and a chewier texture.
- Adjust Oven Temperature: Sometimes, an oven that runs too hot can cause cookies to puff up excessively without spreading. Try reducing your oven temperature by 25 degrees F next time, ensuring more even baking and spread.
- Flour Measurement: Be mindful of how you measure your flour. Too much flour can lead to thick, cakey, and puffy cookies. Spooning flour into your measuring cup and leveling it off with a straight edge, rather than scooping directly from the bag, is the most accurate method. If you suspect over-flouring, try reducing the flour by 2 to 4 tablespoons in your next batch.
Cookies Spreading Too Much?
- Check Oven Temperature: Conversely, if your cookies are spreading too much and becoming thin and crispy, your oven might be too cool. Increase the oven temperature by 15 to 25 degrees F to help the cookies set faster before they spread.
- Butter Consistency: Ensure your butter is softened, but not overly melted or greasy. If the butter is too warm or partially melted, the cookies will spread excessively in the oven. Aim for soft, pliable butter, not liquid.
- Cold Eggs: Using cold eggs straight from the fridge can help keep the dough cooler and prevent premature spreading. The cooler dough holds its shape better during the initial bake.
- Add More Dry Ingredients: If all else fails, and your dough still seems too wet or loose, a few extra tablespoons of flour or cocoa powder can help firm up the dough’s structure.
- Chill the Dough: If your dough is very soft or if your kitchen is warm, chilling it for 30 minutes to an hour (or even overnight) before baking can dramatically prevent spreading and promote thicker, chewier cookies.
Explore More Deliciousness: Oatmeal Chocolate Chip Peanut Butter Toffee Cookies | Cinnamon Lover’s Granola | Perfect Fruit Pizza | Double Chocolate Zucchini Muffins
The Best Chocolate Peanut Butter Chip Cookies
Pin
Rate
Save
Ingredients
- 1 cup (227 g) butter, softened to room temperature
- ¾ cup (159 g) granulated sugar
- ¾ cup (159 g) packed light brown sugar
- 2 large (100 g) eggs
- 2 teaspoons vanilla extract
- 2 ¼ cups (320 g) all-purpose flour
- ⅔ cup (57 g) natural unsweetened cocoa powder
- 1 teaspoon baking soda
- ½ teaspoon salt
- 1 ¾ to 2 cups (300 to 340 g) peanut butter chips (a 10-ounce bag)
Instructions
- Preheat oven to 350 degrees F. Line two or three half sheet pans with parchment paper, lightly grease with cooking spray, and set aside.
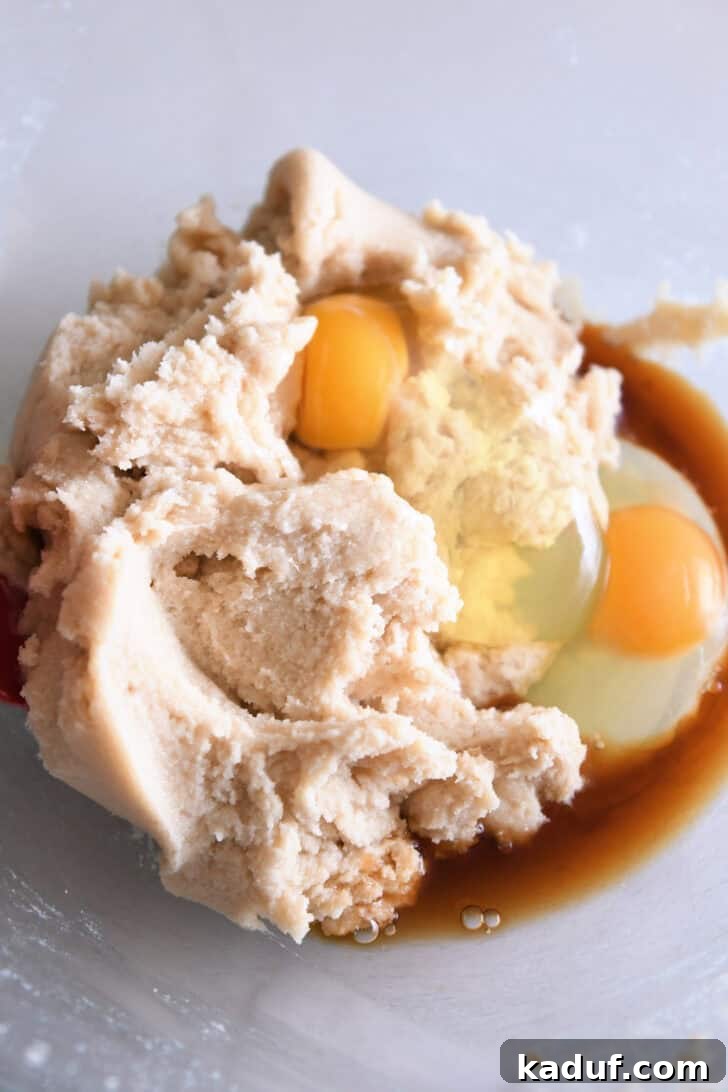
- In a bowl with a handheld electric mixer or in the bowl of a stand mixer fitted with the paddle attachment, cream together the butter, granulated sugar and brown sugar until light and creamy, 1 to 2 minutes.
- Add the eggs and vanilla and mix until well-combined. Scrape down the sides of the bowl as needed.
- In a separate bowl, whisk or sift together the flour, cocoa powder, baking soda and salt (this helps eliminate pesky small lumps that are common in cocoa powder).
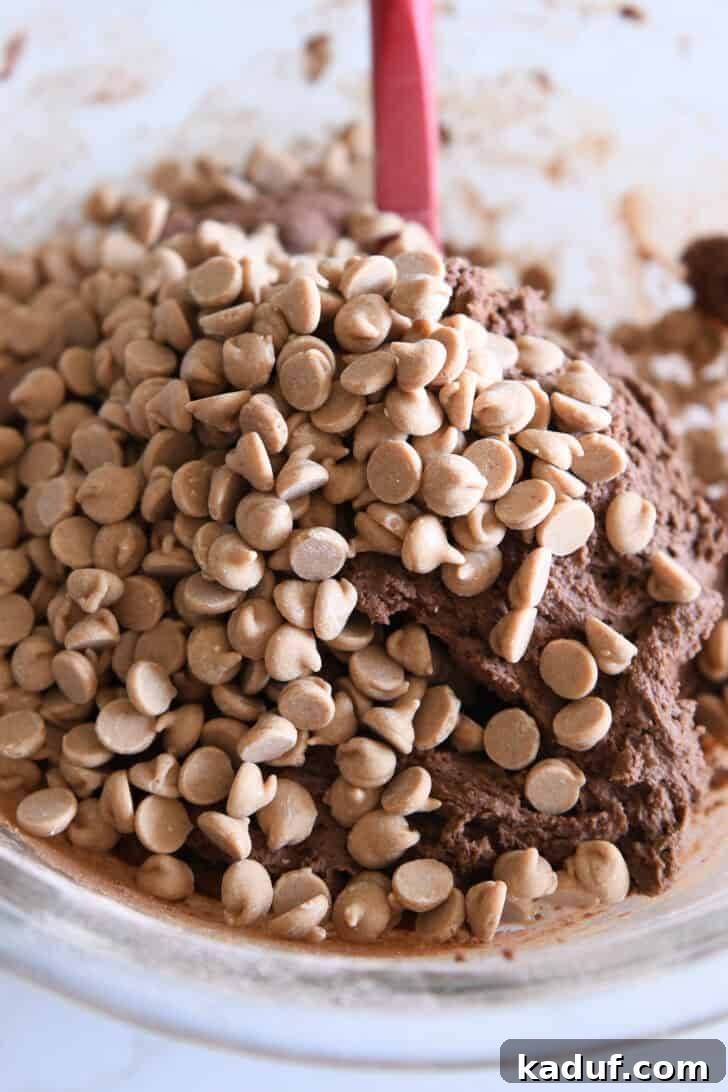
- Add the dry ingredients to the wet ingredients and mix until combined and no dry streaks remain. Add the peanut butter chips and mix (with the mixer or by hand if you don’t want the chips to break apart) until combined.
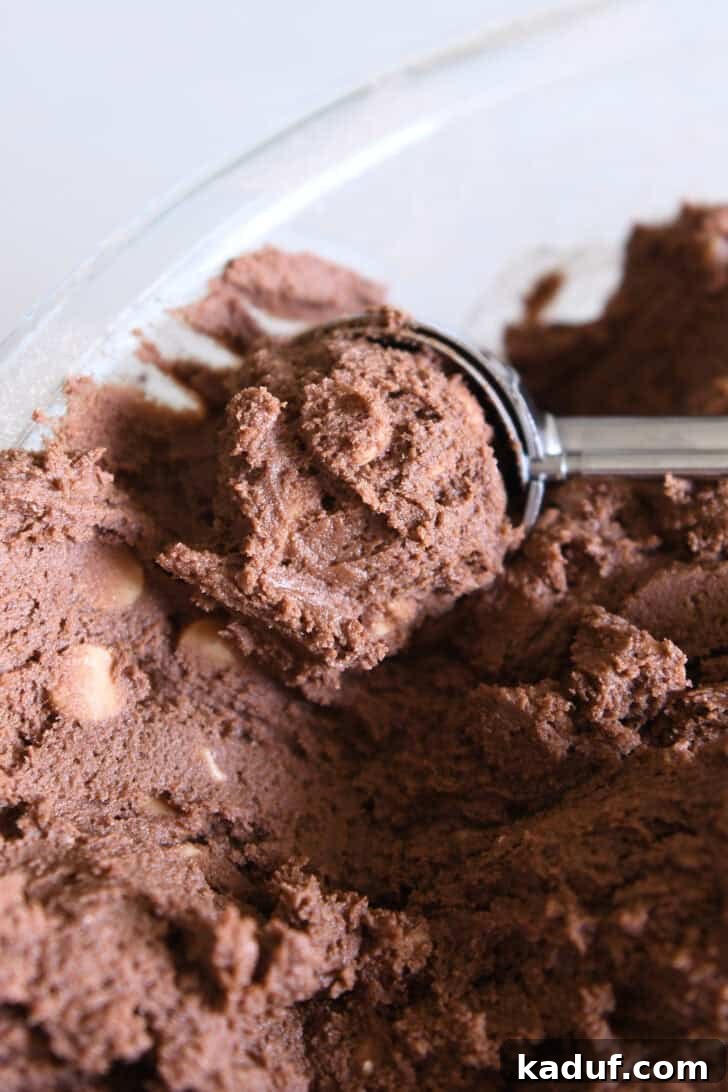
- Scoop the cookie dough into 2-tablespoon size portions (I use a #40 medium cookie scoop) and roll into balls. Place several inches apart on the prepared baking sheets.
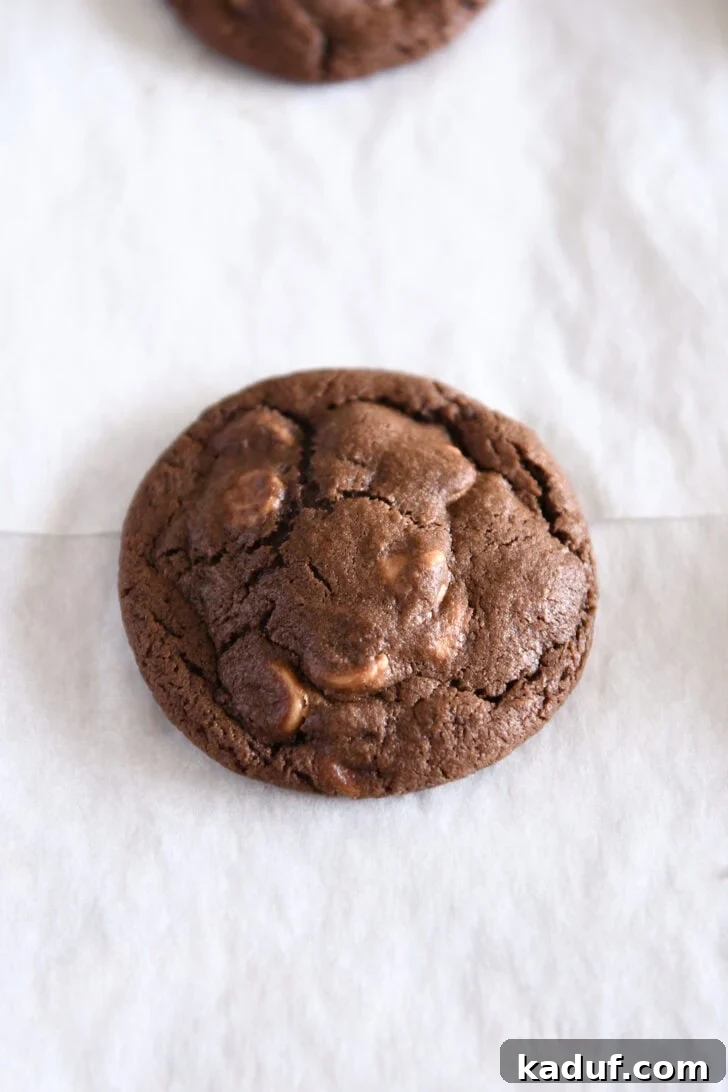
- Bake for 10 to 11 minutes until the cookies are just set around the edges and slightly crackly on top. For super soft and chewy cookies, don’t over bake.
- Let the cookies rest on the baking sheets for a couple minutes before moving to a wire rack to cool completely.
Notes
Cocoa Powder: Dutch-process cocoa powder can work in these cookies as well for a darker, richer-tasting cookie. If using, reduce baking soda to 1/4 teaspoon and add 1 teaspoon baking powder.
Puffy Cookies: If your cookies come out too puffy after baking, try a) immediately out of the oven, dropping the cookie sheet a few inches above the counter to flatten slightly or b) reducing the oven temperature by 25 degrees or c) next time, keeping an eye on the dry ingredients and backing off just slightly (maybe 2 to 4 tablespoons less flour if needed).
Flat Cookies: If your cookies are flattening too much while baking, try a) increasing the oven temperature by 15 to 25 degrees, b) next time making sure the butter isn’t overly softened/melted, c) use cold eggs from the fridge, or d) add a few tablespoons more flour or cocoa powder to the dough.
Nutrition Information
Serving: 1 cookie,
Calories: 115kcal,
Carbohydrates: 16g,
Protein: 2g,
Fat: 6g,
Saturated Fat: 3g,
Cholesterol: 24mg,
Sodium: 109mg,
Fiber: 1g,
Sugar: 9g
Recommended Products
Recipe Source: Inspired by Mel’s Kitchen Cafe