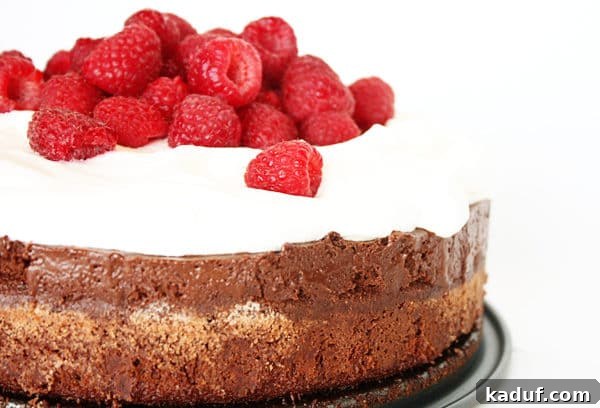
Indulge in the ultimate chocolate experience with this fudgy double chocolate mousse torte, elegantly topped with sweetened cream and fresh raspberries. This decadent dessert is surprisingly easy to create, making it perfect for any special occasion or a delightful treat for yourself.
Do you often find yourself craving extraordinary desserts, those that look straight out of a patisserie but seem intimidating to make at home? Or perhaps you dream of a show-stopping centerpiece for your next celebration?
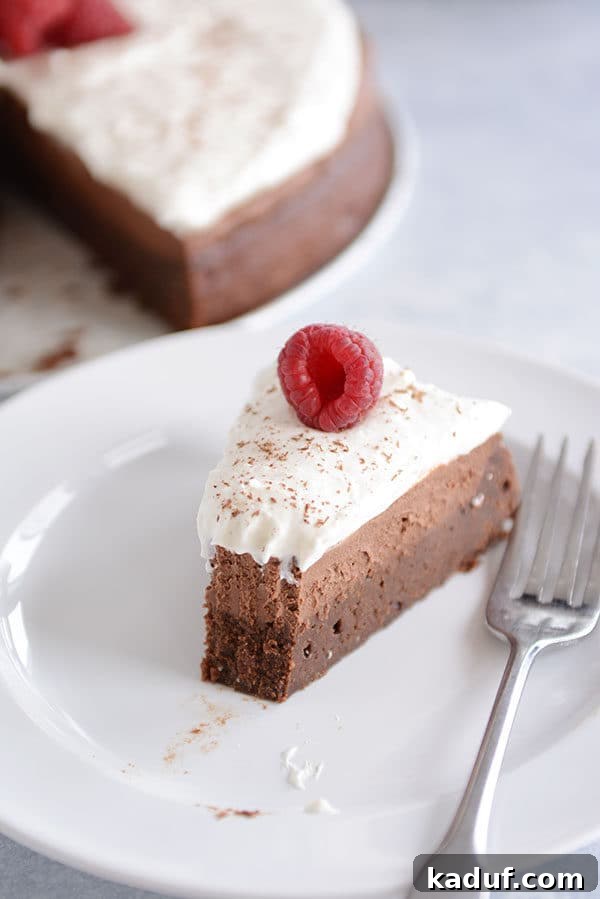
This Double Chocolate Mousse Torte undoubtedly falls into the category of sophisticated desserts, yet its preparation is remarkably straightforward. It’s a consistently delicious creation that has earned its place as one of my all-time favorite recipes. With its rich, intense chocolate flavor and luxurious texture, it’s an ideal choice for a romantic Valentine’s Day treat, a festive birthday cake, or simply an elevated Sunday dessert.
While I hadn’t initially planned to share this beloved recipe today, its irresistible charm compelled me. Having first posted about this torte way back in 2010, and after recently revisiting a classic like my White Velvet Sugar Cookies, I thought I’d give you a break from recipe revivals. However, some desserts are just too good to keep under wraps, especially when they hold such a special place in my heart – and currently, in my refrigerator!
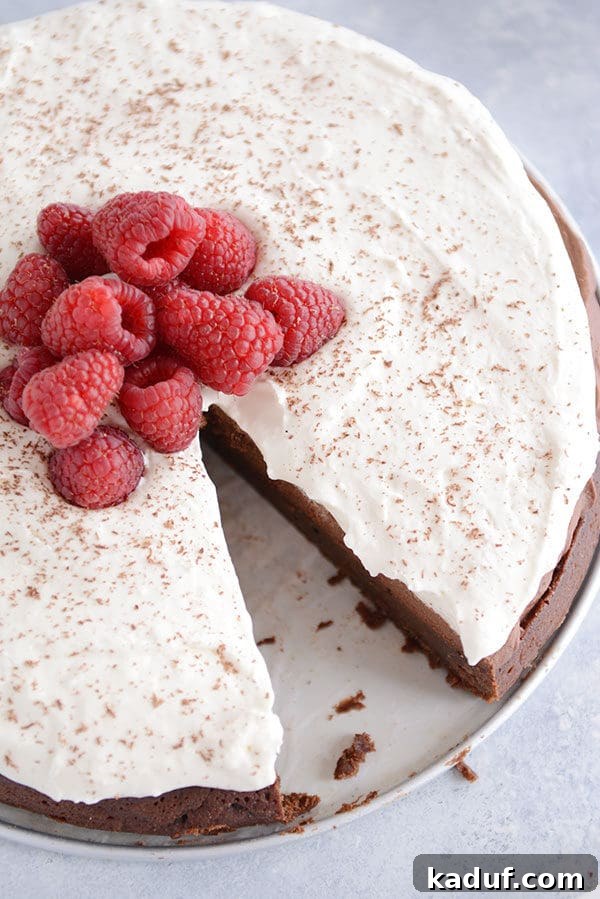
Today marks my 39th birthday, and what better way to celebrate than with a slice of this magnificent torte? The aroma wafting from the kitchen is almost unbearable, tempting me with every breath. If I’m going to succumb to the allure of this extraordinary chocolate creation on my special day, then you, dear reader, deserve the opportunity to experience its magic too. Consider this my gift to you – a chance to craft a dessert that promises pure bliss.
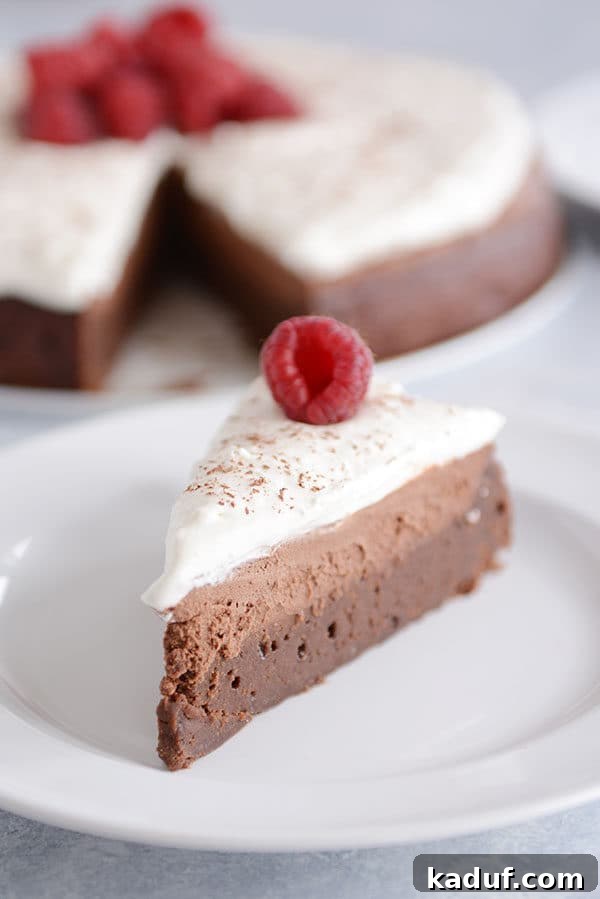
While I can’t guarantee there will be any left in my house by the time you read this, I can guarantee that this recipe for Double Chocolate Mousse Torte is truly one of my most cherished. It has gracefully endured the test of time, unlike some recipes that fade into obscurity. Over the past seven years, this torte has been my repeated birthday request, a staple for entertaining guests, and my go-to for making any Sunday feel a little more special. Its enduring popularity among my family and friends is a testament to its unparalleled deliciousness and ease of preparation.
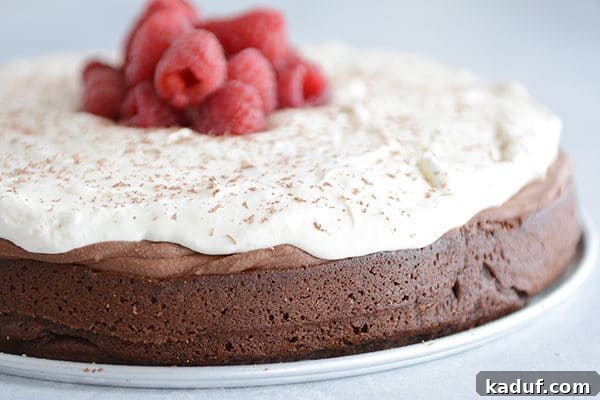
This exquisite dessert, a true show-stopper, might appear intimidating at first glance, evoking images of complex pastry techniques. However, the most important takeaway I want you to remember is that this double chocolate mousse torte is incredibly easy to make. Forget the notion that elegant desserts require hours of intricate work. The most challenging aspects are arguably waiting for it to chill in the refrigerator and the minimal cleanup afterward. Its simplicity belies its sophisticated appearance and intensely satisfying flavor.
The journey to this delectable torte begins with a single-bowl fudgy chocolate cake batter, baked in a springform pan to create a wonderfully dense and decadent base. This rich foundation is just the beginning; the magic truly unfolds with the mousse layer. The idea of making chocolate mousse from scratch might sound daunting, but trust me, it’s shockingly simple. Years ago, my original recipe featured a mousse made with raw eggs, a method that, while delicious, presented concerns for some and involved a few extra steps.
Over countless preparations, I found myself increasingly gravitating towards an “alternate” egg-free mousse recipe, which was initially a side note in my older post. This quicker, simpler chocolate mousse involves whisking melted chocolate and cocoa powder, then expertly folding in a light, sweetened whipped cream. This streamlined approach delivers all the richness and airy texture of a classic mousse without the added complexity or the use of raw eggs. This modern twist ensures that everyone can enjoy this heavenly dessert with peace of mind.

The recipe shared below incorporates this simplified, egg-free mousse method, which I’ve used almost exclusively for years. It’s the same beloved torte, now made even more accessible. But don’t worry! For those who have cherished and relied on the original egg-based mousse recipe, I’ve thoughtfully included its details in the notes section. My goal is always to enhance recipes while respecting the preferences of those who love the classics. Typically, when I update and repost recipes from my archives, it’s to introduce improvements or simplifications that I’ve discovered over time. So, rather than being upset by the changes, I hope you’ll embrace them as a positive evolution. After all, it’s my birthday, and I’d love for everyone to share in the joy and deliciousness!
And let’s be honest, if you were to get upset, I might just be tempted to “self-medicate” with an extra slice of this double chocolate mousse torte, and my metabolism isn’t quite what it used to be. So, please, have a little pity on this aging baker and enjoy the updated version! This recipe is a testament to the fact that while age might bring some unwelcome “factors,” it certainly sharpens our wisdom in choosing the best desserts.
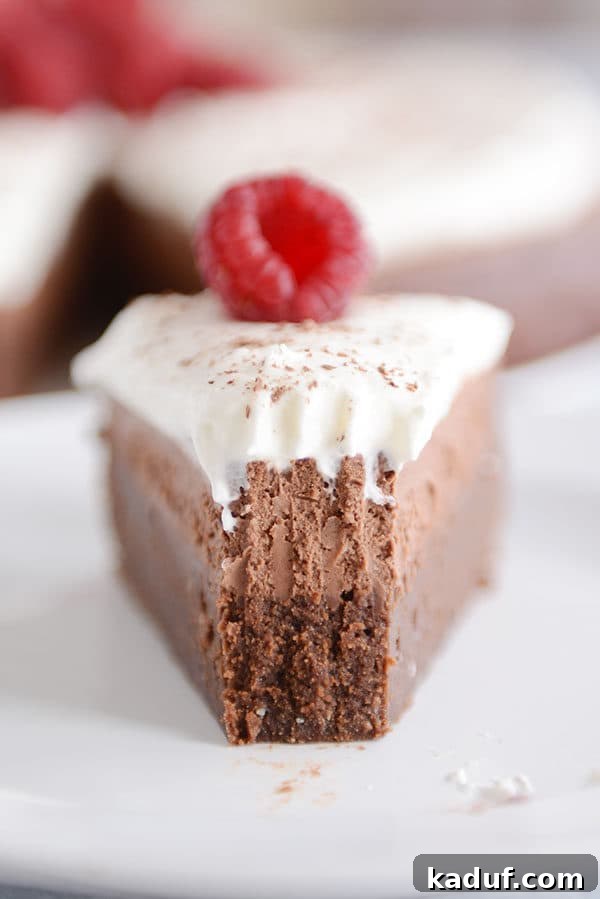
A quick note on bakeware: this recipe specifies a springform pan, which is highly recommended for achieving those perfectly neat and impressive slices. While it’s a common question, and yes, you *could* technically make it in a traditional cake pan, please be aware that unmolding and slicing will be significantly more challenging if you opt for a standard pan. If you do use a 9-inch round cake pan, ensure it has sides at least 3 inches high to comfortably accommodate the cake base, generous mousse layer, and luscious whipped cream topping. I’ve successfully prepared this torte in both 9-inch and 10-inch springform pans. The 9-inch pan will yield slightly thicker layers, offering an even more substantial bite, but both sizes work wonderfully to deliver a truly magnificent dessert.
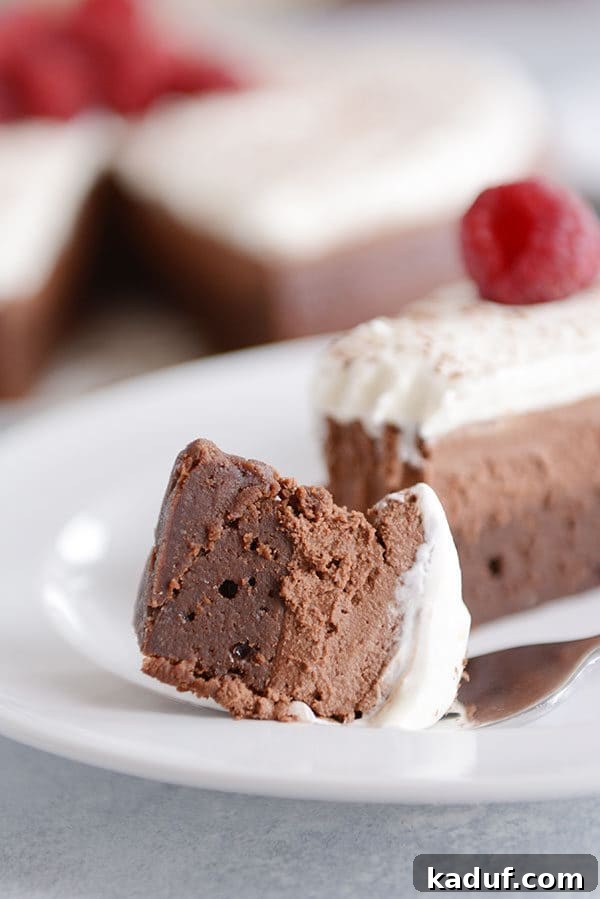
If you, like me, are captivated by extraordinary, intensely chocolate desserts that not only impress visually but taste even better than they look, then this Double Chocolate Mousse Torte is an absolute must-try. Its consistent status as a favorite over the years solidifies its place as a cherished recipe. One of its greatest advantages, especially when entertaining or planning ahead, is that it can be prepared in advance, allowing you to relax and enjoy your company without last-minute stress. Simply assemble, chill, and then add the final touches before serving.
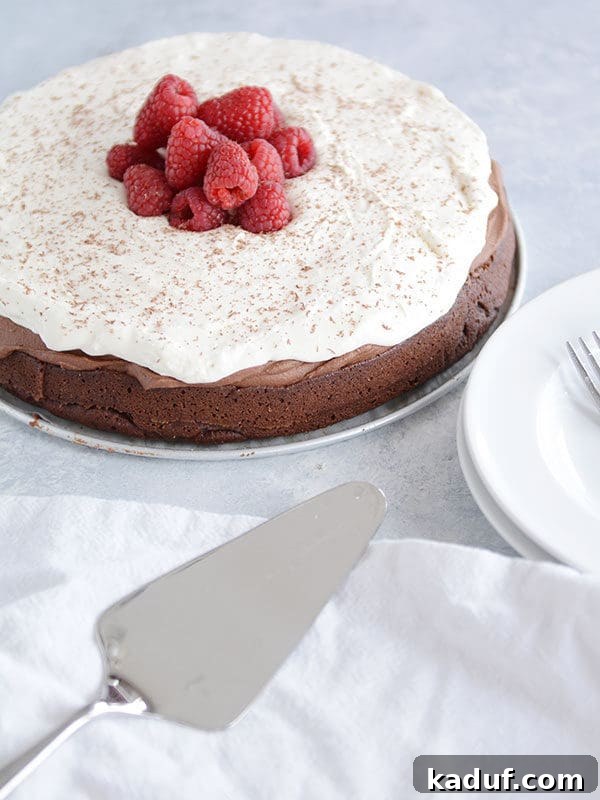
So, regardless of your current experience with “fancy” desserts, I wholeheartedly encourage you to carve out some time and embark on the delightful journey of making this easier-than-it-looks Double Chocolate Mousse Torte. When you do, imagine me, a year wiser and still deeply in love with every rich, chocolatey bite, knowing that some culinary loves are truly timeless. Prepare to impress yourself and everyone lucky enough to share this indulgent masterpiece.
Alternate Mousse Recipe (if you are looking for the original mousse recipe posted in 2010):
1/2 cup butter, cut into pieces
4 large eggs, separated at room temperature
1/4 cup whipping cream
1 tablespoon vanilla extract
8 ounces bittersweet (not unsweetened) or semisweet chocolate, chopped finely (it is important the chocolate for this mousse layer is chopped finely or it won’t melt completely when added to the warm egg yolks)
1/2 cup sugar
Melt butter in medium metal bowl set over saucepan of simmering water (do not allow bottom of bowl to touch water). Whisk yolks, 1/4 cup cream and vanilla in small bowl to blend. Gradually whisk yolk mixture into bowl with melted butter. Whisk constantly over simmering water until thermometer registers 150°F, about 6 minutes (mixture may appear broken – mine did not but it was very thick like custard or pudding). Remove from over water; add chocolate and stir to melt. Set aside. Beat egg whites and 1/2 cup sugar and a pinch of cornstarch in large bowl to medium-stiff peaks. Whisk 1/4 of beaten egg white mixture into warm chocolate mixture to lighten. Fold in remaining egg white mixture.
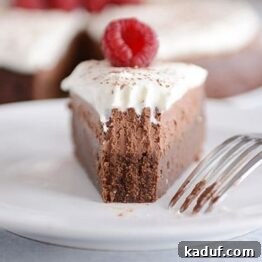
Double Chocolate Mousse Torte
Pin
Ingredients
Cake:
- 8 ounces bittersweet or semisweet chocolate, chopped (see note)
- 1 cup (227 g) salted butter
- 1 cup (212 g) granulated sugar
- 5 large eggs
- 1 tablespoon vanilla extract
- ¼ teaspoon salt
- ¼ cup (36 g) all-purpose flour
Mousse:
- 2 tablespoons unsweetened natural or Dutch-process cocoa powder
- 5 tablespoons hot water
- 8 ounces (227 g) bittersweet or semisweet chocolate, chopped fine
- 1 tablespoon salted butter
- 1 ½ cups cold heavy cream
- 1 to 4 tablespoons granulated sugar, depending on desired sweetness
- ½ teaspoon vanilla extract
- pinch of table salt
Whipped Cream Topping:
- ¾ cup cold heavy cream
- 2 tablespoons powdered sugar
- Grated chocolate, for garnish (optional)
- 2 cups fresh raspberries, or other fresh fruit
Instructions
-
For the cake, preheat the oven to 325°F.
-
Lightly grease a 9- or 10-inch springform pan; dust with sugar (optional).
-
Combine the chocolate and butter in a saucepan or in a microwave-safe bowl. Melt over low heat (on the stovetop) or on 50% power in the microwave at 1-minute increments, stirring in between.
-
Cool the mixture to lukewarm. Whisk in the sugar to combine.
-
Add the eggs one at a time, blending well after each addition. Mix in the vanilla and salt. Add the flour and mix until just combined.
-
Pour the batter into the springform pan. Bake until the cake just rises in center (a tester inserted into center will not come out clean) and springs back lightly to the touch, 30-35 minutes.
-
Cool completely in the pan (the center of the cake may fall slightly). Cover and chill while making mousse.
-
For the mousse, whisk together the cocoa powder and hot water in a small bowl; set aside.
-
Melt the chocolate and butter together in a microwave-safe bowl on 50% power, stirring often, until smooth (don’t overheat!). Whisk the cocoa/water mixture into the melted chocolate until smooth (if there are little lumps, you can press the mixture through a fine mesh strainer into a clean bowl). Let it cool to room temperature (just slightly lukewarm is fine, too, as long as it isn’t warm or hot).
-
In a medium bowl with an electric mixer, whip the cream, granulated sugar, vanilla, and salt at medium speed until the mixture begins to thicken, about 30 seconds. Increase the speed to high and whip until soft peaks form when beaters are lifted (I often use my Blendtec blender to whip cream – only takes a few seconds).
-
Using a rubber spatula, fold 1/3 of the whipped cream into chocolate mixture to lighten. Fold in the remaining whipped cream until no white streaks remain.
-
Spoon the mousse over the cooled cake. Cover and refrigerate for at least 6 hours or up to 1 day.
-
Run a sharp knife around the edge of the pan to loosen the torte if it hasn’t pulled away from the sides of the pan while cooling.
-
Release the springform pan sides. Transfer the torte to a platter, if desired (often, I just leave it on the base of the springform pan).
-
For the whipped cream topping, using an electric mixer, beat the cream and powdered sugar in a medium bowl until soft peaks form. Spread the whipped cream over the torte. Dust with grated chocolate, if desired.
-
Top with raspberries. Chill for up to an hour or serve immediately.
Notes
Chocolate: not all chocolate chips melt the same – if you have good-quality bar chocolate (I love the pounds plus bars at Trader Joe’s or the Ghirardelli blocks at some grocery stores), use it. If not, I’ve found that Ghirardelli and Guittard chocolate chips melt the best and I’ve used both in this recipe before (semisweet and bittersweet).
Pan: also, a lot of people have asked over the years if this can be made in a “normal” cake pan and not a springform pan. I suppose it could, but keep in mind the slices won’t be quite as neat when cutting and serving, AND you’ll want to make sure the sides of the pan are at least 3-inches high so the dessert can be properly layered.
Recommended Products
Recipe Source: adapted slightly from Epicurious and chocolate mousse adapted from Cook’s Illustrated
Originally posted March 2010; updated with new pictures, recipes notes, and commentary.