
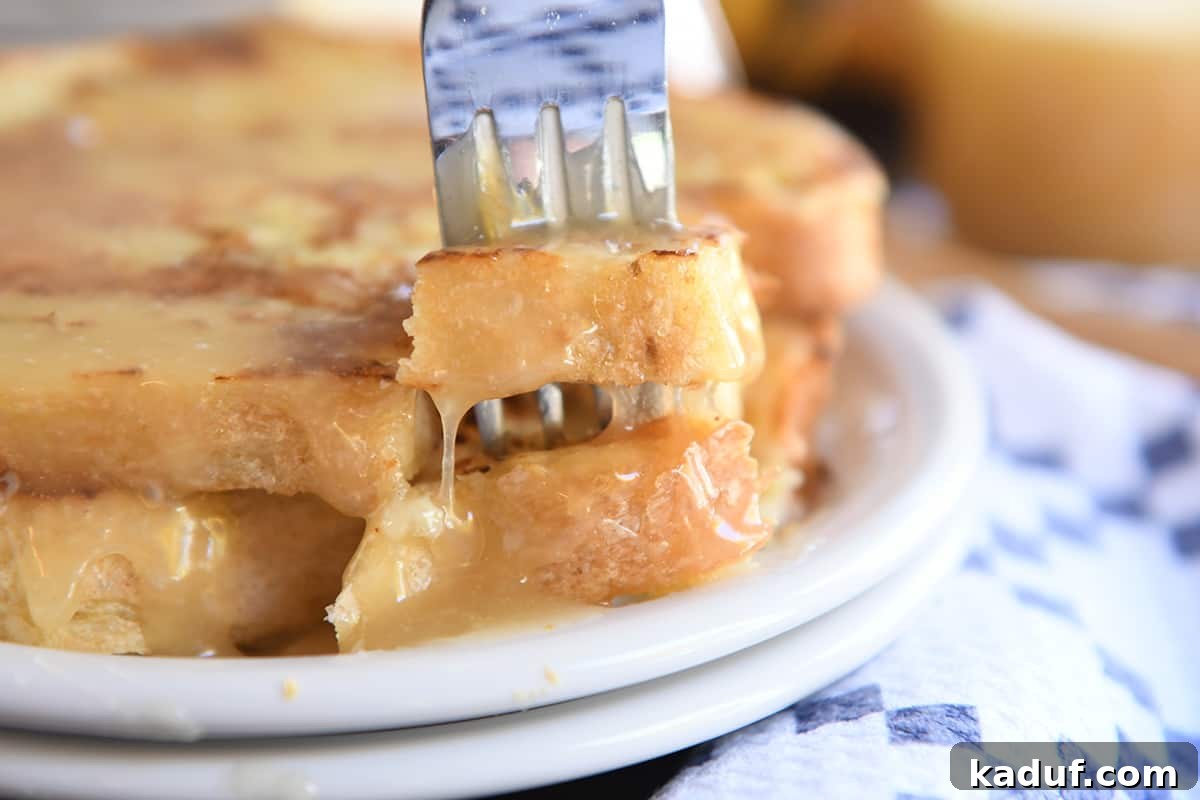
This easy buttermilk caramel syrup is a tried-and-true favorite for everything from pancakes to waffles to ice cream to cake. It’s amazing!
Prepare to have your perception of breakfast toppings utterly transformed. If the idea of “buttermilk syrup” sounds a little unconventional to you, allow me to introduce you to a culinary revelation that has been a cherished family secret for generations. This delectable, caramelly concoction isn’t just a syrup; it’s a rich, flavorful experience that will elevate everything it touches. Forget your ordinary maple syrup for a moment and open your pantry to the magic of homemade buttermilk caramel syrup.
For decades, this recipe has graced our family tables, becoming an indispensable part of countless joyful mornings and special occasions. It’s more than just a sweet addition; it’s a taste of nostalgia, a warm hug in liquid form, and an absolute showstopper that consistently earns rave reviews. Once you taste the perfect balance of tangy buttermilk notes with deep, buttery caramel, you’ll understand why it’s earned its legendary status. It’s not just amazing; it’s genuinely life-changing.
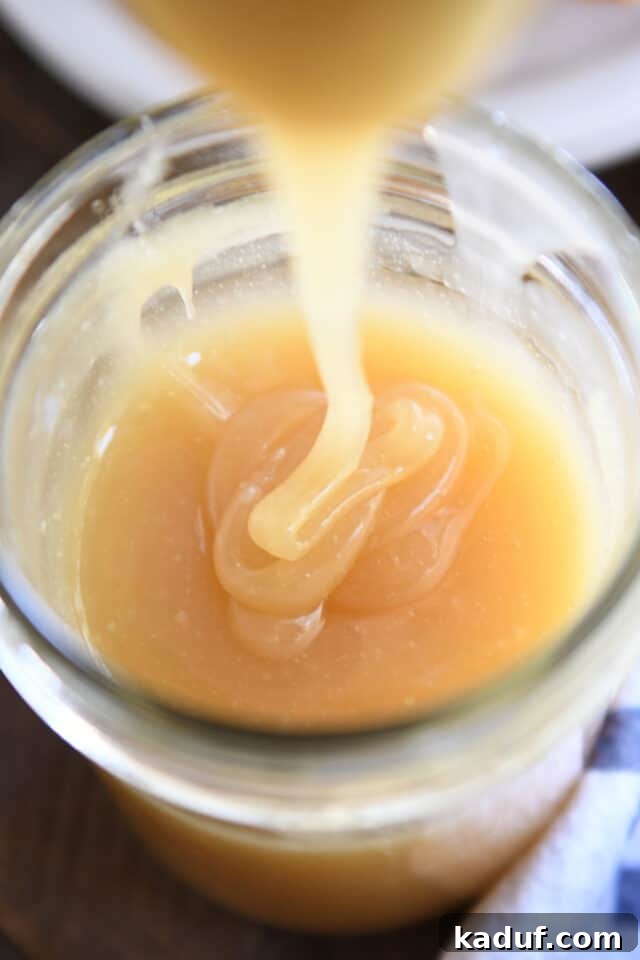
Effortless Buttermilk Caramel Syrup: The Core Fundamentals
Crafting this incredible buttermilk caramel syrup is surprisingly simple, requiring only five basic ingredients that you likely already have in your kitchen. The beauty of this recipe lies in its straightforward process, making it accessible even for novice cooks. Within minutes, you can create a luxurious, pourable caramel that tastes far more complex than its ingredient list suggests.
The most critical piece of advice for this recipe, one that cannot be overstated, is to use a significantly larger pot than you think you’ll need. This isn’t just a suggestion; it’s a vital preventative measure. The magic of baking soda, a key ingredient, causes the syrup to foam and expand quite dramatically during the cooking process. Attempting to make this in a small saucepan will almost certainly lead to a bubbling, sticky overflow disaster all over your stovetop. To avoid this messy predicament and ensure a smooth cooking experience, reach for a 2- or 3-quart pot for a standard batch. For larger quantities, scale up your pot size accordingly.
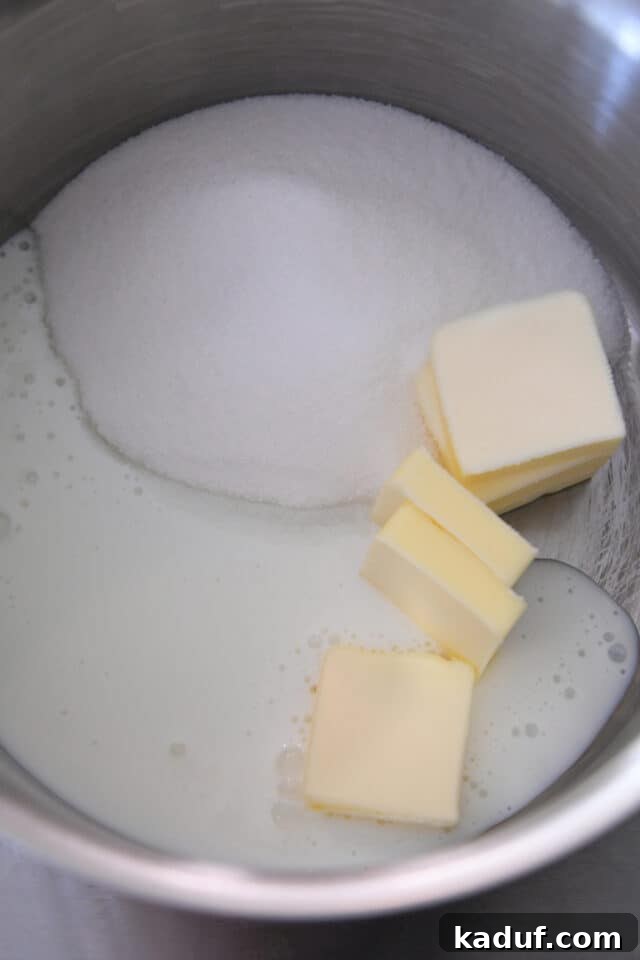
To begin, gather your essential ingredients and add them to your generously sized pot:
- Granulated sugar
- Buttermilk (fresh is always best for flavor and texture)
- Butter (salted butter is recommended here to balance the sweetness, cut into chunks for quicker melting)
Stir these foundational ingredients over low heat. The goal at this initial stage is to gently melt the butter and dissolve the sugar without scorching the mixture. Once the butter is fully incorporated and the sugar crystals are no longer visible, gradually increase the heat to a medium-low setting until the mixture reaches a gentle simmer. A gentle simmer is indicated by small, consistent bubbles appearing around the edges and occasionally in the center, not a vigorous rolling boil.
*Pro Tip for Deeper Caramelization: For an even richer, darker, and more pronounced caramel flavor profile, consider adding the baking soda in this very first step along with the sugar, buttermilk, and butter.* This slight alteration in timing allows the baking soda to interact with the sugar and buttermilk over a longer period, intensifying the caramel notes and resulting in a beautifully deep, golden hue. While the traditional method is fantastic, this variation offers a delightful depth for true caramel aficionados.
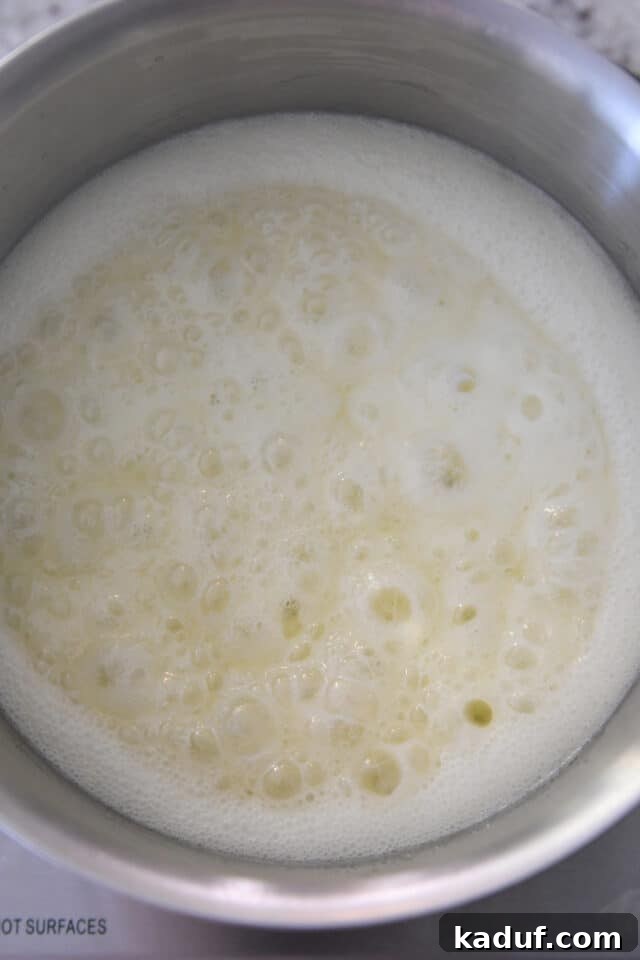
Continue to cook the syrup, maintaining the lowest heat setting that still allows for a consistent, gentle simmer. This controlled cooking temperature is crucial for achieving the perfect consistency and preventing crystallization. High heat is the enemy of smooth, pourable syrup; it can cause the sugars to caramelize too quickly and become overly thick and sticky, potentially hardening as it cools or developing an undesirable grainy texture.
It’s important to monitor the heat carefully. If the syrup cooks at too high a temperature, it can quickly transform into a rigid, sticky caramel that will be too thick to drizzle and may crystallize upon cooling, making it unusable as a syrup. Aim for those gentle, rolling bubbles across the surface, rather than a rapid boil.
Initially, you might observe a foamy layer around the edges of the pot. This is completely normal. As the syrup continues to simmer and the ingredients meld, this foam will eventually subside, and the entire surface of the liquid will exhibit a uniform, rolling, and bubbling appearance. This is your visual cue that the syrup is progressing as it should.
Maintain this gentle simmer for a precise 5 minutes. Resist the urge to increase the heat to speed up the process, as patience here will reward you with a perfectly smooth, velvety syrup.
The Magic of Baking Soda and Vanilla: Flavor and Texture Transformation
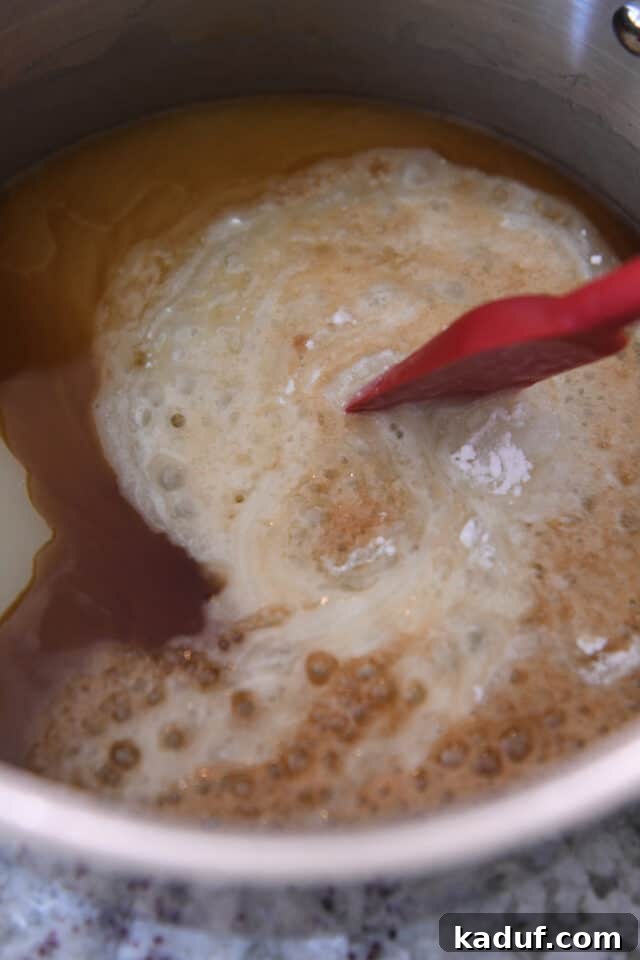
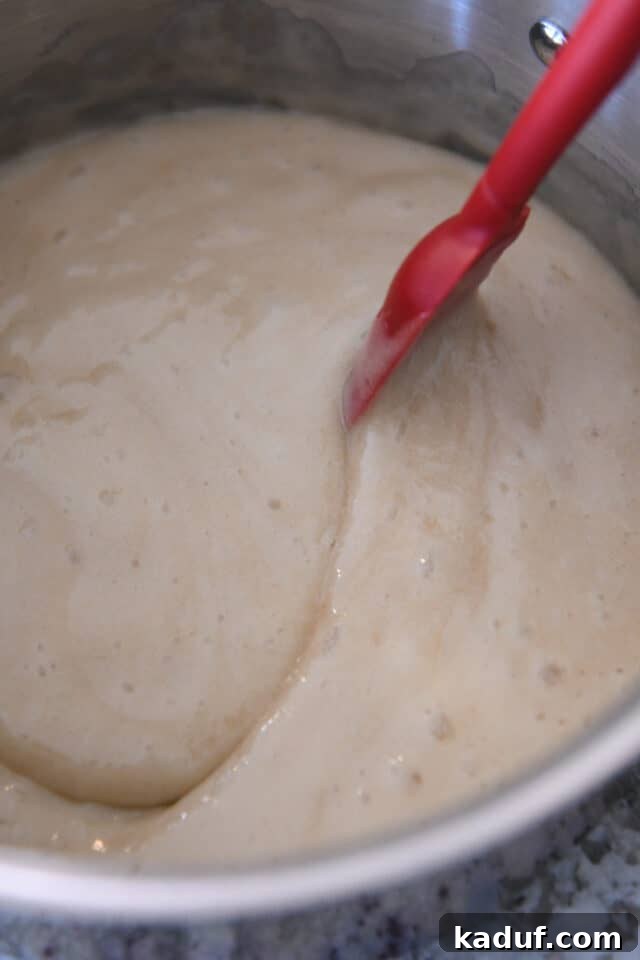
Once the 5-minute simmering period is complete, carefully remove the saucepan from the heat. This next step is where a significant transformation occurs, both in texture and volume. If you didn’t add the baking soda in the initial step for a darker caramel, now is the time to incorporate it, along with the vanilla extract. Stir these two essential ingredients into the hot syrup until the baking soda is completely dissolved and thoroughly combined. This process is truly fascinating to watch.
Upon adding the baking soda, you’ll observe the syrup dramatically foam and expand. This effervescent reaction is not only visually satisfying but also crucial to the syrup’s final consistency and flavor. The baking soda reacts with the acids in the buttermilk, creating tiny carbon dioxide bubbles that give the syrup a light, airy texture and prevent it from becoming overly dense. It also contributes to that classic caramel flavor by initiating a browning reaction.
For me, this particular stage of syrup making is arguably the most gratifying. There’s something uniquely captivating about watching a simple liquid erupt into a luxurious, foamy cloud of sweet caramel goodness. The transformation is almost instantaneous and always brings a sense of culinary delight. If you ever find yourself needing an extra stirrer, I’m always available to witness this magic!
Scaling Up: Tips for Double or Triple Batches
One of the many wonderful aspects of this buttermilk caramel syrup recipe is its adaptability. It scales up beautifully, meaning you can easily double or even triple the recipe to prepare larger quantities for special gatherings, holiday feasts, or simply to ensure you always have a generous supply on hand. Having a big batch of this liquid gold in your fridge is a true luxury!
When increasing the recipe, remember to adjust the simmering time accordingly. For double or triple batches, add an extra 1-2 minutes to the simmering time to allow the larger volume of liquid to achieve the desired thickness and flavor development. Always keep an eye on the consistency; a thicker syrup means a longer simmer, but be careful not to overcook.
And, as reiterated earlier, the importance of pot size becomes even more paramount when scaling up. For double or triple batches, it is absolutely essential to use a significantly larger pot. I personally recommend and routinely use a 6-quart pot to comfortably accommodate the increased volume and the vigorous foaming action without any risk of overflow. A larger surface area also aids in more even cooking, ensuring your larger batch maintains the perfect consistency.
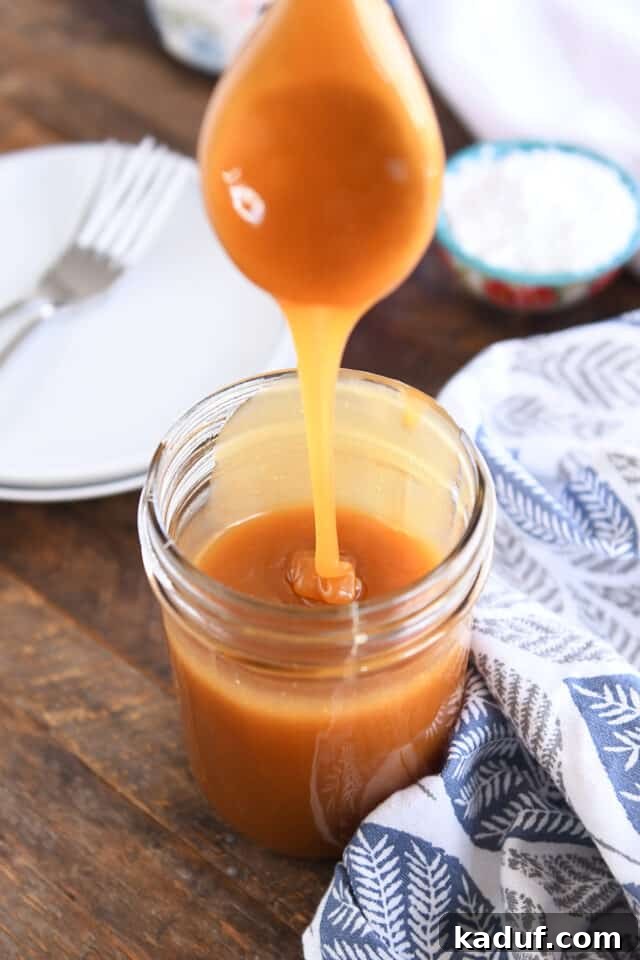
For those curious about the impact of baking soda timing, the image below beautifully illustrates the difference. You can clearly see how golden and intensely caramelly the syrup becomes when the baking soda is incorporated at the beginning of the cooking process, compared to when it’s added at the end. Both methods yield a delicious syrup, but the earlier addition creates a deeper, more robust caramel flavor and a richer color.
Creative Ways to Enjoy Your Buttermilk Caramel Syrup
Let’s be honest: this buttermilk caramel syrup is so incredibly decadent and flavorful that one might be tempted to simply eat it by the spoonful straight from the jar. And honestly, no judgment here! However, for those seeking more practical—and perhaps slightly less direct—ways to enjoy this homemade marvel, let me share some of our family’s absolute favorite applications.
While this syrup truly shines as a breakfast companion, its versatility extends far beyond the morning meal. Here are some of our top picks for drizzling, pouring, and slathering this incredible caramel:
- German Pancakes: The light, airy texture and delicate flavor of German pancakes provide the perfect canvas for the rich, buttery sweetness of this caramel syrup. It soaks into every crevice, creating an unparalleled breakfast experience.
- Ebelskivers: These spherical Danish pancakes, with their tender interiors, are absolutely divine when generously coated with warm buttermilk caramel syrup. It’s a match made in culinary heaven.
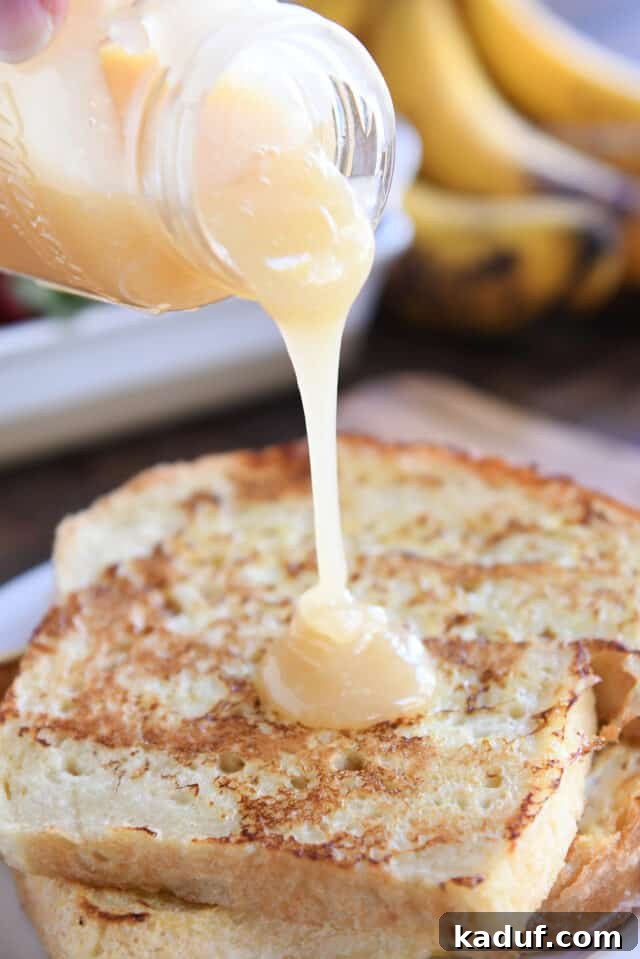
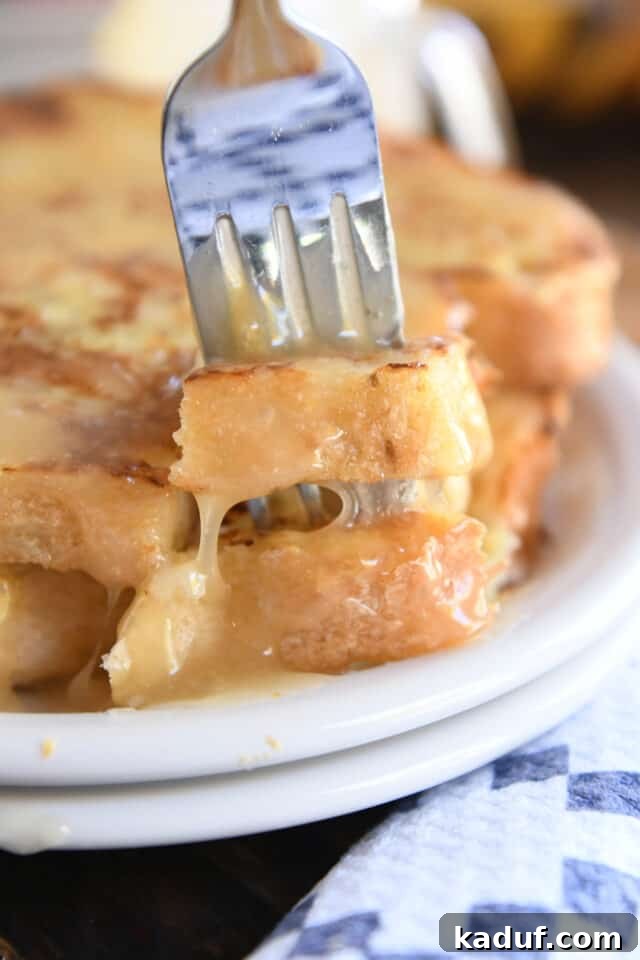
- French Toast: Transform a classic breakfast into an extraordinary feast. The golden-brown crust and custardy interior of French toast become utterly irresistible when adorned with a glistening cascade of this homemade caramel.
- Pancakes or Waffles: This is perhaps the most obvious, yet most satisfying, use. Whether it’s fluffy buttermilk pancakes or crisp, golden waffles, a generous drizzle of this syrup is guaranteed to elevate your stack to gourmet status.
But the indulgence doesn’t stop at breakfast! To be perfectly honest, this buttermilk caramel syrup transcends its breakfast-topping label and makes an absolutely exquisite addition to a variety of desserts and treats. Imagine it as a luscious topping for a scoop of vanilla bean ice cream, creating an instant gourmet sundae. Drizzled over a slice of warm apple pie or a simple cake, it adds a layer of sophisticated sweetness and moisture. It’s also phenomenal for dipping fresh apple slices, turning a healthy snack into a delightful indulgence. I try not to dwell on these dessert applications too much, or else it threatens to unravel its identity as a “breakfast” item entirely! 😉 However, there’s no denying its incredible adaptability.
Consider even more adventurous uses: stir a spoonful into your morning coffee for a homemade caramel latte, use it as a glaze for roasted sweet potatoes, or swirl it into yogurt for a surprisingly decadent snack. The possibilities are truly endless once you have a batch of this liquid gold ready to go.
A Cherished Family Legacy: The Tried-and-True Favorite
This remarkable buttermilk caramel syrup, often affectionately referred to simply as “butter syrup” in our household, has held a revered spot among our family’s most treasured recipes for well over a decade. It’s more than just a recipe; it’s a culinary heirloom, a testament to simple ingredients coming together to create something truly extraordinary. It’s a flavor that evokes memories of family brunches, holiday mornings, and comforting homemade meals.
For many years, the recipe for this beloved syrup resided primarily within the confines of our German Pancakes recipe post. While it garnered immense popularity there, consistently receiving glowing reviews and heartfelt comments from readers who discovered its magic, it became increasingly clear that this magnificent syrup deserved its very own spotlight. Its unique qualities and universal appeal warranted a dedicated platform where it could be celebrated as the standalone star it truly is. The countless positive testimonials in the comments section of that original post speak volumes about its widespread adoration and prove that its “life-changing” reputation is well-deserved.
This isn’t merely a fleeting trend or a passing fancy; it’s a foundational recipe that my family intends to pass down through generations. From my kitchen to yours, I genuinely believe this buttermilk caramel syrup will become a staple, creating new traditions and sweet memories for years to come. It’s genuinely that good, a timeless classic that brings joy with every pour.
Troubleshooting and Storage Tips for Perfect Syrup
Even with a simple recipe, sometimes questions arise. Here are some common troubleshooting tips and best practices for storing your homemade buttermilk caramel syrup to ensure every batch is perfect and lasts as long as possible:
Why did my syrup crystallize?
Crystallization typically occurs if the sugar wasn’t fully dissolved at the beginning, or if the syrup was cooked at too high a heat for too long. To prevent this, ensure you stir constantly on low heat until all sugar crystals are melted before bringing to a simmer. Also, avoid stirring the syrup once it’s simmering, as this can encourage crystal formation. If your syrup does crystallize, you can often save it by gently reheating it with a tablespoon or two of water until it re-liquefies. Just be careful not to overheat it again.
My syrup is too thick/too thin. What went wrong?
If your syrup is too thick, it likely simmered for too long. You can thin it out by gently reheating it with a small amount of milk, water, or even a little extra buttermilk, stirring until it reaches your desired consistency. If it’s too thin, it means it didn’t simmer long enough. You can return it to the stove and simmer for an additional 1-2 minutes, keeping a close eye on it, until it thickens appropriately. Remember, it will thicken further as it cools.
How do I store homemade buttermilk caramel syrup?
Once cooled, transfer your delicious buttermilk caramel syrup into an airtight container or a clean glass jar with a tight-fitting lid. It can be safely stored in the refrigerator for up to 2-3 weeks. For longer storage, it can even be frozen for several months. If freezing, make sure to leave some headspace in the container as the syrup will expand.
How do I reheat the syrup?
To reheat refrigerated syrup, you can gently warm it in a small saucepan over low heat on the stove, stirring occasionally until it reaches your desired pourable consistency. Alternatively, you can microwave it in short 15-30 second bursts, stirring between each interval, until warm. Be cautious not to overheat, as this can cause it to become too thick or crystallize. If a layer of foam develops on top of the syrup after refrigeration, don’t worry! This is normal and doesn’t affect the taste. You can either stir it back into the syrup or simply skim it off if you prefer a perfectly smooth texture.
One Year Ago: Easy No-Knead Peasant Bread
Two Years Ago: Amazing Easy Fluffy Blender Rolls {My Thanksgiving Roll}
Three Years Ago: Perfect Homemade Caramel Apples {Tons of Tricks + Best Caramel to Use}
Four Years Ago: Perfect Small Batch Cinnamon Rolls
Five Years Ago: Easy Homemade French Bread
Six Years Ago: Harvest Pasta Sauce {Trader Joe’s Copycat}
Seven Years Ago: Peanut Butter Cup Cheesecake with Chocolate Cookie Crust
Eight Years Ago: Pumpkin White Chocolate Mousse Cheesecake {Egg-Free, Easily Gluten Free}
Nine Years Ago: Black Bean and Butternut Enchilada Skillet
Ten Years Ago: Peanut Butter Oatmeal Chocolate Chip Cookies
Buttermilk Caramel Syrup
Pin
Rate
Ingredients
- 1 cup granulated sugar
- ½ cup buttermilk
- ½ cup salted butter, cut into chunks
- 1 teaspoon baking soda (see note for variation)
- 1-2 teaspoons vanilla extract
Instructions
-
In a spacious 2- to 3-quart saucepan, combine the granulated sugar, buttermilk, and chunks of salted butter. Remember, selecting a larger pot is crucial for this recipe as the syrup will foam and expand considerably.
-
Place the saucepan over medium-low heat. Stir continuously until the butter is completely melted and the sugar is fully dissolved. Once melted, increase the heat slightly to medium and bring the mixture to a gentle boil.
-
Immediately reduce the heat to medium-low, ensuring it’s the lowest setting that still maintains a consistent simmer. Simmer for precisely 5 minutes. Be mindful of the heat; cooking too long or at too high a temperature increases the likelihood of crystallization as it cools, making the syrup overly thick.
-
Remove the pot from the heat. Stir in the vanilla extract and baking soda (if not added earlier). The syrup will vigorously foam and expand. Continue to mix until the baking soda is fully dissolved and all ingredients are well-combined. Serve warm for best enjoyment.
-
Any leftover syrup can be stored in an airtight container in the refrigerator. Reheat gently before serving. Occasionally, a layer of foam may form on top; this is harmless and does not affect the taste. You can stir it back in or skim it off as preferred.
Notes
Larger Batch Adjustments: When preparing double or triple batches of this syrup, increase the simmering time by an additional 1-2 minutes. Always remember to use a significantly larger pot to accommodate the expansion; a 6-quart pot is ideal for larger quantities.